Create this weathered rope sign with only three supplies and a bit of spare time. It works beautifully as summer decor and is a sweet reminder to slow down!
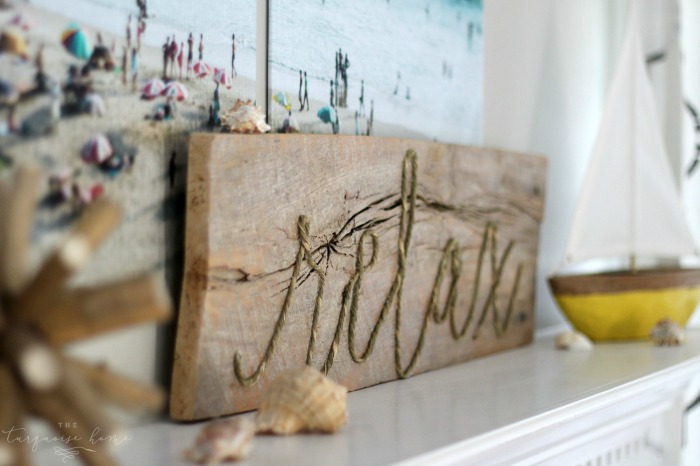
I previously posted the steps for the driftwood finish I used on my new weathered “relax” rope sign. I was aiming for the look of the rope pillow sold at Kirkland’s, so I collected my lumber and gave it a driftwood appearance. After a few more easy steps, I had the ideal sign for my new summer mantel! Affiliate links are included for your convenience. Read my full disclosure policy here.
Supplies for a Weathered Rope Sign
- Lumber for the sign
- rope (or jute or grass twine)
- hot glue gun with glue sticks
- chalk
Choose a board with the size and character you have in mind. I wanted something that looked like a battered piece of driftwood. I had an old, very worn length of barn wood I'd been keeping for years, so I applied a DIY driftwood treatment and was delighted with how it turned out!
Next I pulled up Isabella, a typeface I rely on often. I typed “relax” in it on my computer to use as a template while lettering the board.
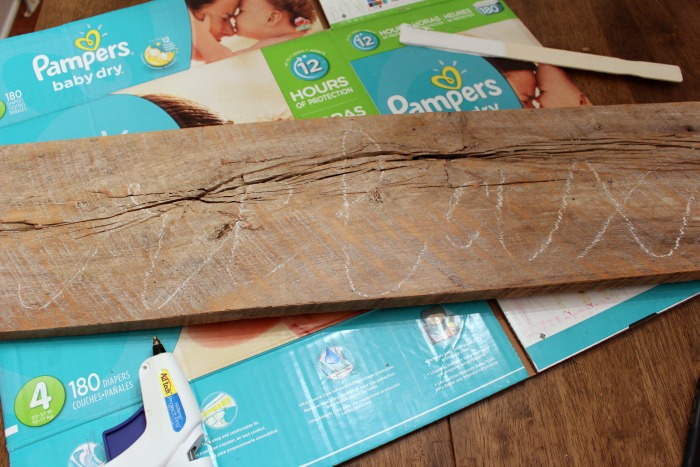
Next I sketched “relax” onto the board by hand with chalk. I redid it a number of times, but a damp cloth wiped the chalk off cleanly, so I kept refining it until it matched what I pictured.
With the lettering in place, I warmed up my hot glue gun and got the “rope” ready.
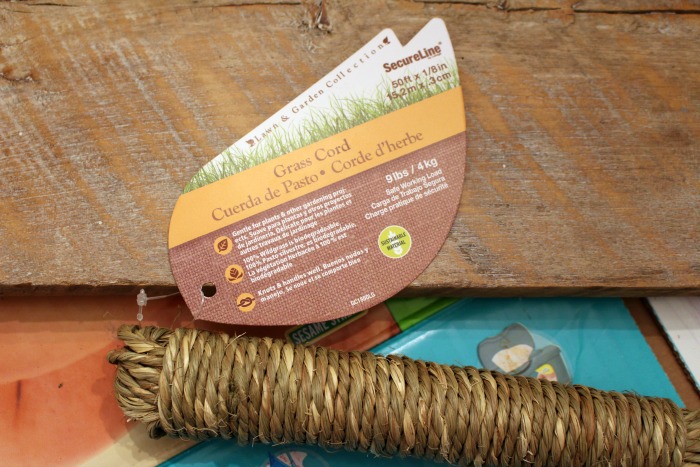
The rope is grass cord I spotted at Target while browsing for decor with a Starbucks drink in hand. I can't quite explain how I ended up wandering the store alone, but I did, and when I noticed this cord in the garden section I grabbed it for the project.
I unrolled the cord and glued it down in short stretches, following the chalk outline as I went, and the sign came together quickly. Sadly I have no photos of this step, since I was moving fast.
Here is the finished piece! I'm thrilled that it came out exactly as I'd imagined.
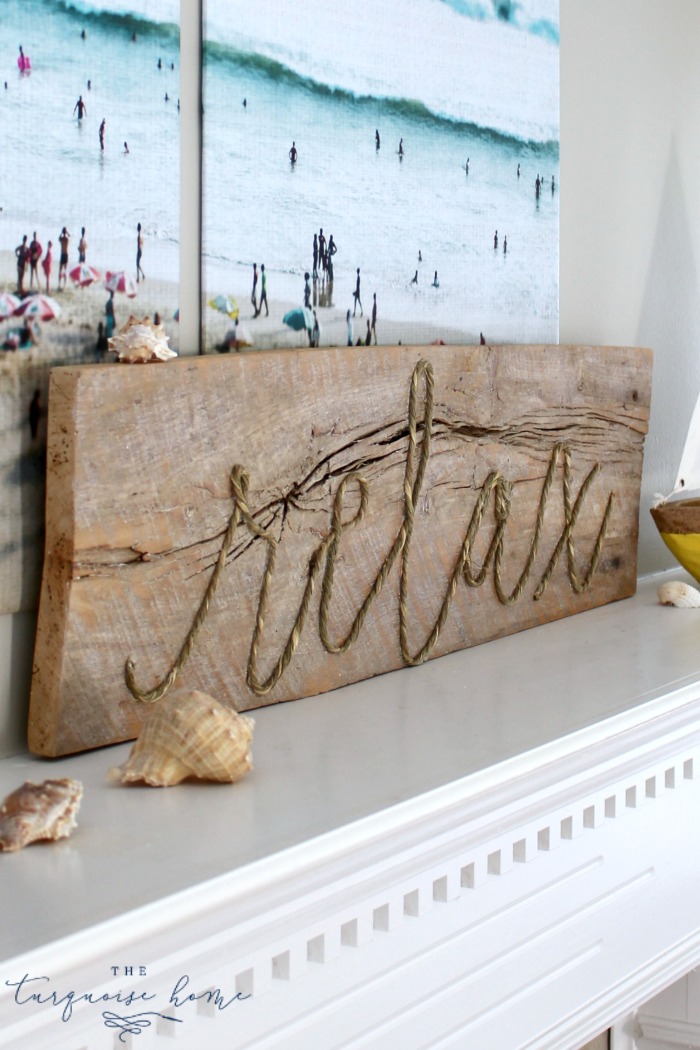
It adds fun texture to my summer mantel, and I'll show you the whole arrangement on Monday. I can hardly wait!
More Posts You Might Enjoy:
DIY Cornice Board: Making a Fabric-Covered Window Cornice
...Read More
Building a Custom Frame for Your Frame TV (Luxe Look for Less)
...Read More
Refinishing Wood Furniture, Step by Step
...Read More
DIY Fall Hydrangea Wreath Made with Faux Stems
...Read More
Hanging Plates on a Wall
...Read More
Trash to Treasure: Framed Peacock Art
...Read More
Making a Chinoiserie-Style Egg Wreath
...Read More
Repairing a Small Hole in Drywall
...Read More