Ready to clear out your home? Begin with these five simple steps to help you declutter any room in the house!
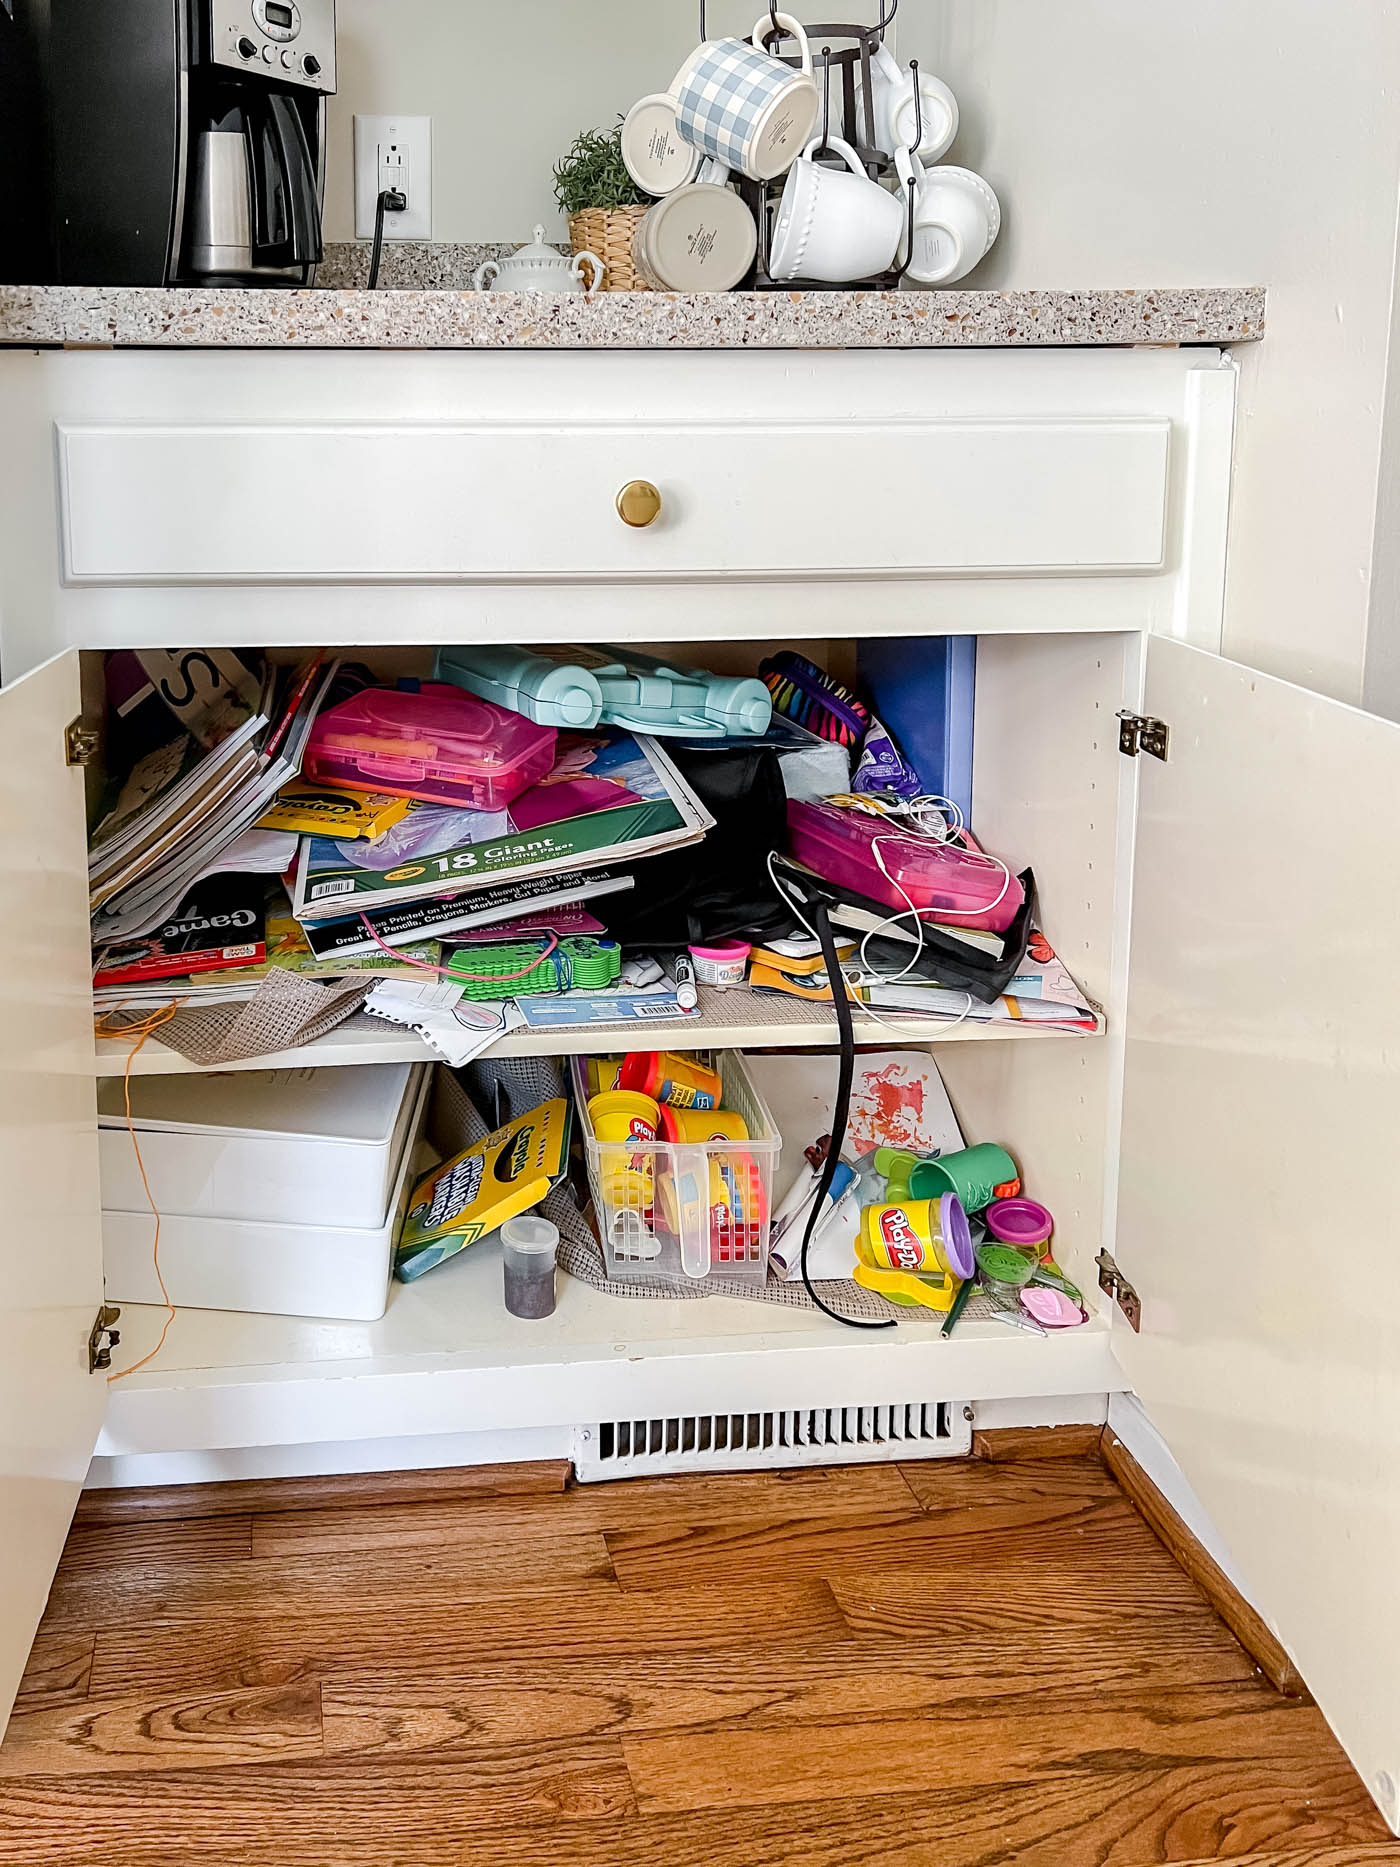
It happens to the best of us. You get busy, toss random things into a room, and shut the door. You promise yourself you'll deal with it later. Then days, weeks, months, even years slip by, and the mess only grows!
Clutter happens to all of us. If we aren't careful, it can pile up and bring stress, anxiety, and even more problems.
The truth is, a beautiful home is hard to create when it's buried in clutter. I've been there too! It's normal, and the fix is simpler than you might think, and I'm going to share it with you today.
Here are 5 easy steps you can take to get your home decluttered with very little effort!
Ready to feel calm at home again?
You can't decorate a home that's full of clutter. Start your decluttering journey with 30 days of encouraging, practical emails to keep you motivated!
In today's post I'm using my old office and guest room as the example. I've used these same steps on every room, closet, and drawer in my home, and they work!
My Cluttered Room: The Office/Guest Bedroom
Note: We have since moved out of this home, and I now have a new office. But this was my office in our old home!
If you've been following my 30 Days to Less of a Hot Mess posts, you already know I've decluttered and organized my office! Yay! I'm so excited to share all about it today.
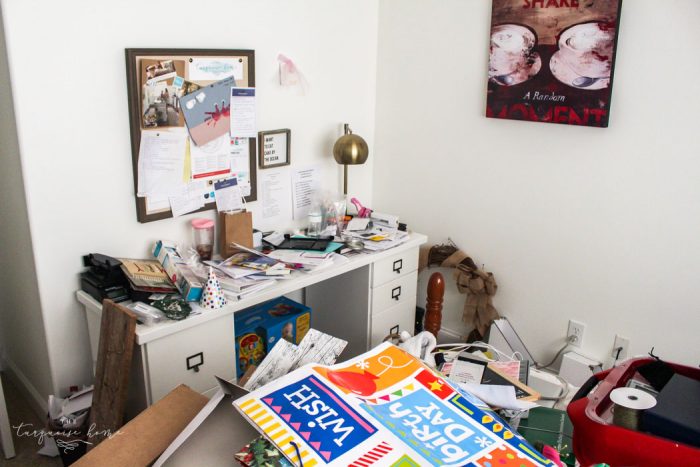
My office sits in one corner of my guest bedroom. The room does double duty, which can be tricky. I often struggled to keep it clean and guest-ready, and it really wore on me. Honestly, I felt stressed just walking in most days because it looked like this:
And here's another angle from the doorway ...
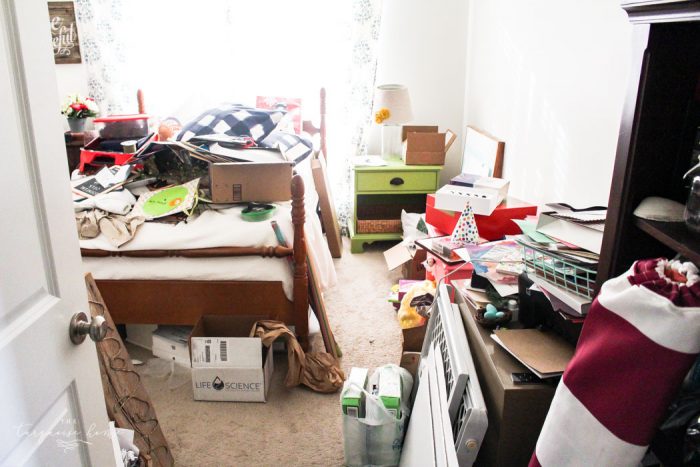
I definitely didn't want to work in there! (I'm trying to laugh off my embarrassment at sharing these photos, since even my closest friends don't usually get to see this room.)
I always ended up working at the kitchen table, on the couch, or wherever I could find space, which wasn't great for productivity or for running a business. I needed a room where I could work without the clutter.
So my number one goal for the New Year was to declutter the entire room. All of it! I was tired of never finding what I needed and buying things I already owned. I was tired of tripping over random junk on the floor. And I was tired of spending my time searching for things instead of spending it with my family.
This method works, friend, and it works on any room in your home. As you go through your house and declutter the kitchen, the living room, and everywhere else, you'll start to enjoy the benefits: less stress, less wasted time, and more time living your life instead of managing your stuff. It's truly a win-win!
Before You Start: Decluttering Tips
1. Plan Your Timeline & Goals
Before diving into this big project, set aside a day or two to finish it. If you only have 30 minutes, use what you can, but adjust your expectations to match.
- Write down your goals for the space. Do you want to see the floor, create a better workflow, or have everything neatly organized when you're finished?
- Note the problem spots in the room. Is there a particular corner that always collects clutter? Figure out what kind of clutter it is and think about how you'll handle it.
- Set a date for when you plan to finish and how much time you have to dedicate to this project.
- When I decluttered my garage, I knew it would take more than a single day, so I set aside a full week. Most rooms, though, can be done over a weekend.
2. Set Timers
Don't try to work for eight hours straight. Work in short bursts, then reward yourself with a walk, a snack, or a nap!
Set a timer for 15 to 45 minutes, then take a 5 to 10 minute break before returning for another round. You'll feel refreshed and ready to tackle the next section of the room.
3. Create a Sorting System
Collect empty cardboard boxes, bins, or trash bags for sorting, and label them with these categories:
- Relocate – These are items that are out of place and need to go back to their home, or items that need a new home.
- Fix – Items that need repairing before they can go back.
- Donate – Gently used items you no longer want can go to a neighbor, a local charity, or a thrift store.
- Recycle – Items made from recyclable materials can be kept out of the landfill.
- Trash – Anything else goes in the trash!
Keeping things sorted from the start will keep you from making a bigger mess than necessary.
Take the trash out right after you finish purging the room, and put the donation pile in your car. Add a reminder to your calendar to drop it off at a donation center. Go through the relocate pile quickly once the room is done.
4. Have Fun!
Listen to music or your favorite podcast while you work. If the room has a TV, put on a favorite movie. But don't try to declutter in silence. That will have you quitting in a hurry!

How to Declutter Any Room, Closet or Drawer
Once you're in the right mindset and have your timers and music ready, it's time! Pick your room, closet, or drawer, and let's get started!
1. Empty the Entire Space
Pull everything out! I mean everything (except the furniture, though you can do that too).
- Things will look much worse before they look better, but trust me on this. You want to handle every item that's coming or going from that room (or closet, drawer, or space). This step is key!
- Use the sorting method with one box or bag for each category: trash, donate, and relocate.
- Set up the donation and trash boxes as you carry items out of the room. That way, you can toss things right in if you already know you want to get rid of them.
- Everything else can stay in the pile, and you'll deal with it in the next step.
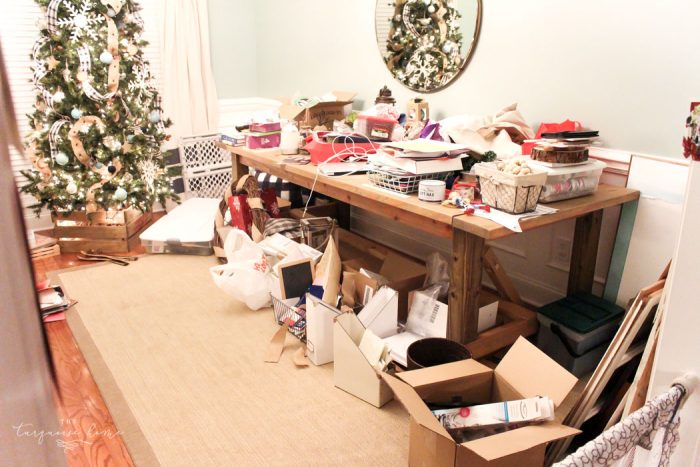
I even cleared out the drawers and the closet. It all had to go. I promise you'll purge and throw away more if you handle everything. Here's some of my stuff from the dining room; this wasn't even all of it!
2. Consider Your Needs for the Room or Space
Once everything is out of the room, look around and decide whether the layout and storage systems still work for you.
I studied the furniture layout and rearranged it a bit. If you want to remove something, add something, or rethink your storage, now is the time!
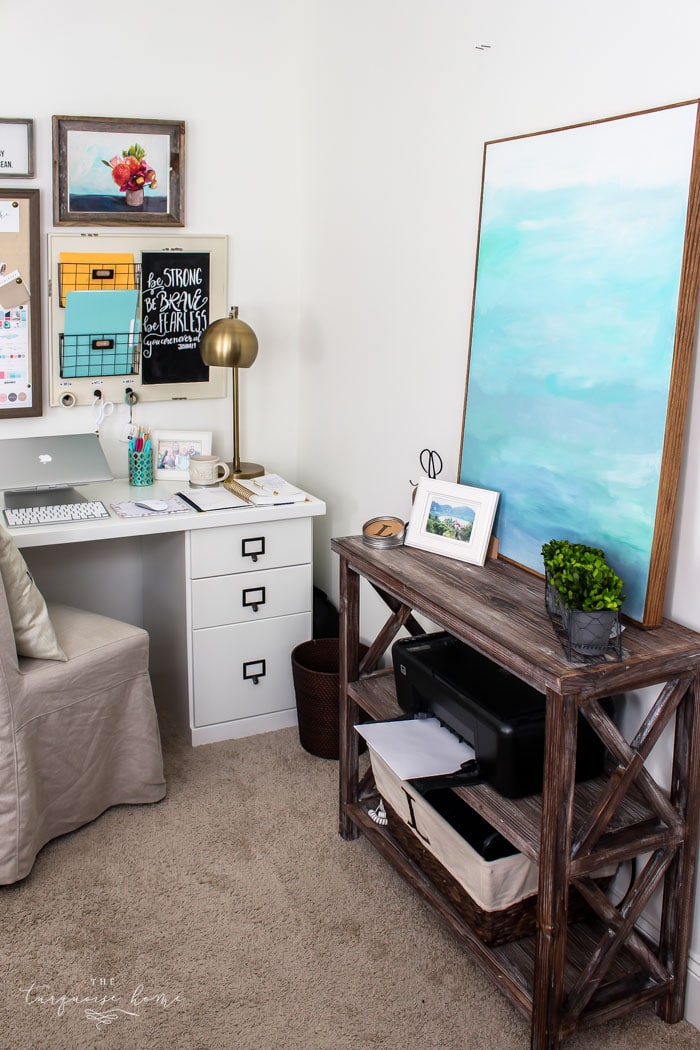
In my office, I kept the desk in the corner but moved the bed to the opposite corner so there's more open floor space.
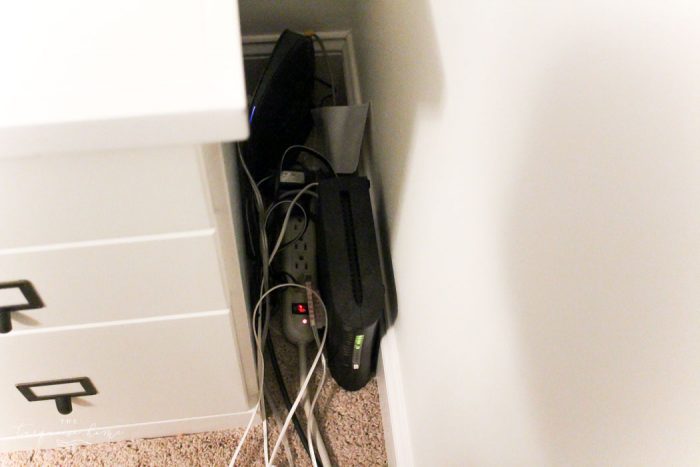
I also realized the extension cord, modem, and router weren't working in the corner. They were plugged into the middle of the wall beside my desk, which looked messy! I also got rid of my brown filing cabinet (see this post), so my printer needed a new home too.
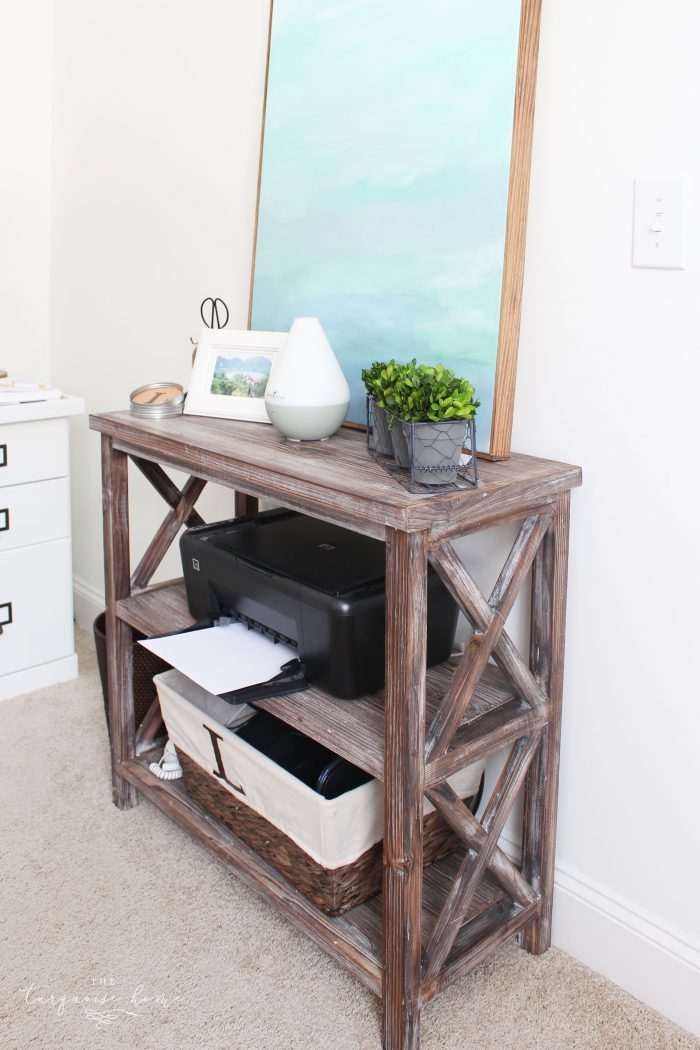
I found a lovely small table that fit my needs perfectly. The new monogrammed basket fits nicely on the bottom shelf and holds all the electronics that used to live in the corner.
And my printer found a new home too! I love how it looks now.
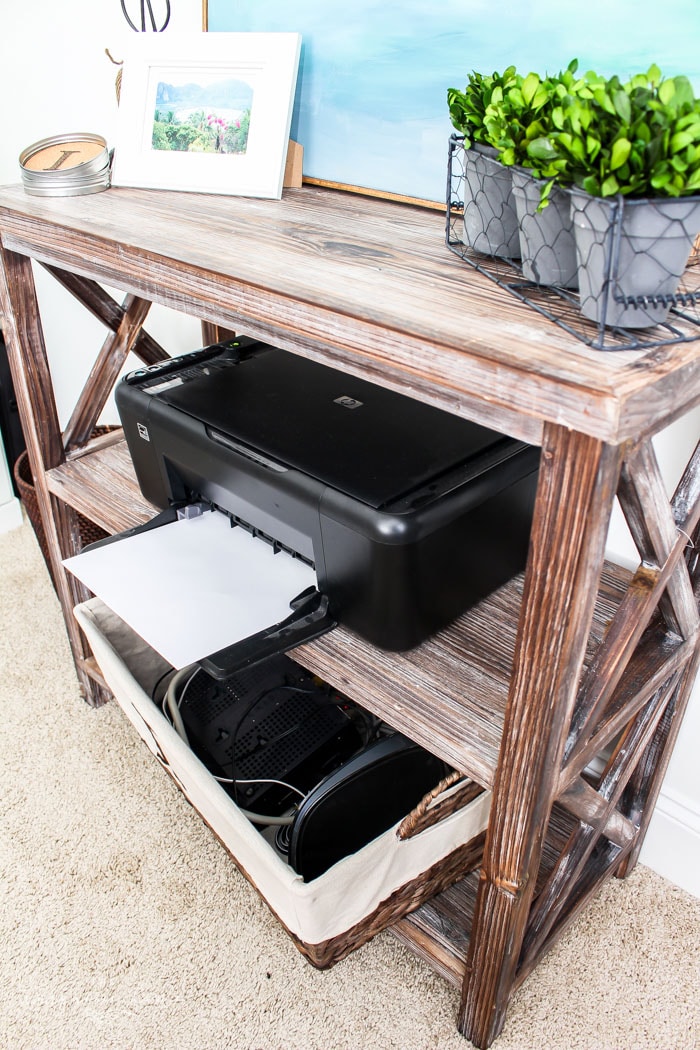
Rethinking your space around the things you need to keep is a key part of organizing your home so it works for you.
3. Group Like Things Together
Once I've pulled everything out, studied the furniture, and finished the first round of trash and donations, I start grouping like items together.
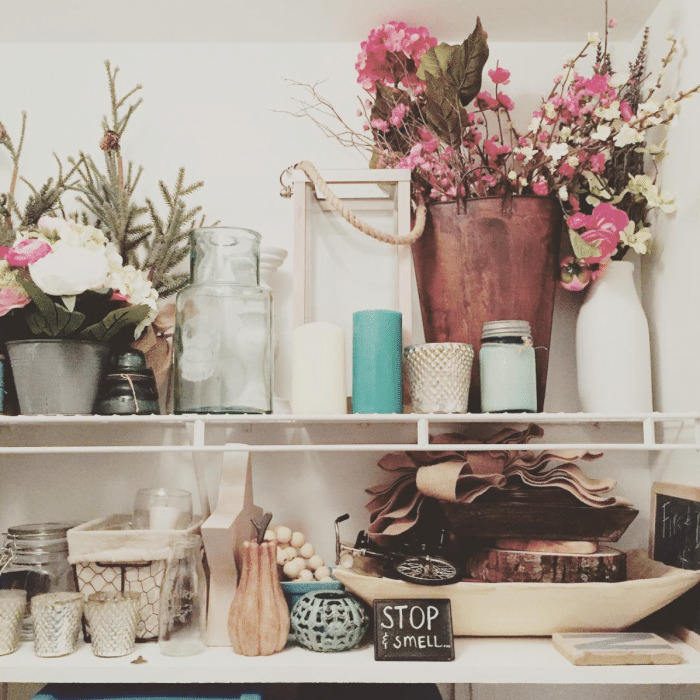
I put all my ribbon in one pile, all the notebooks in one spot, and all the office supplies in another.
Slowly but surely, I grouped everything with similar items. If something didn't fit into an obvious category, I made a miscellaneous pile for it.
By the end of the day, if I still couldn't find a category (a place) for something and it didn't spark any joy, I let it go.
4. Ask Yourself Two Important Questions
Before returning anything to the room, ask yourself two important questions about each item you're keeping.
Borrowing from Marie Kondo, ask yourself, "Does this item spark joy?"
I like to take it a step further and ask, "Do I actually use this?"
If you're anything like me, you may find this step tough. Here are some common phrases that signal something does NOT spark joy.
- I was going to use this later for something; I just can't remember what.
- "Aunt Sandy" gave this to me, so I can't get rid of it, even though it's been sitting at the back of my closet for seven years.
- But we might need it someday. (If you don't use it, let it go!)
- It's a perfectly good, working lamp, so I hate to part with it. What if I decide to change all my lamps tomorrow??
You get the idea. If your answer to keeping something isn't a resounding yes, then question whether it brings you joy.
If you have to hem and haw about keeping something, it needs to go. You'll feel so much lighter, and you won't remember what you let go of 30 minutes after dropping it off.
If you still can't part with something, place it in a storage container, put the container in a closet, and set a reminder on your phone for six months from now. If you haven't needed it or forgotten about it when the reminder goes off, let it go.
5. Put it all back in a way that makes sense!
Decide on a clear vision for how you want the space to work for you, then return things to their places in an organized, thoughtful way.
It's fine to leave some empty space. Let your home breathe, and don't rush to fill every gap just for the sake of it.
I've rearranged the closet a great deal from how it started, but I'll share that in another post. For now, I want to show you my new office corner in its pretty, organized state!
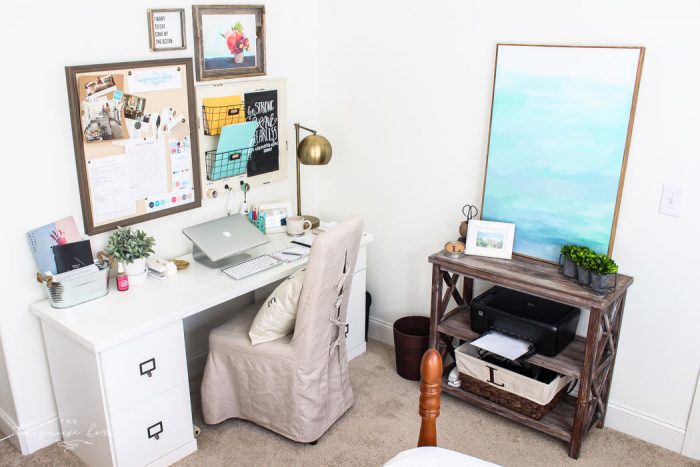
Gah!!! I'm completely in love with how it turned out! I adore how pretty it is and how functional it is all at once! (Ignore the bedpost in the photo, I'm going to replace it soon!)
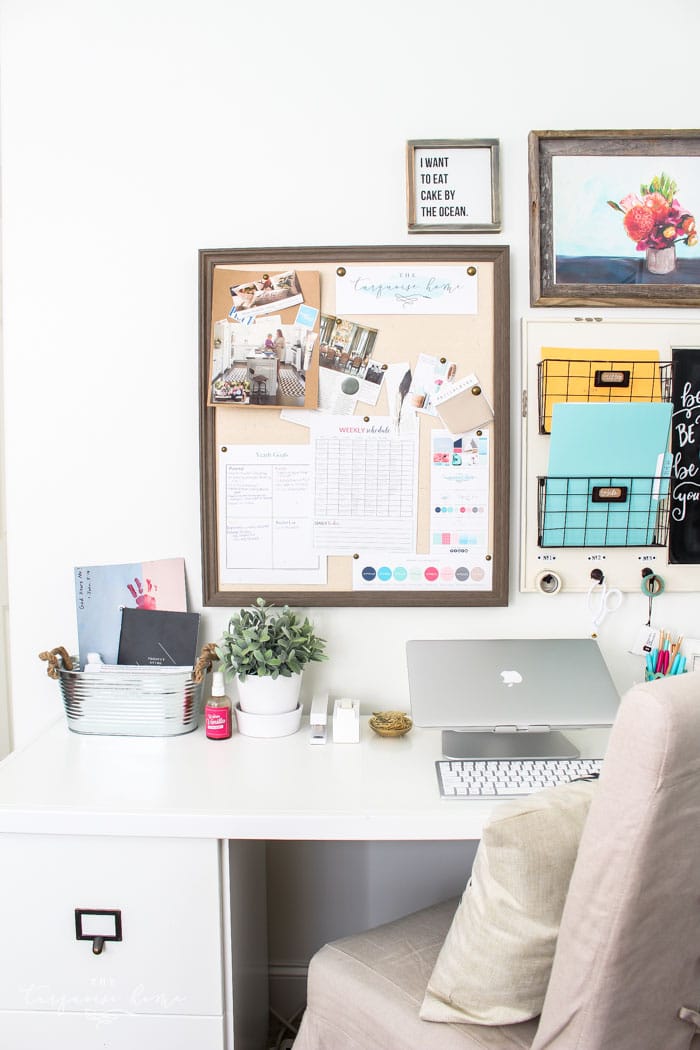
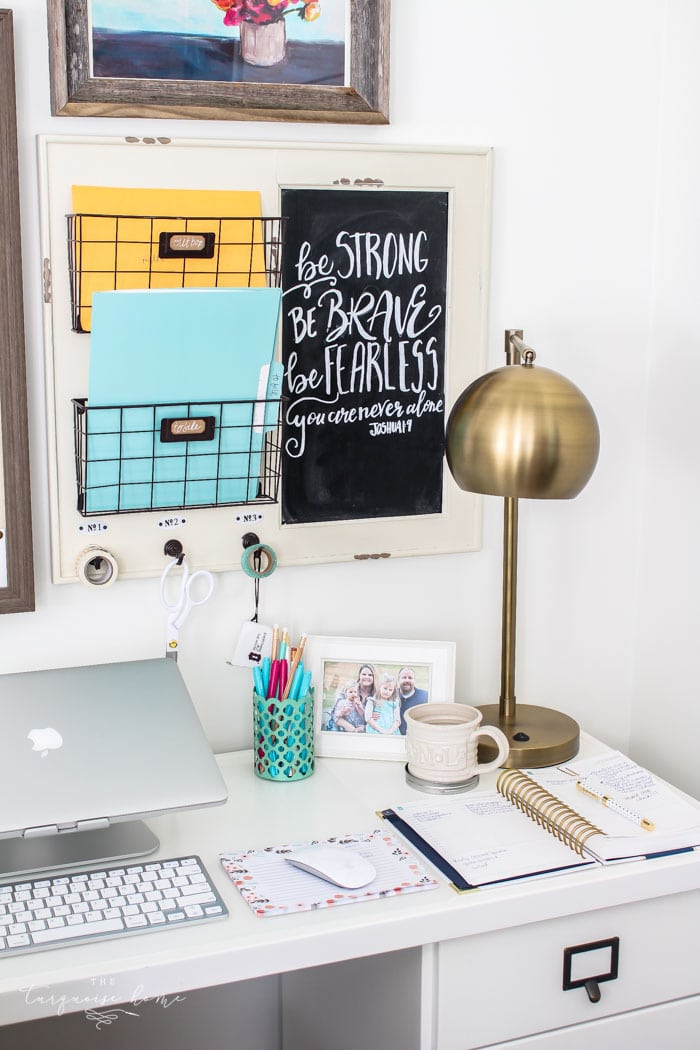
Yay! I still can't believe this is actually my workspace, and that it's organized with everything I need and love and nothing more. It's so much fun. It feels wonderfully freeing not to be cluttered and to find everything I need. I have plenty of room to spread out and get my work done.
How to Keep Your Home Clutter-Free
Once you've patted yourself on the back for a job well done, set up systems to keep your home functional, beautiful, and clutter-free! You may need a room refresh now and then, but let's not do this whole thing again. Right?!
1. Throw Away Trash Immediately
If you see something that's trash, get in the habit of taking it to the trash can right away. When I leave a room, I look around to see if anything needs to be thrown out or taken out of the room, and I carry it with me as I go.
2. Tackle Piles Quickly
If you start to notice piles forming, attack them quickly and with determination. No growing piles allowed!
Having a cleaning crew come to my home regularly keeps me accountable when it comes to piles. I highly recommend it if you can fit it into your budget.
3. Set Aside Regular Time to Declutter
Once a month or once a week, schedule a little time to declutter one space in your home. Maybe one weekend a month, take on another project or refresh a room you've already tackled. This will keep things from getting out of hand again!
How to Declutter Your Home Room-by-Room
Make a decluttering checklist for each room in your home, starting with some of these tips, tricks, and ideas!
The Kitchen
The kitchen is usually the heart of the home, which means lots of foot traffic. It's also an easy spot for clutter to build up. So tackle this room one small area at a time.
- The Junk Drawer – Empty it completely and keep only the items you need daily or weekly. Everything else should be thrown away or stored in a low-traffic cabinet or area.
- The Refrigerator – Take everything out. Wipe it clean and put back only the items that haven't expired and that you'll actually use.
- The Pantry – Remove everything, organize what you're keeping, and toss anything expired. I love these pantry labels for keeping me organized.
- Countertops – Clear off anything that isn't necessary or beautiful, because visual clutter is mental clutter. Make it a lovely space with my kitchen countertop decorating tips.
The Bedroom
A bedroom should feel like a retreat with a calm, peaceful vibe. So give yourself the gift of quiet relaxation by keeping this space clutter-free!
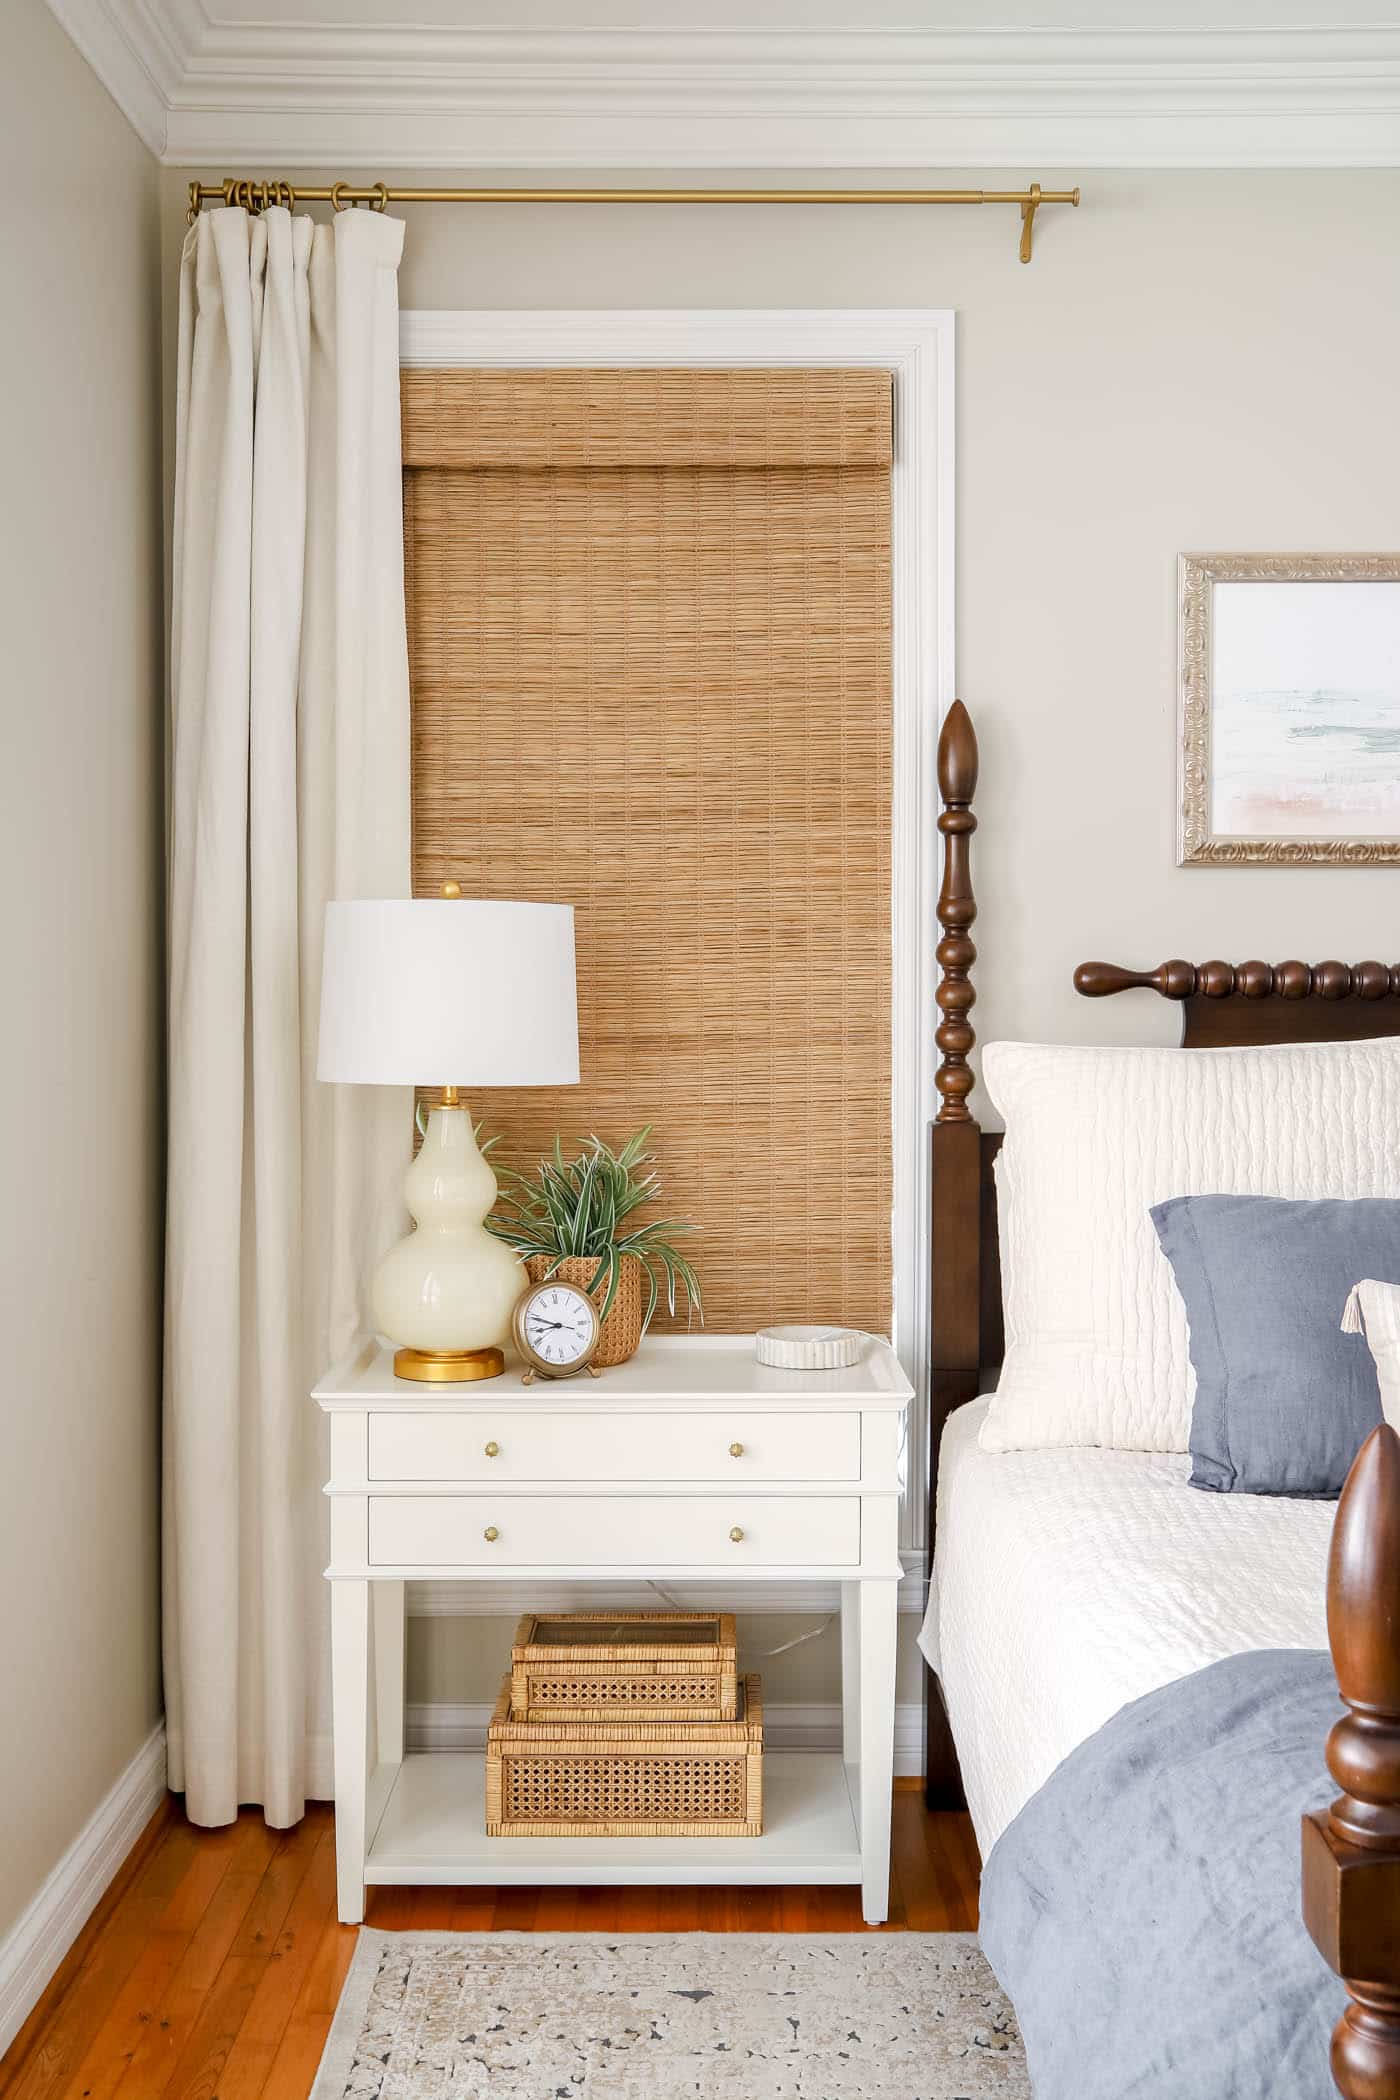
- Nightstands – Keep only the most essential items on your nightstand and relocate or donate the rest. Add two things that simply make you smile. And organize the cords behind the bedside table while you're at it.
- Dresser Drawers & Tops – If clothes are piled on top of your furniture, your drawers need decluttering. Commit to cleaning out one drawer a day until you're finished!
Closet and Clothes
Closets are notorious for getting out of control unless you stay on top of them. So make it a goal to edit your wardrobe at least once a year.
Choose one of these rules:
- One in/One out – Every time you buy something new, remove something old.
- Hanger Cap – Keep a reasonable number of hangers and allow yourself only that many clothing items.
- Temporary Drawer or Bin – Put everything you can't decide about into a bin or drawer. Mark your calendar for six months to a year from now. If you haven't missed those items by then, it's time to toss or donate them!
Declutter your closet one category at a time: jeans, tops, sweaters, underwear & socks, shoes, and accessories. Purge and organize one category per day.
The Living Room
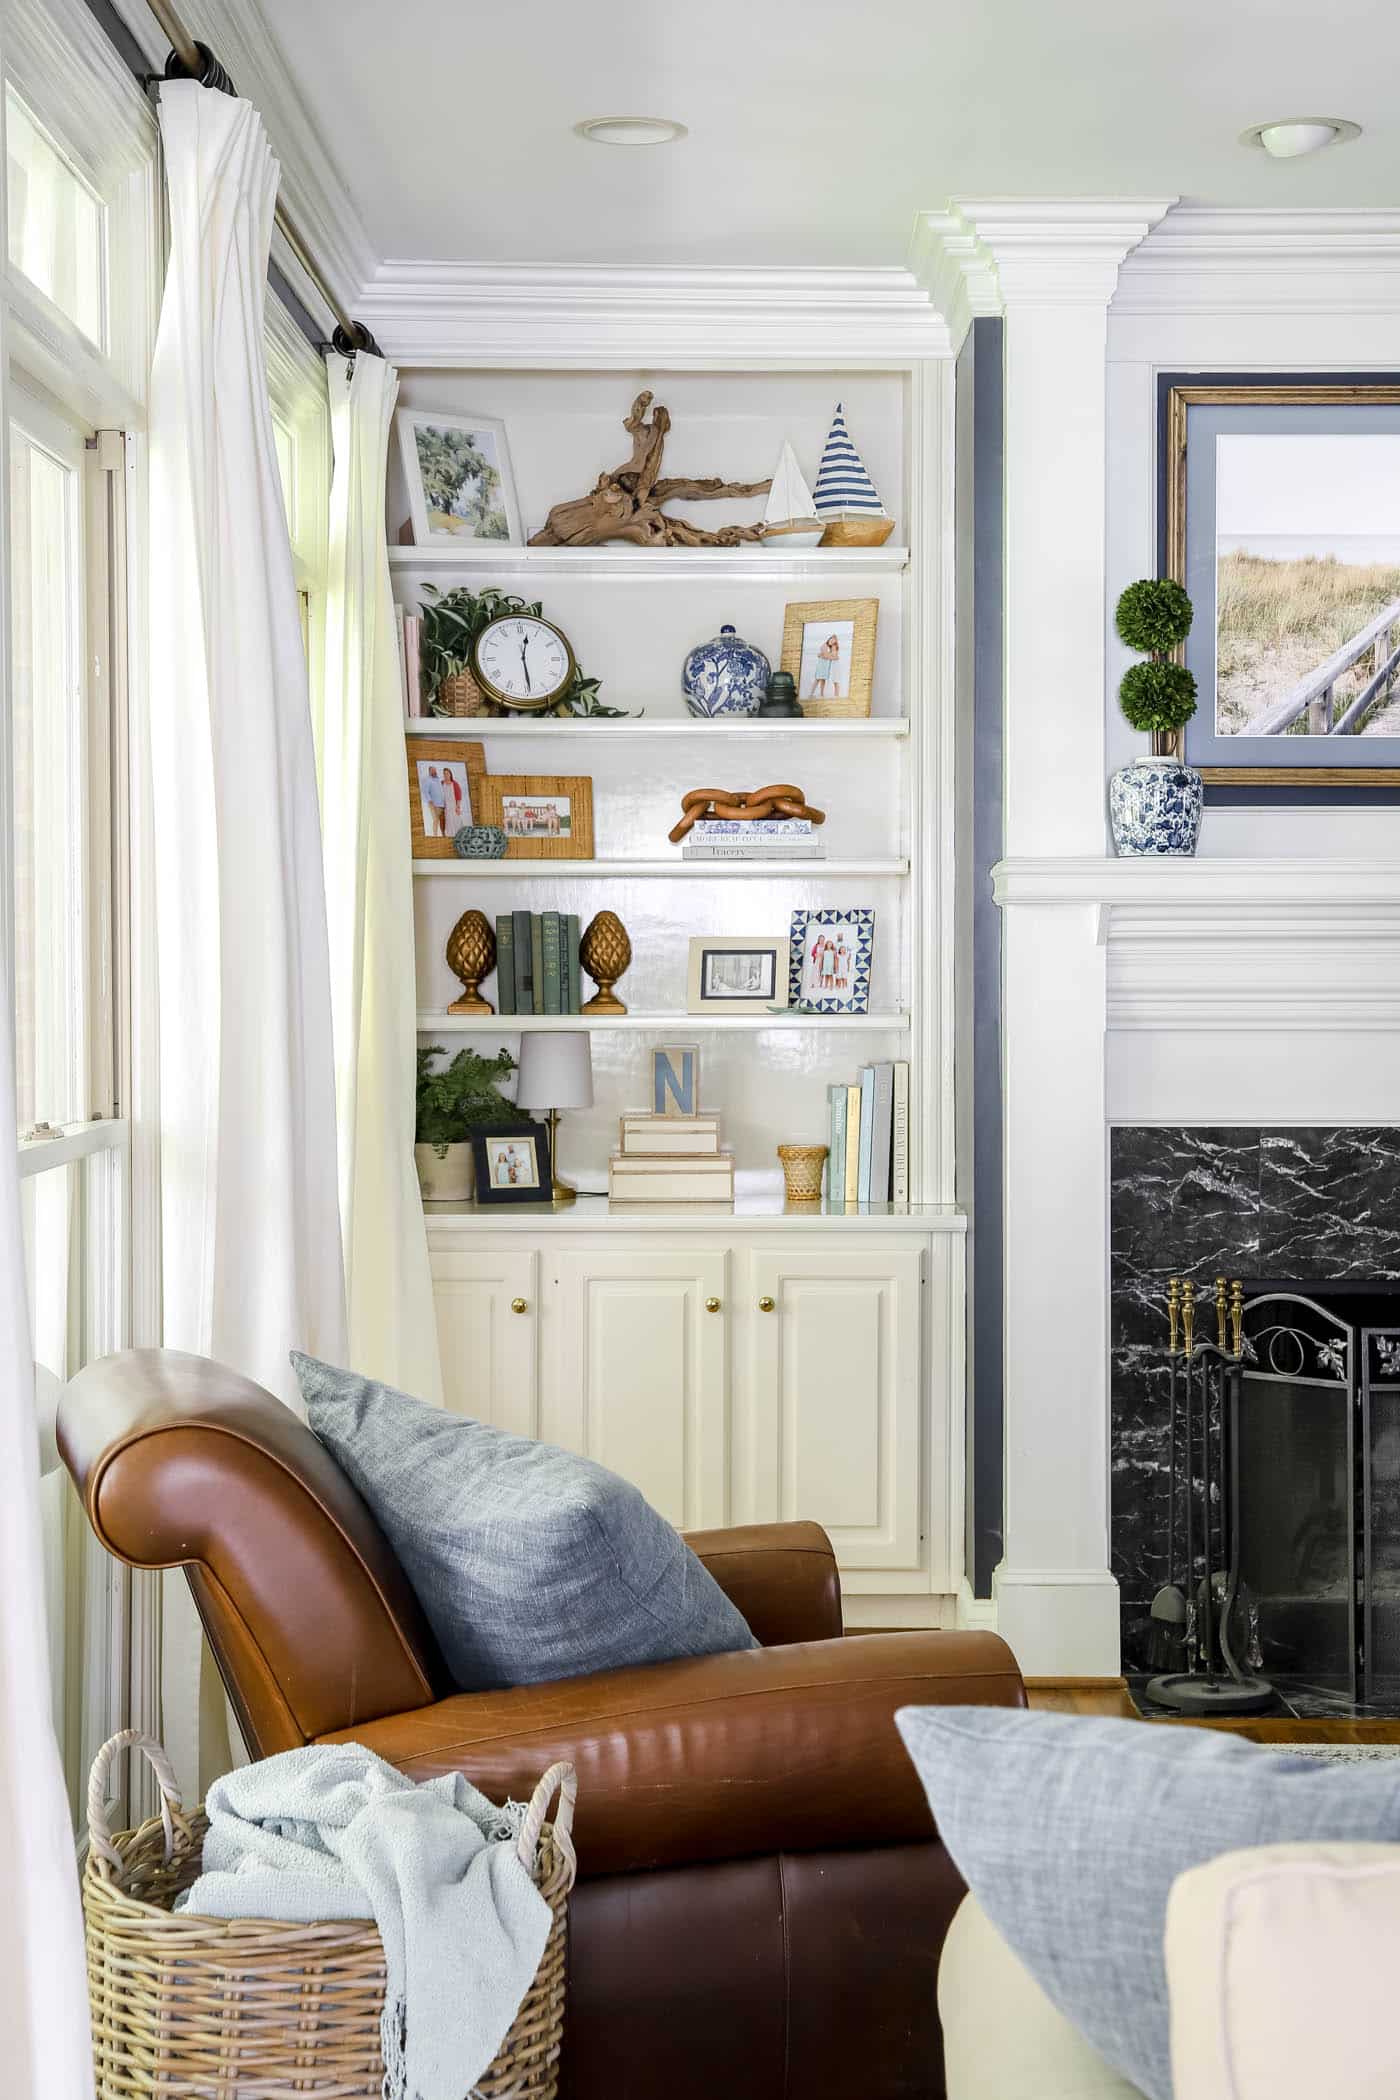
A living room or family room is where the people in your home gather. Make it as comfortable and relaxing as you can. Use large pieces of furniture to store things out of sight.
- Bookcases & Storage Furniture: empty everything out, then declutter and organize what you plan to keep.
- Toys: If you have small children, use a piece of furniture that hides toys when they're not in use. Baskets with a blanket or pillow on top work great, too!
- Electronics & Remotes: Keep everything you use that still works, and get rid of the rest. Set up a special place for remotes and other controllers so they don't go missing.
The Bathroom
The bathroom is another high-traffic room, so it's a good idea to declutter it once a year for maximum efficiency.
Linen Closet: Toss any dingy or stained towels, and organize your backup stock of household supplies.
Cabinets and Drawers: Make some breathing room by discarding expired skincare and makeup. Make a note of what you need to reorder.
Tub, Sink and Shower – Pour soaps and shampoos into larger pump bottles. Keep only the products you use and love, and toss the rest.
Take the 30-Day Decluttering Challenge
If you're committed to learning how to declutter your home, I'd love for you to join our 30-day decluttering challenge! You'll get one email a day for 30 days (with a few rest days built in), and when you're done, you'll be amazed at your home! Join me!
Ready to feel calm at home again?
You can't decorate a home that's full of clutter. Start your decluttering journey with 30 days of encouraging, practical emails to keep you motivated!
More Organizing Posts You Will Love:
- Organize Your Junk Drawer in 15 Minutes!
- How to Organize a Pantry
- 5 Smart Kitchen Organization Tips
- Organized Arts & Crafts Storage Ideas
- 20 Best Mudroom Ideas
Save