After months of hard work, I’m sharing this baby girl woodland nursery packed with fun DIY details!
Y'all! It's a big day around here!! The baby's woodland nursery is finished, and she's only 7.5 months old. Ha! I shared this vision board 10 months ago, and here we are with it all done!
I hope this gives you a peek at what a real-time room makeover looks like. TV makes whole-home makeovers look like they happen in 60 minutes. But in real life, with real life going on (including having a baby in the middle of it all) and working with a real budget, makeovers take much longer. I was pretty focused on getting this one done!
Here's the original jumping-off point for the room.
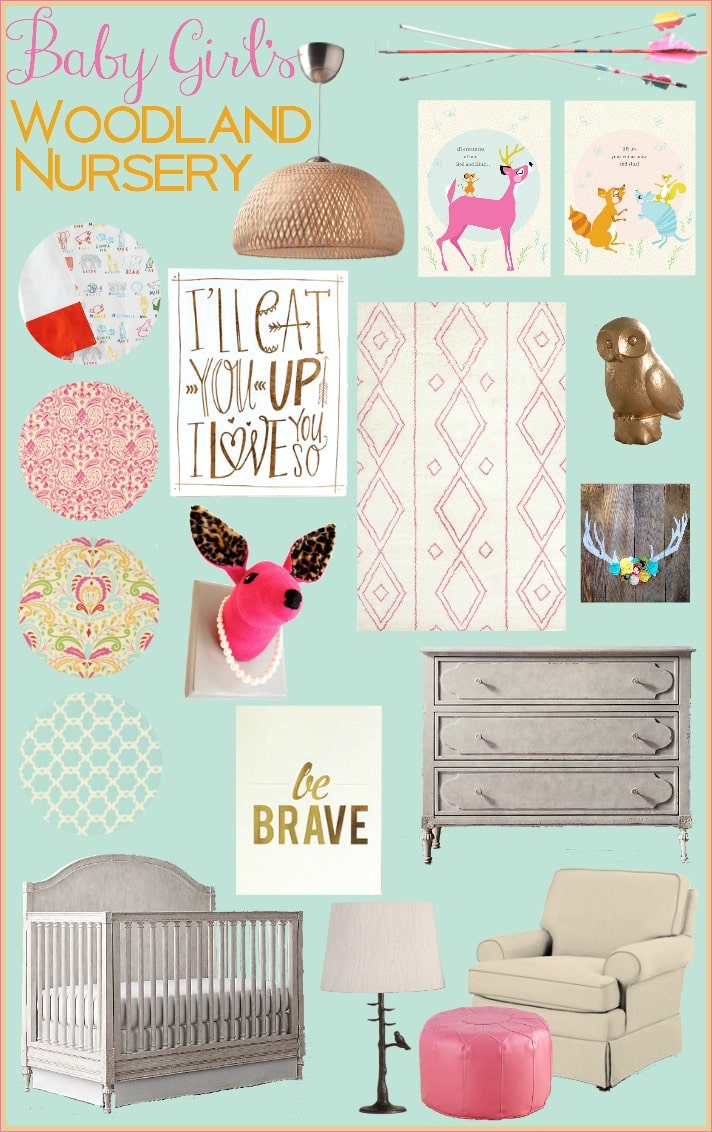
Side note: I highly recommend starting a room makeover with a vision board. It has made all the difference for me in finishing. When I start with a pile of ideas in my head, I get sidetracked and lose track of where I'm headed. But when I feel lost, I go back to the board, see what still needs doing, and I'm back on track!
OK, back to the vision. Some things are exactly like the inspiration, and most of the art in the room is exactly what I used. The furniture was purely inspirational. I painted my existing crib and dresser gray instead of buying new pieces from Restoration Hardware, just to save a few bucks.
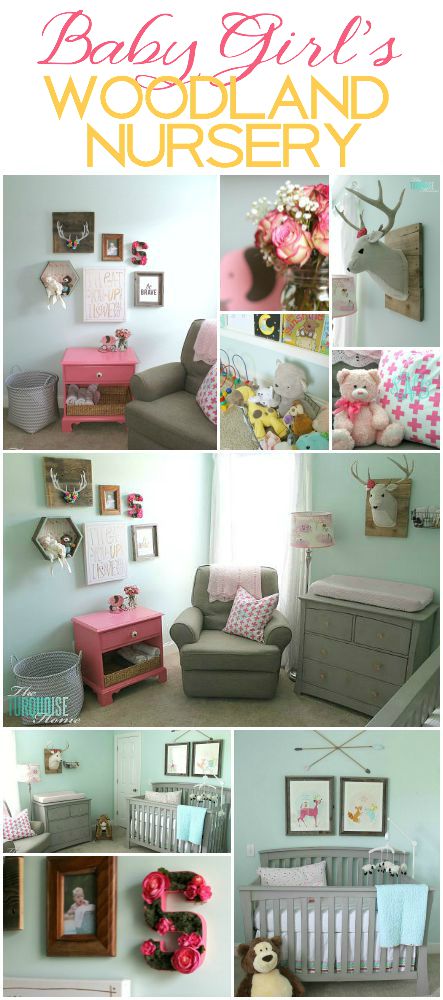
The fabrics are totally different, because I'm the most indecisive fabric buyer ever. I change my mind constantly. I bought them on a whim, and I love them! (See the sources at the end of this post.)
OK, I'll stop talking so much and let you enjoy the pictures. I tried to link all of the sources at the end, but let me know in the comments if I missed anything!
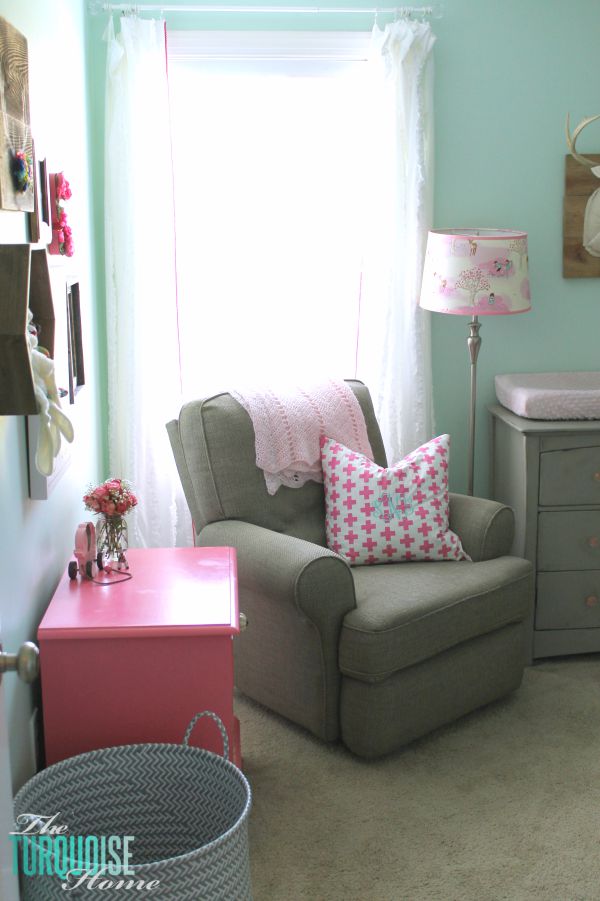
The sweet nursery curtains are so impractical, but I adore them. I bought the curtains at Target and then added pink pom pom trim. Most of the time, though, I hang a navy blanket over the window to keep the room dark.
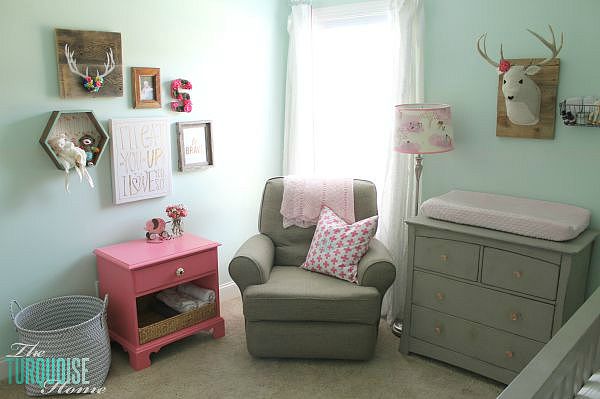
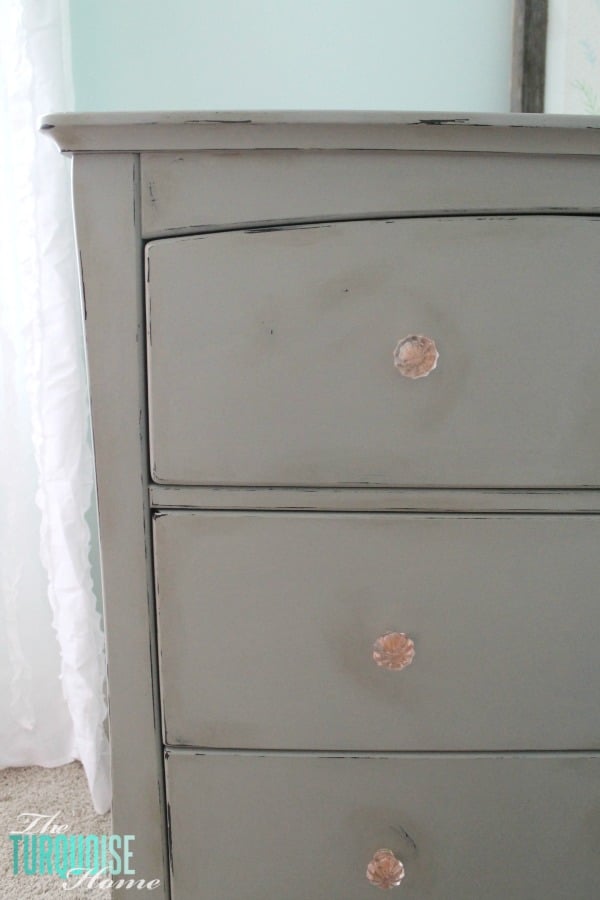
As I mentioned, I painted the dresser and the crib with Annie Sloan Chalk Paint, then finished them with clear and dark wax. I mixed a custom color, and I share that recipe in those posts. The sweet pink knobs are from Hobby Lobby.
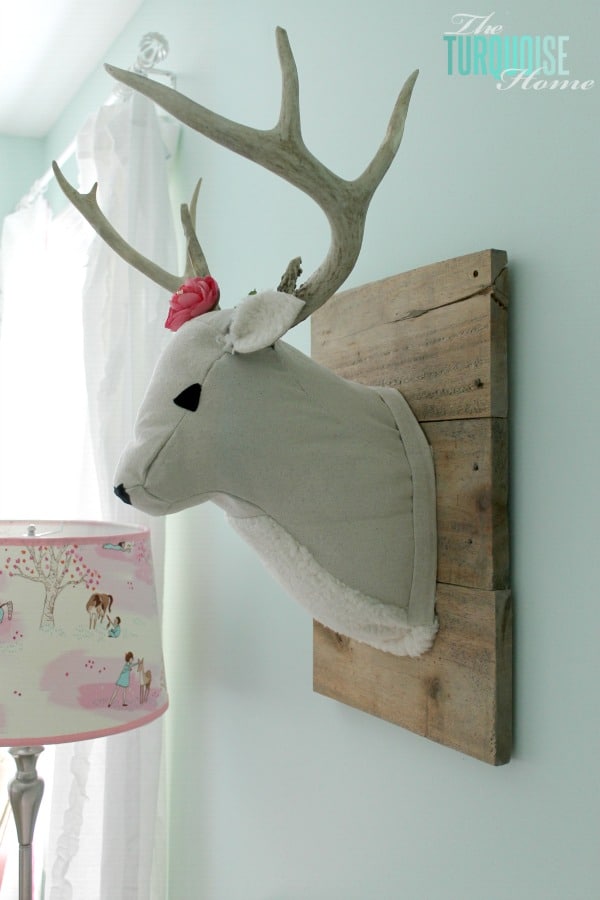
The custom lampshade and plush deer head were both DIY projects. The deer head was a true labor of love and one of the first things I wanted in the room. I originally planned to buy one, but thankfully I found a pattern and tutorial that walked me through each step. The antlers come from a buck my husband shot when we were first married. I know not everyone thinks a dead animal's bones are sweet, but I do.
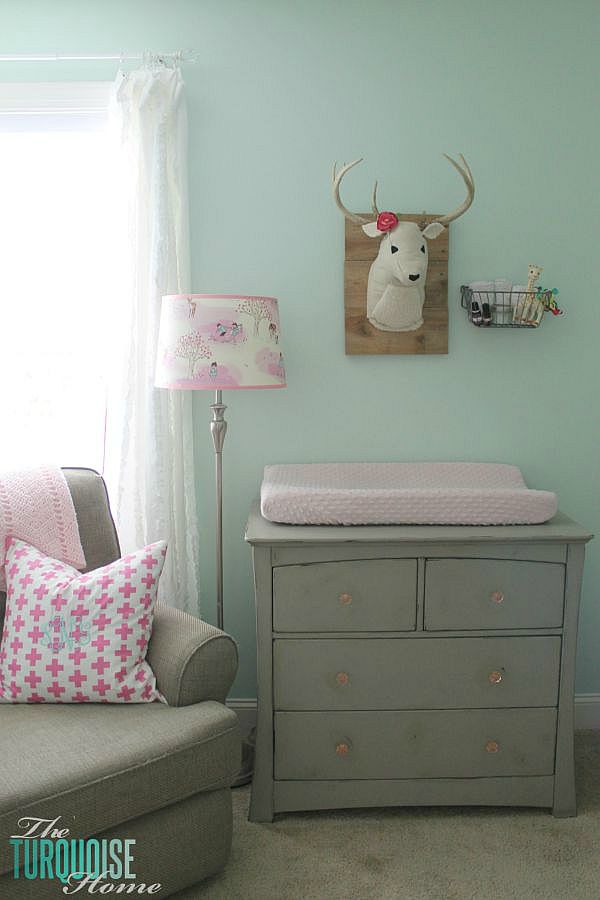
I hung the little basket on the wall to hold things I need close by but out of baby's reach: a toy for changing time, some essential oils, coconut oil, hair bows, and burp cloths. I attached it to the wall with washers.
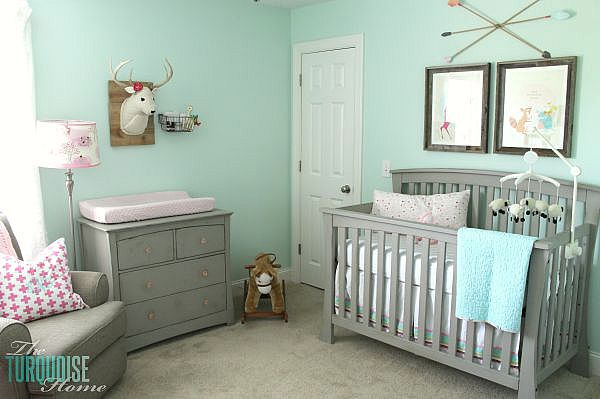
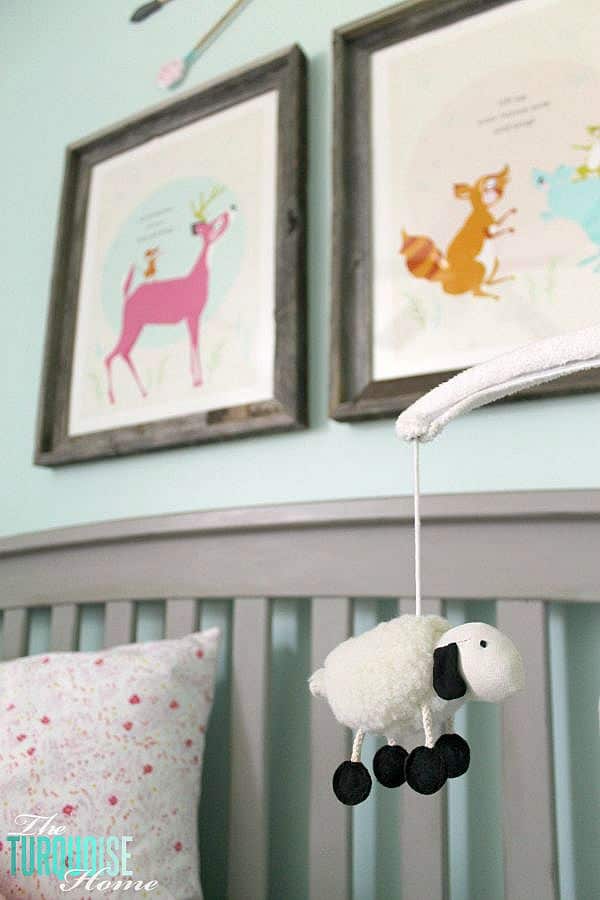
The sweet lamb mobile (similar) was a hand-me-down from Miss A's nursery. It's perfect for keeping the baby entertained in those first few months.
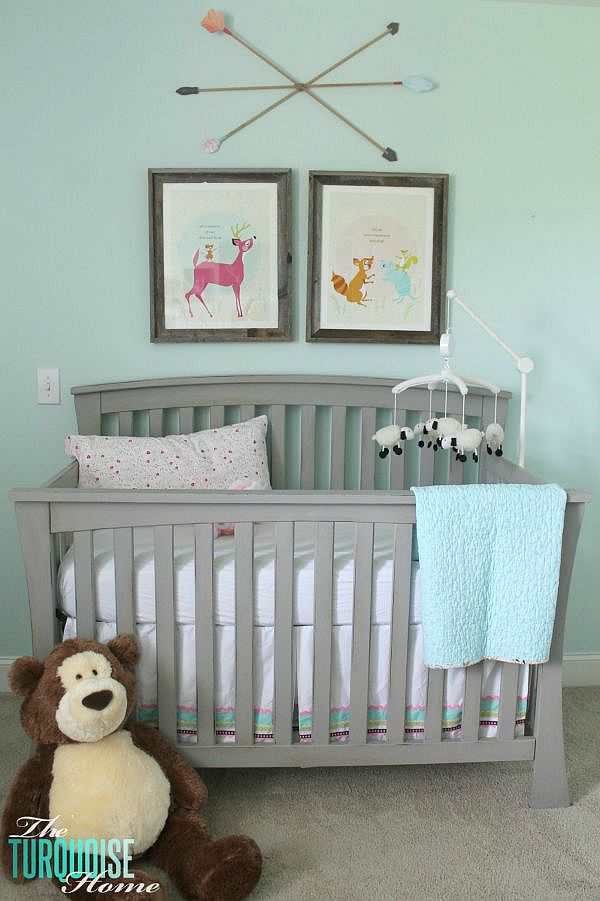
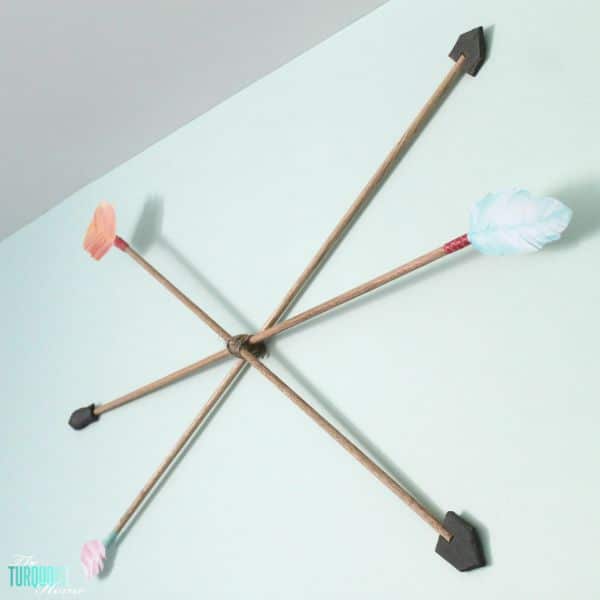
I made those arrows above the crib. Aren't they cute?! I originally wanted some from Etsy, but they sold out before I could buy them, so DIY it was. They were so inexpensive, and I love them! I shared the tutorial HERE.
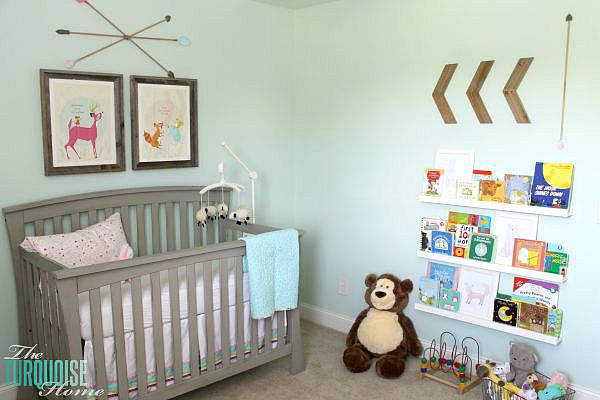
The chevron arrows and bookshelf ledges were DIY projects too. I love how that wall turned out!
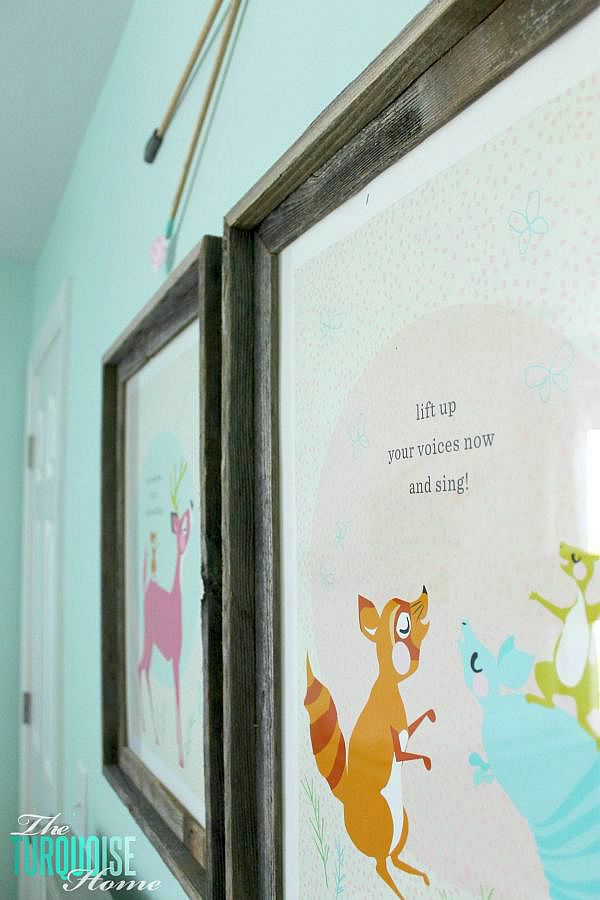
The prints above the crib were the starting point and color inspiration for the whole room. I fell in love with them the first time I saw them years ago. I'm so glad I now have a nursery that includes these sweet, singing creatures!
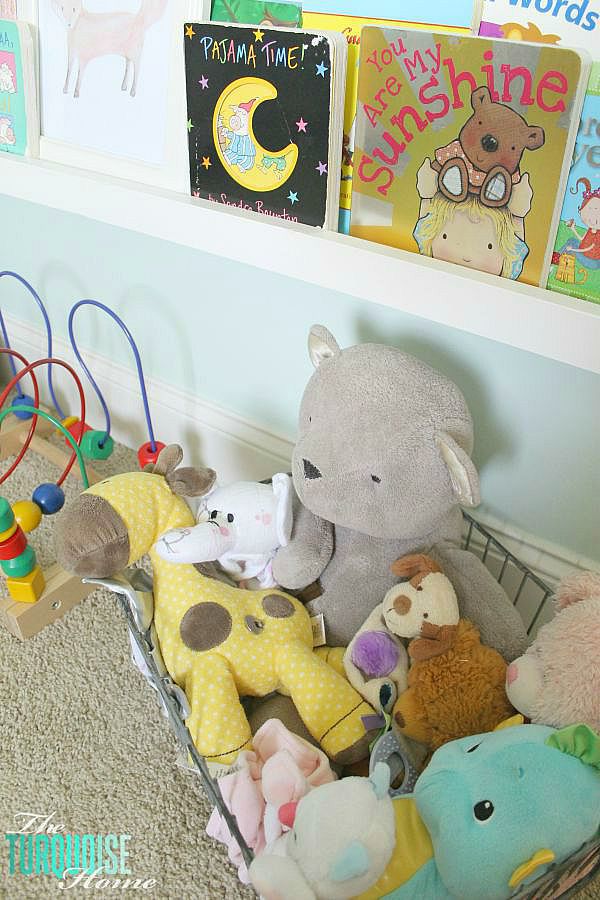
A girl can never have too many plush animals. Just ask my 4-year-old. I think she hoards them.
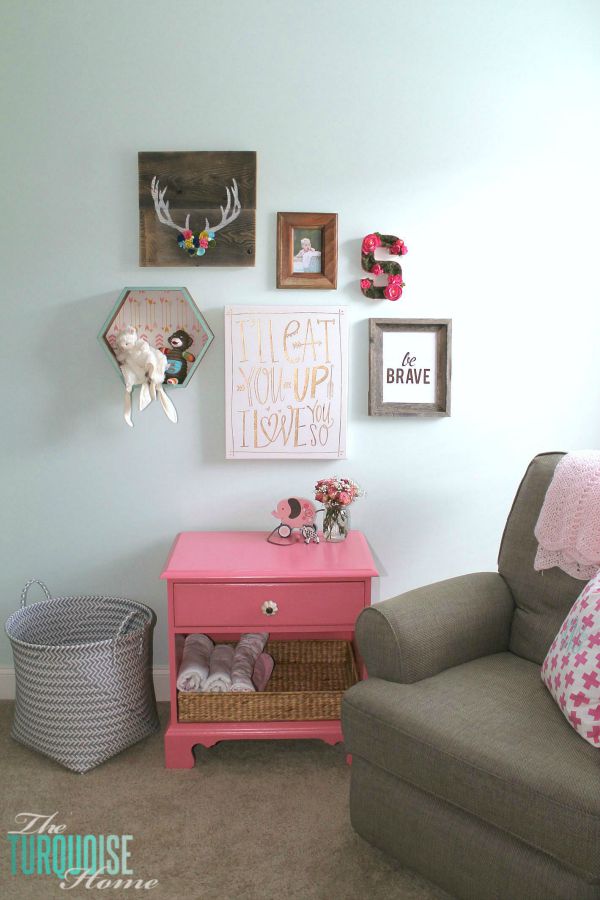
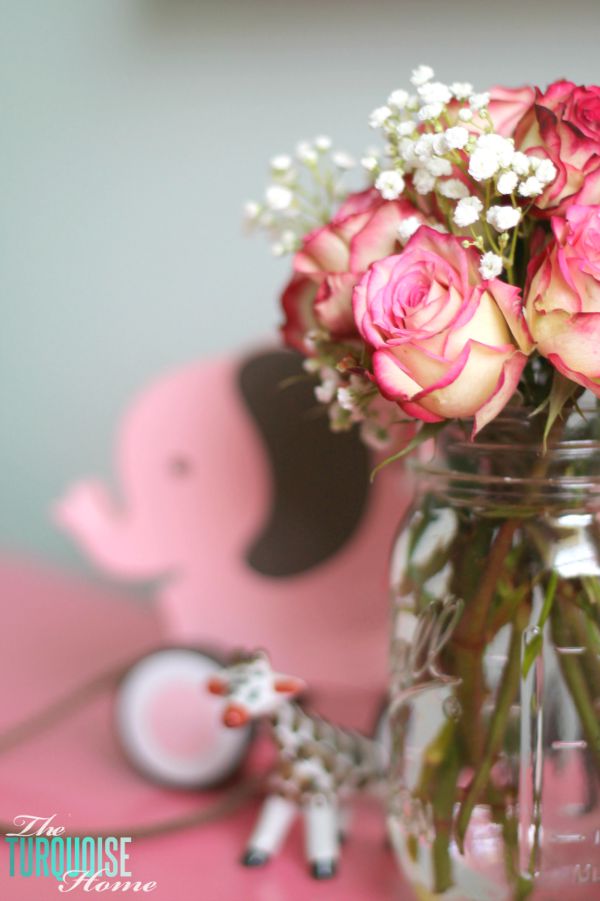
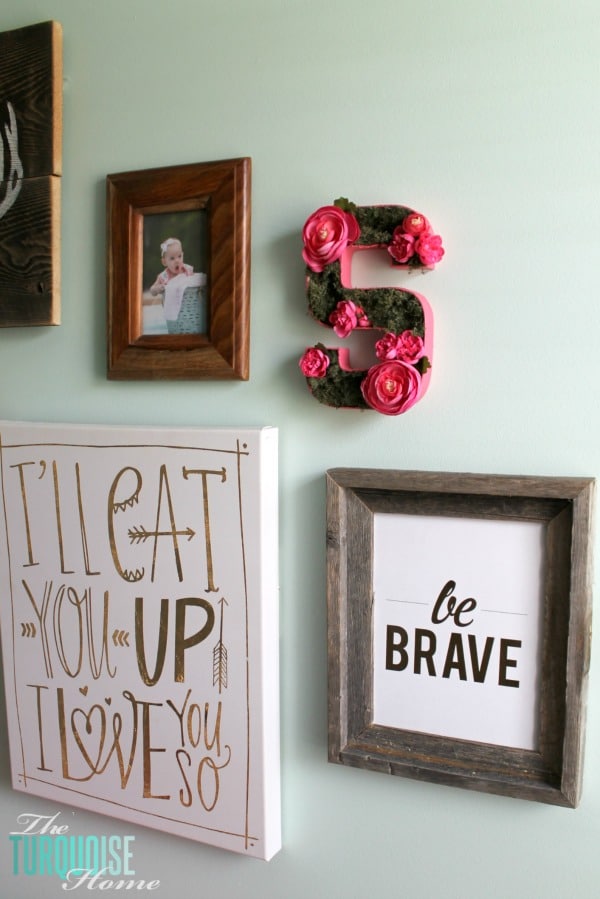
The gallery wall is one of my favorite spots in the room. I really love how this moss and flower letter turned out. And "be brave" is kind of a theme around this house. I'm thinking about putting a DIY "be brave" version in Miss A's room. Do you think that would be too much? I hope not!
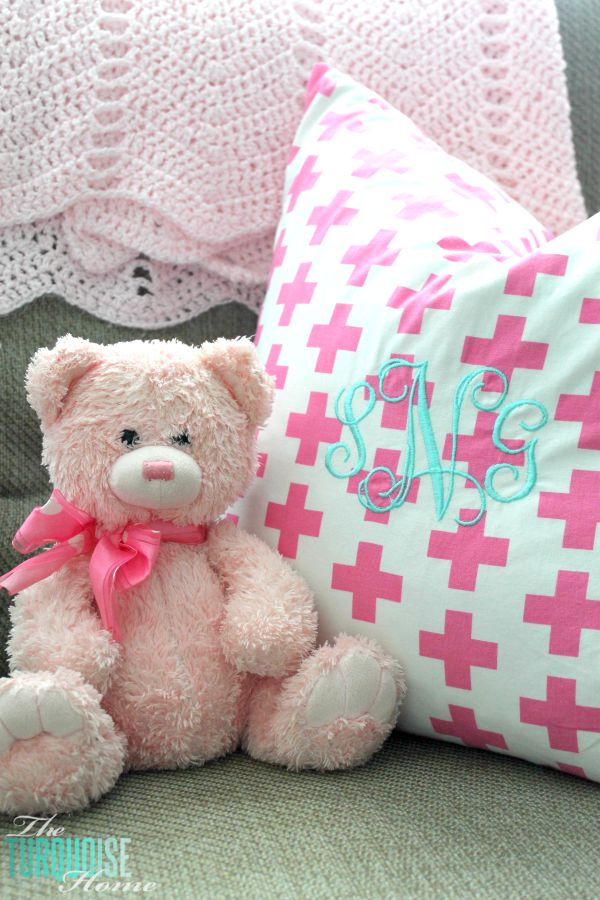
My sweet friend Emily sewed the two pillows in the room from fabric I bought. I love this monogram in turquoise. The pink crocheted blanket on the back of the chair was a gift from my grandmother when Miss A was born. She crocheted two pink blankets, one for each of my girls. She passed away two years ago, so she never got to meet Baby G.
Whew, y'all! I'm so relieved this room is finally done. My biggest advice after doing this room: get your nursery finished well before your due date! I thought a couple of months would be plenty, but by the end of my pregnancy it was hard to push through the work. Then once the baby arrived, it was nearly impossible to find time for it. So get it done early!
If you're paying close attention, you may notice something is missing from my final reveal. I made a rug for this room, but ultimately decided it wasn't working. I think it would look better on hardwood with a rug pad underneath. Laid over carpet, it kept bunching up. A traditional rug layered over carpet can be really cute, but it's not in the budget right now.
OK, so what do you think? If you want to see a video of me walking through the room, check out my Periscope video on YouTube. It'll seem like I'm talking to random people, but those are the comments from Periscope. They just don't show up on YouTube.
Sources:
Fabrics: pink swiss cross, wee wander woods – petal, wee wander meandering – petal (this one has tiny footprints on it, so cute!)
Gray and white basket – Target
Rocker/recliner – Tryp Best Chair (I LOVE this thing)
Lamb mobile – Pottery Barn Kids (the exact one is discontinued, but here's a similar one)
Creature prints above crib – Lay Baby Lay (Deer and Armadillo)
Be Brave print – CharmAndGumption Etsy shop
Moss & flower initial – DIY guide
Hexagon shelf – Hobby Lobby
I'll Eat You Up canvas – Hobby Lobby
Pink night stand – DIY guide
Arrows – DIY guide
Bookshelf ledges – DIY guide
Curtains with pom pom trim – DIY guide
Chevron arrows – DIY guide
Crib and Dresser makeovers
More Posts You Might Like: