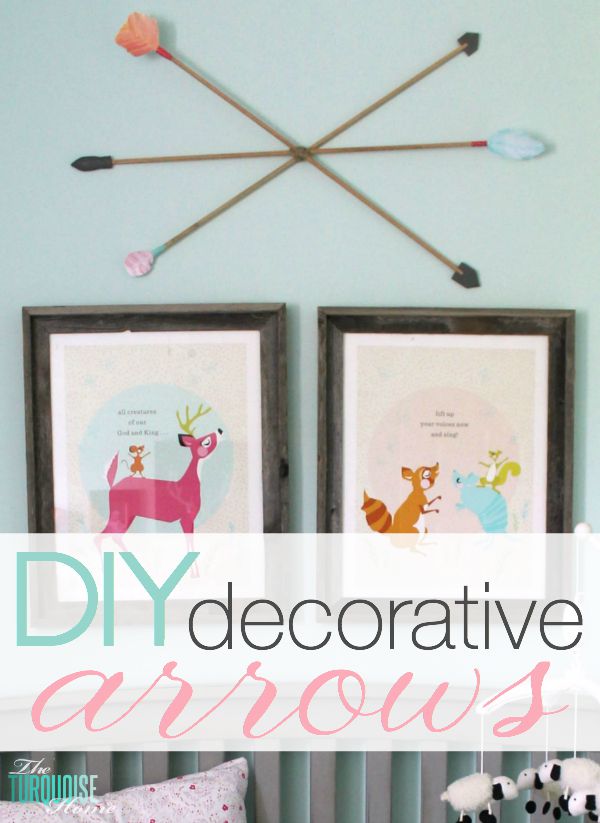
Make these easy homemade decorative arrows using inexpensive items you likely already have!
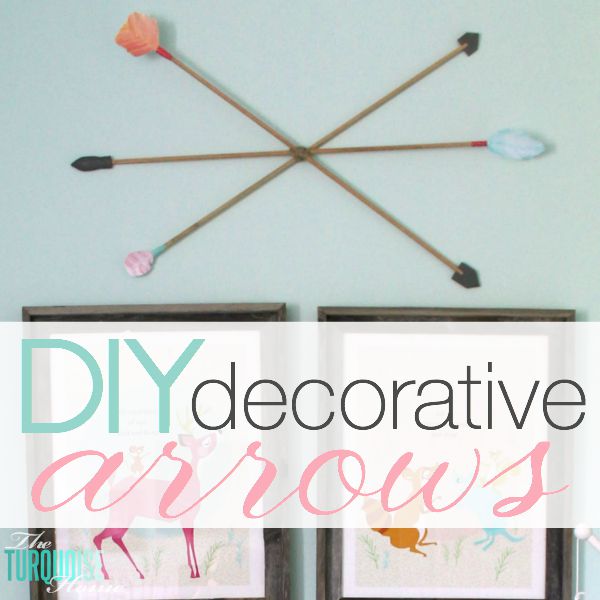
The final DIY project for my Girl's Woodland Nursery is these decorative arrows, which I absolutely love! They took a little extra motivation to get over the hump, but once they were done, they put the finishing touch on the room and I was finished!
I originally planned to buy some on Etsy, but they were sold out when I went to purchase them. Then I got lucky and found these amazing watercolor feathers and a tutorial from We Lived Happily Ever After. I loved them and only needed to buy the dowel rods to make my own.
What you'll need:
1. dowel rods (I bought 5/16 rods at 36″ length and cut them down to 24″.)
2. paint stirrer sticks
3. X-Acto knife
4. gray craft paint
5. white cardstock (and a color printer)
6. washi tape
Directions:
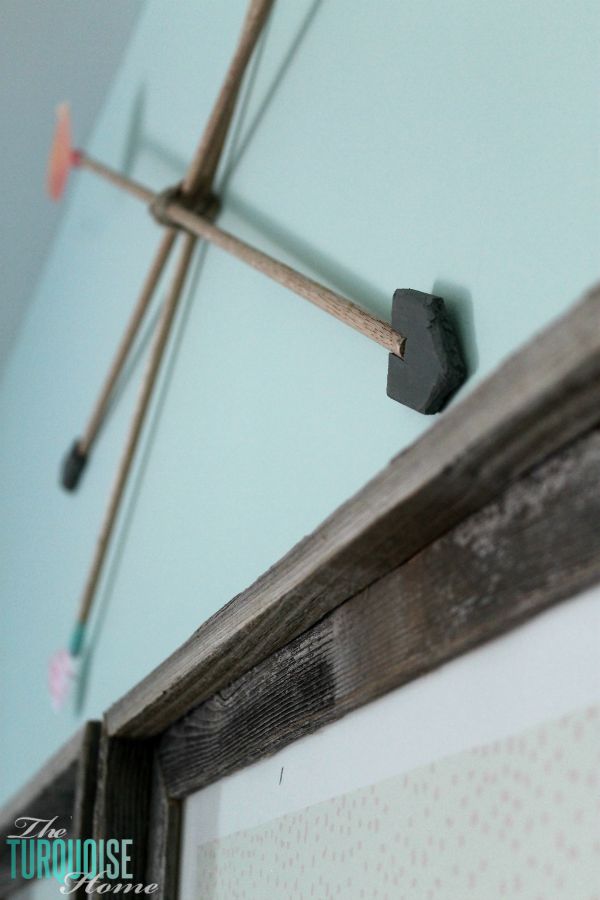
I carved my arrows from paint stirrer sticks lying around the house, using an X-Acto knife. One thick stirrer stick made two of the arrows. It was hard to cut and took a lot of time. For the other two, I used a thinner, more pliable wooden stick. I glued two pieces together to make those thicker, then filled the seams with wood putty so they looked like one piece.
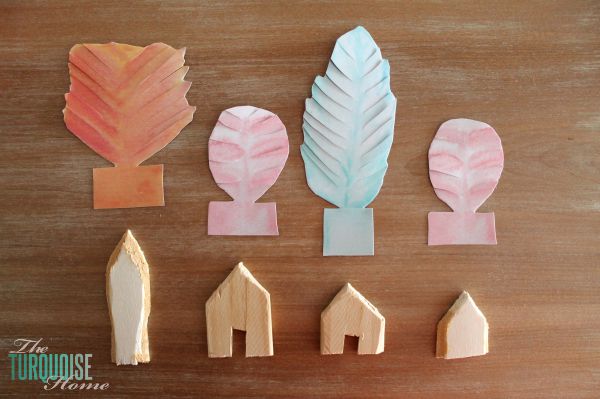
I painted the arrowheads with gray craft paint. Simple enough!
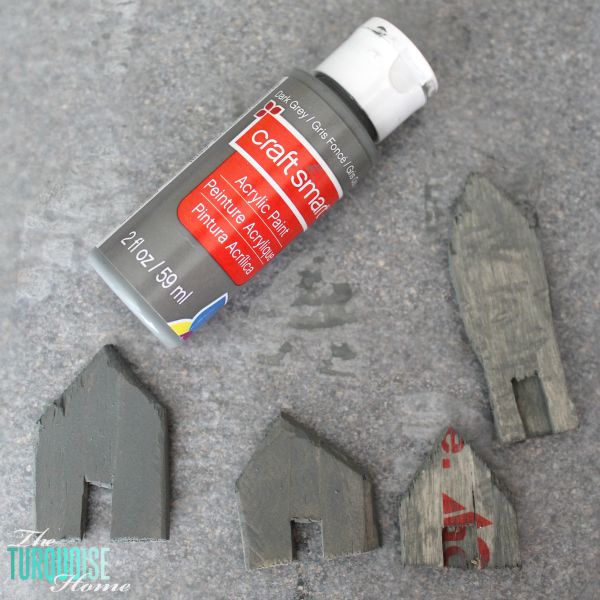
Then I glued them onto the dowel rods.
I printed these awesome watercolor feathers on white cardstock and cut them out. I cut slits for the feathers and fanned them out a bit to give them a more realistic look.
A little washi tape to attach the feathers to the dowel rods, and you're done!
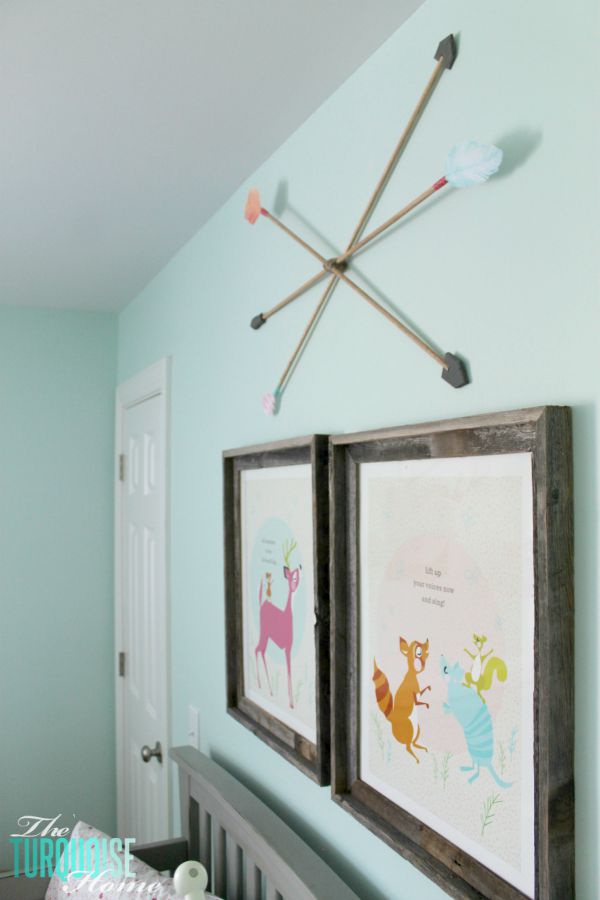
I tied three arrows together with some jute and hung them over the baby's crib. I tied the bundle to a nail to make sure it wouldn't fall on her in the middle of the night.
I love how adorable they turned out, and I only spent a few dollars on the rods. Yay for a cheap craft!