Discover how to give an unloved lampshade a budget makeover! It's quick and simple, and you won't need to buy a replacement.
I finally tackled this quick, easy update I'd been dreaming about. Honestly, for years. I can't say why it took me so long!
I picked this purplish-gray lampshade from our wedding registry almost 5 years ago. I never liked it, not even a little. I don't have anything purple in my house and I'm not a fan of that color. Still, it sat in our living room for a couple of years before I stuck it in a closet.
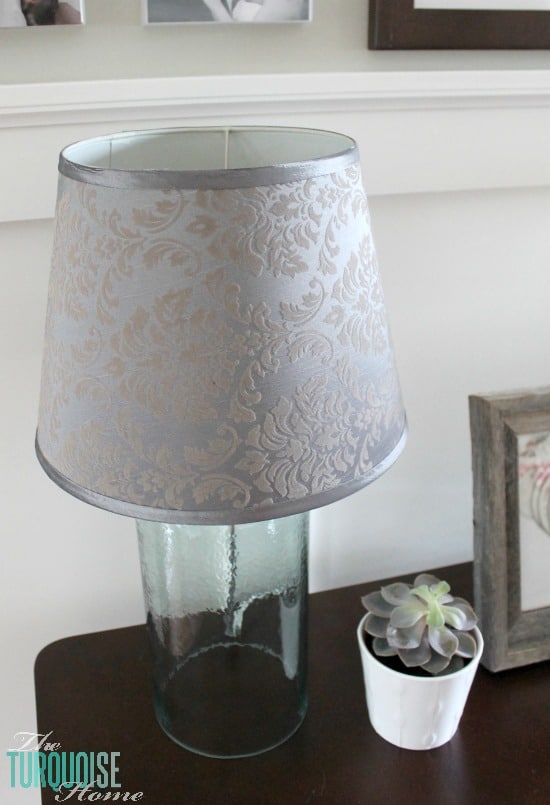
I kept thinking I could just cover it in a new fabric, but you know how those little projects just kind of pile up and sit? No, you don’t do that?? It’s just me? Hmm, I need to work on that. {As opposed to half doing projects and then going out and buying supplies to do more projects. Yeah, it’s a sickness.}
This lamp was sitting on a long table under our gallery wall. I loved the shade, but not with that base. The shade also felt too big for the space, in my opinion.
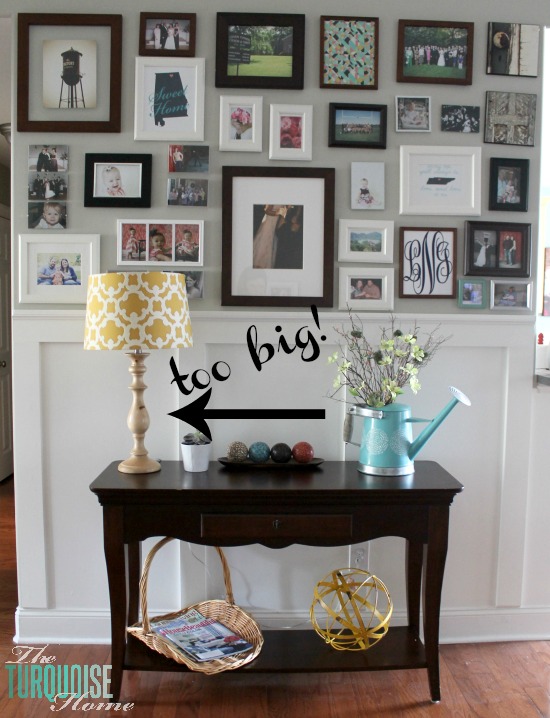
Then I spotted this pretty glass lamp base at Target the other day and grabbed it for the table. I skipped buying a new shade because I already had one at home in the perfect size, just waiting for a new cover!
Supplies You Will Need to Recover a Lampshade
- An old lampshade
- A piece of fabric larger than the lampshade
- Chalk
- Fabric scissors
- Hot glue sticks
- Hot glue gun
- Spray adhesive
How to Re-cover a Bell-Shaped Lampshade
1. Pick Your New Fabric
You'll need a piece of fabric that's 3-5 inches wider than the height of your lampshade. If you have a bell-shaped lampshade like mine, choose a fabric without a pattern. Otherwise it will be really hard to line up! A drum shade will be easier!
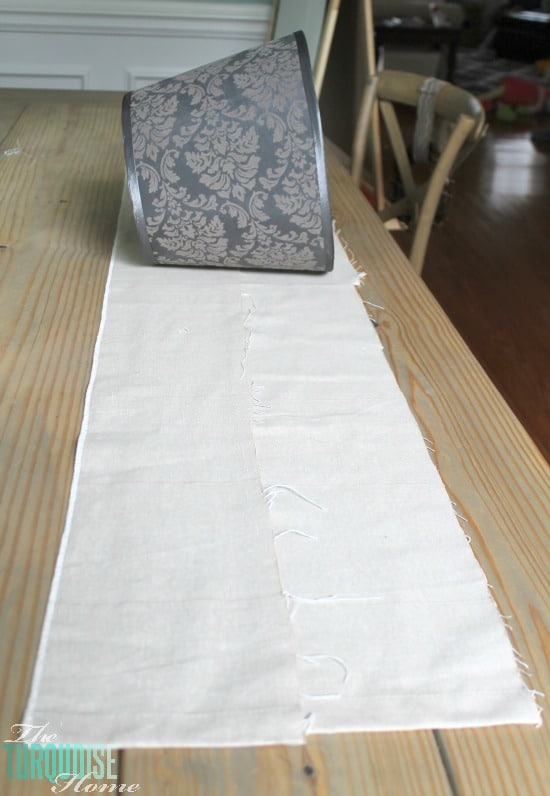
I was excited to finally have a reason to tackle this project that had been on my list for years. I dug through my fabric stash and figured two long strips would do the trick. They were leftover pieces I'd trimmed off the bottoms of my IKEA bedroom curtains. Turning trash into treasure? Love it!
2. Trace the Shade onto the Fabric
Before cutting anything, trace the outline of the shade onto the fabric with chalk, about 1 inch out from the shade. That way you'll know you have enough fabric before you start.
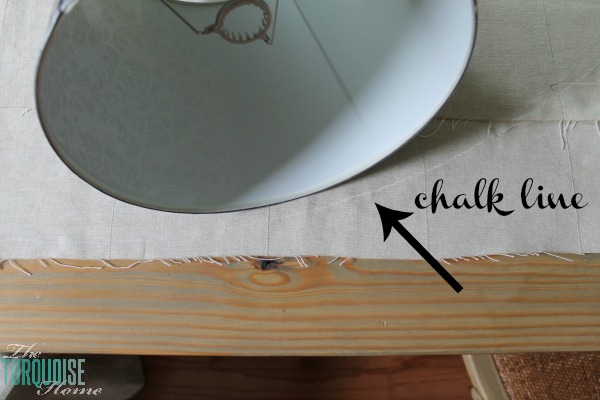
Just roll the shade across the fabric and draw a line about an inch beyond the top and bottom of the shade with chalk. Make sense?
3. Cut Out the Fabric
Use your fabric scissors to cut along the shape you drew and trim off the extra fabric.
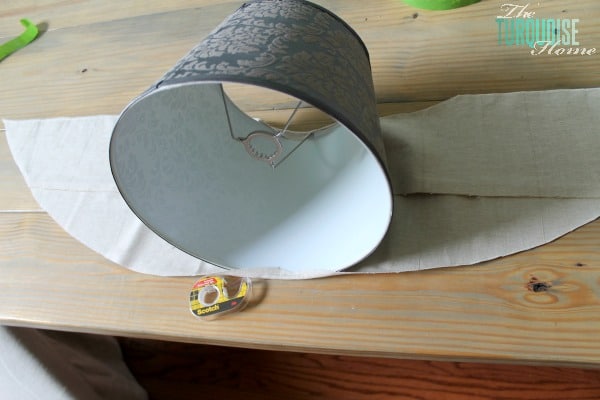
4. Glue (or Tape) the Fabric to the Shade
Start in the middle of the fabric and attach the top and bottom edges over the rim of the lampshade. I used tape for my project since I wanted a temporary fix. If you want something more permanent, use hot glue or fabric glue.
It also helps to spray the shade or fabric with spray adhesive before you start. This keeps the fabric in place while you secure the edges.
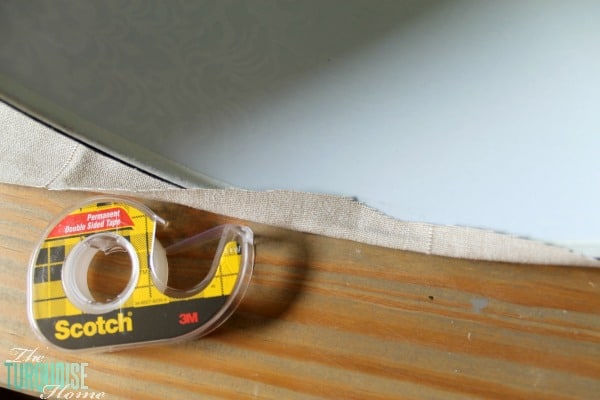
Keep folding the edges of the fabric over the shade and glue (or tape) as you go!
5. Finish the Back with Glue.
Hopefully your fabric will cover the whole shade, unlike mine. Finish the back seam by folding over the raw edge and gluing it down with hot glue. Feel free to cover it with ribbon if it looks messy.
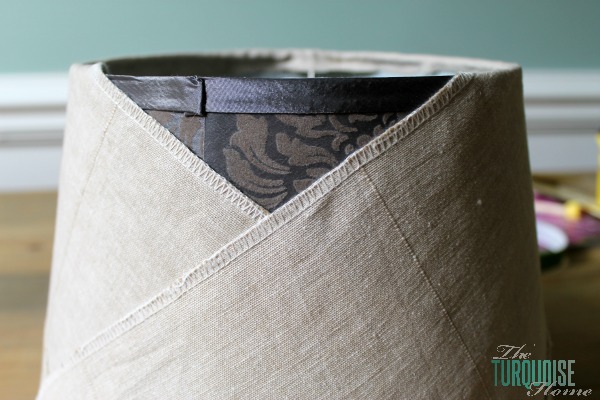
Once everything was taped down, I found I only needed a small triangle on the back to fully cover the shade. So I cut a piece, taped it on, and that was it! I kept that side facing the wall anyway, so it didn't matter.
6. Decorate the Lampshade {optional}
Now you can decorate it if you'd like! Use ribbon or other craft supplies to make it your own.
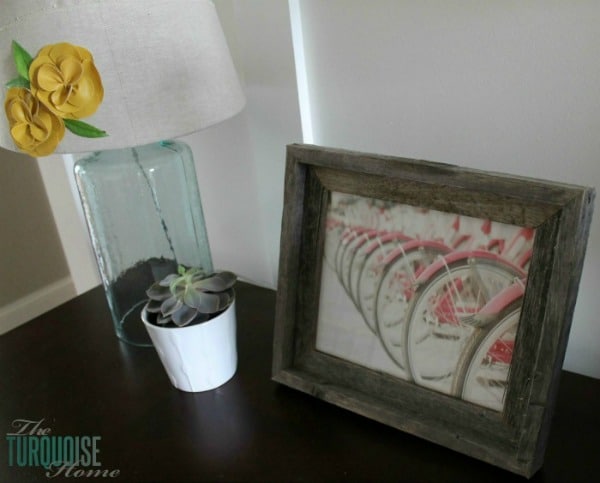
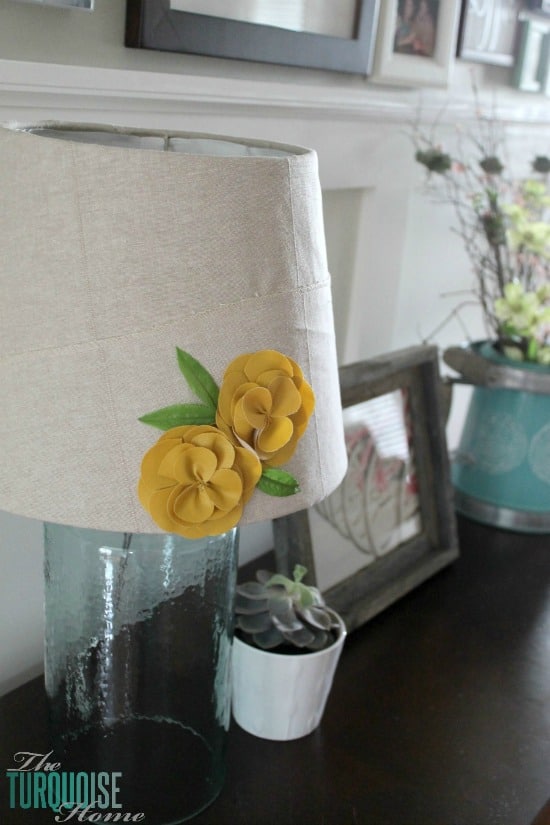
I found these two leather flowers in my craft stash and pulled out some faux leaves to complete the look.
Guess what I used to stick them onto the shade? You guessed it... tape, again! I love that stuff.
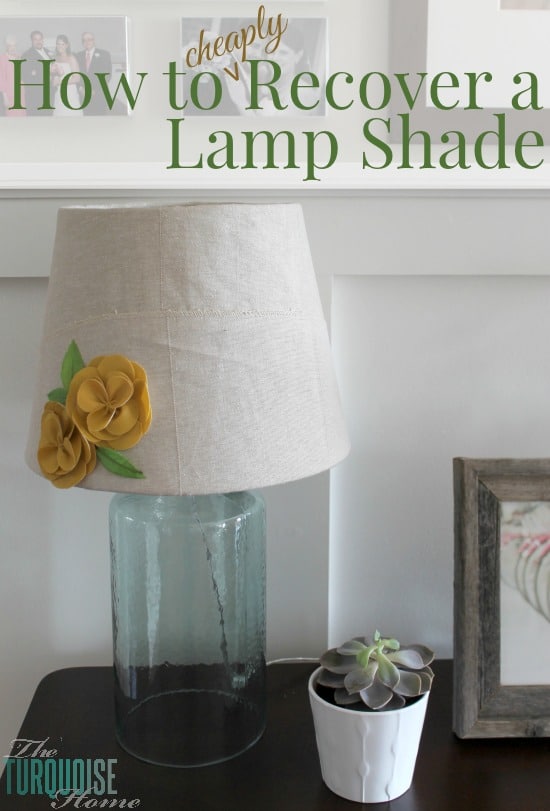
If I ever get tired of the look, I can just remove the fabric and sell the shade. Or re-cover it with something else.
I know you may not have leftover curtain fabric or leather flowers lying around. But I bet you have something you can use to freshen up your house.
I'd love to hear your best trash-to-treasure stories.
Or what's the most creative way you've used leftover fabric? Tell me!!
More DIY Home Decor Posts You Will Love: