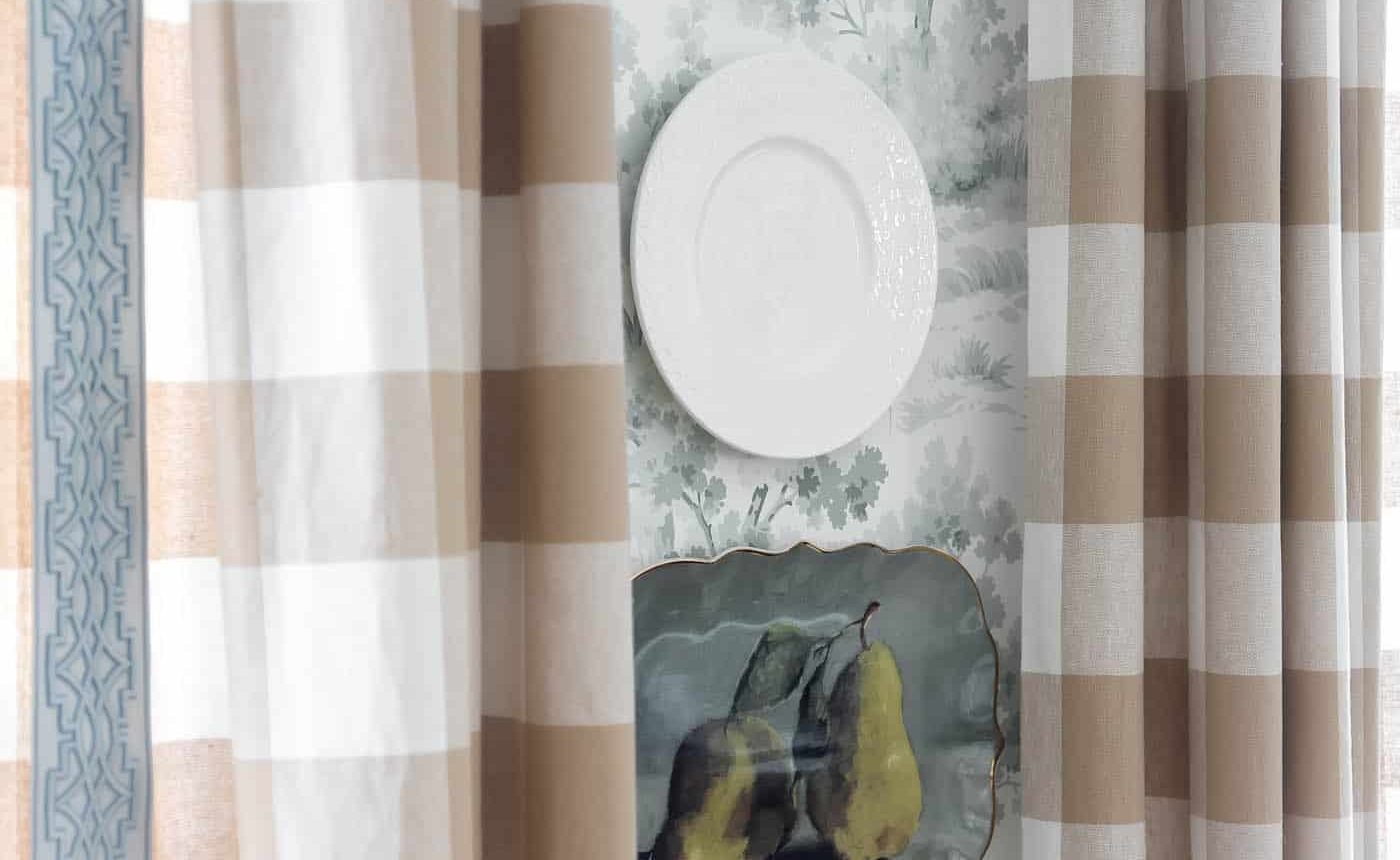
Learn how to hang plates on a wall with this clear, step-by-step guide. Get practical tips on layout, hanging methods, and how to create a charming, budget-friendly plate wall display.
A wall filled with plates instantly makes a space feel cozy and personal. Whether you’re displaying family heirlooms, thrifted finds, or inexpensive decorative plates, a plate wall is an affordable way to add texture, color, and story to a room.
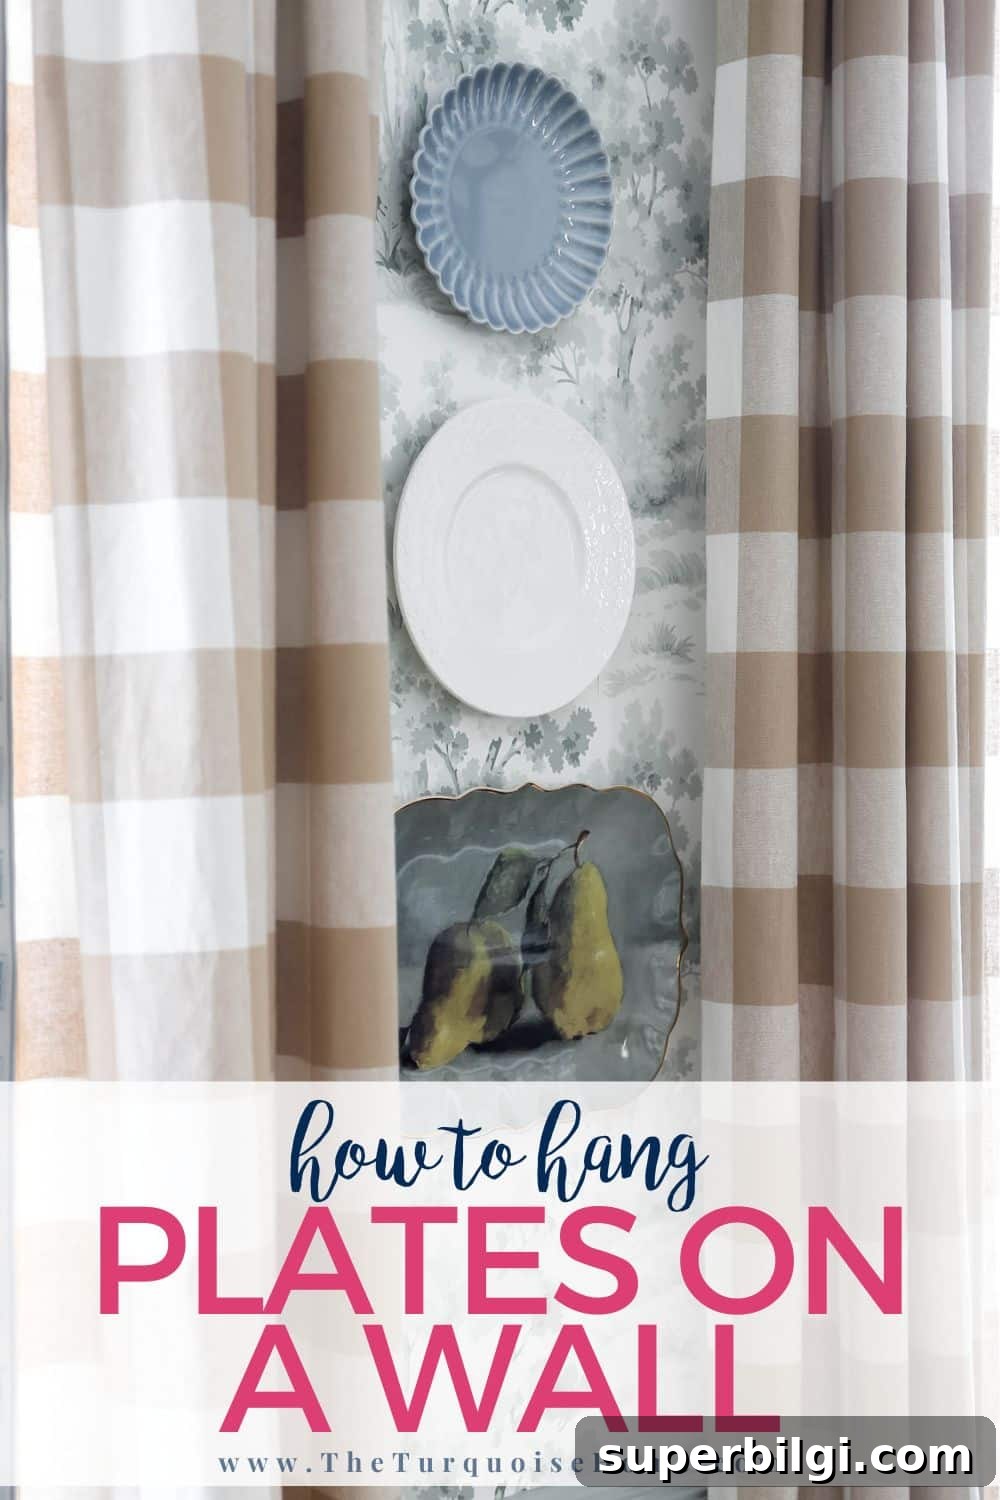
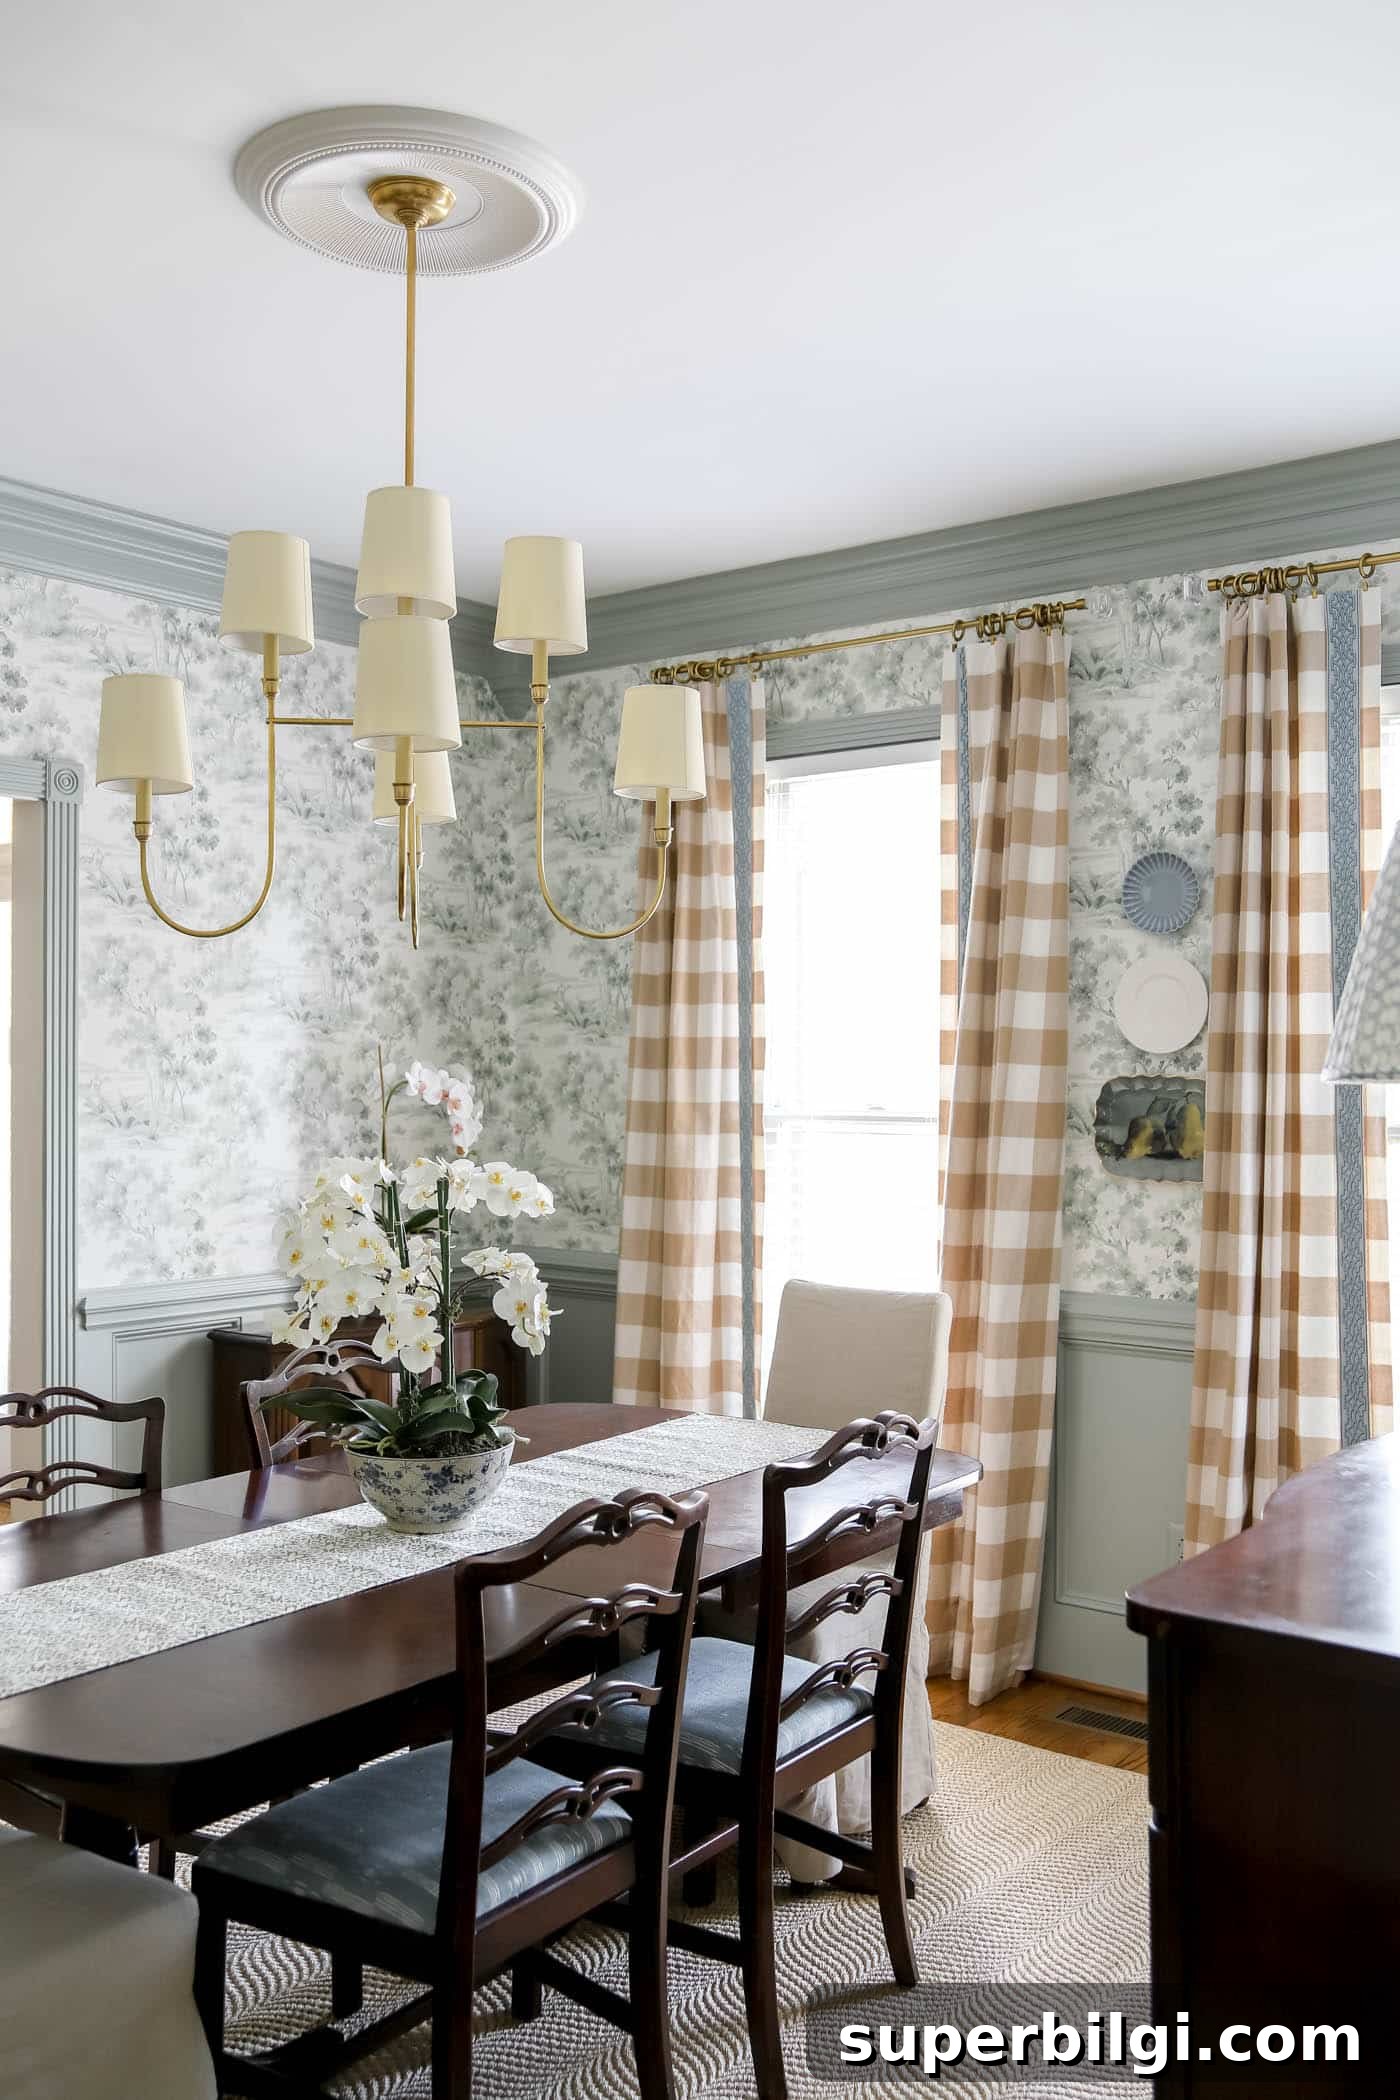
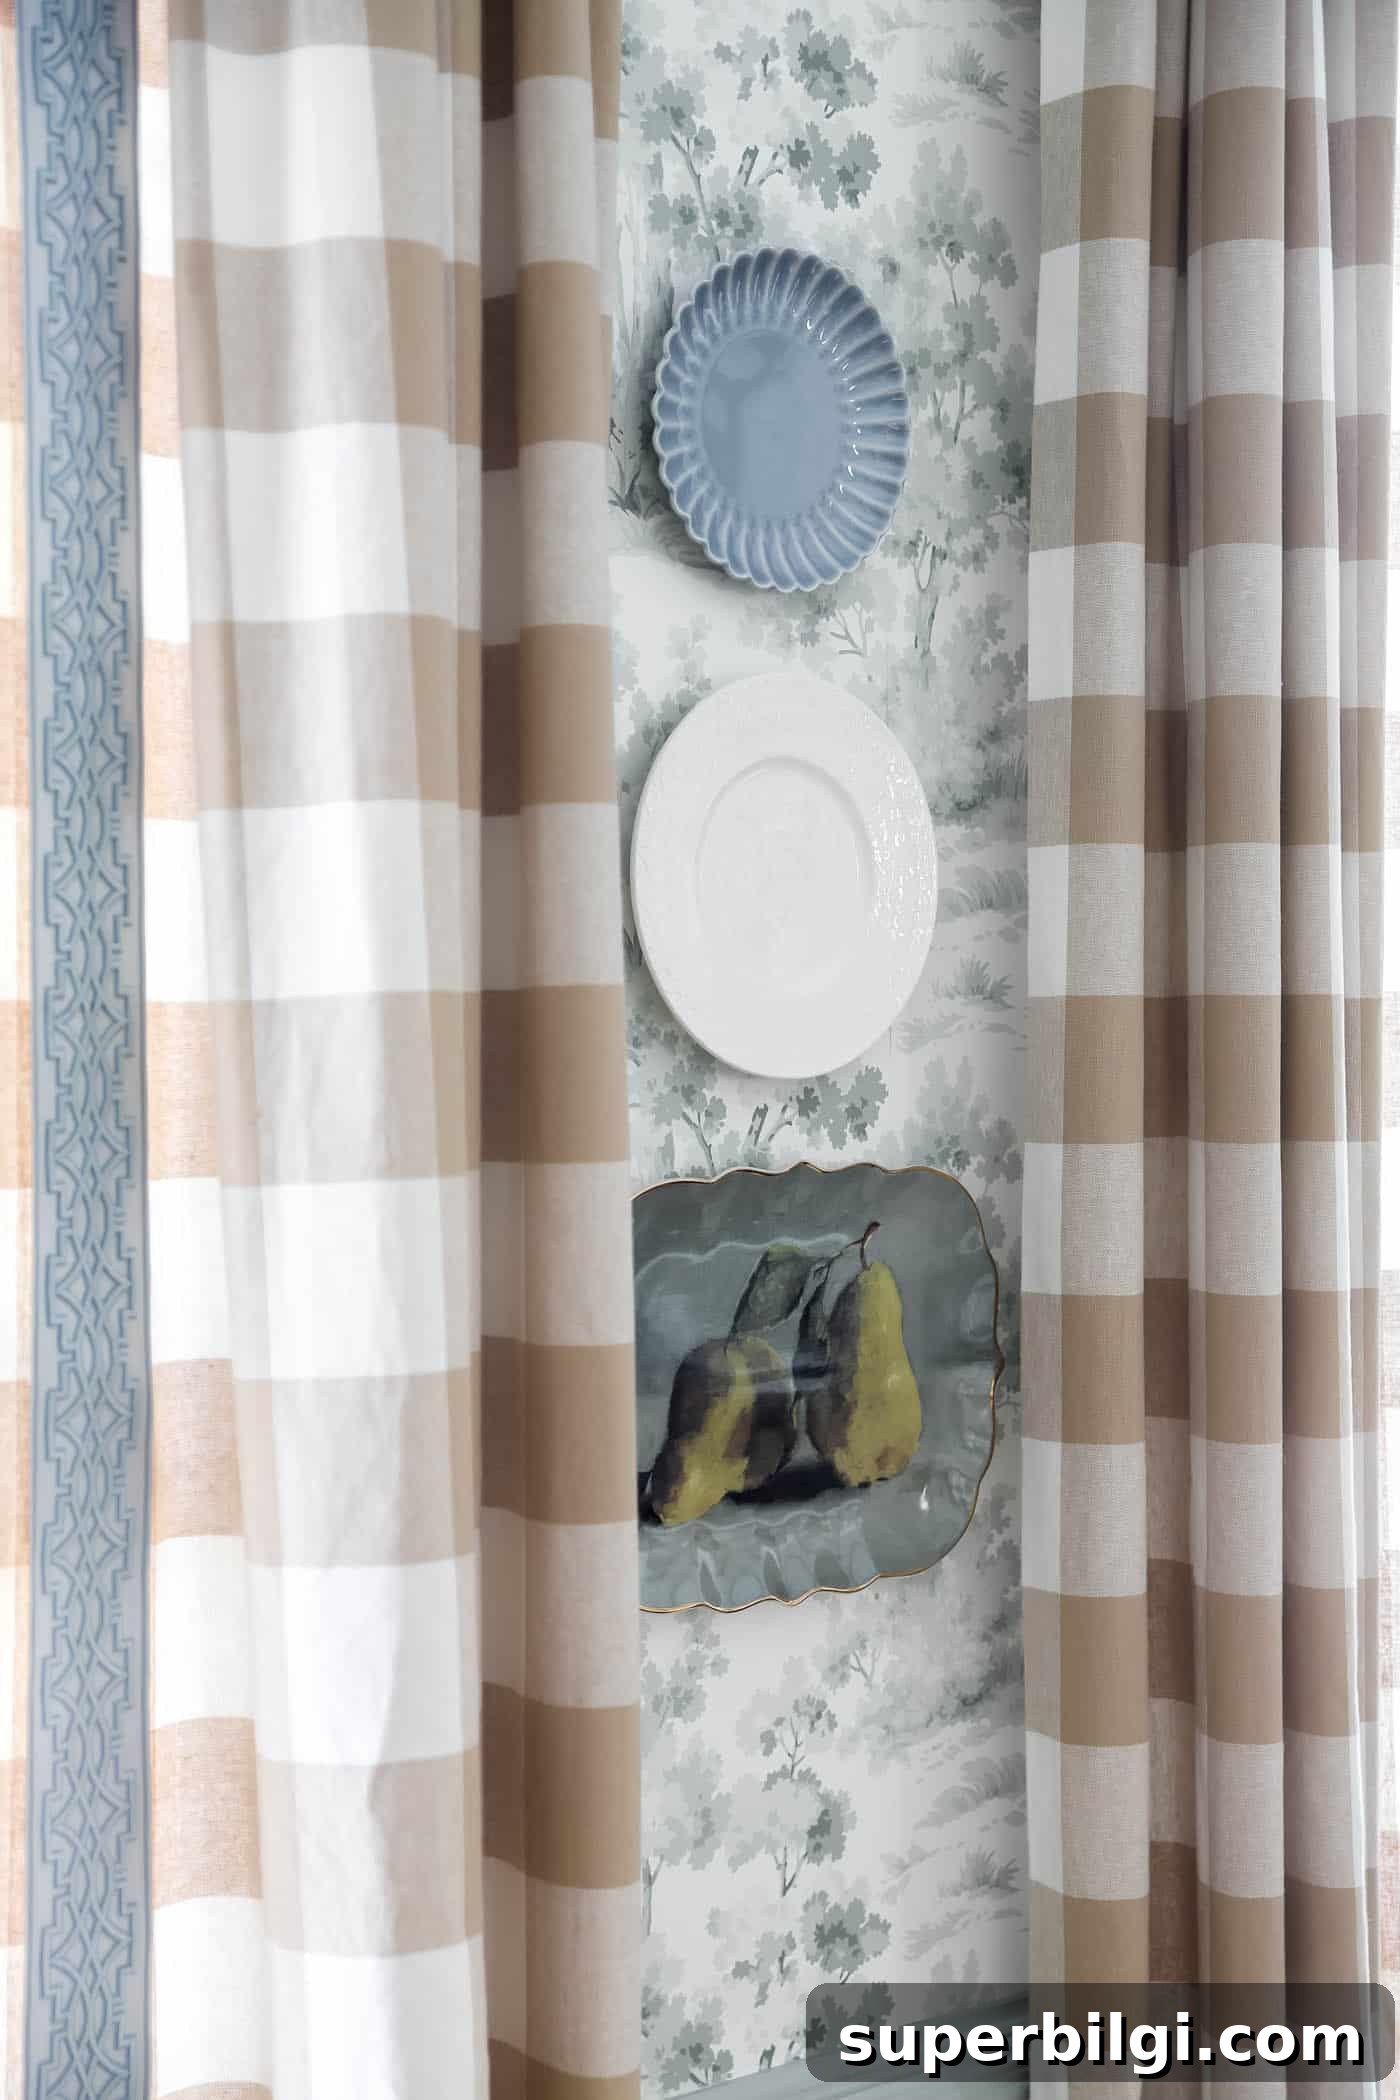
I recently installed a plate display and found the process much easier than I expected. If the idea of plates falling worries you, this guide covers safe, dependable ways to hang plates so they stay put and look beautiful for years.
Follow these simple, real-life steps to create a polished plate wall using basic tools and methods that work on most wall surfaces.
Why Decorate with Plates on the Wall
- Big impact on a small budget. You can create a striking focal point without spending much. Use plates you already own, visit thrift stores, or mix in inexpensive finds from big-box home stores.
- Plates tell a story. A plate wall becomes a curated gallery of memories—heirlooms, souvenirs, and flea-market treasures all contribute to a personalized display.
- They add texture and charm. Mixing shapes, finishes, and patterns gives your wall depth and warmth and creates an inviting, layered look.
Supplies You’ll Need
- Plates — any shapes and sizes you like.
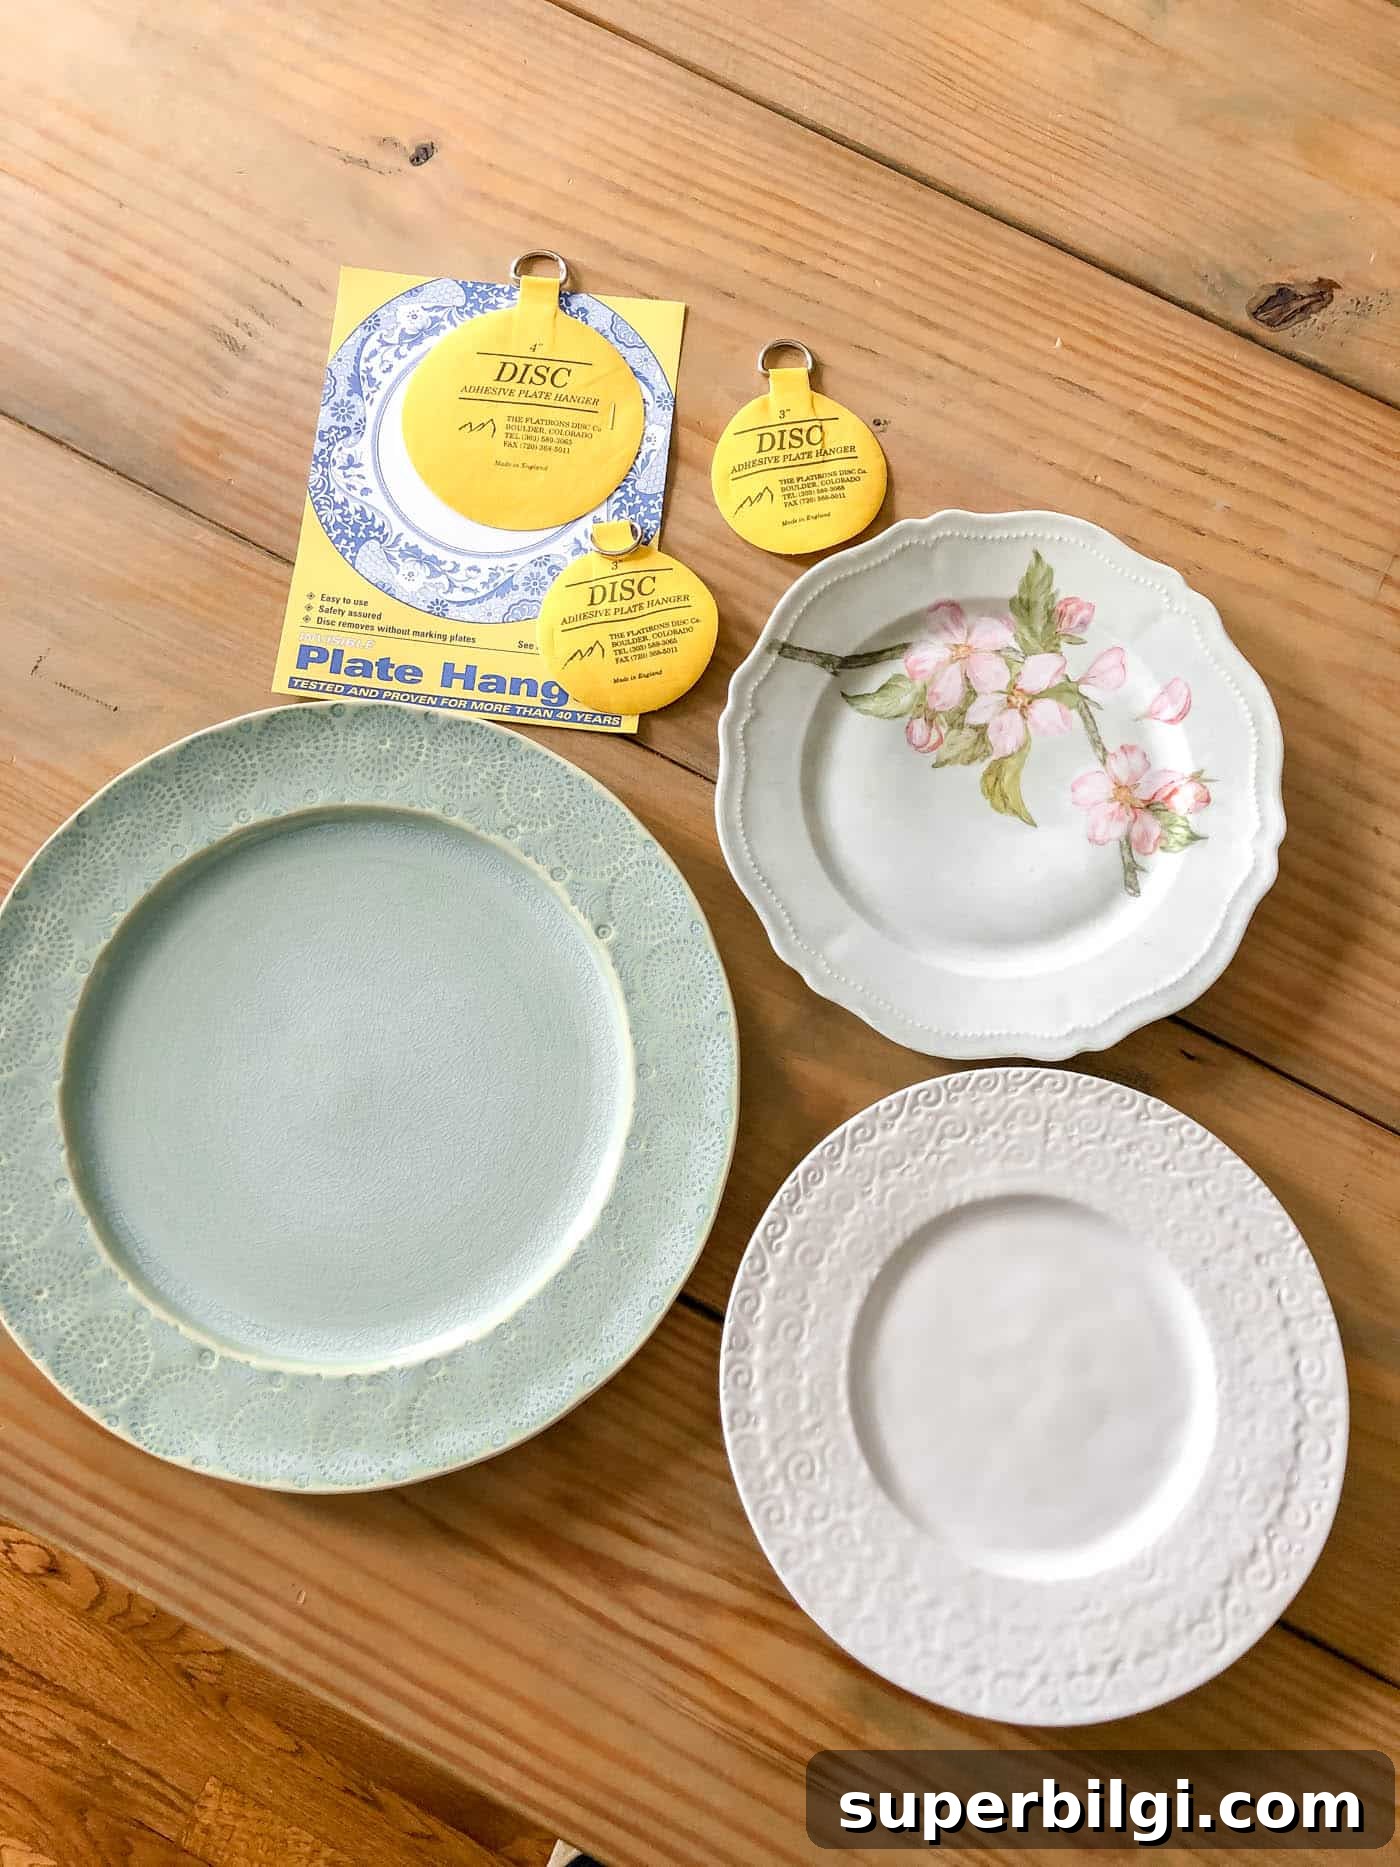
- Plate hangers or adhesive disc hangers (adhesive discs offer a clean, nearly invisible result).
- Picture hanging hooks or nails.
- Painter’s tape (for positioning templates).
- Scissors, pencil, and a hammer.
- Optional: a level or measuring tape if you want a precise grid.
Hanging Plates on a Wall Tutorial
1. Choose Your Plates
Collect the plates you want to display. Mixing sizes, colors, and styles—vintage and modern—creates a collected look. Try pairing patterned plates with solids for contrast and interest.
Tip: Lay plates out on a table or the floor first so you can experiment with arrangements before making any holes in the wall.
2. Plan Your Placement with a Plate Template
Once you like a layout, trace plate outlines onto kraft or wrapping paper and cut them out. Tape these paper templates to the wall to preview spacing and composition without committing to holes.
Real-life tip: Step back and view the templates from different angles—what looks good close up might feel unbalanced from across the room.
3. Pick Your Hanging Method
There are two reliable options for hanging plates: wire plate hangers or adhesive disc hangers. Choose based on plate weight, plate shape, and the look you want.
Wire Plate Hangers
Traditional spring-style wire hangers grip plate edges and are very secure. They’re reusable and work well for plates with sturdy rims. Make sure to match hanger size to the plate to avoid undue pressure on delicate edges.
Adhesive Disc Hangers
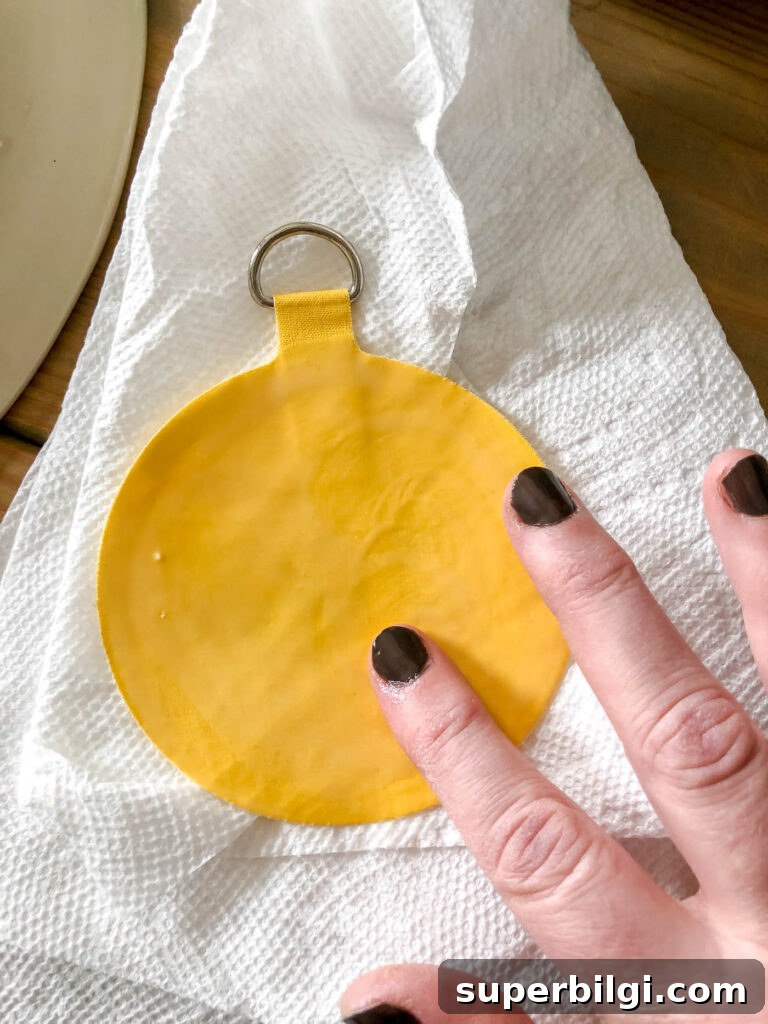
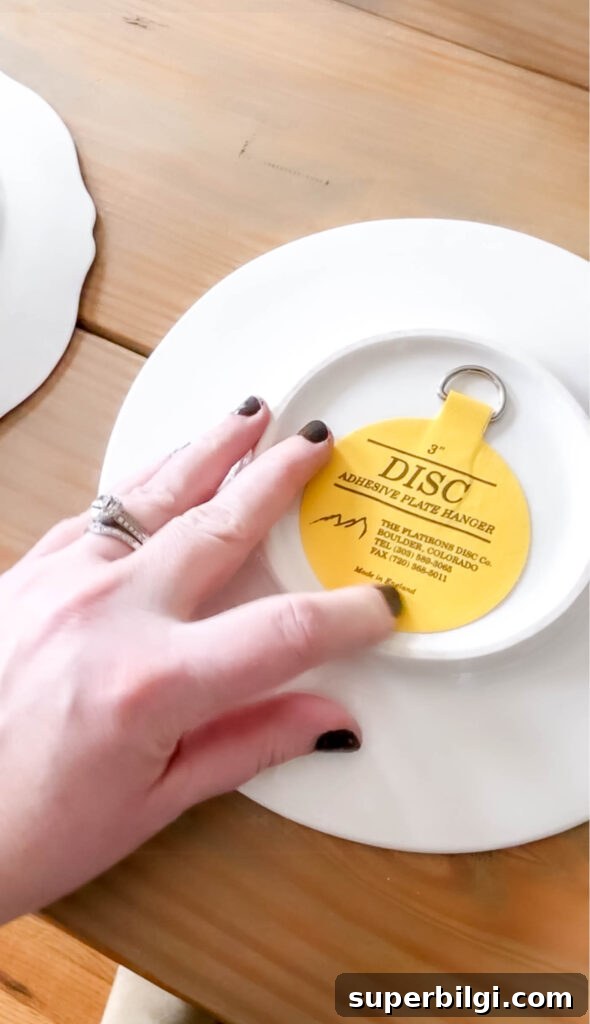
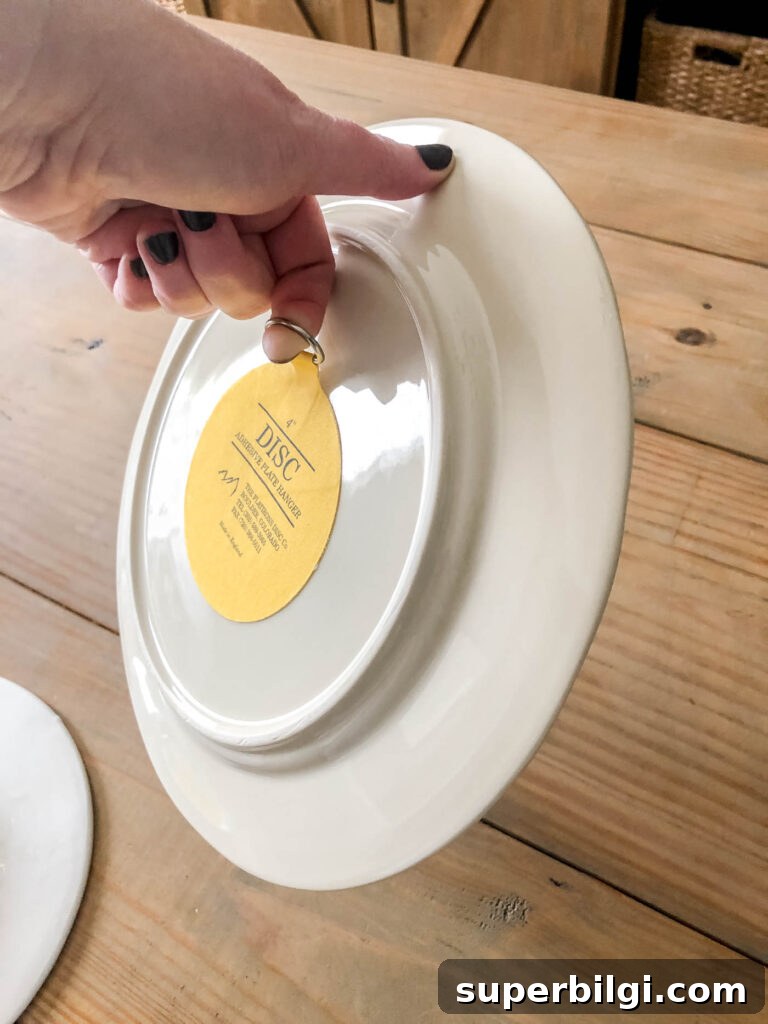
Adhesive disc hangers stick to the back of the plate and create a clean, mostly invisible look from the front. They come in different weight ratings and sizes, so select one suitable for your plate’s weight. Follow the manufacturer’s instructions carefully: usually you moisten the adhesive, press firmly, and allow the recommended cure time before hanging.
If used correctly, adhesive discs are safe and nondamaging to the plate surface. Always test a single plate first to confirm the weight rating and drying time are appropriate.
4. Hang Your Plates
With paper templates in place, mark where the hook or nail should be—usually just above the center of each template. Install the hook, nail, or picture hanger, remove the template, and carefully hang each plate.
Adjust plates for level and spacing as you go. For precise grids or perfectly straight rows, use a level and measuring tape. If you prefer a relaxed, collected look, trust your eye and make small adjustments until it feels right.
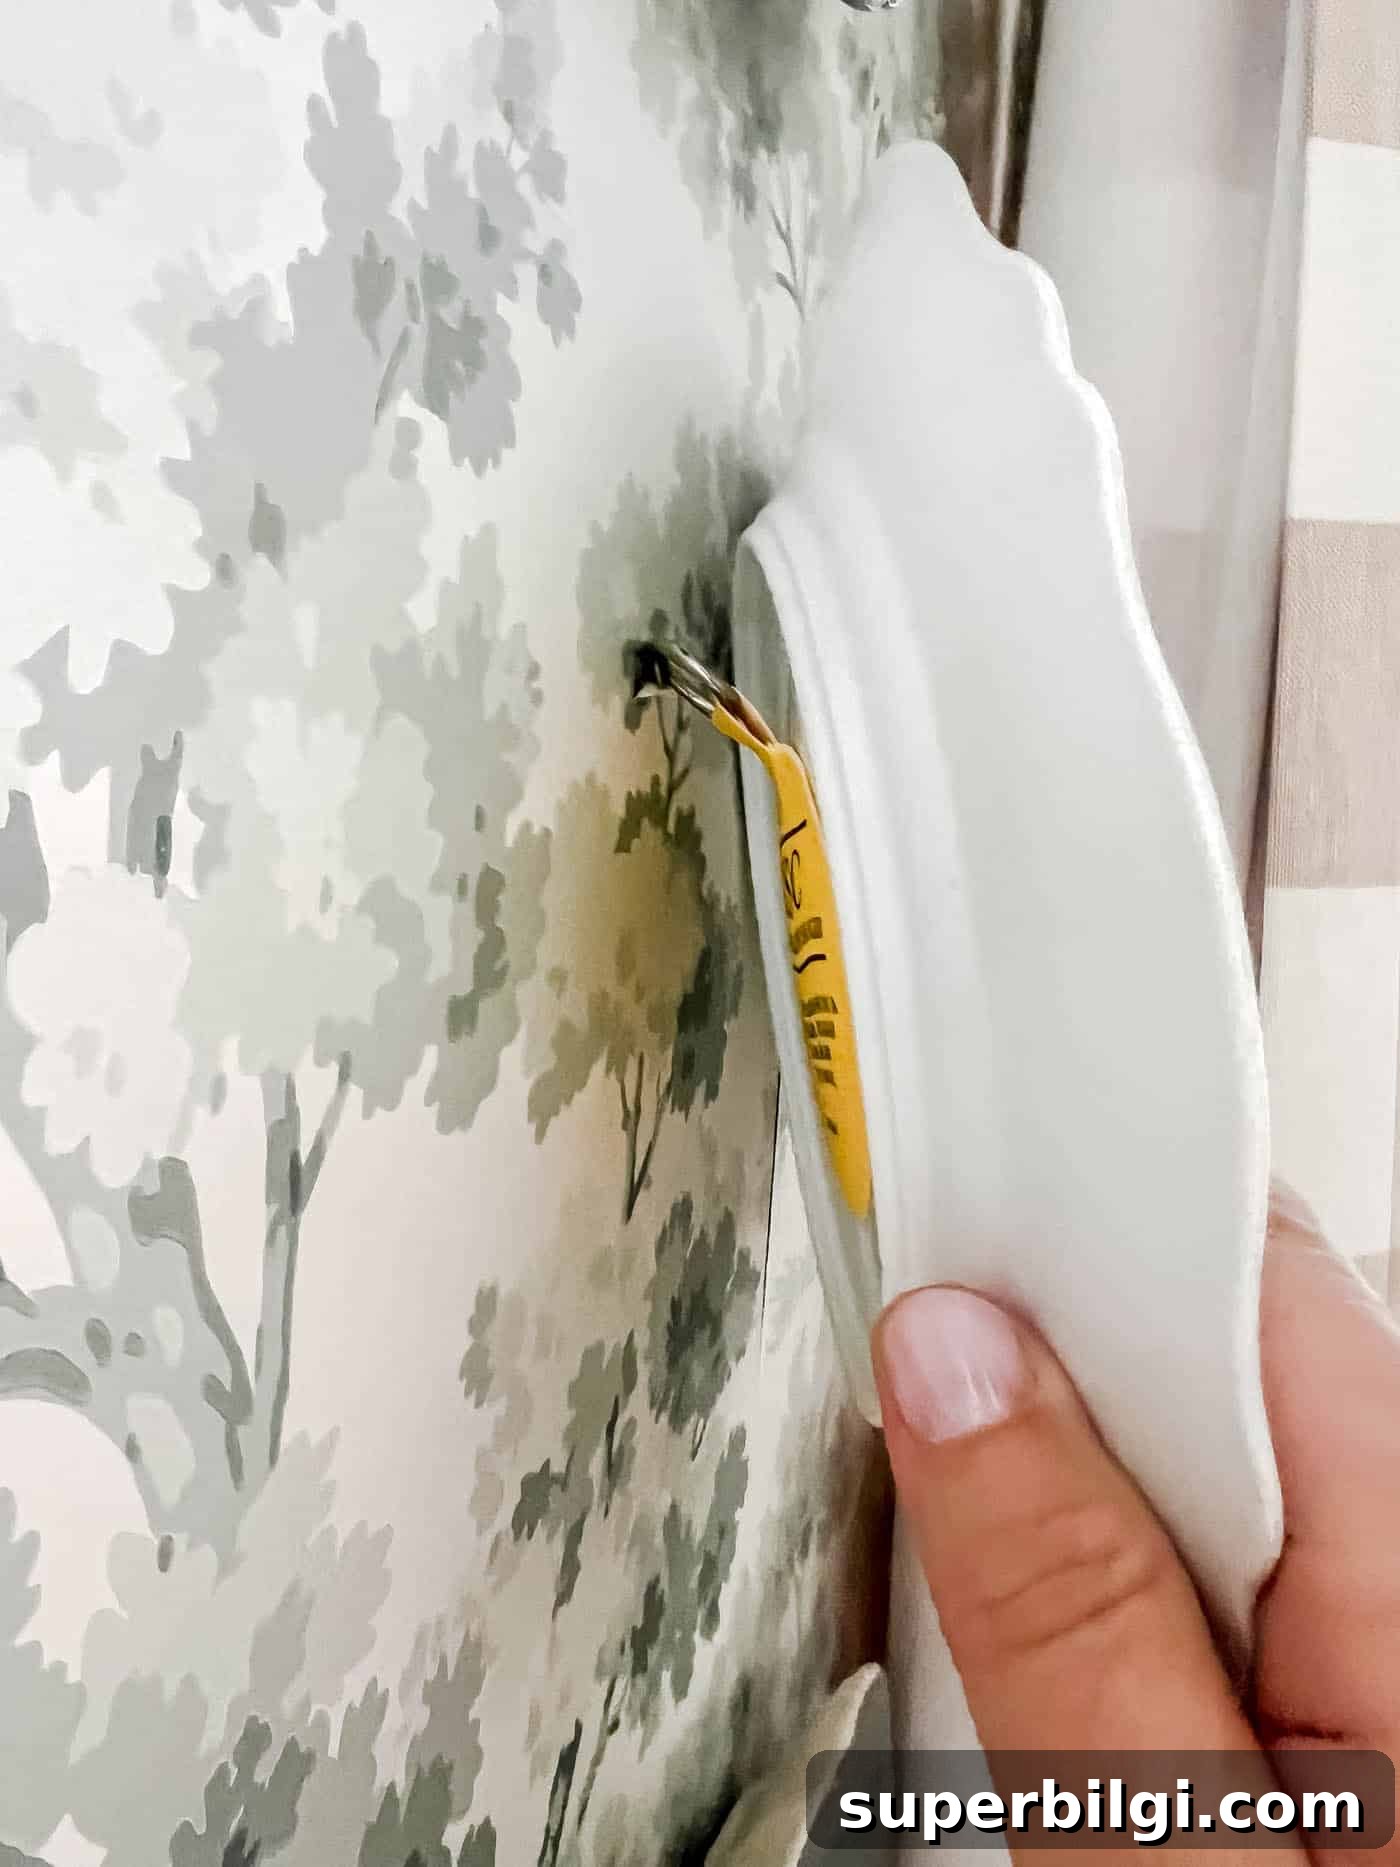
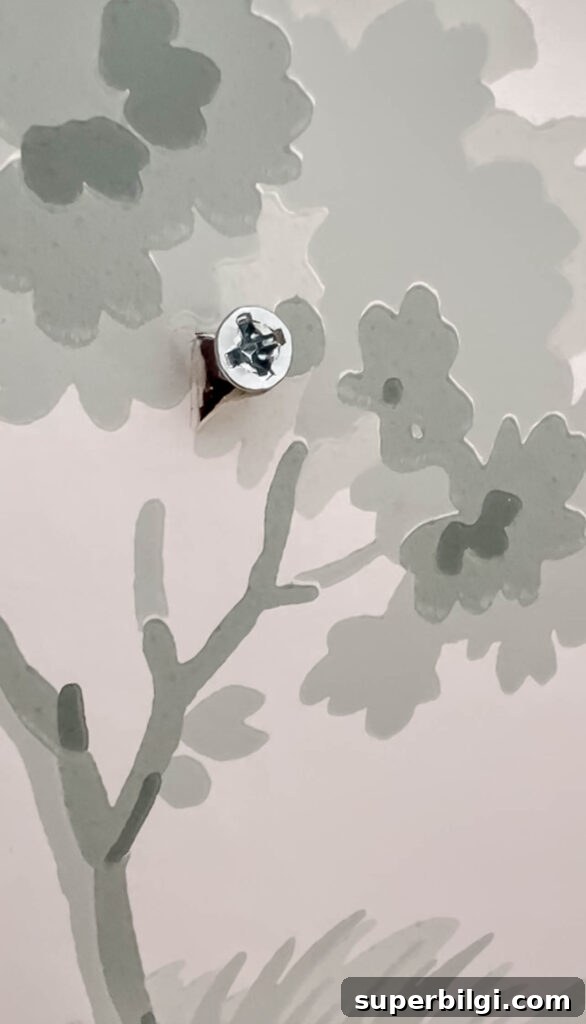
Wallpaper tip: Before adding a nail or screw into wallpaper, cut a small square of wallpaper along the planned hole and fold it back. When you remove the hardware later, you can fold the piece back over the hole to minimize visible damage.
5. Step Back & Smile
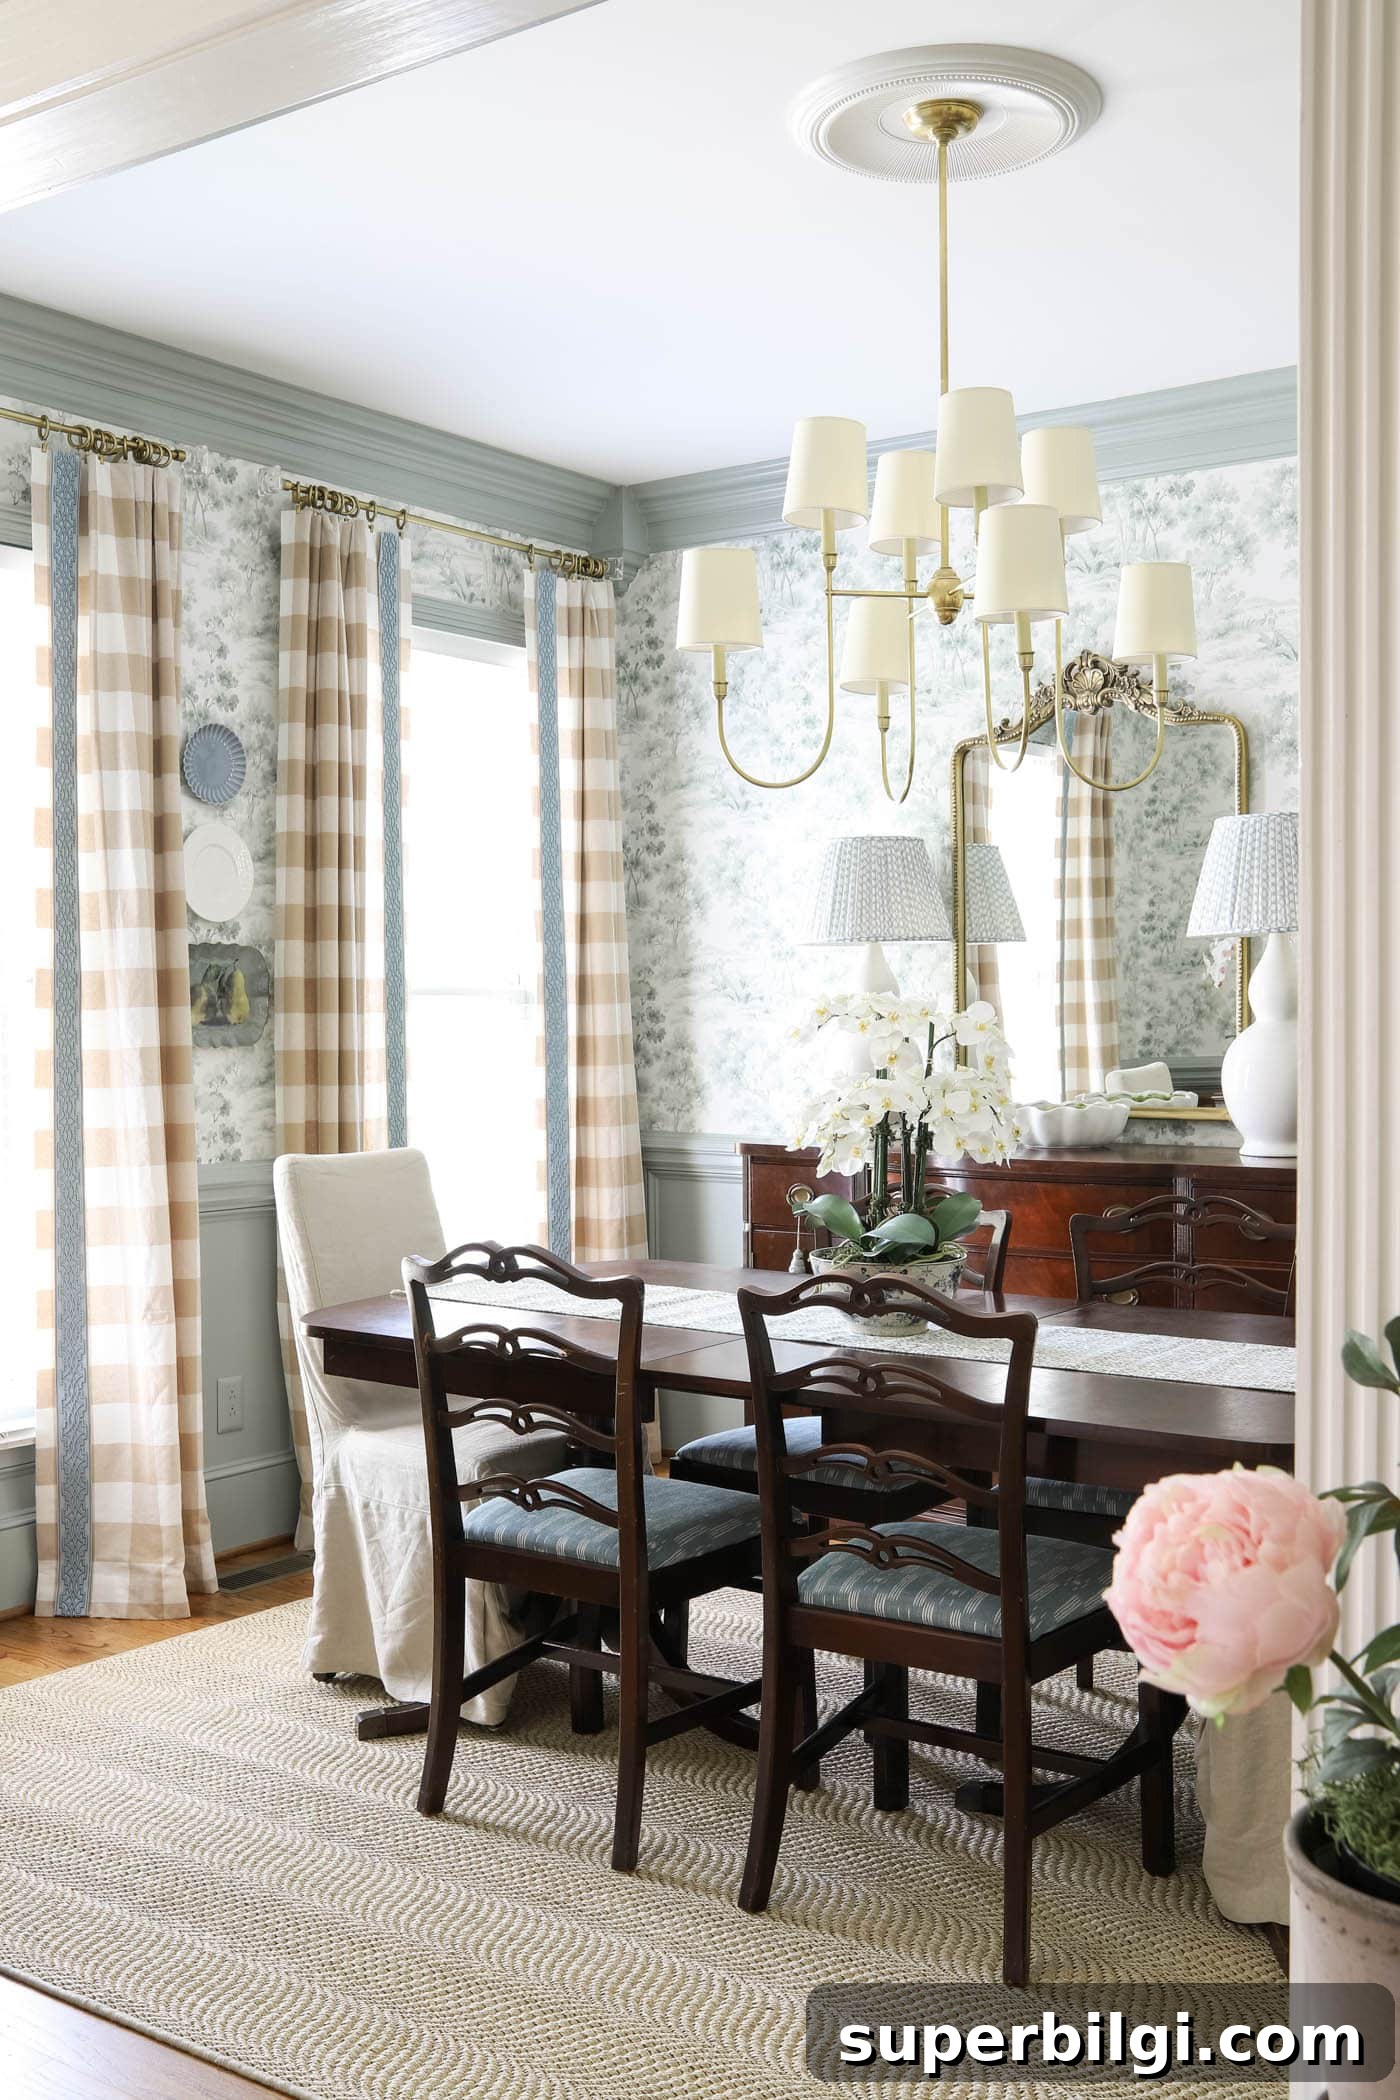
Take a moment to enjoy your finished plate wall. Whether in the dining room, kitchen, hallway, or even a bathroom, a plate display creates a unique focal point that reflects your taste and memories.
A Few Extra Tips
- Damage-free options: Use adhesive picture-hanging strips if you’re renting or prefer not to make holes. Ensure the back of the plate is flat and smooth for the best adhesion.
- Add variety: Overlap plates slightly or include a small framed print, mirror, or textile to introduce different textures and focal points.
- Balance the layout: If one side of your display looks heavier, swap plates or shift positions until it feels visually balanced.
- Display what you love: Plates don’t need to match—quirky mismatches often bring the most personality.
Final Thoughts
A plate wall is an easy, budget-friendly DIY that personalizes your home and adds visual interest. With a little planning, the right hanging supplies, and some patience while adhesive hangers cure, you can create a secure and stylish display that lasts.
If you’re thinking about starting a plate wall, begin with a small arrangement to build confidence and refine your style. Over time you can expand or rearrange the collection as your tastes evolve.
More ideas to explore:
- How to name and personalize a house
- Turning thrifted frames into artwork
- Lighting solutions that enhance decor
- Using seasonal or floral decor to complement plate walls
- Small porch decorating ideas that extend your home’s look outside