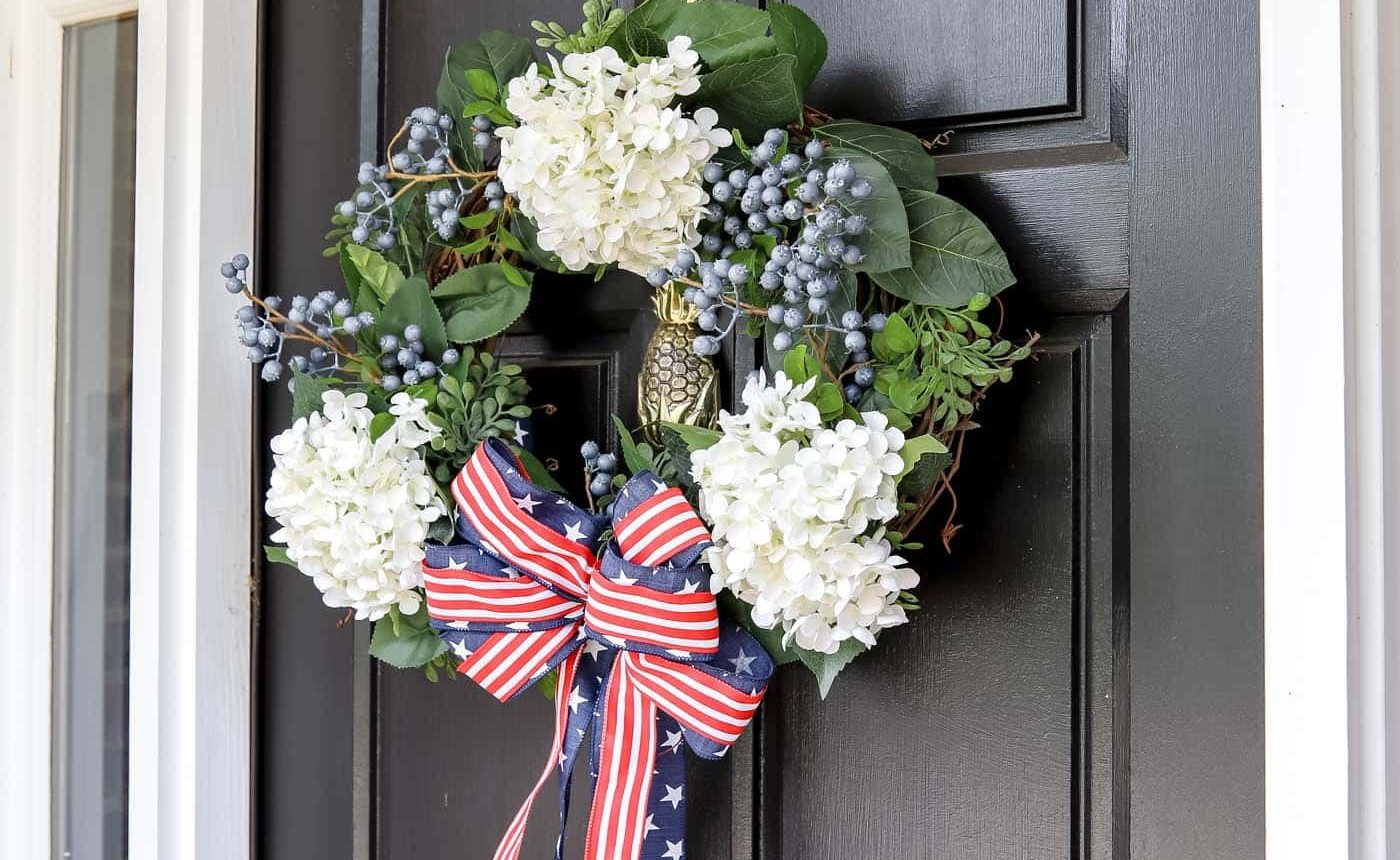
The Fourth of July is the perfect reason to decorate your home and patio in red, white, and blue. Below is a simple, step-by-step tutorial to create a beautiful patriotic wreath complete with a ribbon bow.
Looking for an enjoyable, hands-on project to celebrate summer and the Fourth of July? Making a patriotic wreath is an easy and rewarding way to add festive charm to your front door or porch. It’s budget-friendly, customizable, and a great activity to do with family or friends.
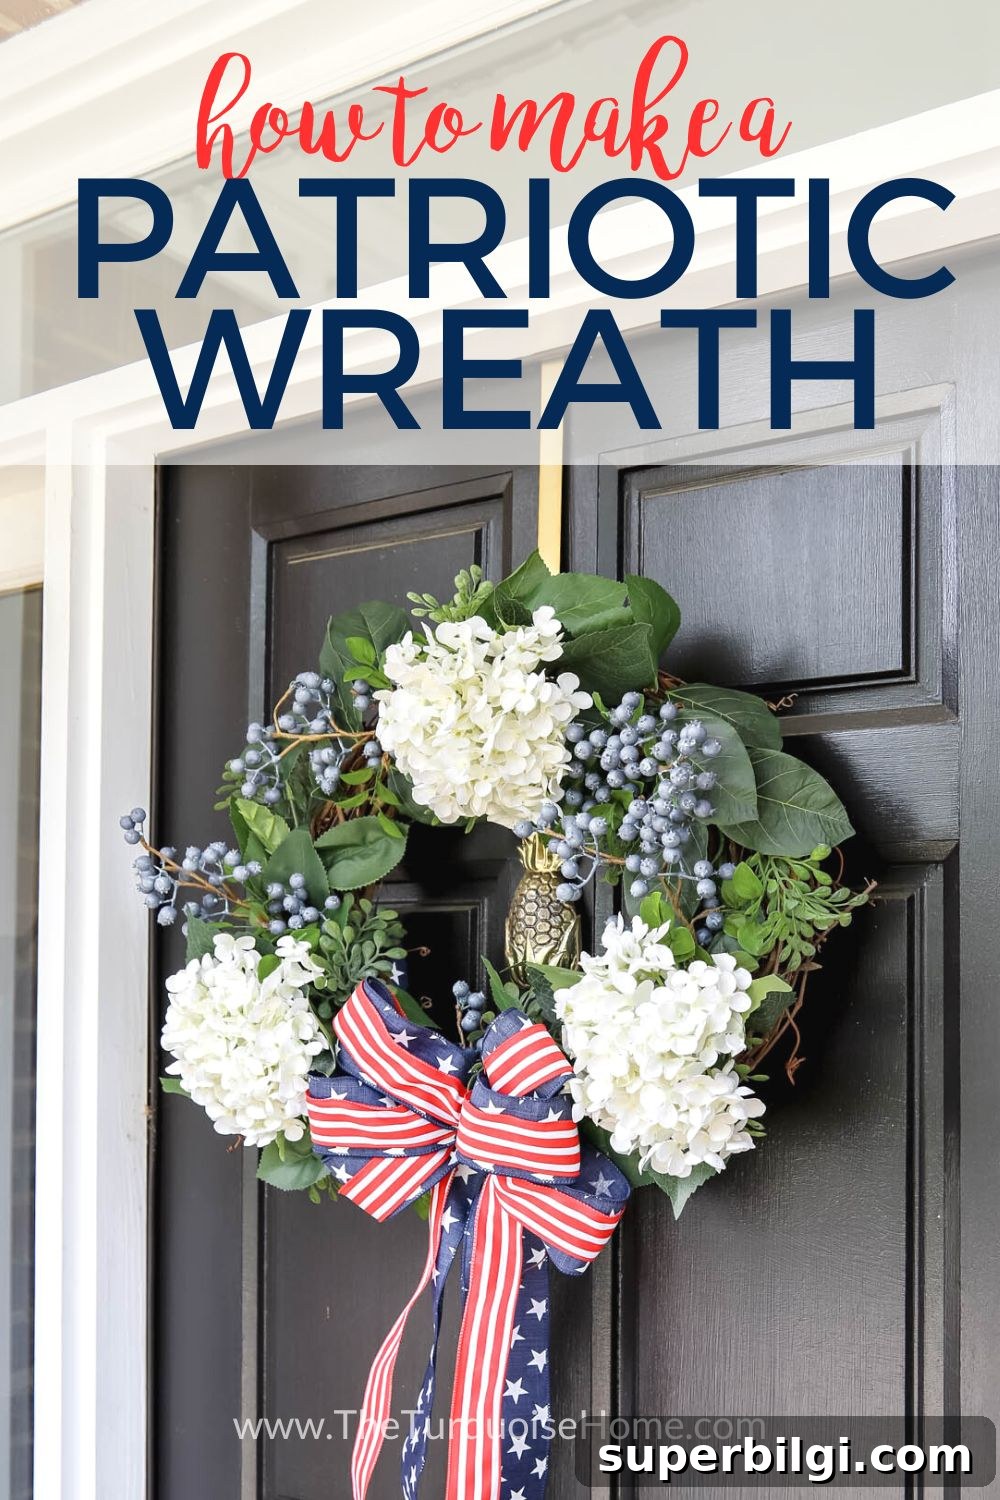
This tutorial walks through each step—from selecting materials to arranging florals to finishing the bow—so you can create a wreath that feels personal and polished. I didn’t have patriotic door decor until recently, so I gathered a few items I already owned, added a few new pieces, and put everything together. The result is a charming wreath that suits Independence Day, Memorial Day, Veterans Day, or any moment you want to show patriotic spirit.
This post contains affiliate links for convenience.
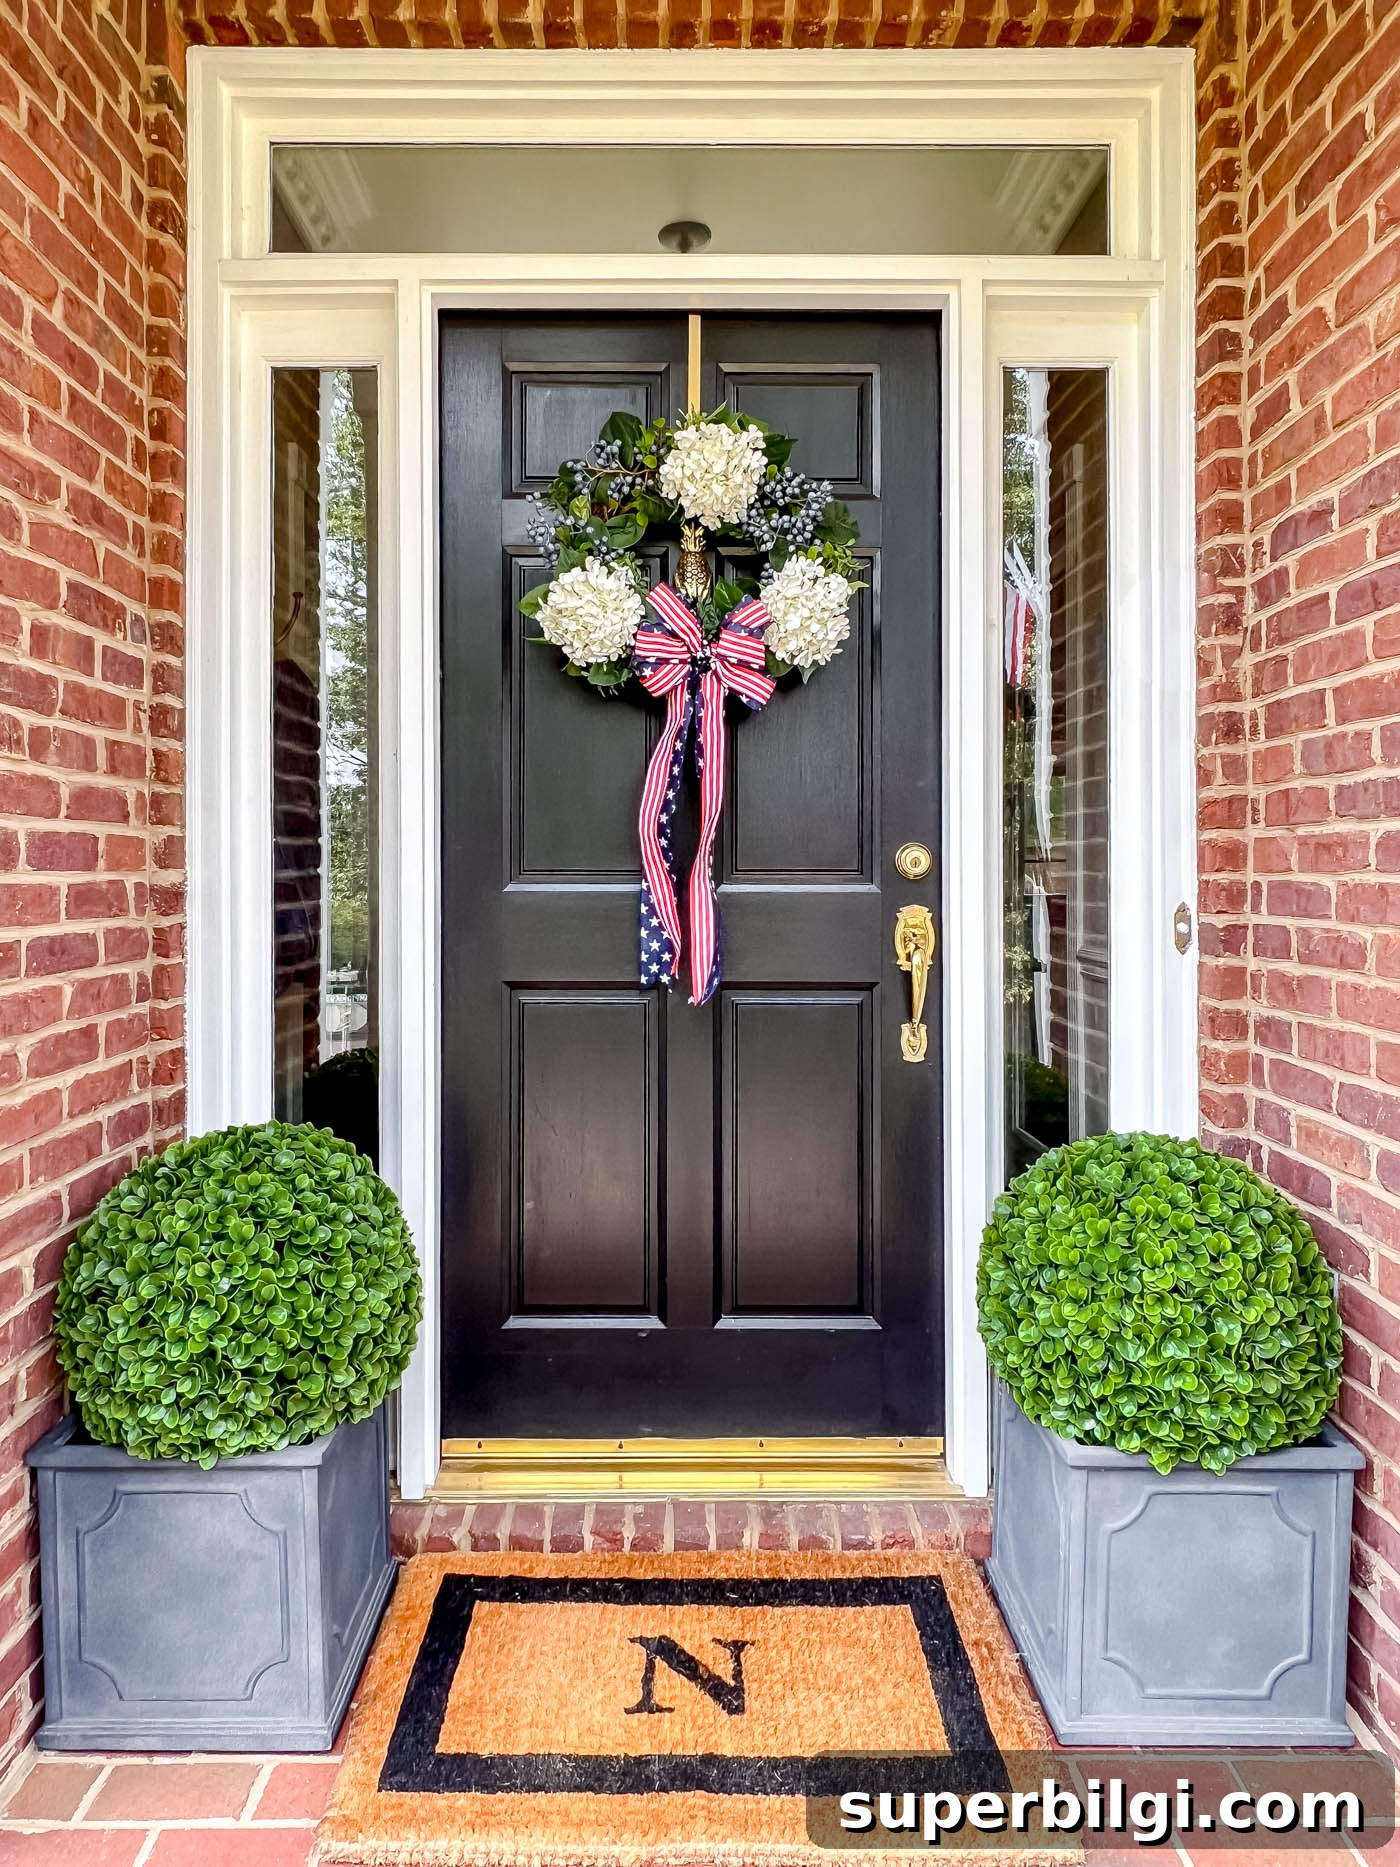
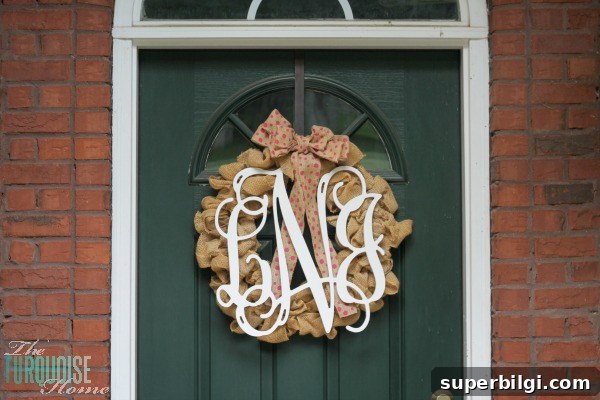
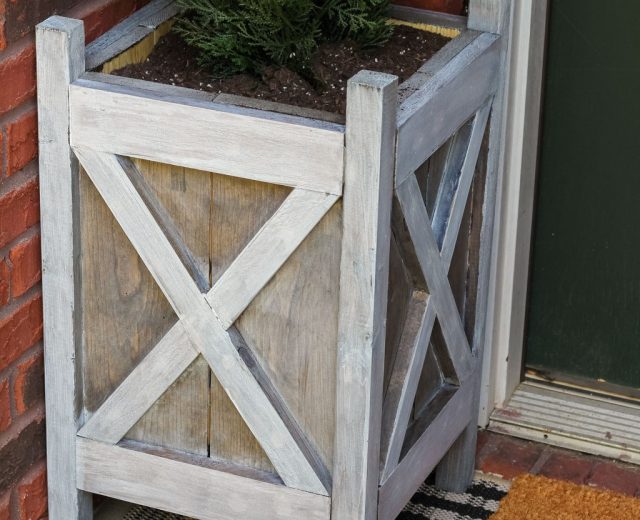
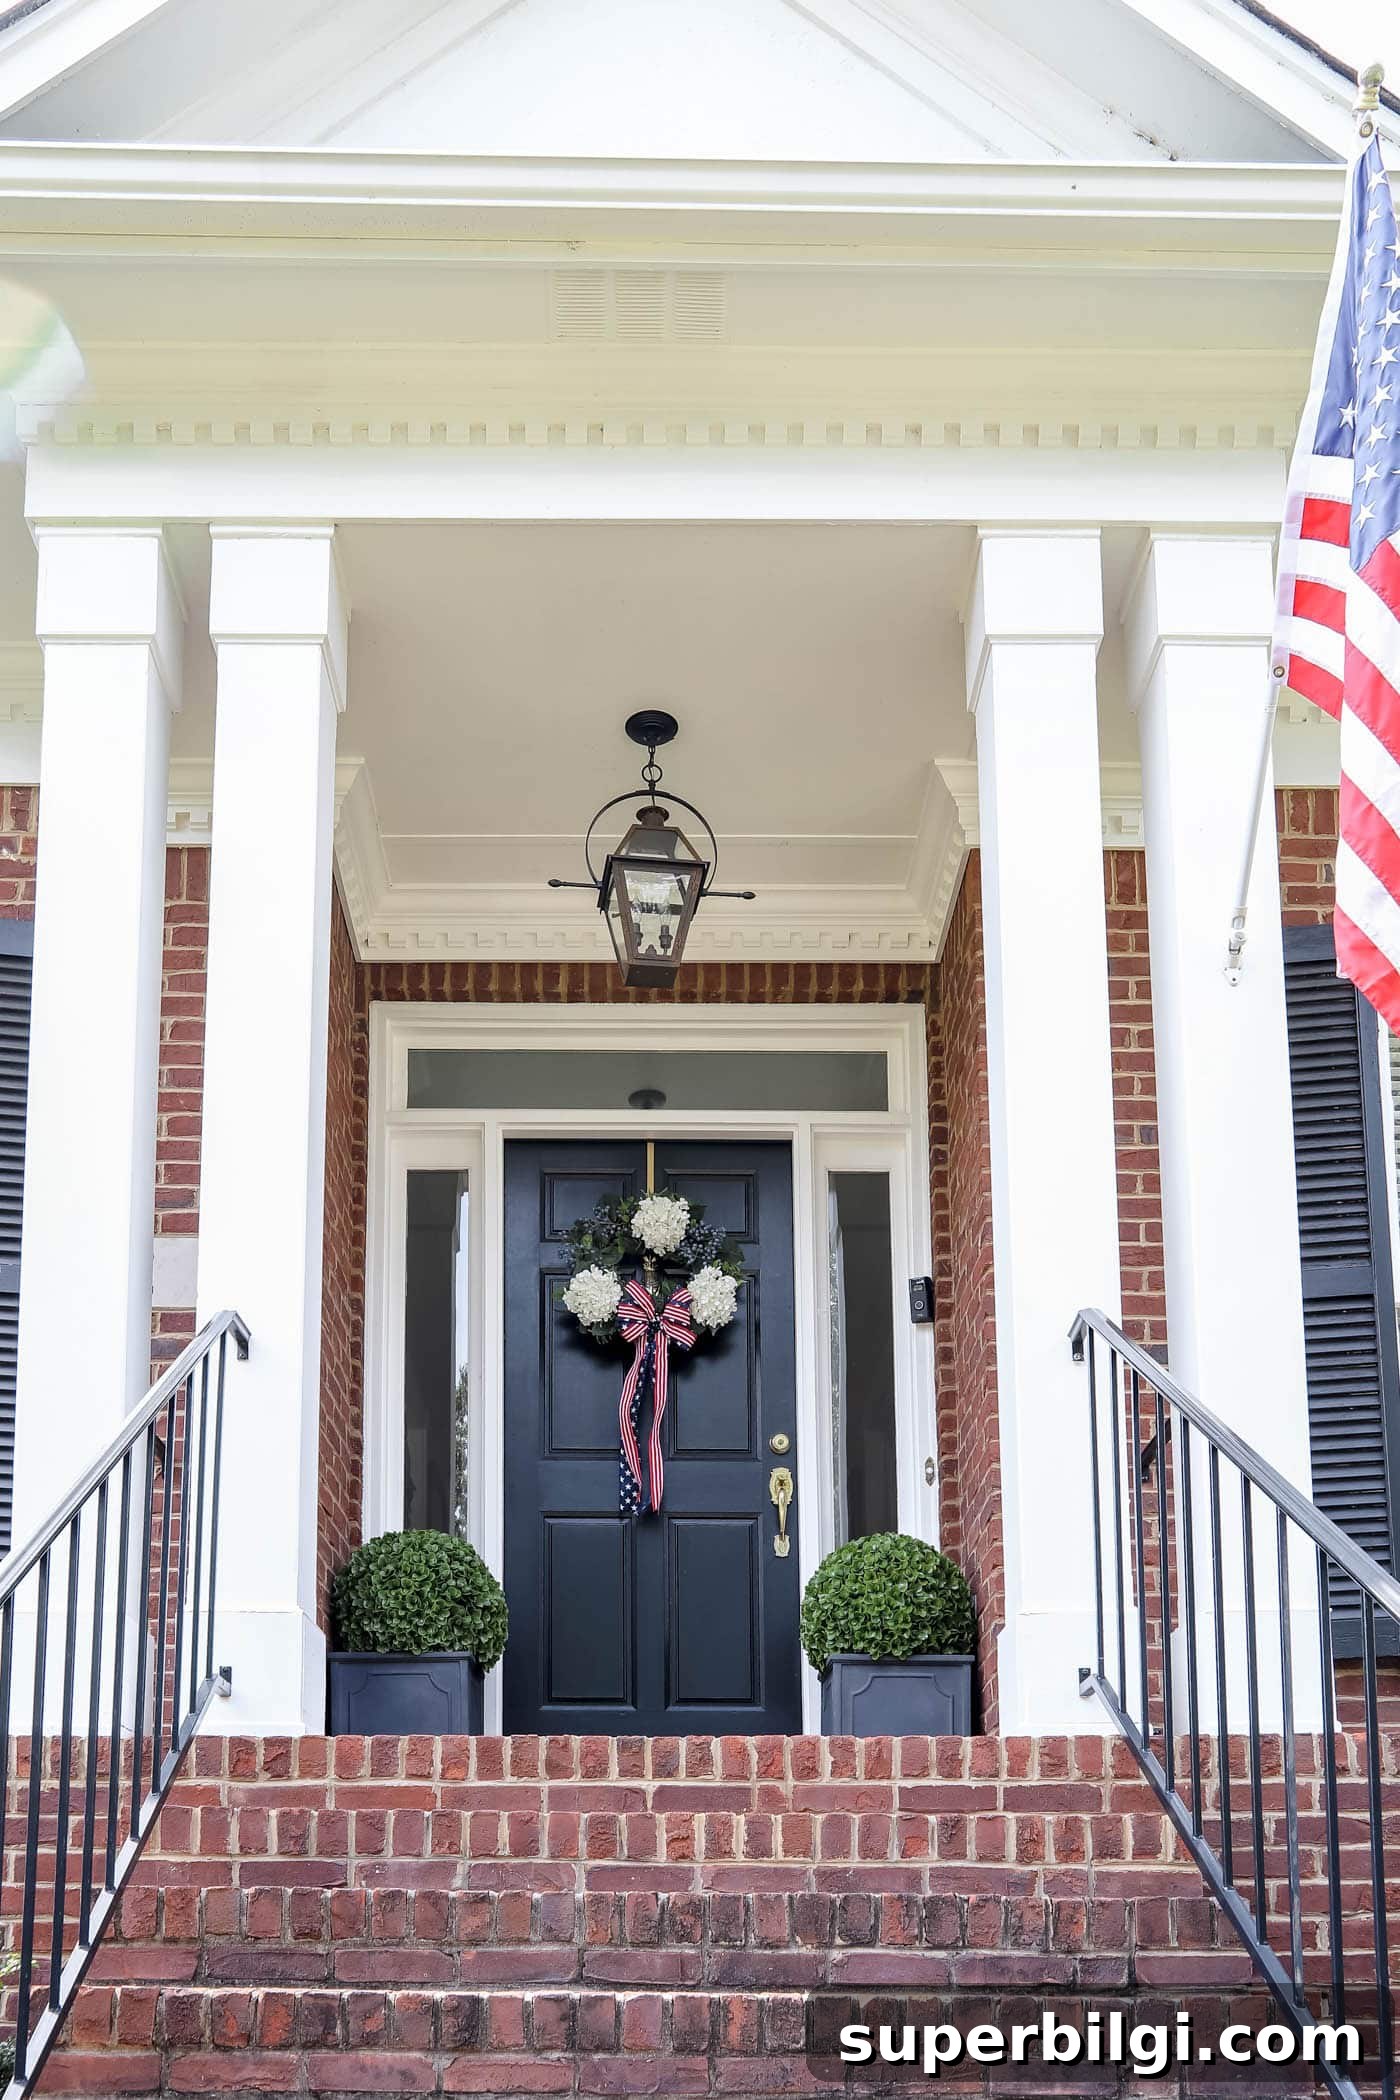
Front porch styling ideas: planters, faux topiaries, monogrammed door mats, door knockers, hanging lanterns, and a painted door can all enhance your wreath display. I liked how my wreath paired with potted topiaries on either side of the door—small flags tucked into planters would be a nice touch next year.
A patriotic wreath works well for any celebration honoring service and freedom. With a few faux florals, some evergreen or leafy sprigs, and a bold ribbon, you can create a look that’s classic and welcoming.
Supplies You’ll Need for a Patriotic Wreath
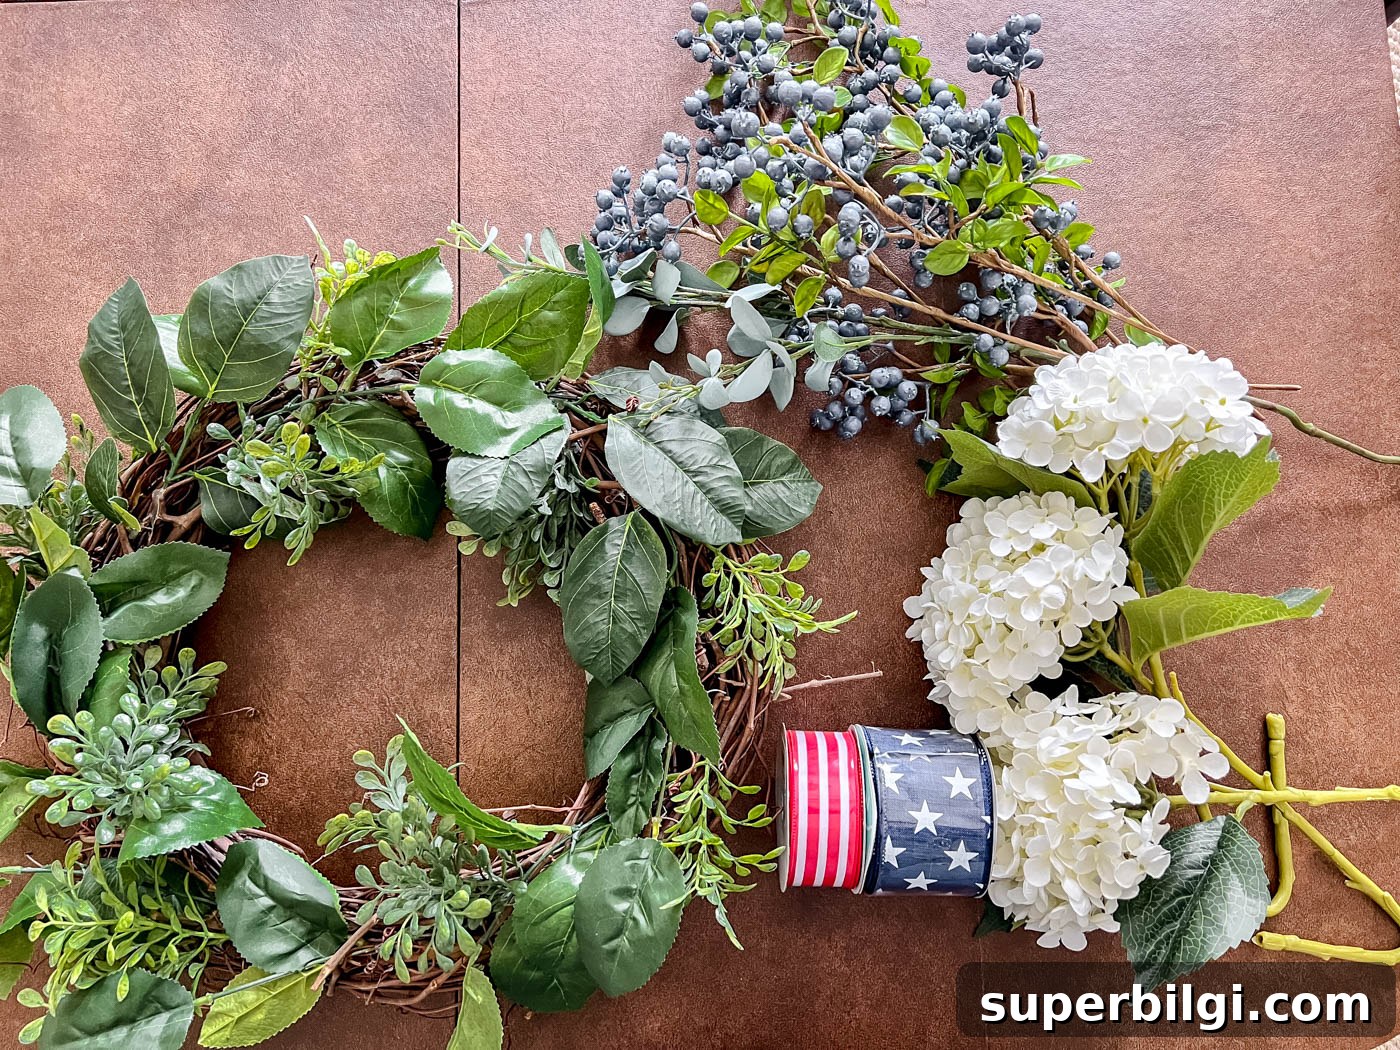
- Wreath form – a 24-inch grapevine wreath is a good base for a full, classic look.
- Faux greenery for filling and backing.
- Three faux hydrangea stems (for large focal blooms).
- Five faux blueberry stems or small filler clusters to add texture and a touch of blue.
- 2.5-inch navy ribbon with white stars (or a similar star-patterned ribbon).
- 1.5-inch red-and-white striped ribbon to layer with the navy ribbon.
- Twist ties, floral wire, or zip ties for attaching stems and the bow.
- Fabric scissors or wire cutters for trimming stems and ribbon.
- A hot glue gun and glue sticks for added security on blooms and embellishments.
Instructions for Making a Patriotic Wreath
1. Gather Your Materials
Lay everything out on a clear work surface so you can see what you have and make adjustments before attaching pieces to the wreath. Trim any long stems and test ribbon lengths to determine how dramatic you want the bow and tails to be.
2. Add the Floral and Greenery Elements to the Wreath
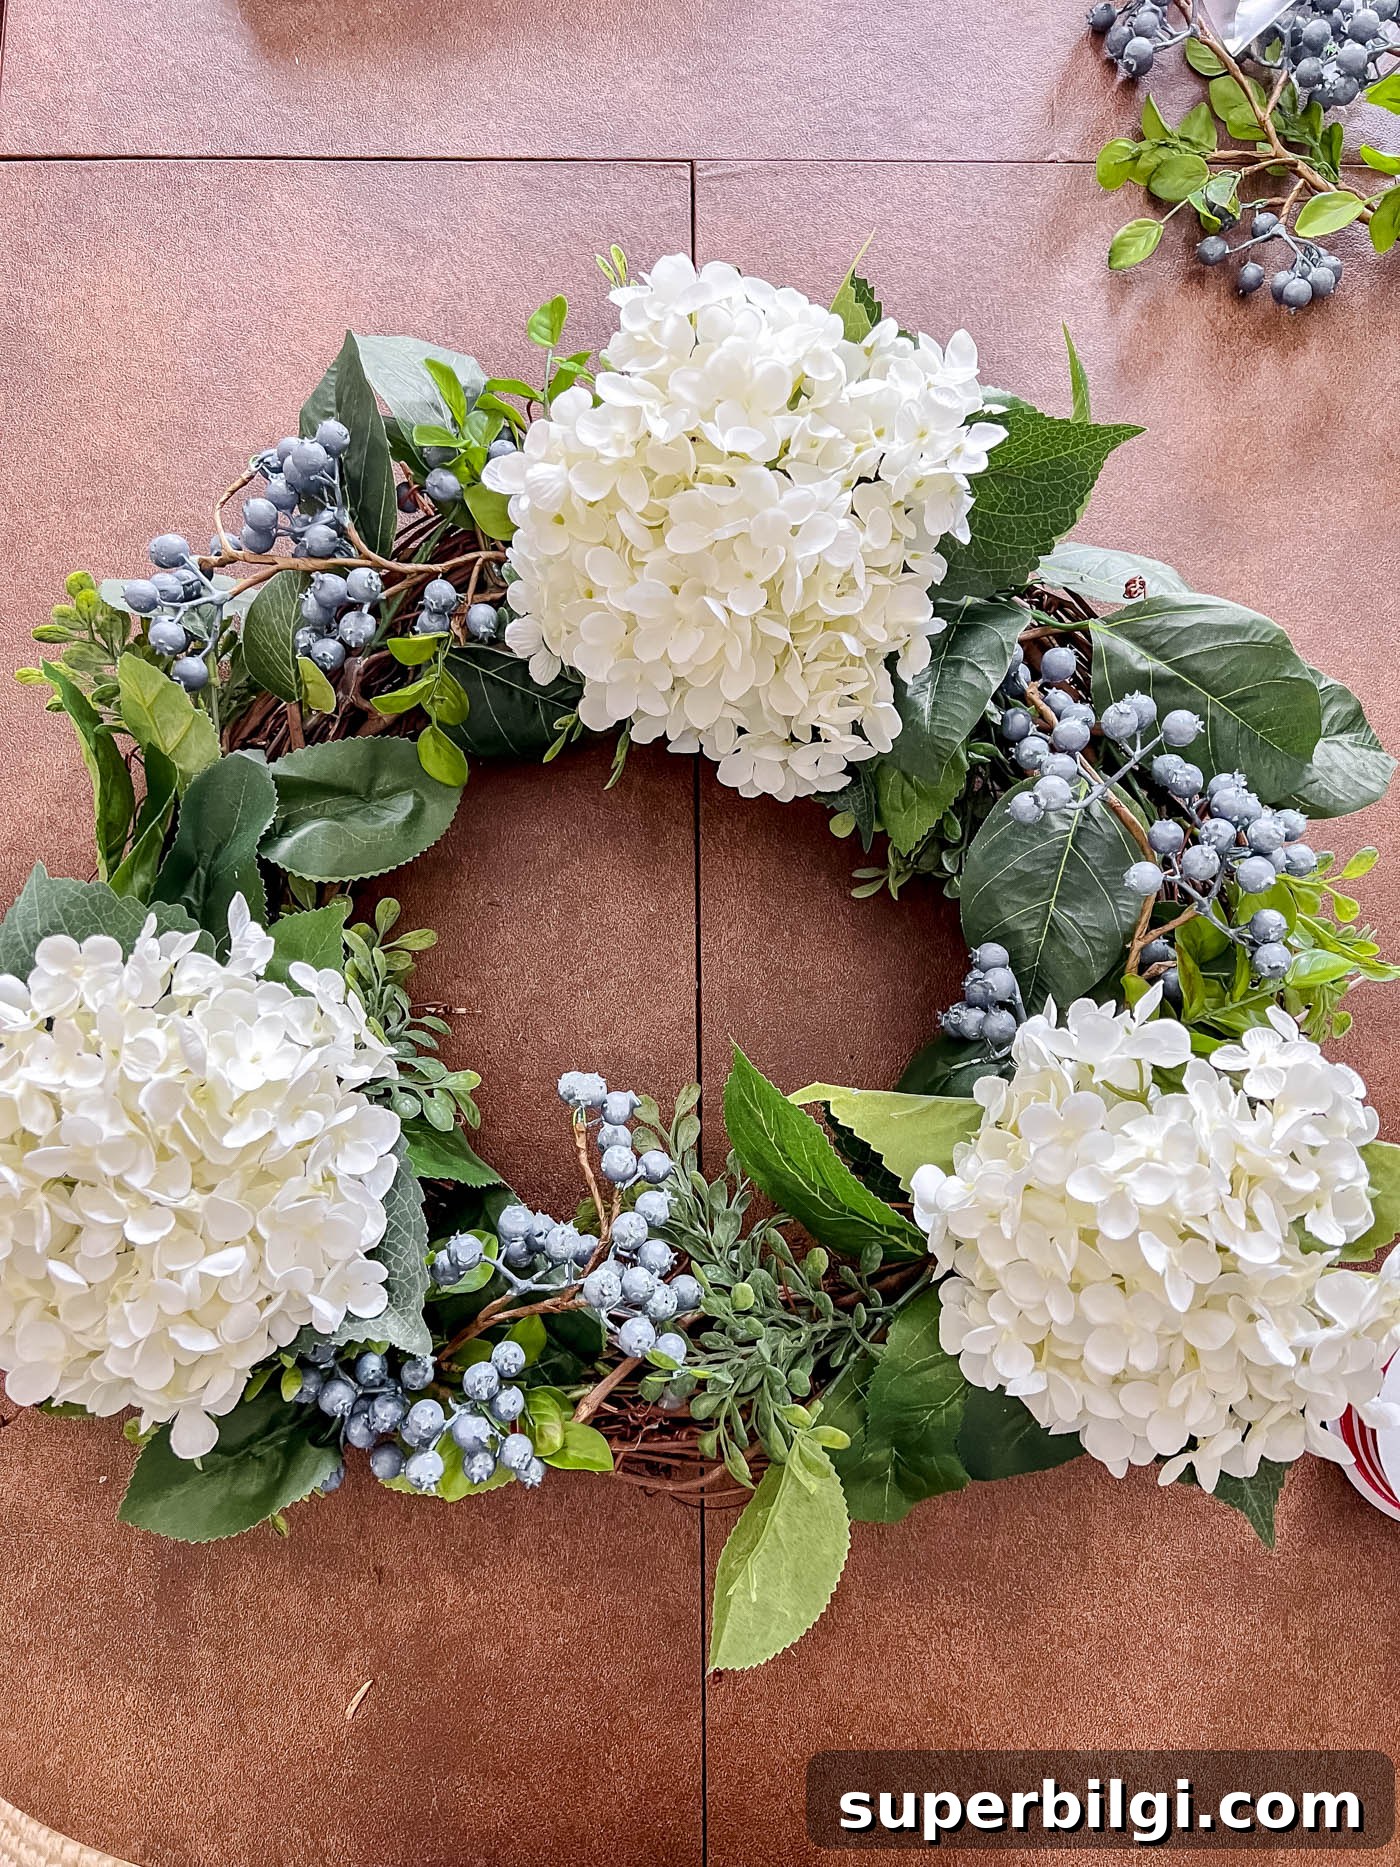
Start by tucking faux greenery around the wreath form to create a full base. Secure sprigs with hot glue or floral wire, working around the wreath so coverage looks even. Place the three large hydrangea blooms evenly spaced along one side or grouped slightly off-center for a focal cluster. Use hot glue and a bit of wire for a secure attachment.
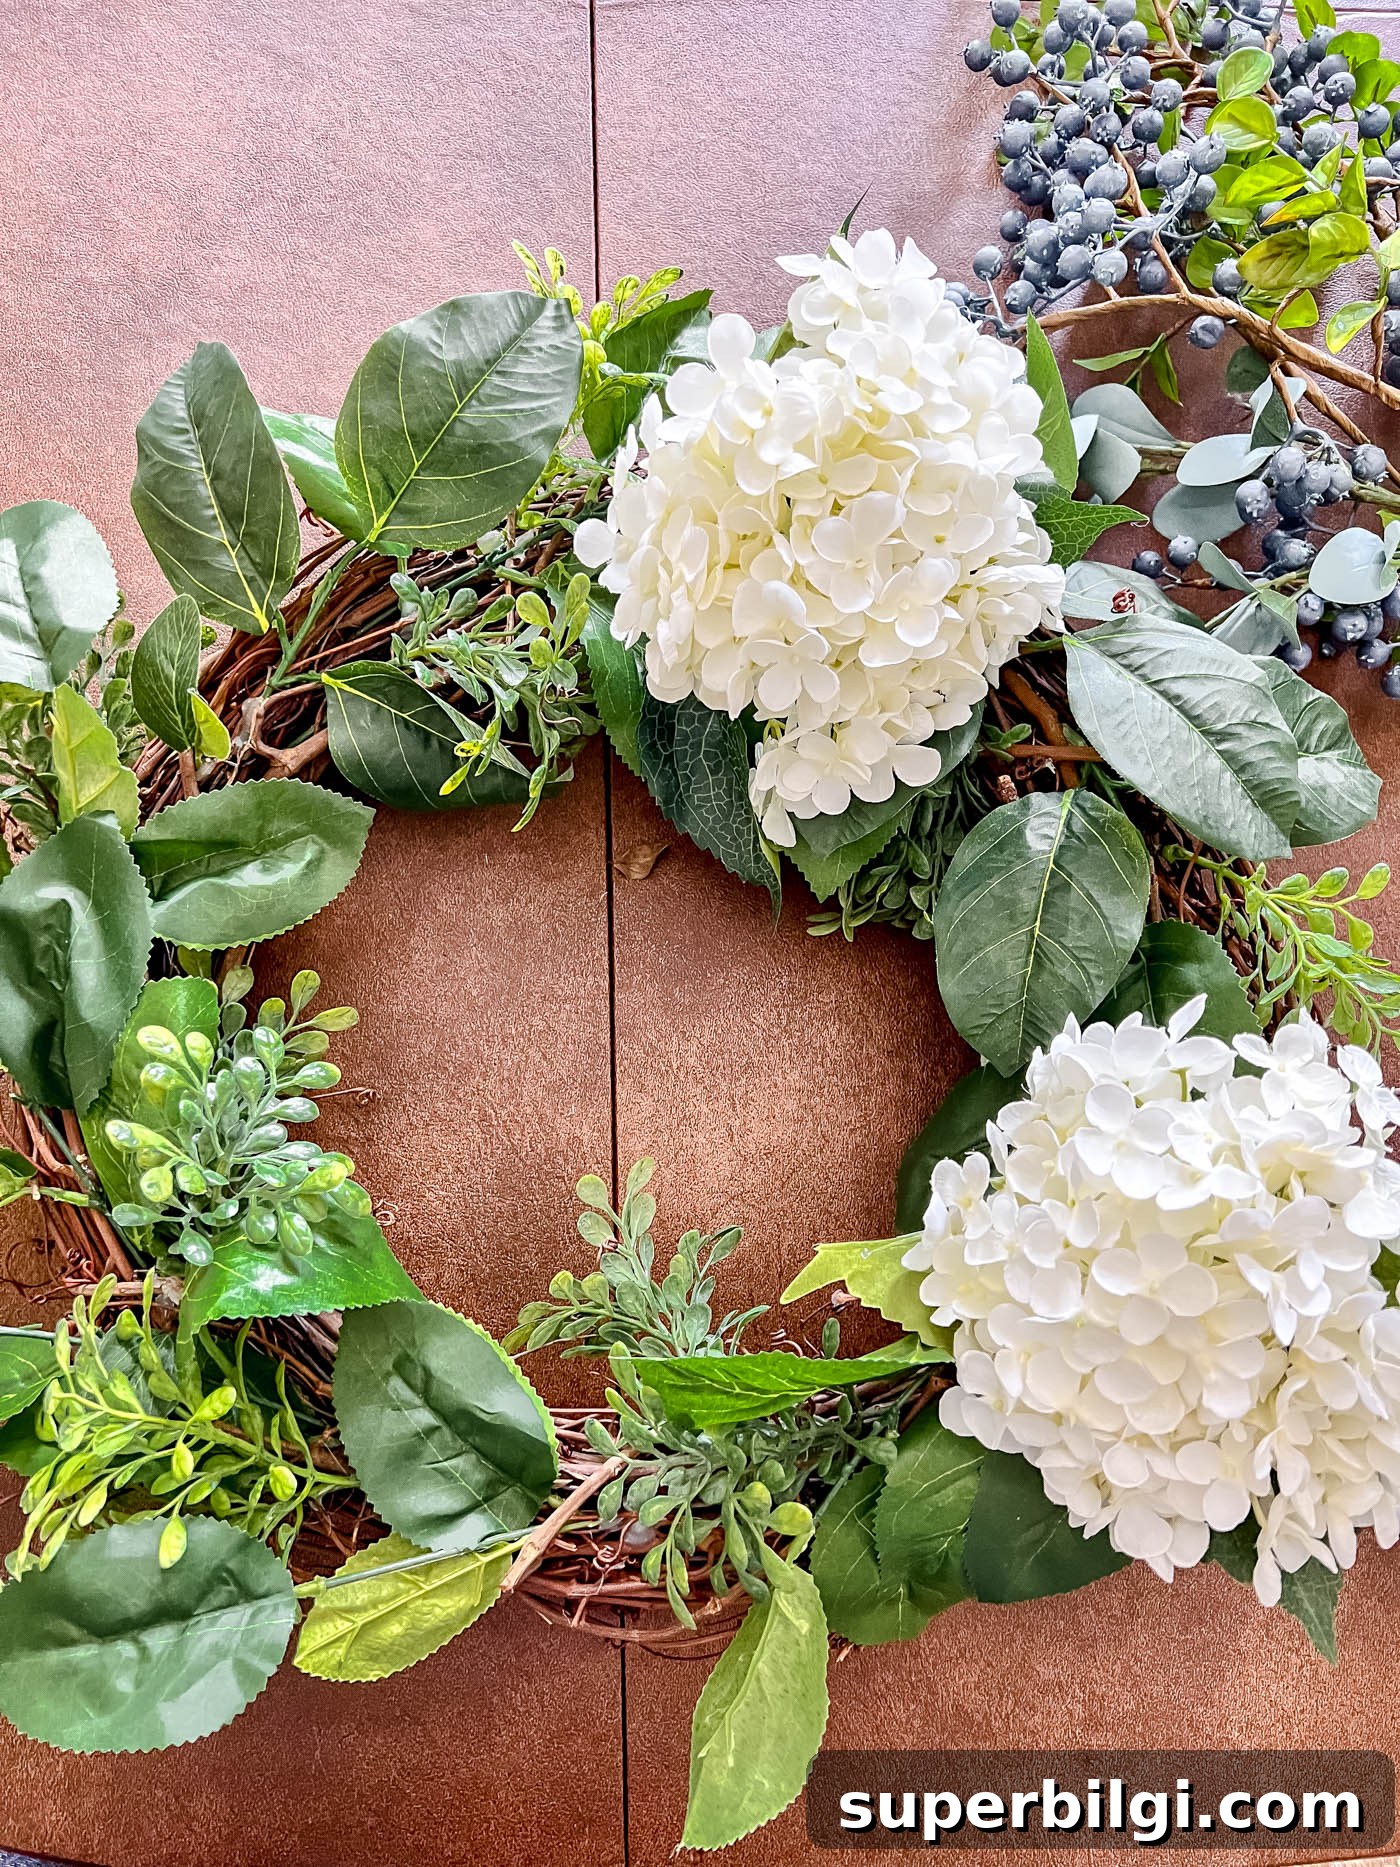
Fill in around the hydrangeas with the smaller blueberry stems, tucking them under and between blooms to add depth, color contrast, and texture. Step back periodically to balance the composition—rotate the wreath to check that visual weight is pleasing from all angles.
3. Prepare Your Ribbon and Make a Bow
Make a layered bow by stacking the red-and-white ribbon over the navy star ribbon for a rich, dimensional look. Cut generous ribbon tails if you prefer a dramatic style—long tails flutter nicely in a breeze. Use a tutorial or simple loop-and-knot method to form a full bow; secure the center with floral wire, a twist tie, or a zip tie.
Attach the bow to the wreath using the same wire or twist tie, and reinforce with hot glue if desired. Arrange the ribbon tails so they drape attractively over the wreath or along the door when hung.
4. Display Your Wreath and Enjoy!
Choose a spot to hang your wreath—your front door, porch, above a mantel, or on an interior wall. If the wreath will be exposed to weather, consider using weather-resistant ribbon and stronger adhesive techniques, and avoid prolonged damp exposure to preserve faux florals. For a finishing touch, tuck in small flags, a wooden initial, or a seasonal sign if you like.
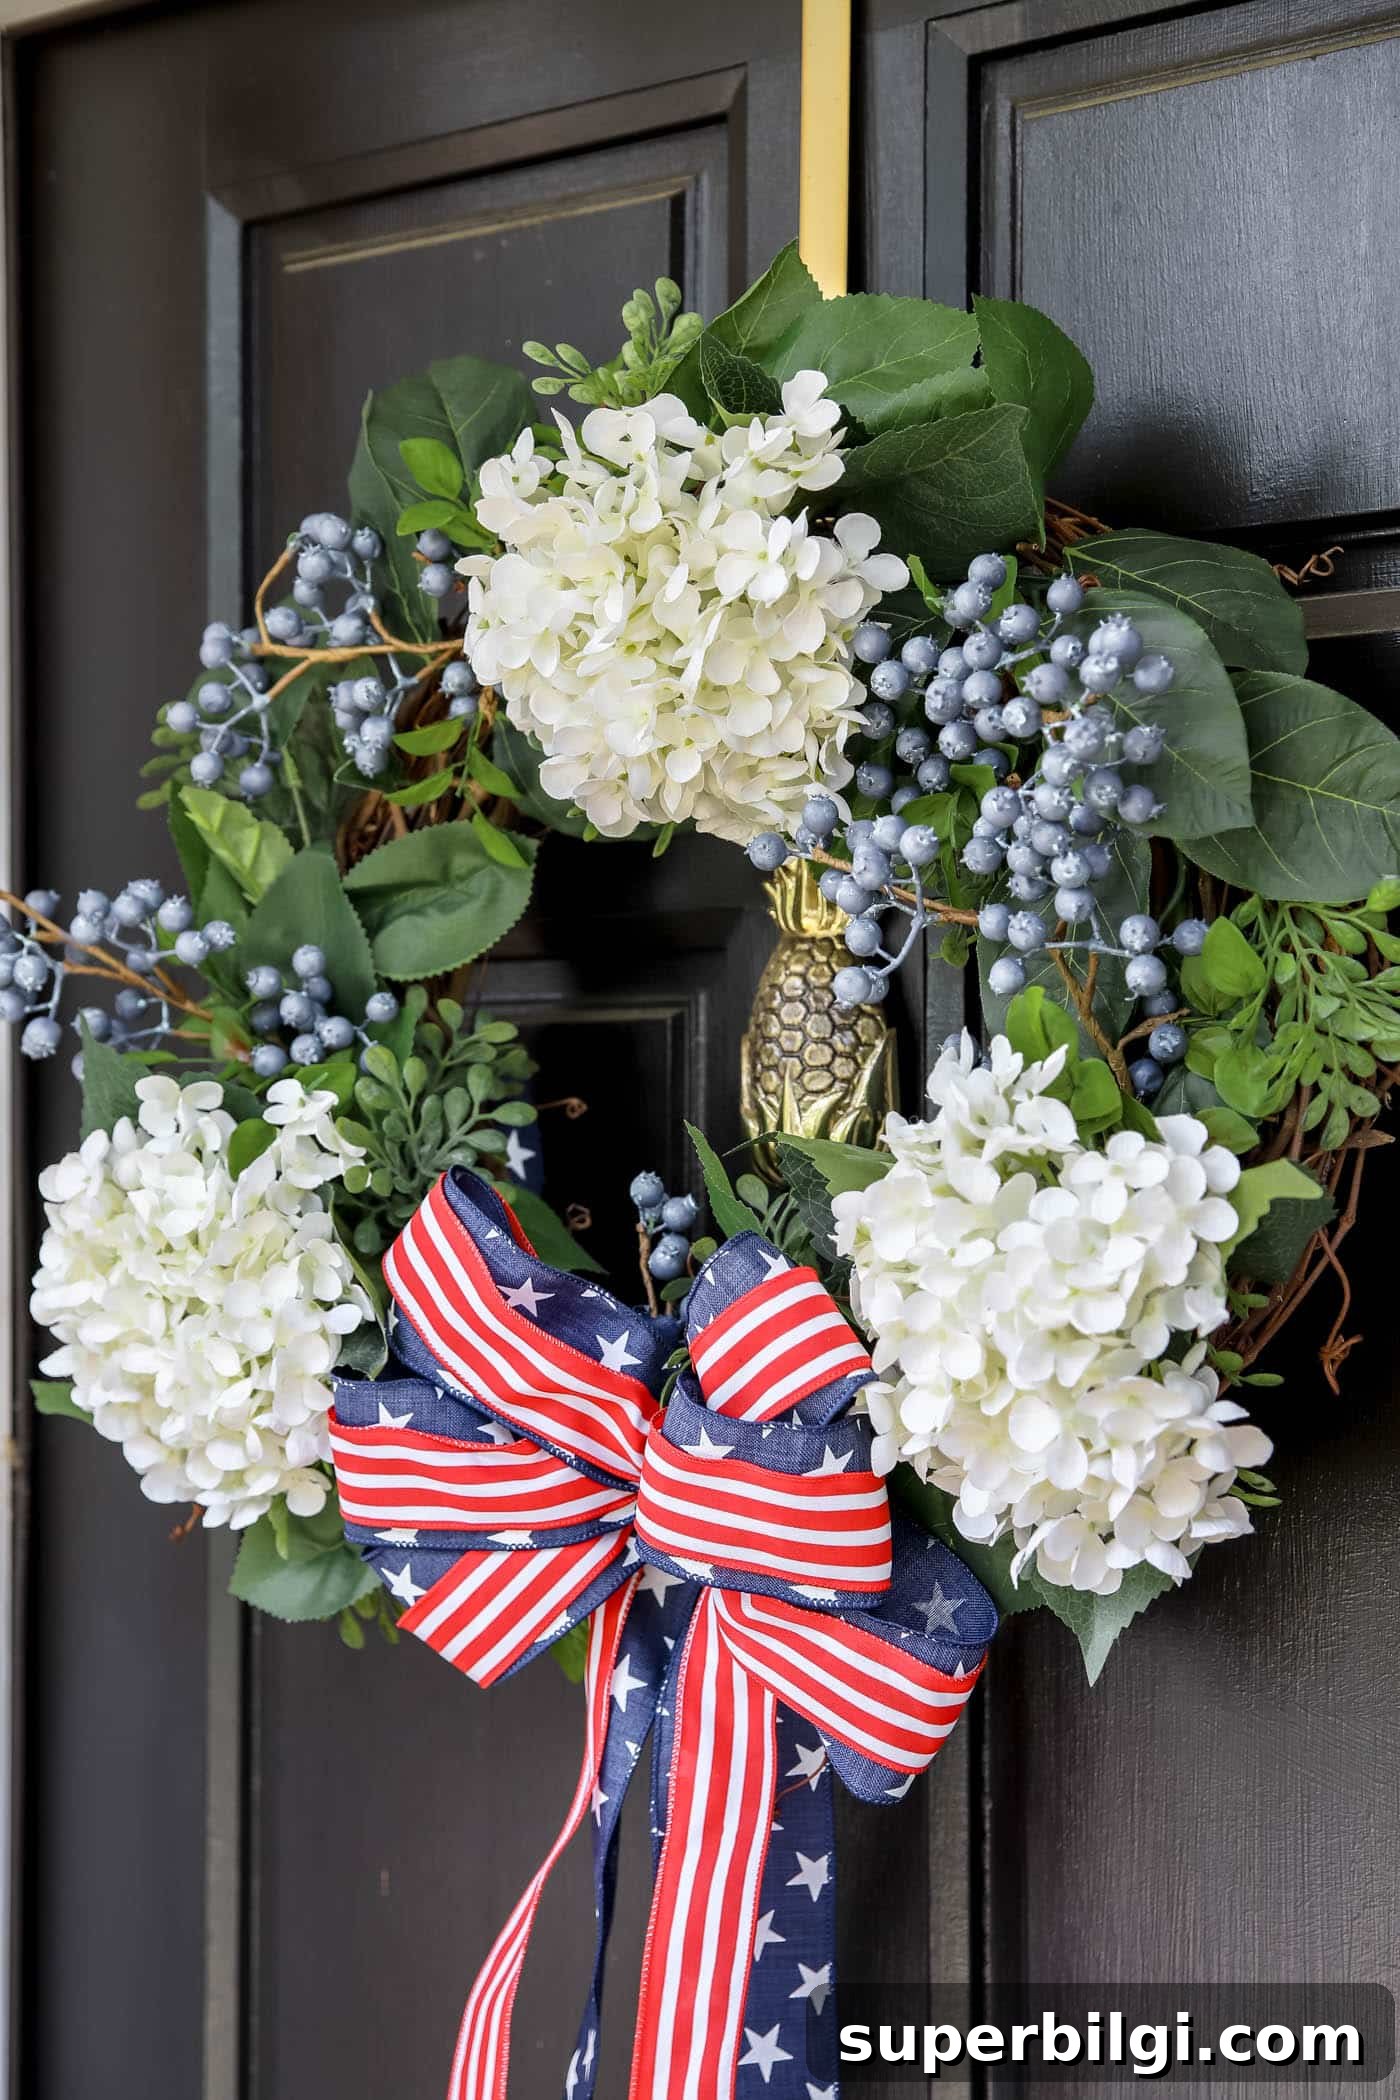
With simple materials and a little time, you can create a wreath that feels festive and polished. It’s an approachable craft project and a fun way to personalize your holiday decor. Store your wreath flat in a cool, dry place between seasons to keep its shape and color.
Happy crafting, and God Bless America!
More posts you might enjoy:
- How To Display Kitchen Cabinet Wreaths
- DIY Winter Wreath with Bells (step-by-step tutorial)
- 25 Amazing DIY Fall Wreaths
- DIY Summer Lemon Wreath
- DIY Simple Spring Wreath with Peonies