
Want to start tackling DIY projects at home? These five essential tools for beginner DIYers are a great place to begin.
I often hear from readers—especially women—“I can’t build that because I don’t have the tools or I don’t know how to use them.” I felt the same way when I started. One goal of this blog is to encourage and empower anyone who wants to learn: if I can do it, you can too.
My first projects were refinishing and repairing furniture because we couldn’t afford to replace everything. Over time I realized many projects are cheaper and more satisfying to DIY: sometimes I can’t find what I want in stores, and other times I can build a better version for far less money.
Growing up with handy parents gave me basic exposure to a hammer and a drill, but I had never used most power tools until I bought them and learned as I went. I read instructions, took my time, and always prioritized safety. If you’re new to tools, start slowly, read manuals, and wear the proper safety gear—glasses, hearing protection, and gloves when appropriate.
This post contains affiliate links for your convenience. See my full disclosure policy.
I love sharing practical tips and the best tools for DIY. Over time I’ve written guides on removing drywall anchors, choosing the best light bulbs for each room, and swapping a light fixture—small skills that help you create a home you love on a budget.
My Favorite Beginner DIY Tools
1. Orbital or Sheet Sander
Almost every wood project needs sanding at some point. Using an electric sander saves time and effort compared to sanding by hand. I keep both an orbital sander and a sheet sander in my tool collection. The orbital sander is a workhorse for heavy material removal, while the sheet sander is gentler and better for finishing, especially when you want to avoid leaving swirl marks before staining.
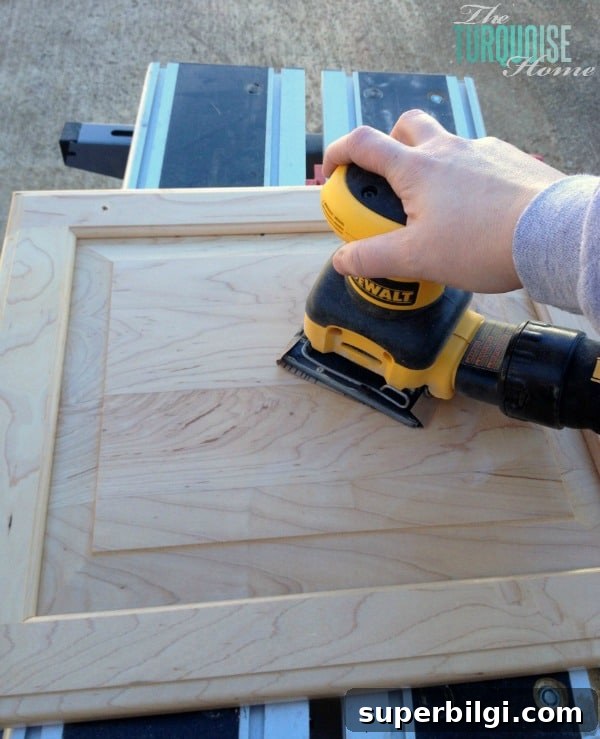
Sanding tip: always sand with the grain when possible, start with a coarse grit to remove imperfections, and finish with progressively finer grits for a smooth surface ready for paint or stain.
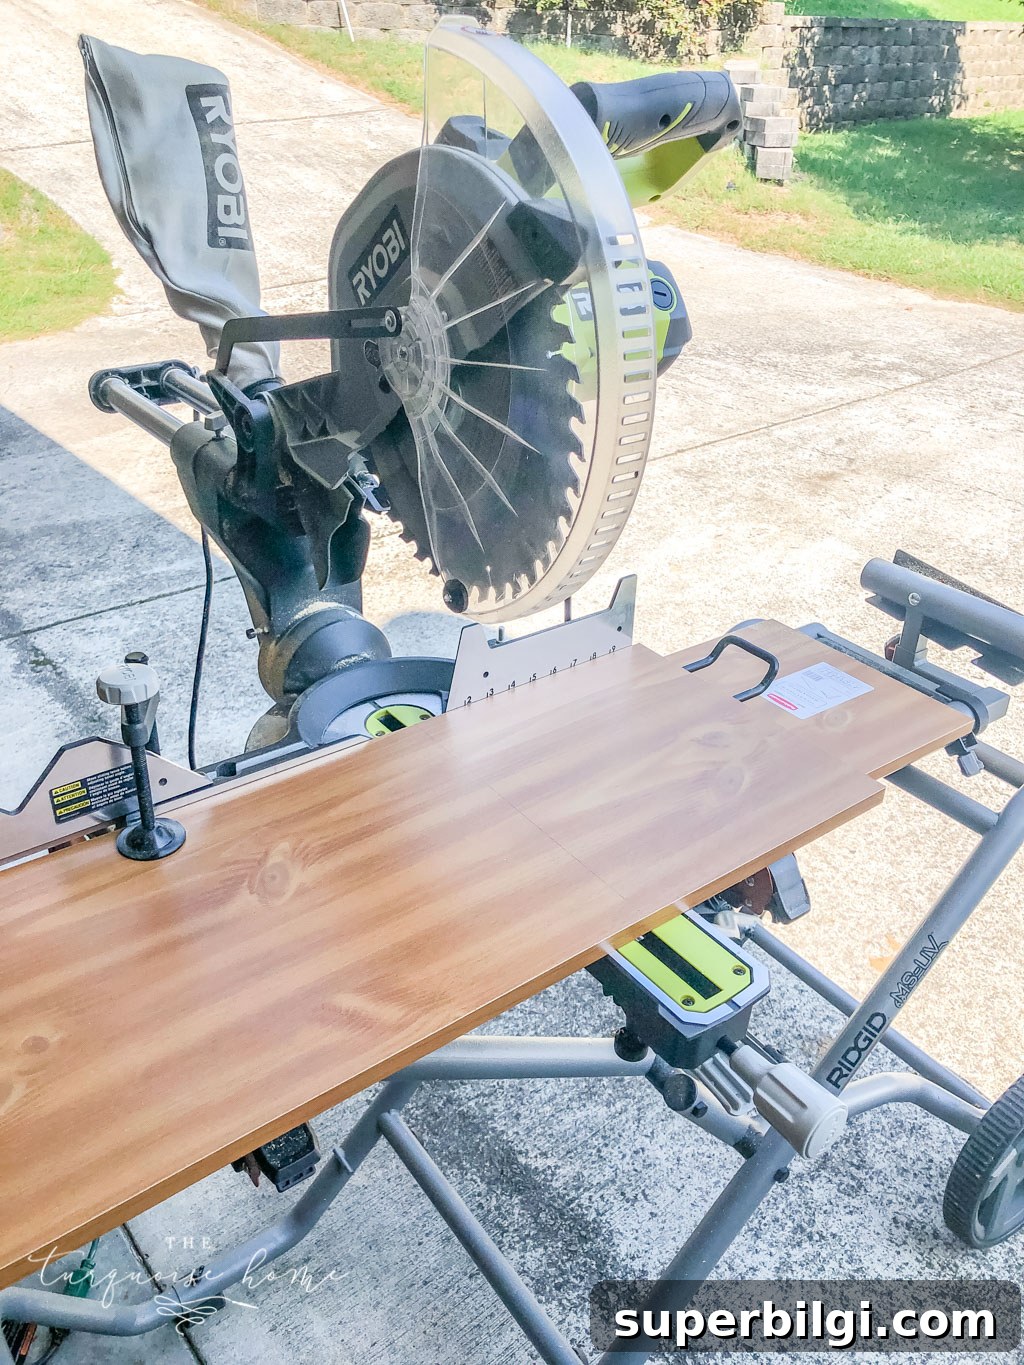
2. Miter Saw
A miter saw was my first major tool purchase, and it quickly became the one I used most. It’s ideal for making accurate straight cuts and mitered angles for trim, moulding, and many furniture projects. Many DIYers worry about the saw, but if you follow the instructions and keep your hands at a safe distance, it’s straightforward and extremely useful.
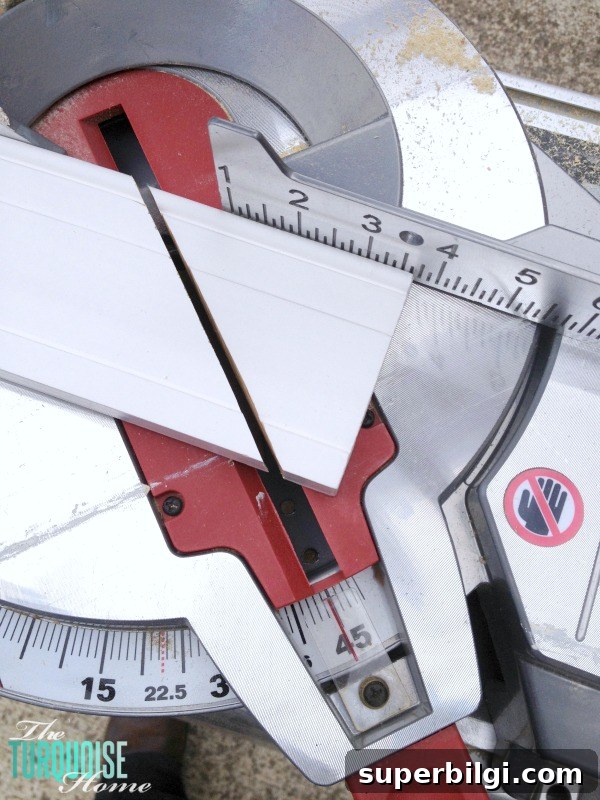
Miter saw tip: use it outdoors when the weather allows to avoid filling your garage with sawdust. If you must work inside, connect the saw to a wet/dry shop vacuum or dust collection system to keep your workspace clean and reduce cleanup time. A mobile stand also makes bringing the saw out and putting it away much easier.
3. Circular Saw
A circular saw is invaluable for cutting larger sheets and boards that won’t fit on a miter saw. At first it can feel intimidating because you control the cut entirely by hand, but with practice it becomes an essential tool. I often use a cordless circular saw for quick cuts when I don’t want to set up the miter saw.
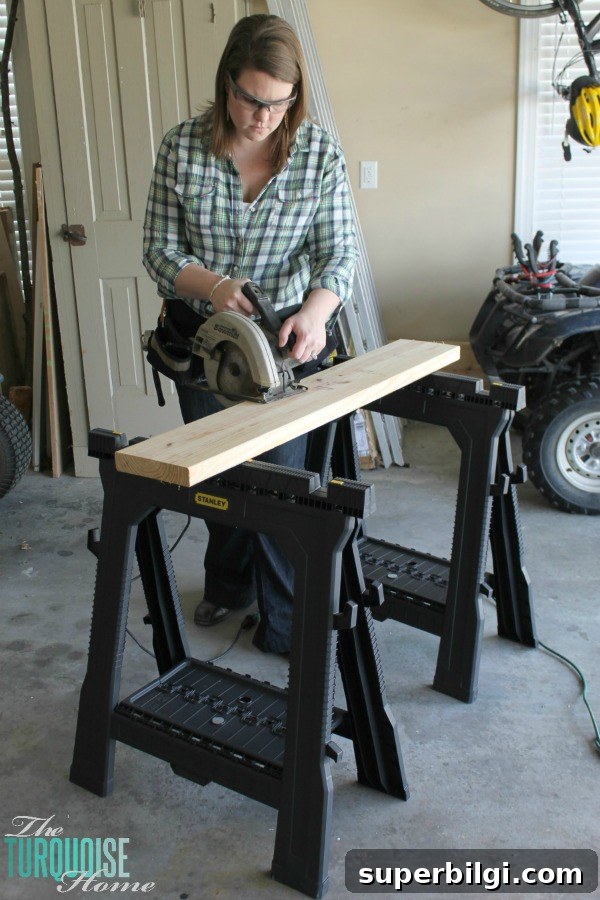
Circular saw tip: clamp a straight edge guide to your workpiece or use a cutting guide attachment to ensure perfectly straight cuts every time. Take steady, controlled passes and let the saw do the work—don’t force it.
4. Kreg Jig
A pocket-hole jig, commonly known as a Kreg Jig, is a simple but powerful tool for joining wood. It creates strong, hidden joints and speeds up assembly for furniture, shelving, and many other projects. I used mine the first time to build a farmhouse table and have relied on it for countless projects since.
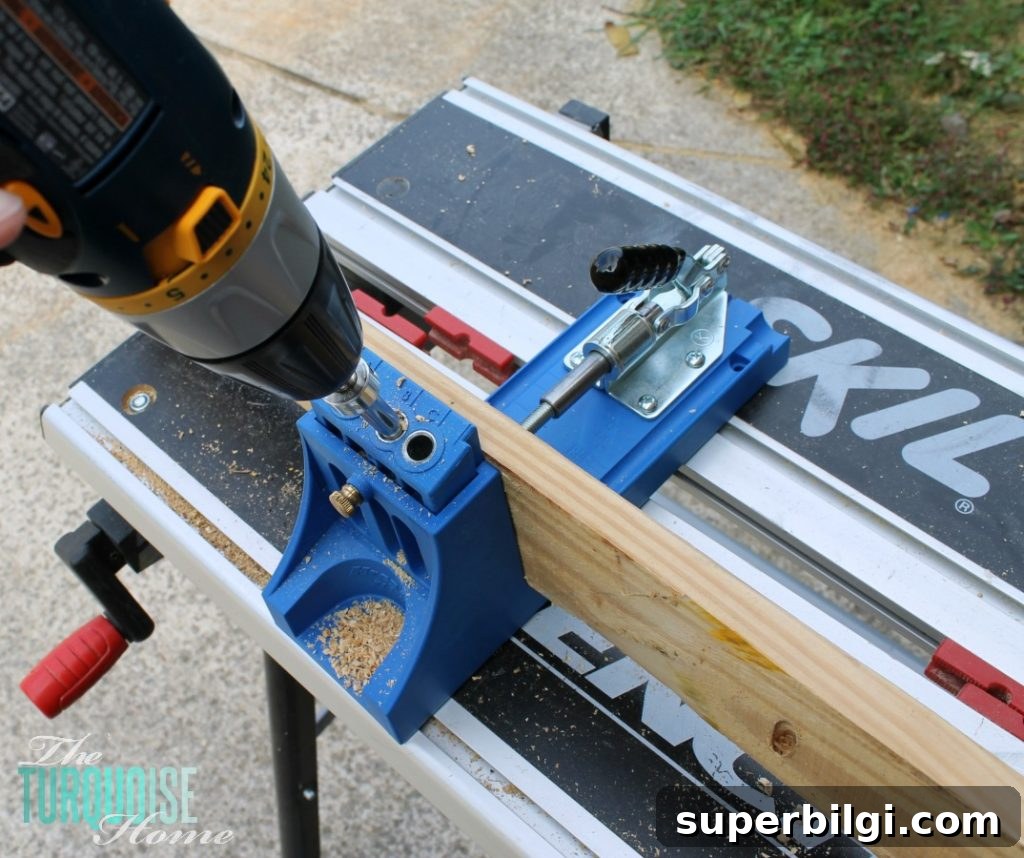
Kreg tip: use the jig to align and clamp pieces before driving screws. Pocket-hole joinery is forgiving and creates clean, professional-looking results even for beginners.
5. Cordless Brad Nailer
A cordless brad nailer is one of those tools I wished I’d gotten sooner. It makes finish work like attaching trim, picture frame moulding, and beadboard quick and clean. Because it’s cordless, it’s easy to move around the house without dragging hoses or compressors.
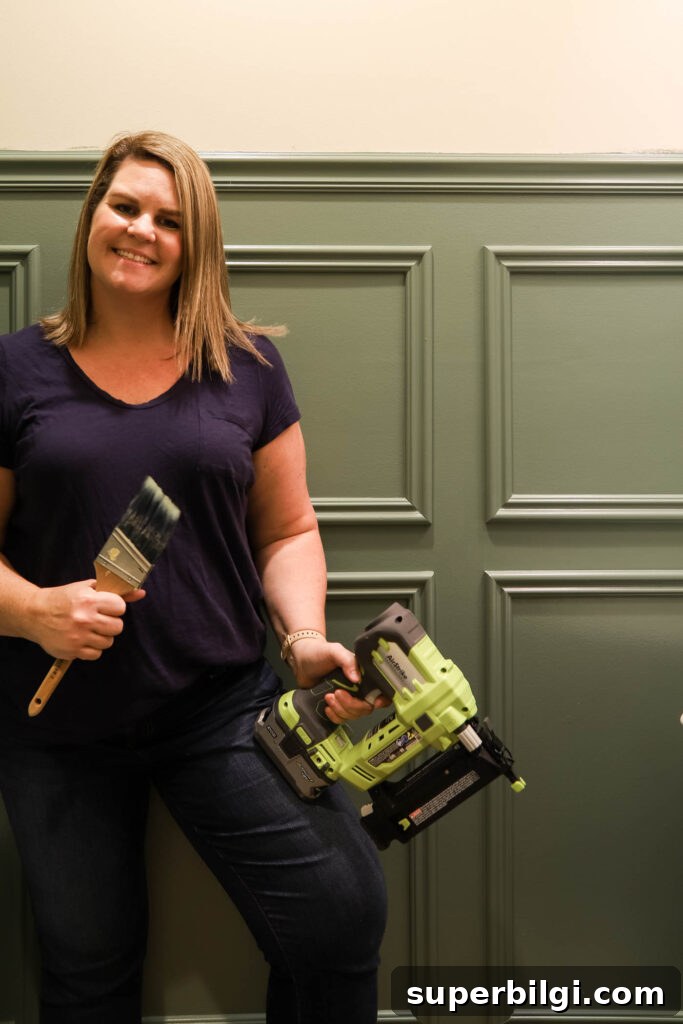
Brad nailer tip: practice on scrap wood first to set the correct depth and avoid splitting delicate trim. Use nails appropriate for the material thickness and finish the nail holes with a bit of wood filler and touch-up paint for a seamless look.
Bonus Tool: Wet/Dry Shop Vacuum
A wet/dry shop vacuum is an indispensable “tool” for any DIYer. It keeps your workspace tidy, helps control dust when cutting or sanding, and makes cleanup fast. Investing in a good shop vacuum early will make every project more pleasant and efficient.
What’s your favorite tool to start with as a beginner? If you’re building a tool kit, start with the basics above and add tools as your projects require. Focus on learning safe techniques and steady progress—small projects build skills and confidence.
More posts you might enjoy:
- Paint a Room Like a Pro in 5 Easy Steps
- My Favorite Paint Tools, Tips and Tricks
- The Best Power Tool Set Gift Guide