We've wanted to stain and seal Miss A's play set ever since she got it nearly a year and a half ago. Here in the South, there's only a short stretch of the year when the weather isn't scorching or miserable, and not too chilly either. Since Easter weekend brought gorgeous weather, we tackled the project a couple of Saturdays ago. Yay for crossing things off the list!!
While searching for the best wood stain finish, I came across this Flood CWF-UV®5 Oil Wood Finish. It stains beautifully, and it also stands up to moisture damage and mildew. It includes Penetrol, which helps the wood last a long time. We went with the clear version because I simply wanted to bring out the color of the cedar.
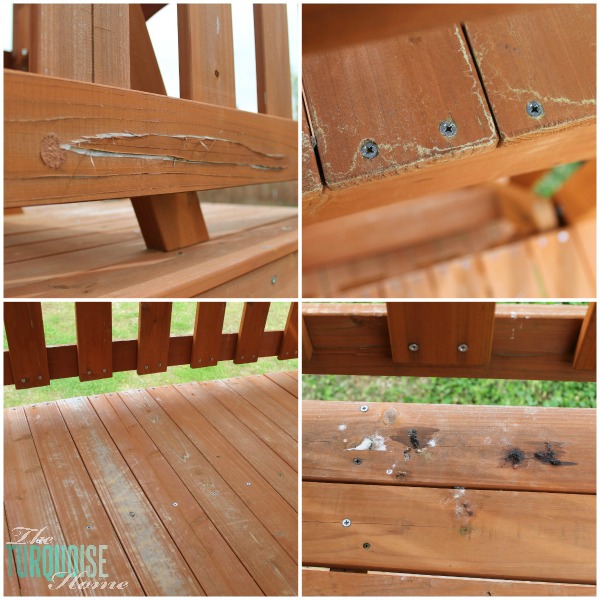
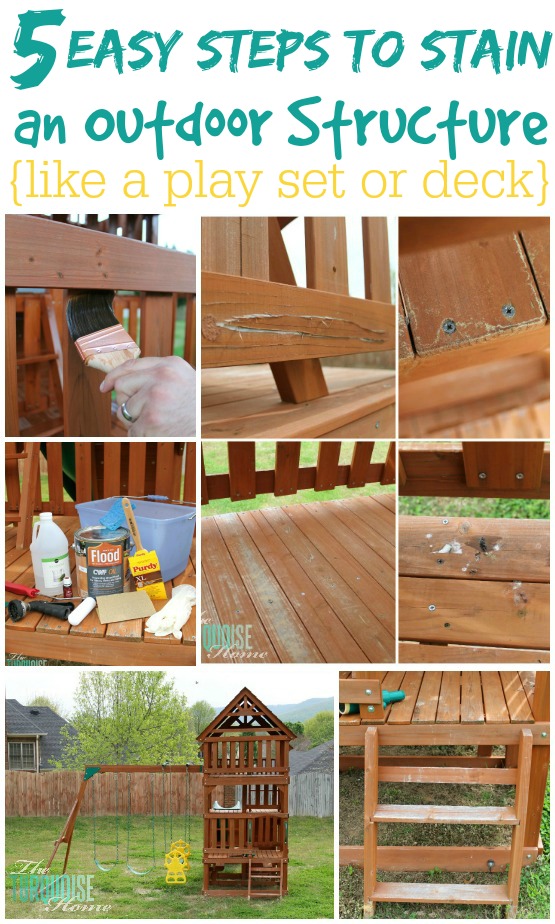
As you can see, the play set needed plenty of work before it was ready for spring and summer. It was covered in bird droppings and pollen, and I had to sand a few spots where the wood had lifted from moisture damage.
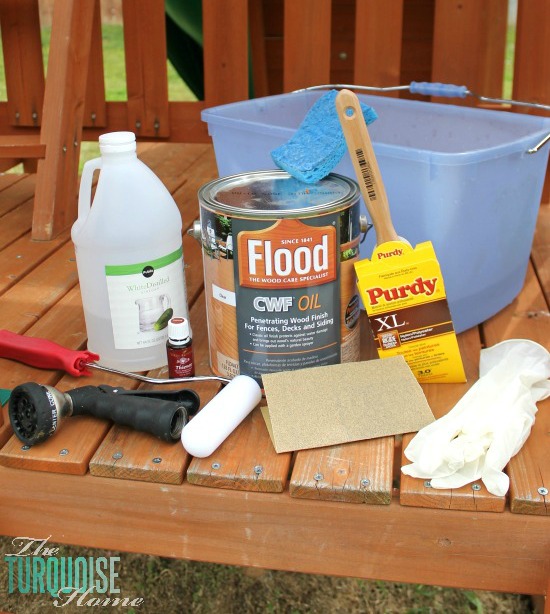
Supplies you'll need:
- Flood CWF OIL Wood Finish
- Purdy brush for "all paints & stains" {these are my absolute favorite brushes. Clean them properly and they'll last forever. Like 15 years forever. Honest truth.}
- Foam paint roller
- garden hose {not pictured}
- hose spray nozzle
- bucket for cleaning
- white vinegar {optional: Thieves essential oil}
- stiff scrub brush
- rubber gloves
- sanding paper
Step 1: Sanding
Sand down any rough patches on the wood. A few spots were lifting, so I used some medium-grit sandpaper and smoothed them as best I could.
Step 2: Clean Up
This baby needed a serious cleaning. I mixed water, vinegar, and Thieves essential oil and scrubbed off all the grime. I wore thin disposable rubber gloves because I'm a bit of a wimp when it comes to bird droppings and the germs they can carry. Ick!
Step 3: Rinse It Off
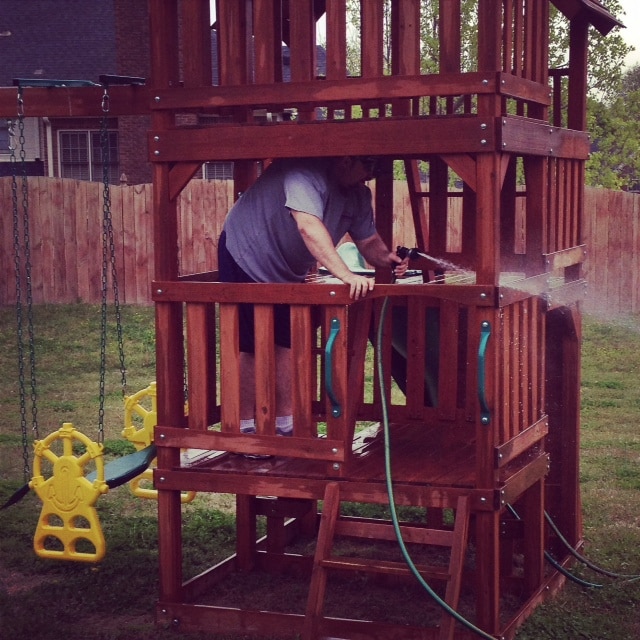
I scrubbed away the droppings and any other gunk, but the hose was much quicker for getting rid of the pollen. That was Coach's job, and he sprayed everything down!
Step 4: Let it dry.
Yep, just wait. We washed the cars while it dried. Little did I know I should have sat on the couch and rested, because I was completely worn out after we finished staining that night.
Step 5: Apply the Stain
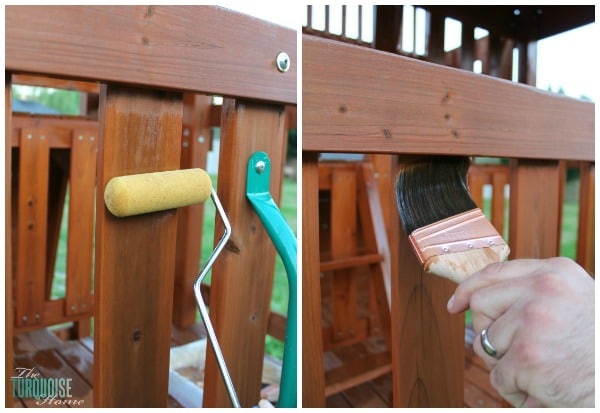
Next we rolled or brushed on the stain. We used the roller wherever we could and painted the cracks and crevices the roller couldn't reach. It was very easy, just slow, since the structure was so big. The nice thing about clear stain is that you don't need to be super precise. Just cover everything and avoid letting it pool in spots. Honestly, it was simple. It took about 4 hours with both of us working hard to stain the whole thing.
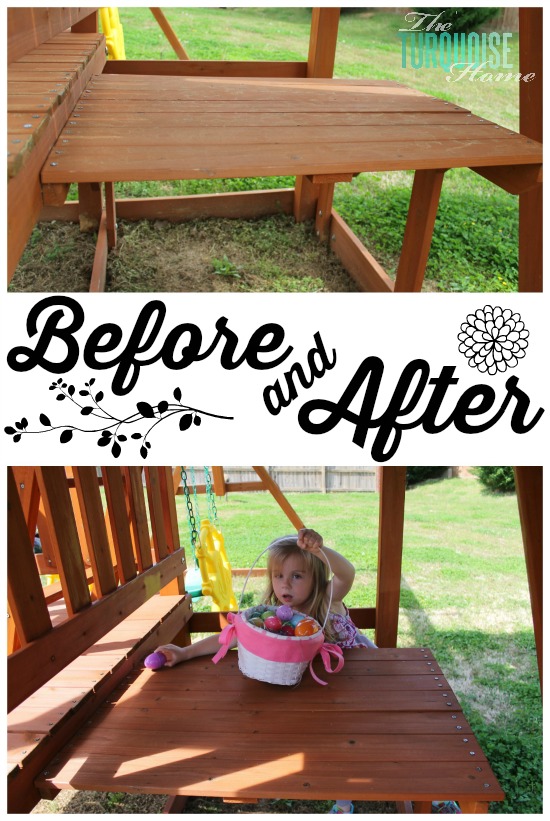
Then you can sit back and enjoy your work! I feel so much better knowing the wood is stained and protected for another year of use. We put so much effort into building it that I want to make sure it lasts for years to come!
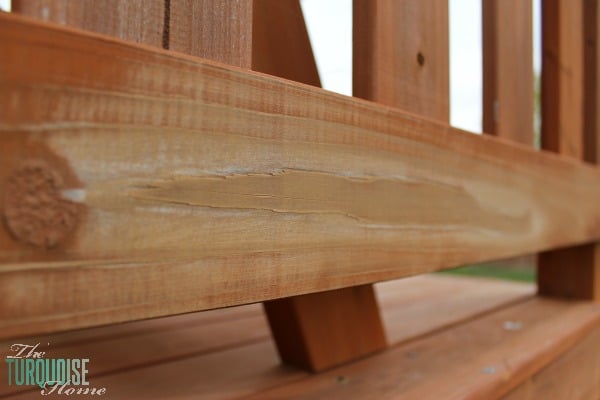
I didn't really take proper before and after photos, but we hid Easter eggs on the play set the next day and I happened to snap this shot of the table. You can see how it deepened the wood's color and made it look fresh and clean again. Love it!
More Posts You Might Enjoy: