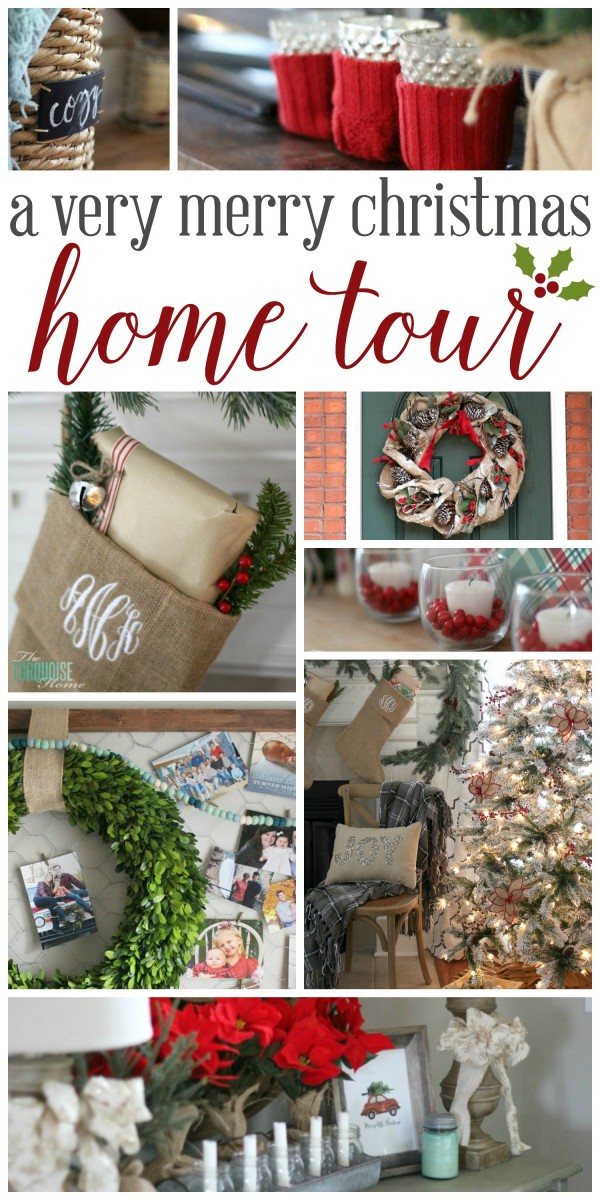
Welcome to my Christmas home tour! This is one of the posts I look forward to most all year, and I'm delighted it's finally finished and ready for you.
Finding time between painting the cabinets, feeding my two little ones, decorating, tidying up and snapping photos has been a whirlwind. My almost 5-year-old ended up keeping her sister busy in her room while I shot these pictures, and it was easily the best $.75 I've spent in ages.
I'll be honest: styling my home and sharing it with you is a blast, and I adore making lovely spaces. But with an 11-month-old who gets into everything, please don't imagine my house looks like this ... ever. It doesn't. It only looks this way for the 30 minutes it takes to get my photos.
And there's exciting news too! I'm joining more than 20 other bloggers to show off our homes this week, so be sure to visit the bottom of this post and see them all. PLUS, enter to win our $500 giveaway!!!
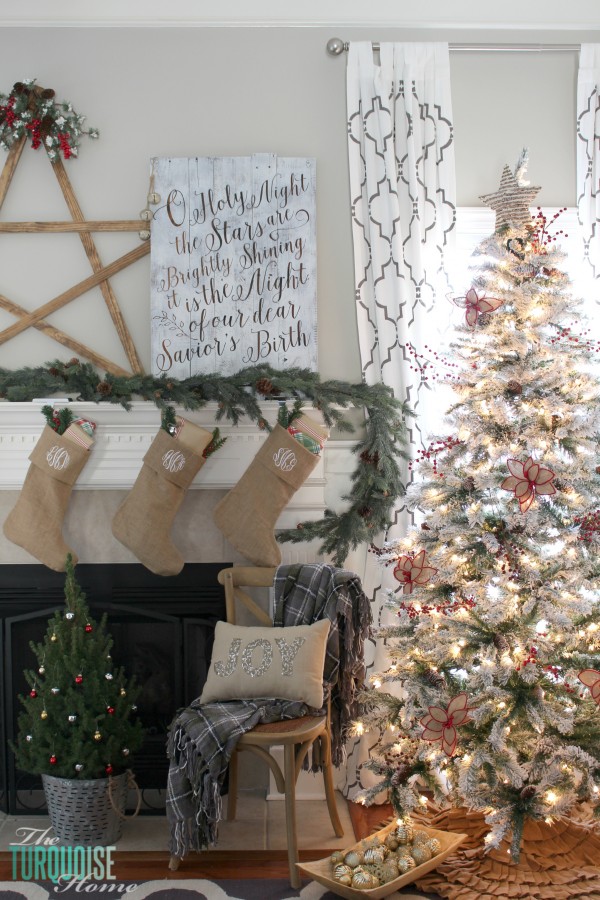
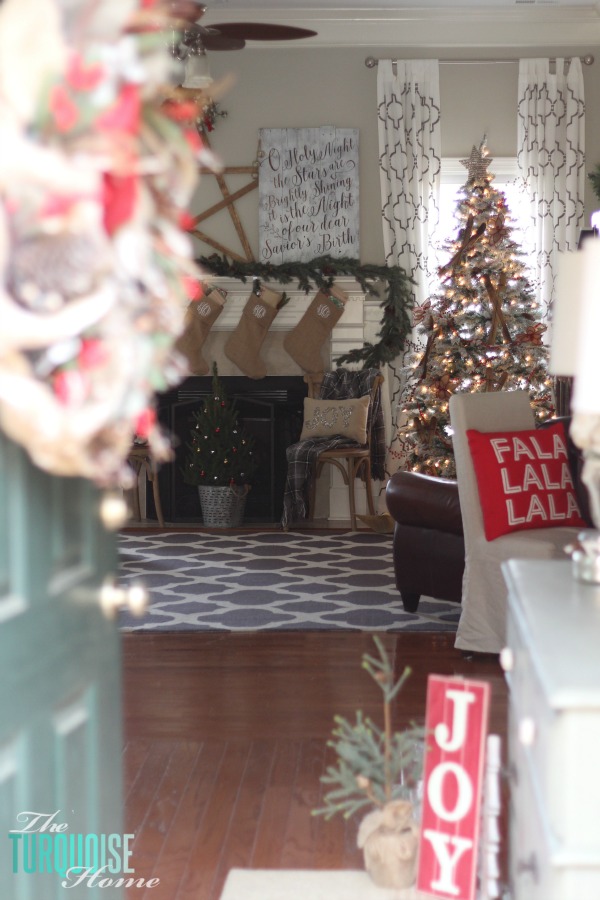
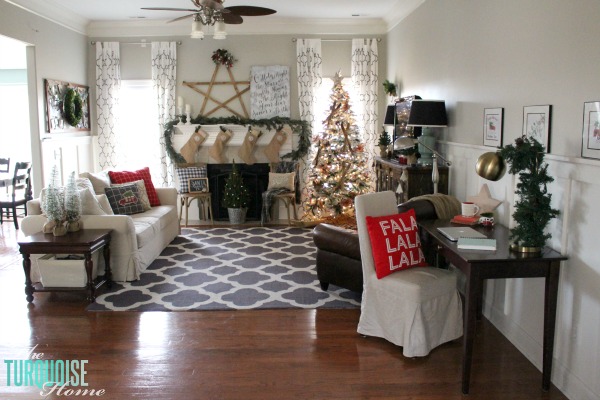
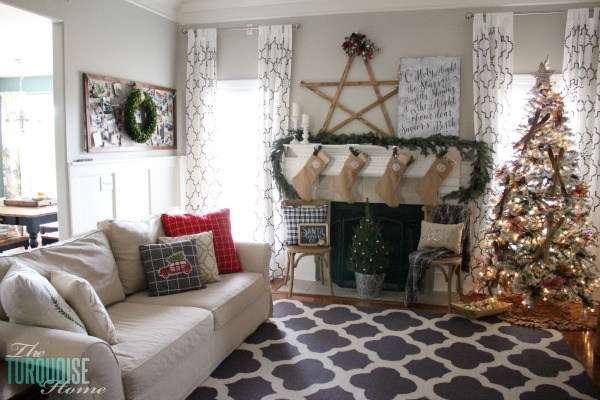
This year I pictured my mantel with a big star and a "hand-lettered" sign. I'll share more about the pallet sign tomorrow, but I made it with my Silhouette Cameo.
I adore how simple the mantel feels; it doesn't need much extra clutter. I'm discovering that a few big decor pieces make a far bigger impact than a pile of little ones.
Then there's my new flocked tree from Walmart. I'm completely smitten with it.
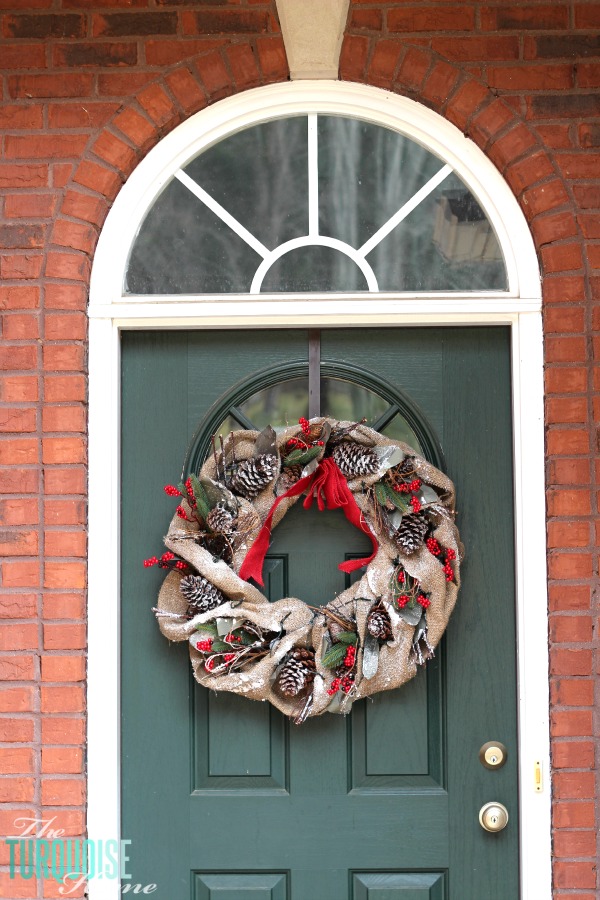
I fell for this burlap and pine cone wreath from Lowe's. I usually make my own, but this one looked flawless straight out of the packaging. It has tiny LED lights, though I'm not sure I'll switch them on.
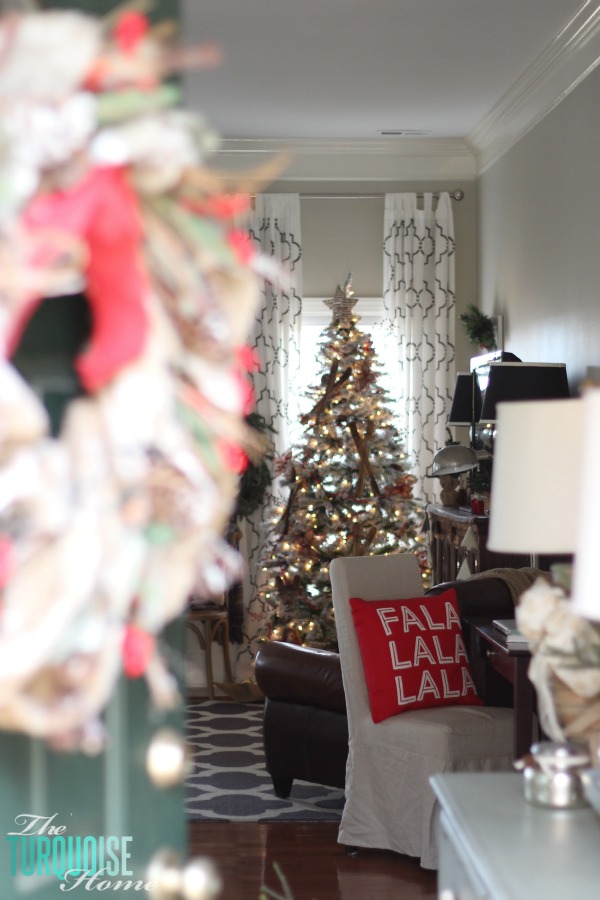
The charming Falalalalala pillow (how many la's is that?!) is from Target, and so is the cute "Joy" sign below.
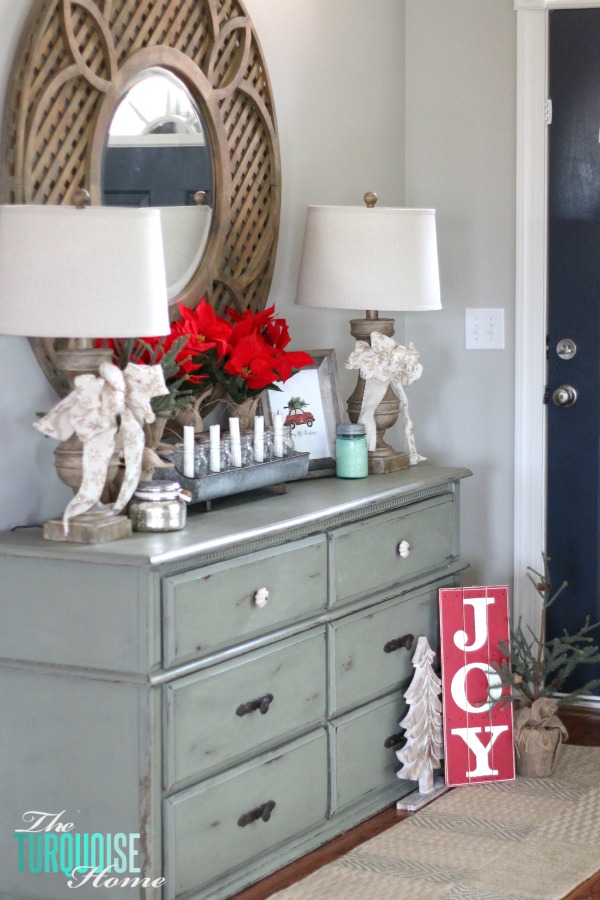
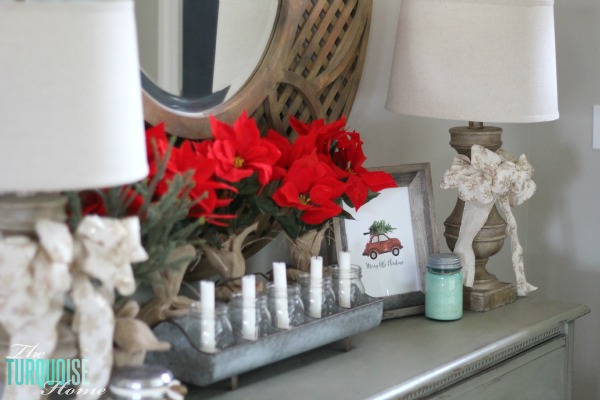
I reused the bows on the lamps and most of the other decor from last year. I did grab faux poinsettias from the Dollar Spot at Target. The galvanized centerpiece came from Hobby Lobby, though you can find a similar one here.
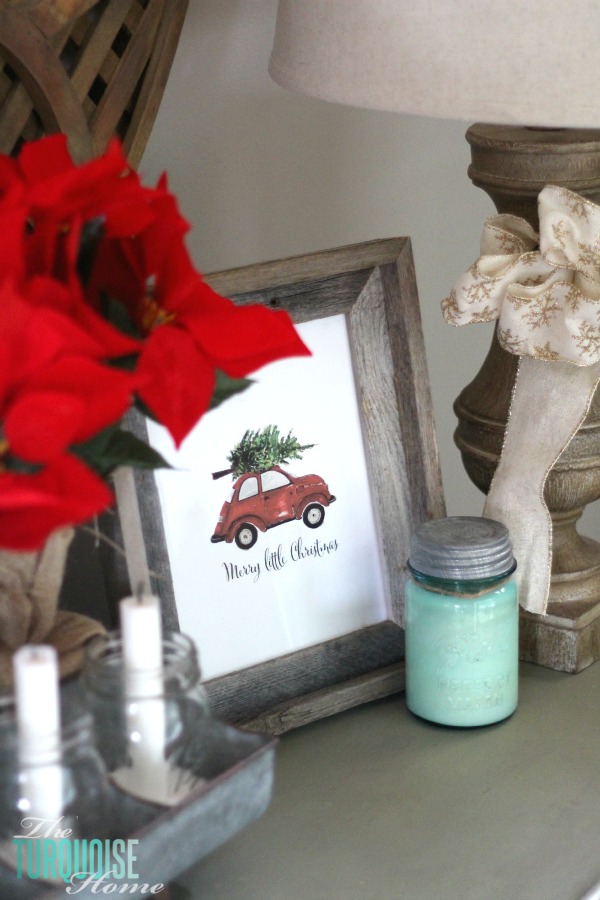
The sweet buggy with a tree print comes from fellow blogger Lucy at Craftberry Bush (similar). Her shop has the loveliest prints!
If you've followed along for a while, you'll notice my desk has moved into the living room. I strongly believe in having a workspace of your own. I also believe your home should serve you and the season you're in. Right now, a desk in the living room suits me better.
I picked up these burlap stockings from a local shop last year and adore them. You can find similar ones on Etsy.
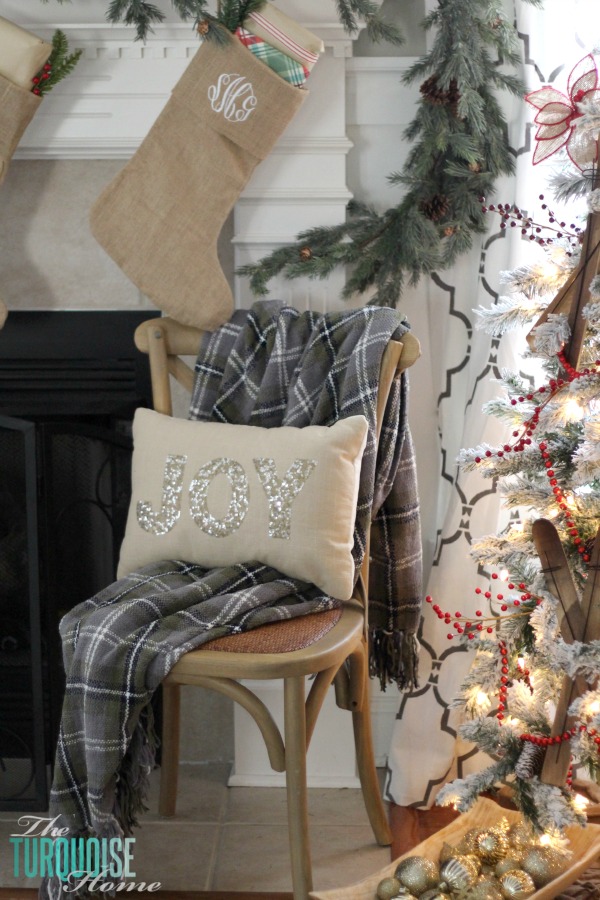
Festive pillows are a favorite part of my holiday decor. I bought this sparkly "JOY" pillow from Target last year. This year they have new wording that's very similar: Merry, Noel & Peace.
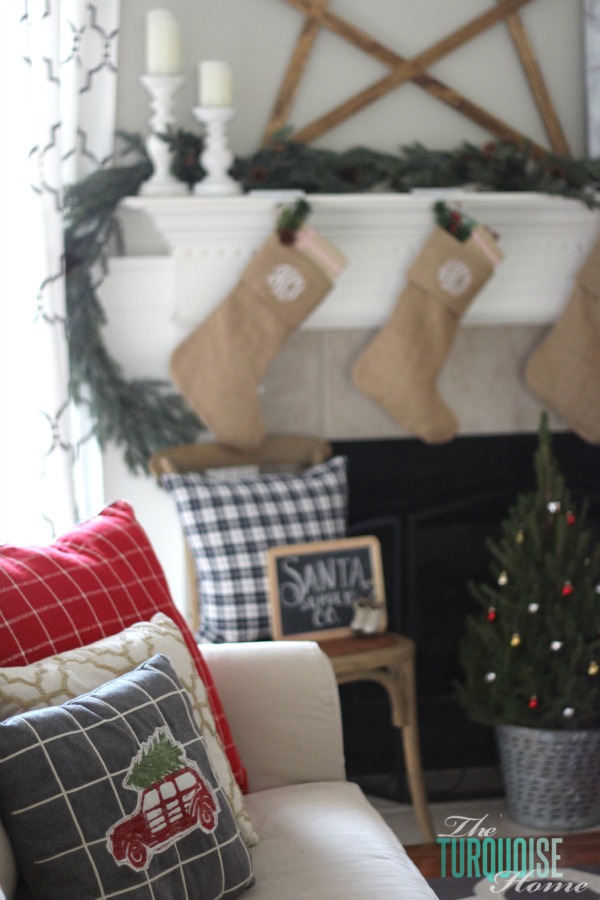
The car with a tree pillow is also from last year. The navy plaid pillow is one I sewed from cloth napkins, and I shared a simple tutorial for it. The red plaid and gold lattice pillows are from Target this year. Do you see a pattern in where I shop? Ha!!
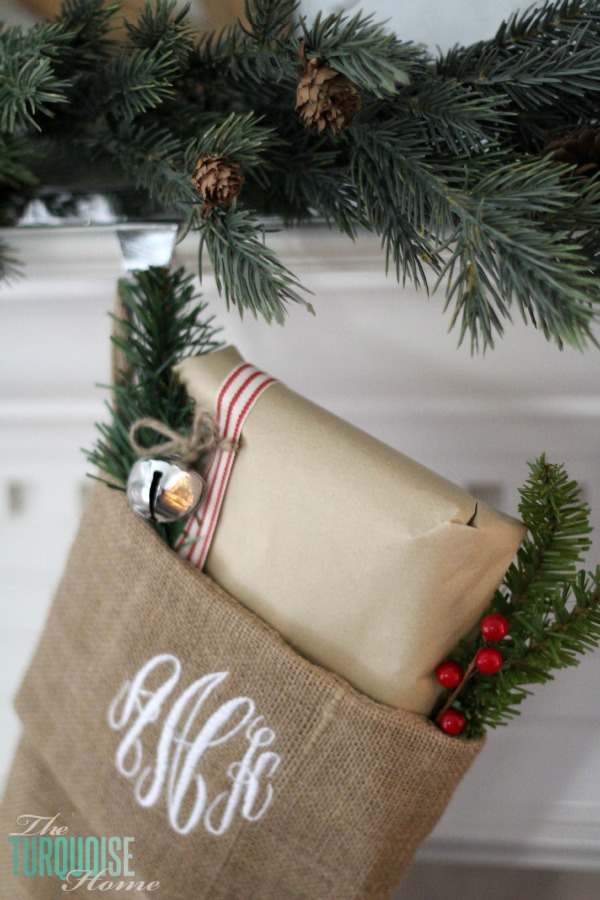
I wrapped up some cute Christmas pajamas for the girls and already tucked them into their stockings. Last year we started a tradition of opening pajamas before Christmas. I can't decide whether they should open them on Christmas Eve or earlier. Why not get a few nights of wear out of them before the big day, right?!?
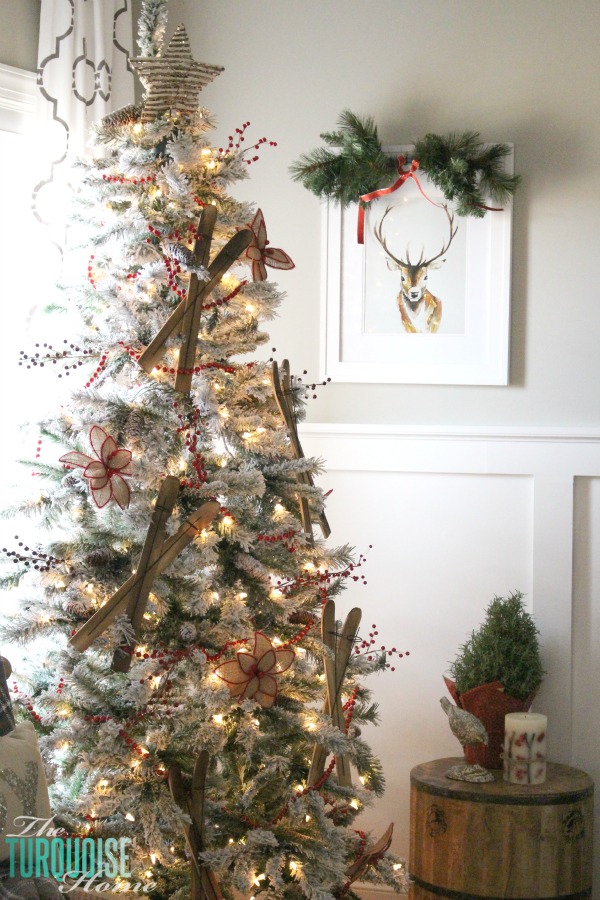
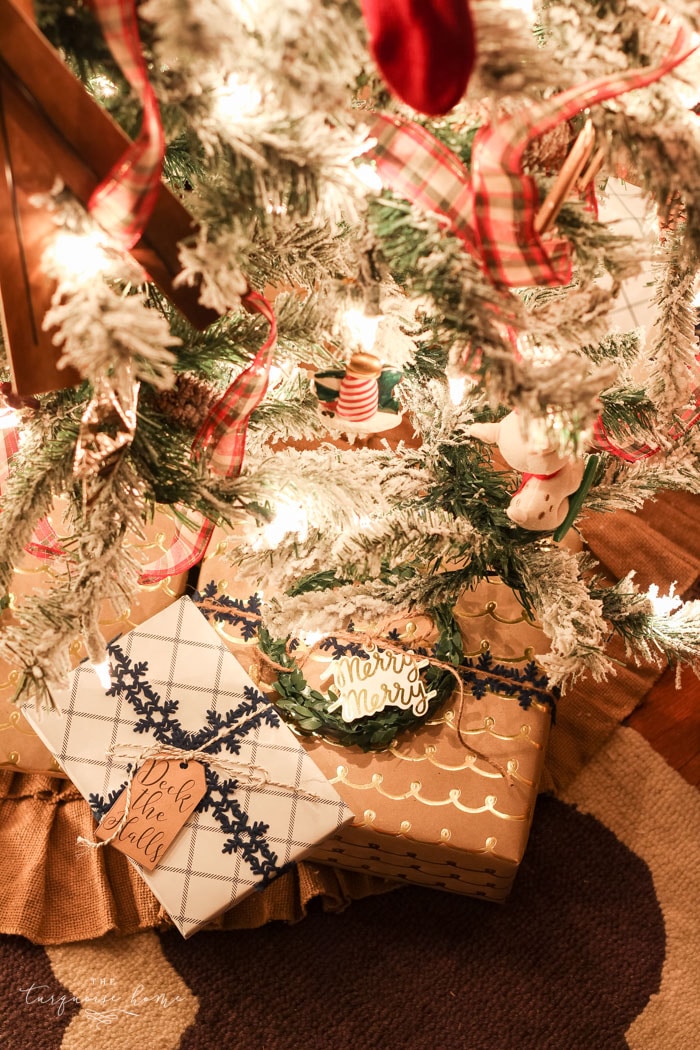
My new flocked tree is one of the highlights of this year. I'm absolutely in love with it! I dressed it in simple red garland, burlap & red poinsettia ornaments and wooden skis from the Dollar Spot at ... you guessed it ... Target. I've spotted these all over the blogging world this Christmas. I grabbed mine the moment I saw them several weeks ago. I adore them!
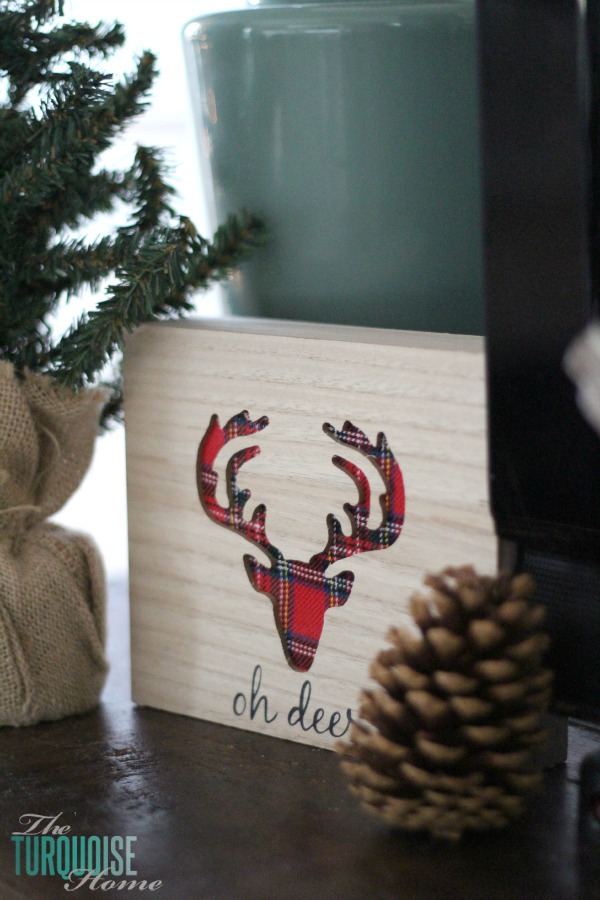
The sweet deer art is from Craftberry Bush's shop. So darling! I think it also moves easily into winter decor once the Christmas things come down.
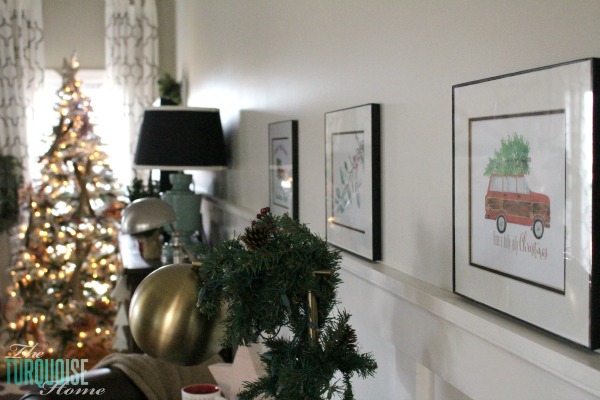
This is the first time I'm sharing my new gallery wall here, along with my new Everett console table. I meant to fill the frames with family photos, but I ran out of time! Guess what the polka dot and chevron patterns are? Gift bags. And the deer print is wrapping paper.
And do you like how I disguised my DIY abstract art? I simply wrapped it like a gift and added a bow.
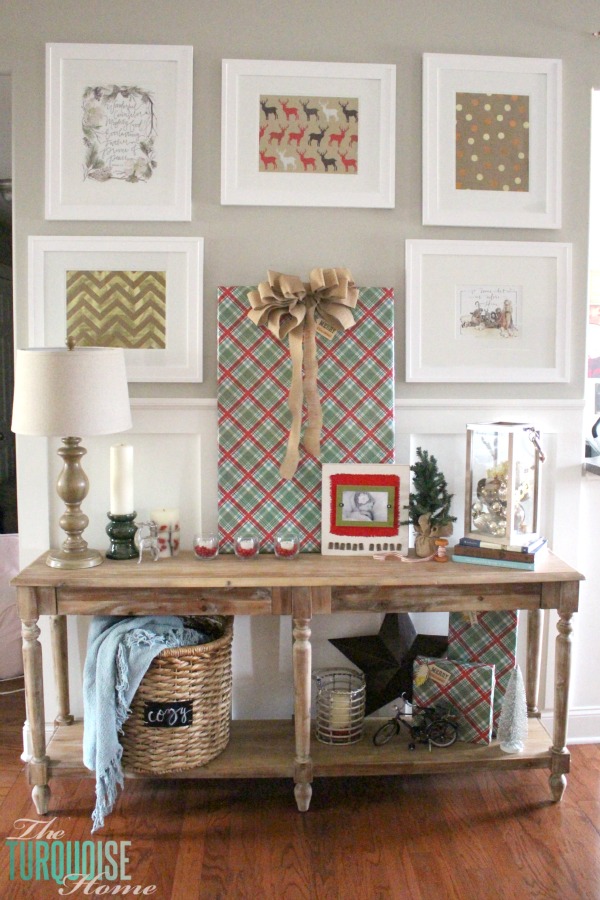
I didn't take a close-up of the two prints in the frames, but I absolutely love them. They're from gracelaced.
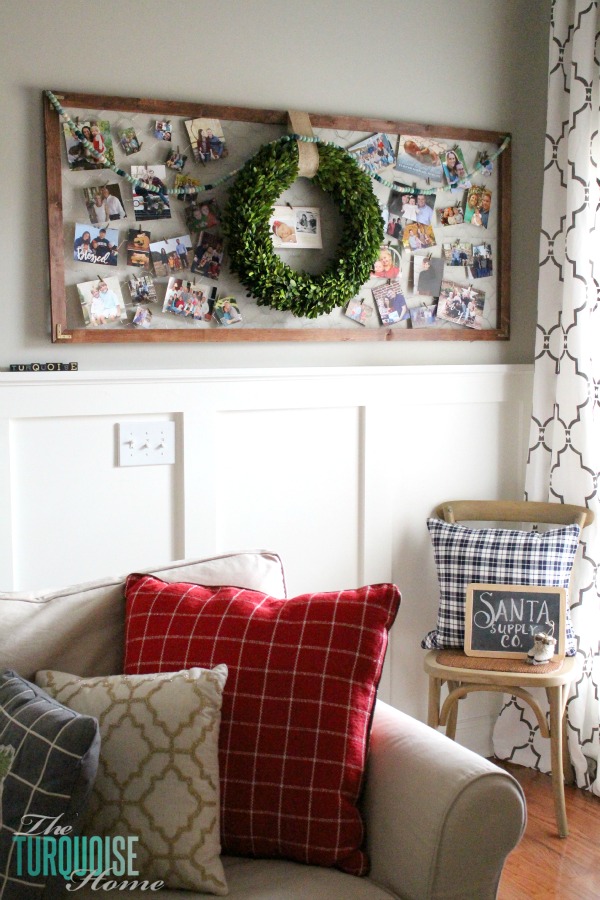
I built this chicken wire Christmas card holder last year, and it's really simple. Grab some 1×2s, cut them to your size, then staple the chicken wire to the back with a heavy-duty staple gun. Tip: enlist someone to hold the wire in place, because it can be a bit wobbly.
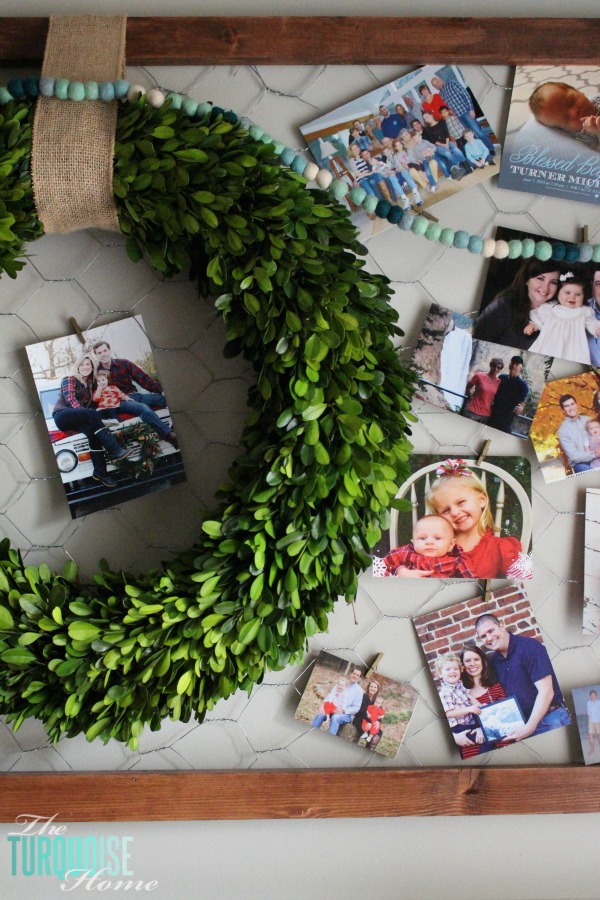
Isn't this felt garland adorable? You can get your own here.
I filled the frames above my desk with some charming free printables.
I shared how I made my O Holy Night pallet sign. It's simple, but I'm really happy with how it turned out!
Thanks for stopping by to see my home all dressed up for Christmas.
More Posts You Might Enjoy: