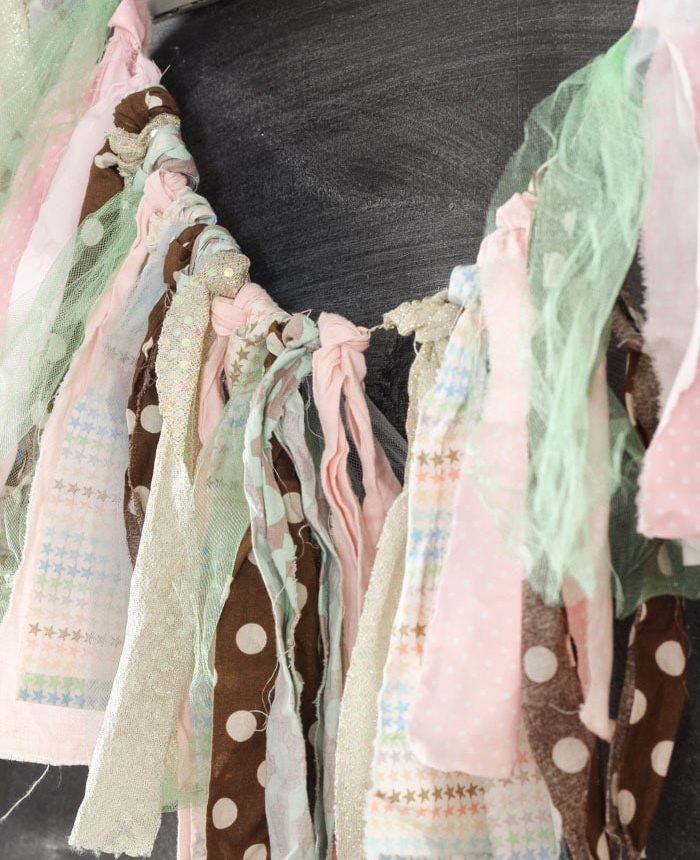
Create a charming DIY rag garland using leftover fabric scraps from your stash. It’s an easy, budget-friendly decoration that works for every season.
If you enjoyed making fabric heart appliqué pillows, this project is another great way to use up scraps. A rag garland adds instant texture and color to a mantel, doorway, nursery, or party space, and it only takes a little time and very few supplies.
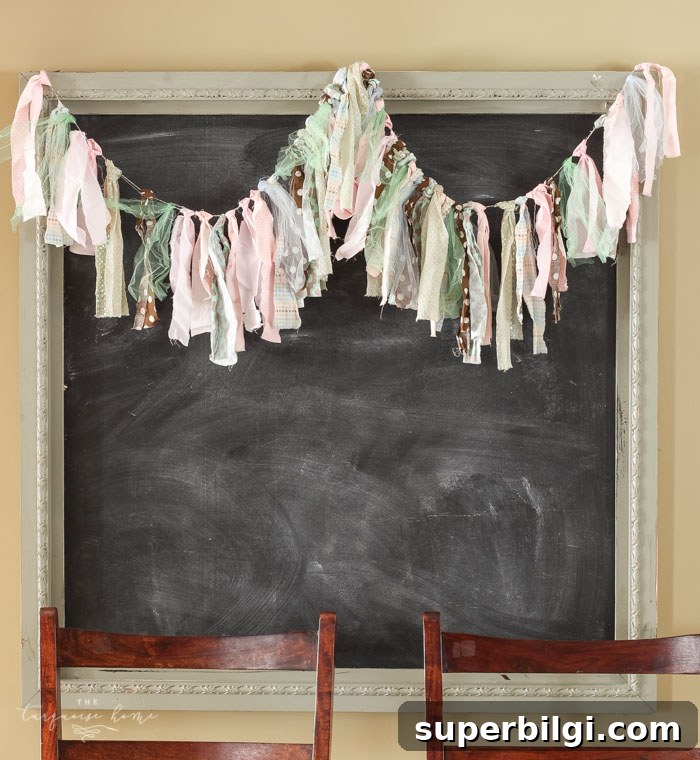
This is a fast, low-effort craft that you can finish in under an hour. It’s perfect for nap-time crafting: cut, tie, and hang, then enjoy a homemade accent that can be refreshed seasonally or left up all year.
What you’ll Need to Make a DIY Rag Garland
- Fabric scraps about 18–24 inches long (cotton, quilting fabric, tulle, or even a piece of an old shirt)
- Sharp scissors
- Twine, jute, baker’s twine, or thin rope for the base
- Optional: ribbon, lace, beads, or other embellishments
How to Make a DIY Rag Garland
1. Gather your fabric
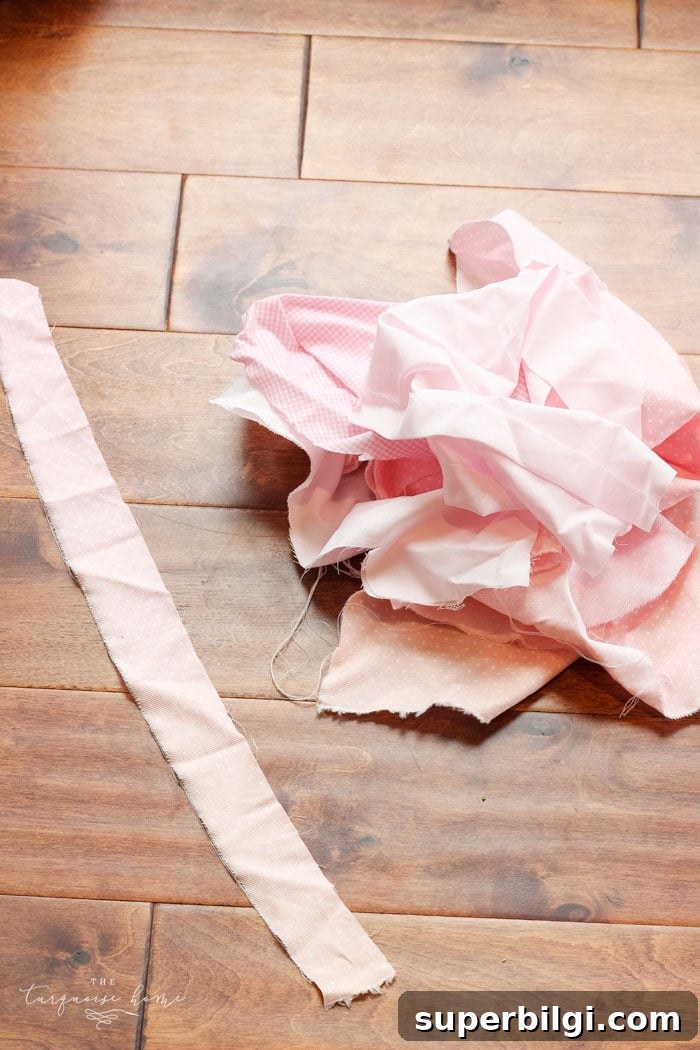
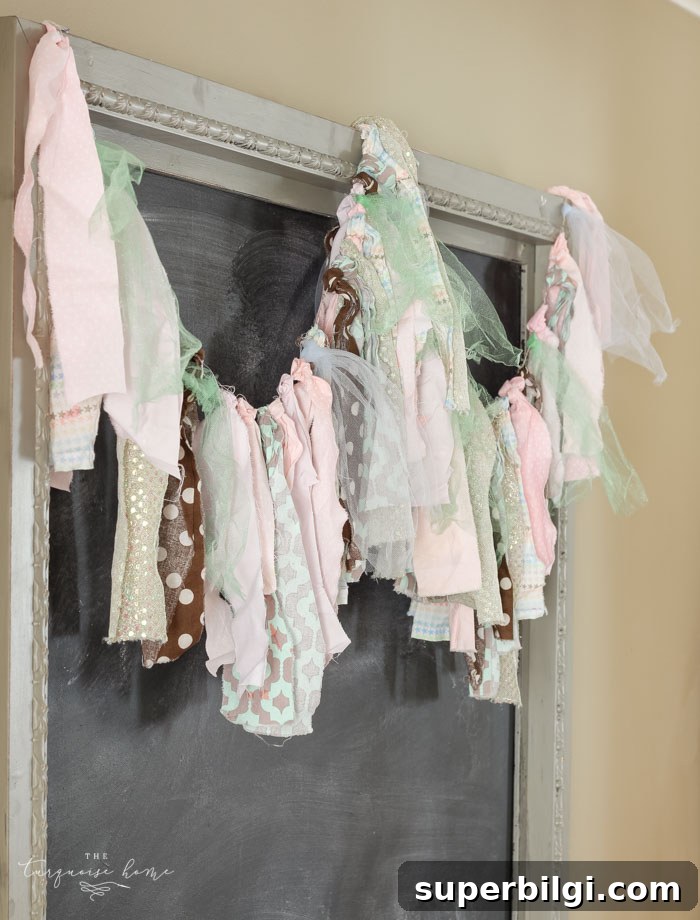
Collect scraps from your fabric pile, an old dress or shirt, tulle from a tutu, or inexpensive fabric cuts from a craft store. Mixing textures—cotton, linen, and tulle—gives the garland visual interest. Choose a color palette that suits your space: pastels for spring, neutrals for a year-round look, or bold contrasts for party decor. You can also include narrow ribbon or lace pieces for variety.
2. Cut your twine or string to the needed length
Decide where you’ll hang the garland—mantel, wall, doorway, across a headboard—and measure that span. Add extra length for drape or ties. For a single mantel, 6–8 feet is common; for longer spans, adjust accordingly. Cut the twine a few inches longer than the measured distance so you have room to tie off the ends.
3. Tie fabric strips to the twine
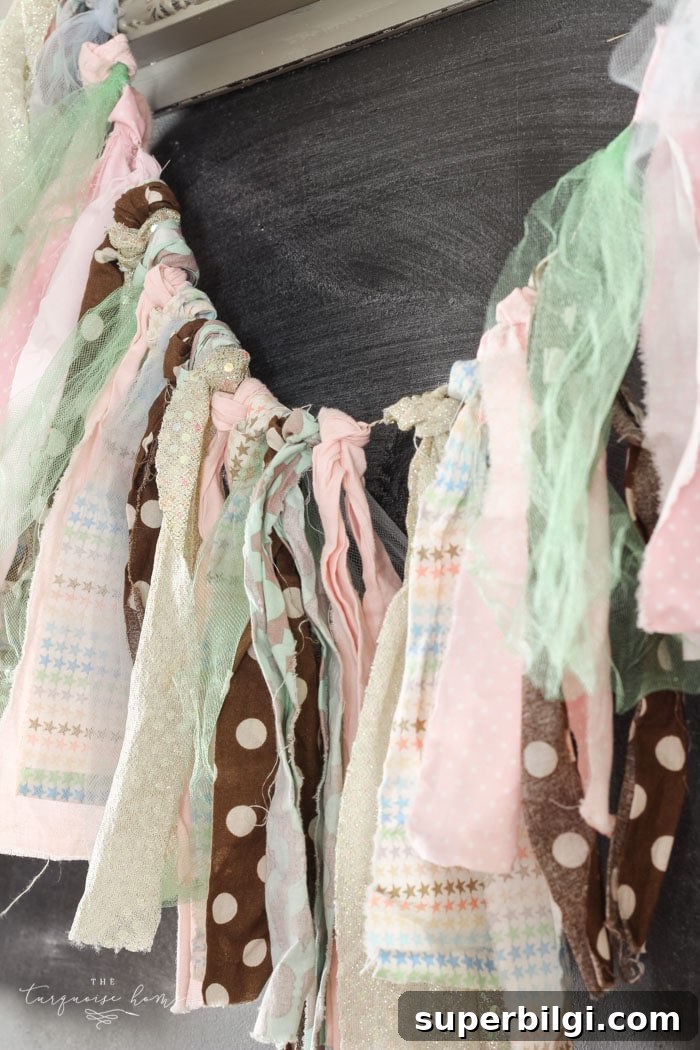
Fold each fabric strip in half and loop it around the twine, pulling the loose ends through the loop to form a secure knot (a simple lark’s head knot). Space the strips evenly or cluster them more densely for a fuller look. Alternate colors and textures to avoid a rigid pattern—this creates a casual, handmade aesthetic.
If you prefer a looser, airier garland, use thinner strips and leave more space between knots. For a fuller banner, double up fabric pieces or use wider strips. You can also add small decorative elements—wooden beads, felt shapes, or paper punch-outs—by threading or tying them in as you go.
4. Step back and trim as needed
Once all your pieces are tied on, step back and evaluate balance and length. Trim any pieces that are excessively long to create a cohesive silhouette. Varying the lengths slightly adds movement and charm, but avoid extreme differences unless you want a deliberately asymmetrical design.
Tips: If you plan to reuse the garland year after year, use natural fibers that wash well and knot tightly. For outdoor use, choose weather-resistant materials and secure knots with a dab of clear fabric glue. Store the garland loosely rolled or hung to prevent crushing the fabric.
Why this project works
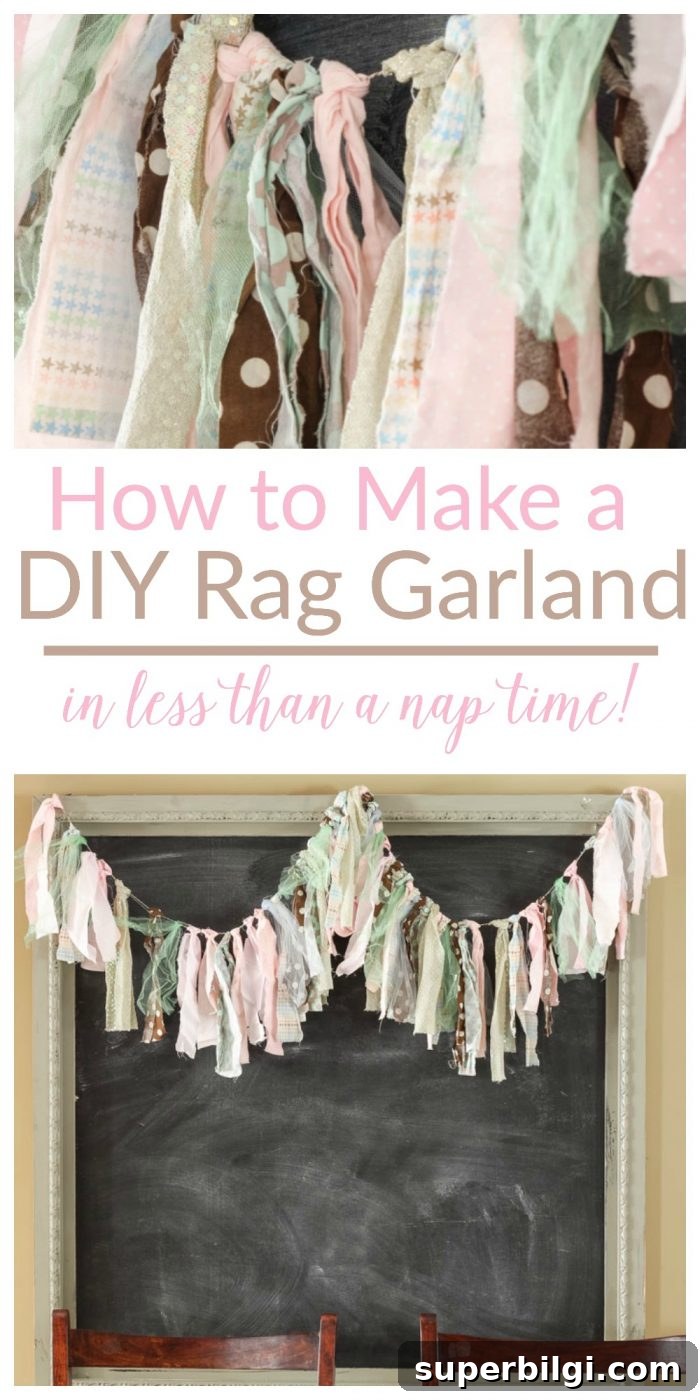
A rag garland is fast, forgiving, and adaptable. It’s a perfect beginner sewing-free craft and a useful way to use up scraps. Change fabrics and colors to match seasons, holidays, or parties—this project is as flexible as your imagination.
That’s it—so simple and satisfying. You’ll have a cheerful DIY rag garland ready to display and enjoy. After you hang it, you’ll still have time for a cup of tea, a relaxing bath, or a quick nap.
More posts you may enjoy
- Spring is Coming (Chalkboard Art)
- The Best Spring Decorating Ideas
- How to Make a Felt Garland + Valentine’s Day Chalkboard
- Easy DIY Heart Pillow Cover
- Spring Table Decorations