
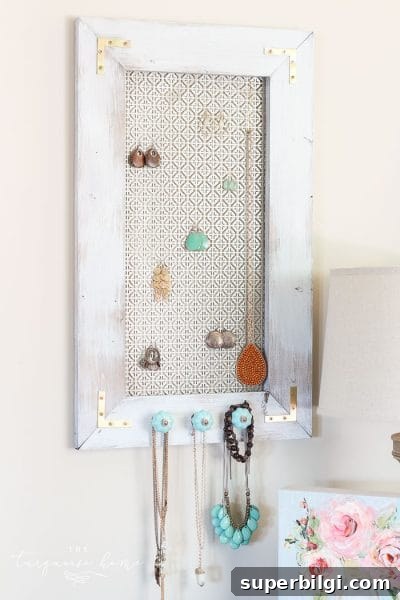
Do you ever make a project that’s both functional and beautiful using nothing more than supplies from the hardware store? Those are my favorite kinds of projects. This DIY jewelry organizer is exactly that: a practical, attractive piece created from ordinary materials that you can customize to suit your style.
It’s a simple, charming idea and it makes a wonderful gift for a friend or a parent. I took the original inspiration and made a few personal tweaks to create the version you see here.
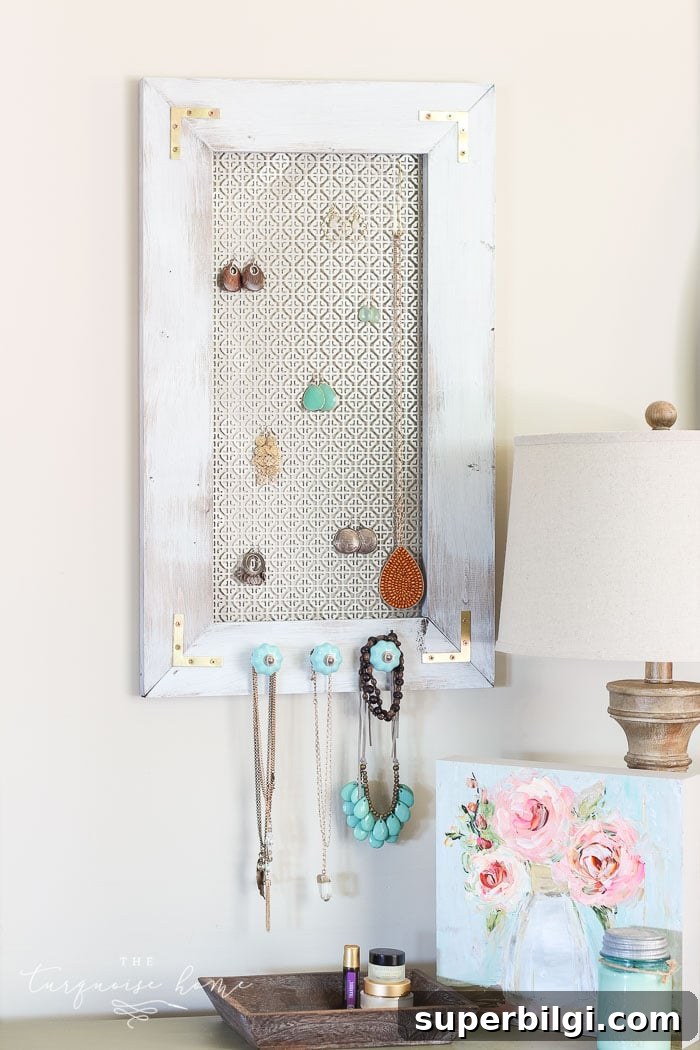
For my organizer I chose turquoise knobs to hang necklaces and picked mitered corners for the frame. The plan calls for corner braces on the back of the frame, but with the mitered corners I mounted the flat corner braces on the front for a subtle industrial accent. I also swapped the Union Jack aluminum sheet from the original project for a satin mosaic metal sheet that better fits my aesthetic, and finished the frame with a weathered light-blue look over a warm stain.
The frame was stained first, then I brushed on a thinned layer of paint and wiped it back to let the woodgrain show through. That distressing gives the finished piece a rustic, layered finish that complements the metallic background and the colorful knobs.
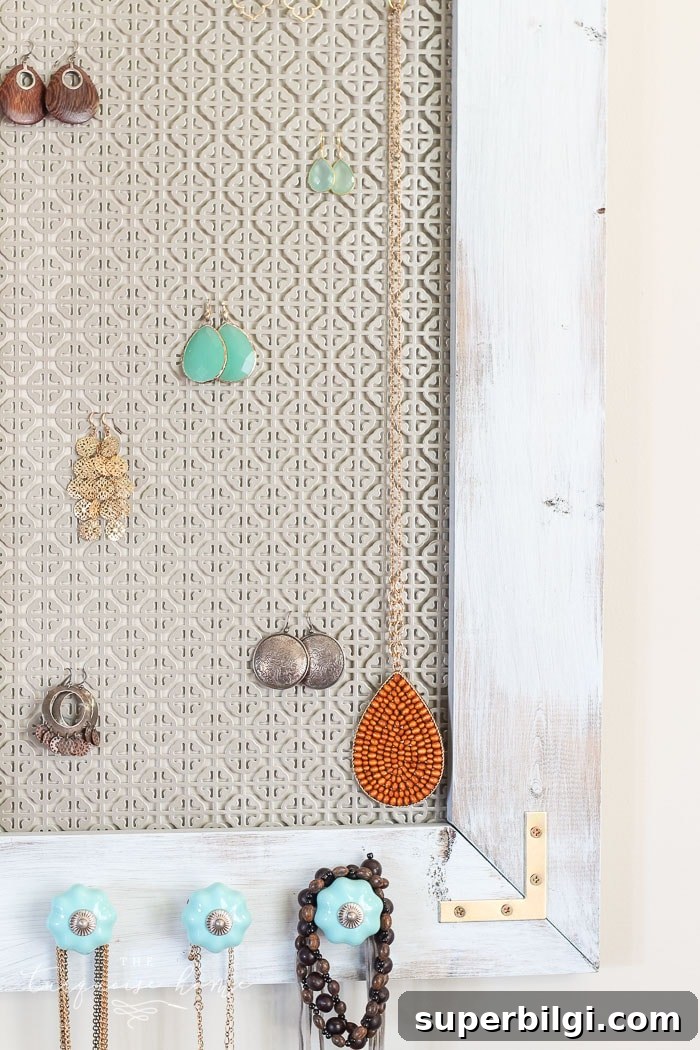
After finishing the frame and securing the metal sheet to the back, I added large sawtooth hangers so the piece hangs flat on the wall. The final result is roomy enough for necklaces and bracelets, easy to make, and attractive enough to display anywhere in the home.
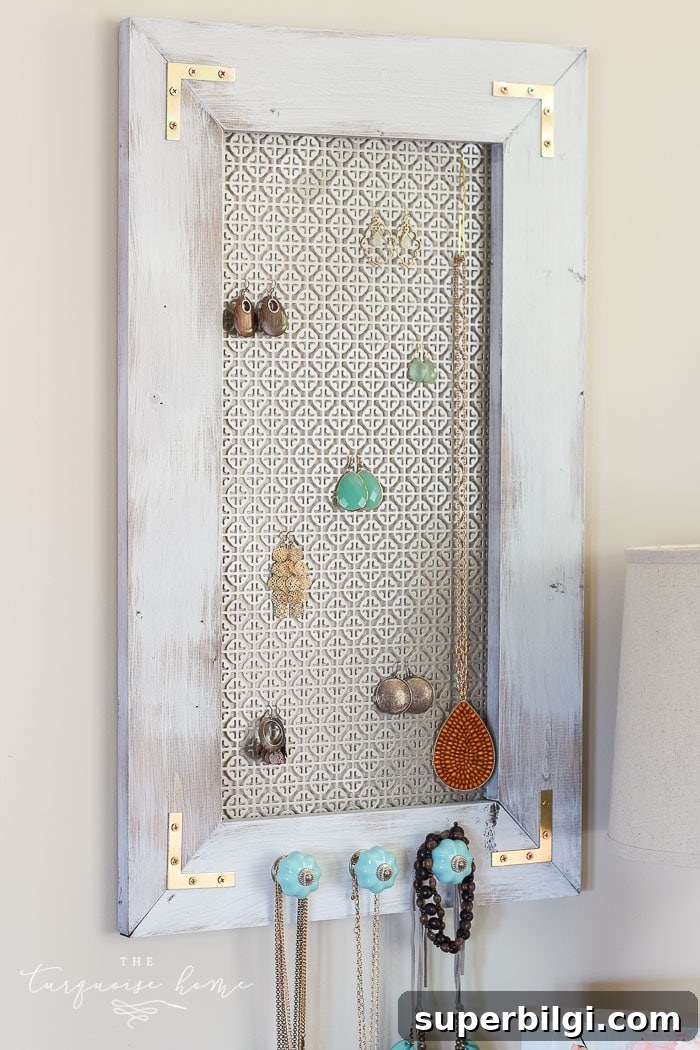
It turned out so well that I’m keeping mine, although I plan to make more as gifts because they’re quick and affordable to build.
Tools and Materials for a DIY Jewelry Organizer
Materials:
- One 1″ x 4″ x 8′ common board (cut to make the frame)
- Mosaic metal sheet sized for the interior of your frame
- Turquoise (or any) knobs to hang jewelry
- Large sawtooth hangers or other picture-hanging hardware
- 2-1/2 in. flat corner braces (optional, for an industrial look)
- Wood stain and a paint color for a distressed finish
- Wood glue and staples or finish nails
Tools:
- Miter saw (for clean mitered corners)
- Drill and appropriate bits for knobs and hardware
- Staple gun or brad nailer
- Hammer and screwdriver
- Measuring tape and pencil
- Knit rags or lint-free cloths for staining and wiping paint
How to Build a DIY Jewelry Organizer (Step-by-Step)
Step 1 — Measure and cut the frame: Measure the interior dimensions of your metal sheet and cut four pieces from the 1×4 board to form the frame around the metal. If you want mitered corners, cut each end at a 45° angle so corners meet precisely. Keep the inside edges of the frame slightly smaller (about 1/2″–1″) than the outer dimension of the metal sheet so it fits snugly behind the frame lip.
Step 2 — Assemble the frame: Apply wood glue to the mitered ends and clamp or hold them in place while fastening with staples, brads, or small finish nails. If you prefer a simpler butt-joint frame, you can use flat corner braces. For a decorative industrial look, mount the corner braces on the front.
Step 3 — Stain and finish the wood: Sand the frame smooth, then apply an even coat of stain. After the stain dries, mix a small amount of paint with water or glazing medium and brush a thin coat over the stained wood. Wipe back with a rag to expose the stained grain and create a weathered, layered finish.
Step 4 — Attach the metal backing: Position the metal sheet behind the frame and secure it by stapling or small screws from the back. Make sure the metal is centered and flush. If the metal has sharp edges, file them smooth or cover them with tape while you work to avoid injury.
Step 5 — Drill and install knobs: Mark the spacing for your knobs across the frame or metal backing, ensuring enough room between knobs for necklaces and bracelets. Pre-drill holes for the knob screws and fasten each knob securely. Choose knob styles and spacing based on the type of jewelry you plan to hang.
Step 6 — Add hanging hardware: Attach one or two large sawtooth hangers or D-ring hangers to the back of the frame so the organizer hangs level on the wall. If the finished piece is heavy (due to the metal), use wall anchors appropriate for your wall type.
Step 7 — Hang and organize: Hang necklaces, bracelets, and other jewelry on the knobs. The metal backing provides a reflective, textured backdrop that contrasts nicely with colorful knobs and jewelry, turning the organizer into a functional display piece.
More Jewelry Organizer Inspiration
Customize this basic build to match your decor: change the paint color, choose vintage or modern knobs, use patterned metal or a mirrored sheet, or add a small shelf or tray to the bottom for rings and earrings. Each small variation creates a unique piece that fits your home and makes a thoughtful handmade gift.












