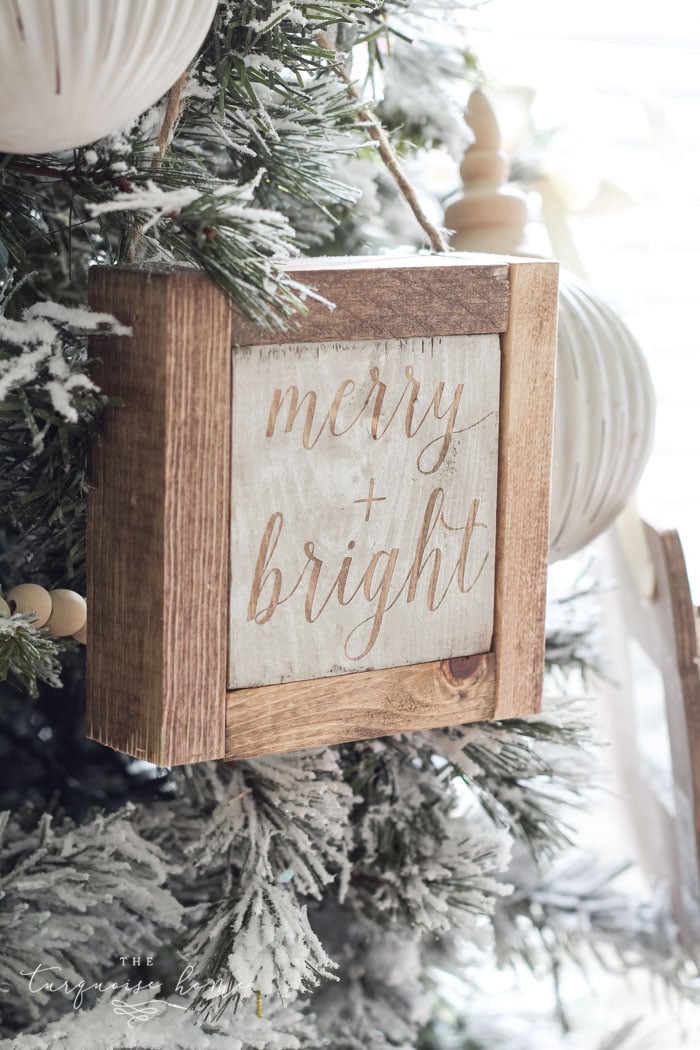
Wooden Christmas signs are among my favorite things, so I figured a mini wooden sign ornament would be even better! Make a simple wooden sign with a cute saying and get a rustic farmhouse Christmas look without spending much!
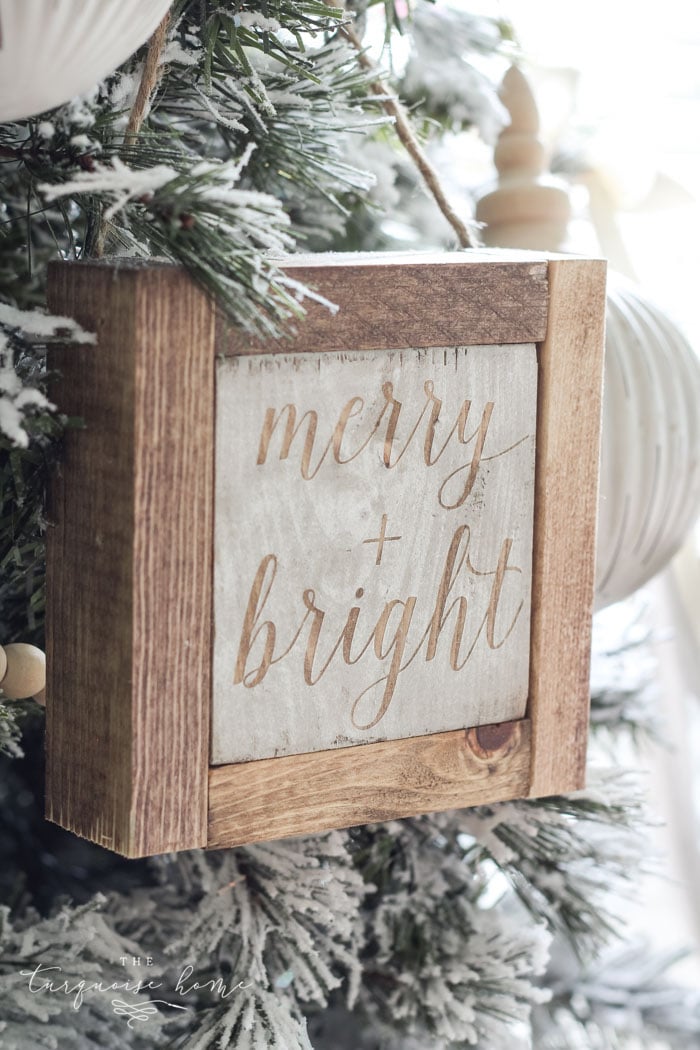
If you've followed me for a while, you know I love making wooden signs. I haven't built a huge number, but I have a handful of lovely wooden (and canvas) signs I made myself. I adore the look and rarely want to pay for something I can make for much less.
And I can make exactly what I have in mind. Bonus.
RELATED: How to Build a Large Wooden Sign
While strolling through a holiday market recently, I came across the cutest mini wooden sign Christmas ornaments. So charming! I couldn't believe I hadn't thought of making them myself!

I simply scaled down what I had learned from making large wooden signs. Easy, simple and inexpensive! I used materials I already had: wood from my scrap pile and stain I already owned. Free is always nice!
Supplies You'll Need for Mini Wooden Christmas Sign Ornaments
- 1″ x 4″ x 6′ board – cut into 3.5″ x 3.5″ squares; as many as you'd like to make
- 2 – 1″ x 2″ x 8′ boards – cut into 2 – 3.5″ pieces and 2 – 5″ pieces per ornament; each 8′ board yields enough for 5 signs
- Sandpaper
- 1 1/4 inch brad nails
- Stain
- Stencil – I make mine with my Silhouette, but you can buy some from this Etsy shop. Order a custom size if you want them 3.5 inches, like mine!
Tools used:
- Miter saw
- Nail gun
- Sander
How to Make Mini Wooden Christmas Sign Ornaments
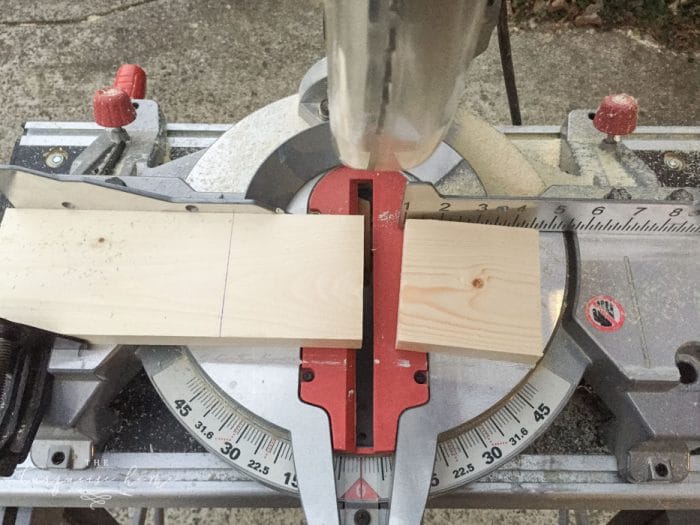
Step 1. Cut all of your boards.
I kept cutting until I had enough for 9 ornaments, using up a few scrap boards along the way. I took a leftover 1 x 4 and cut it every 3.5 inches. Since a 1 x 4 is really 3.5 inches wide, each piece became a 3.5″ x 3.5″ square. Then I cut the 1 x 2 board into pieces that fit around each square.
Step 2. Stain your board pieces.
I stained my boards with a 50/50 mix of Weathered Oak Stain and Special Walnut Stain, which I blended together before applying.
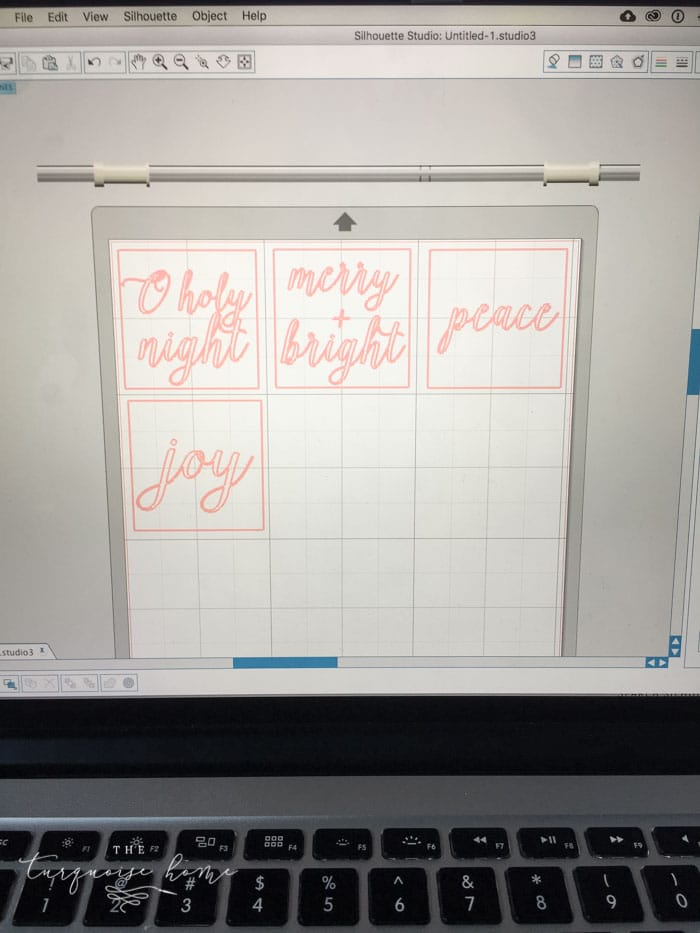
Step 3. Make the stencils.
While the stain dried, I cut stencils with my Silhouette using contact paper. I used traditional Christmas phrases and words.
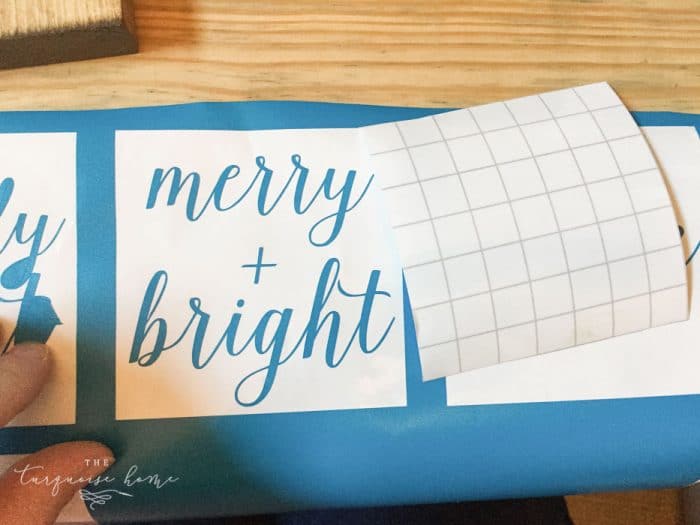
Step 4. Apply the stencil to the board and paint!
I used transfer paper to move the design onto the wood. Then I dabbed chalk paint over it with a sponge and let it dry!
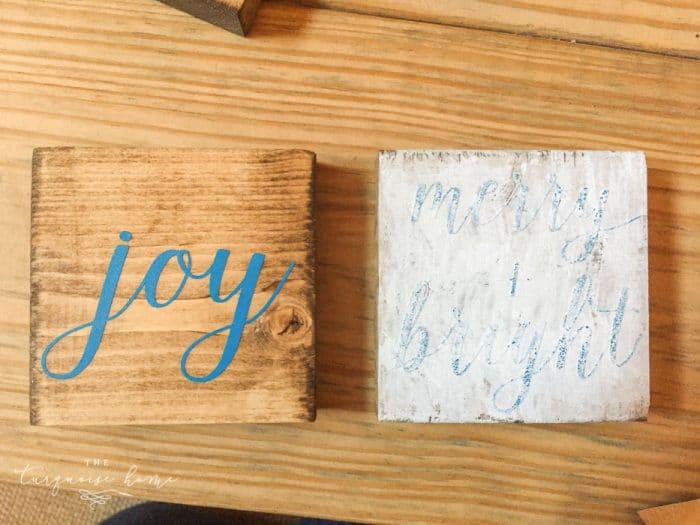
Step 5. Remove the stencil.
Step 6. Attach the sides.
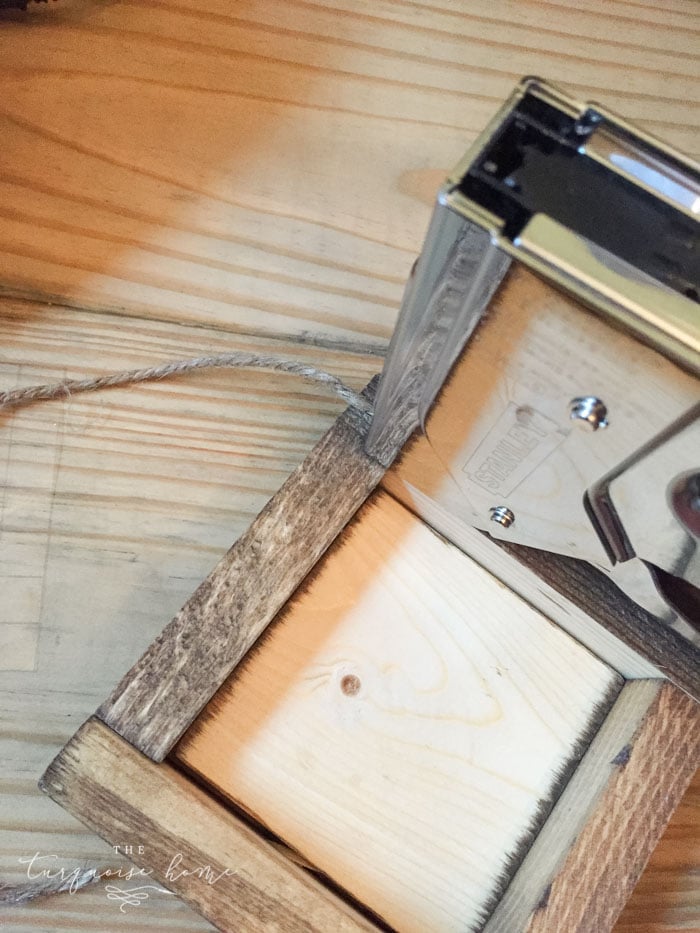
I used a brad nail gun to attach the sides to the square pieces with 1 1/4 inch brad nails. I turned the 1×2 pieces on their edges so the ornament looks thicker rather than just very wide.
Step 7. Attach the hanger.
I used medium-weight twine and stapled it to the back of the ornament.
I think they turned out super cute! What do you think??
More Posts You Will Love: