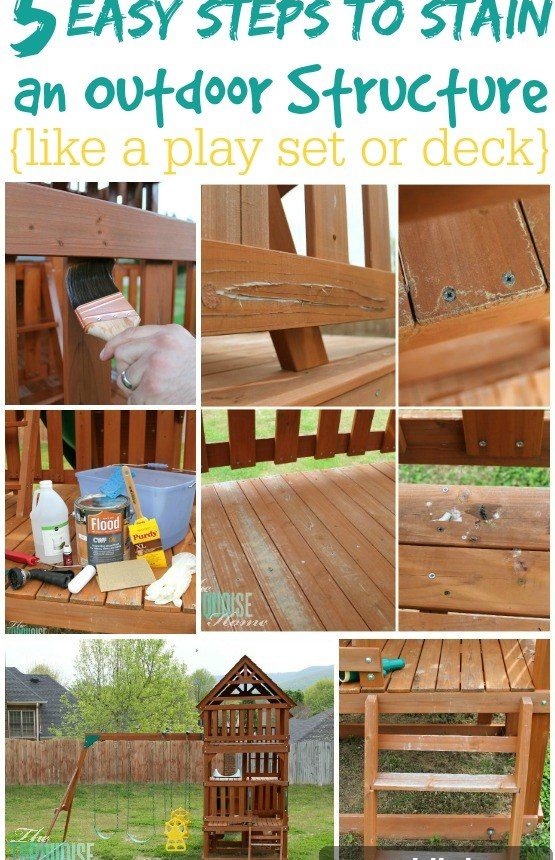
We finally stained and sealed Miss A’s playset after owning it for nearly a year and a half. Living in the South means there’s a small seasonal window when temperatures are comfortable enough to do outdoor finishing—cool but not freezing, and not brutally hot. We managed to tackle the job over a couple of Saturdays during an Easter weekend with perfect weather. It feels great to check another project off the list.
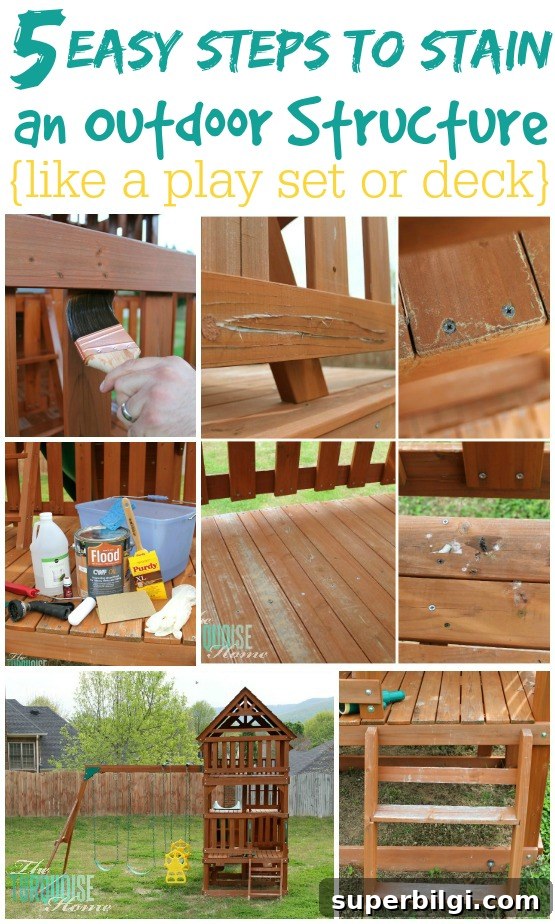
When I researched the best product for outdoor wood, I chose Flood CWF-UV®5 Oil Wood Finish because it stains while resisting moisture and mildew. It contains Penetrol to help protect and prolong the life of the wood. For our cedar playset I used the clear version to enrich the wood’s natural tone without changing its color dramatically.
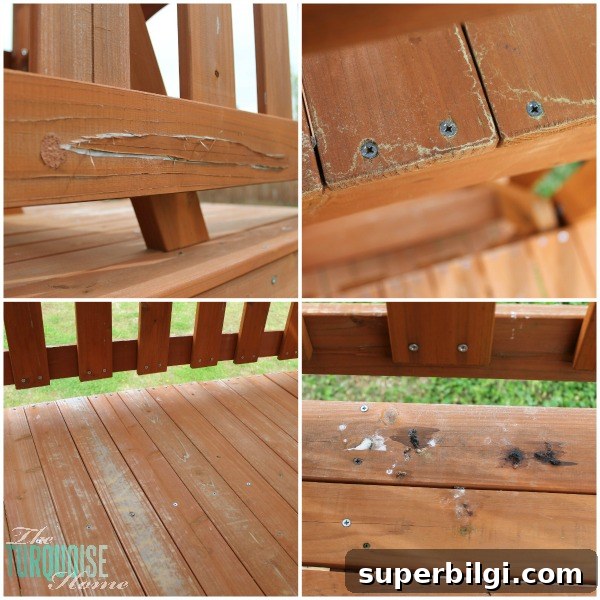
The playset needed a thorough clean and a little repair before staining. Pollen, bird droppings and some raised grain from moisture were obvious, so we spent time removing grime and smoothing rough spots to ensure the finish would adhere well and look even.
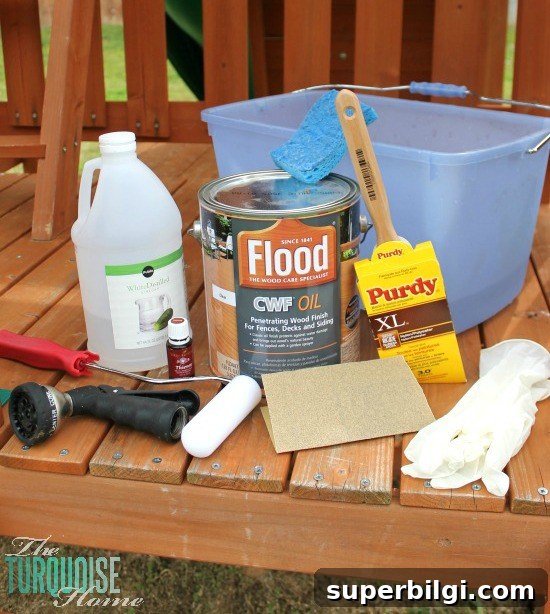
Supplies needed:
- Flood CWF OIL Wood Finish
- Purdy brush for “all paints & stains” — my go-to brushes: durable and long-lasting if cleaned properly
- Foam roller
- Water hose
- Hose nozzle
- Cleaning bucket
- Vinegar (optional: a few drops of essential oil)
- Scrub brush
- Gloves
- Sandpaper (medium grit)
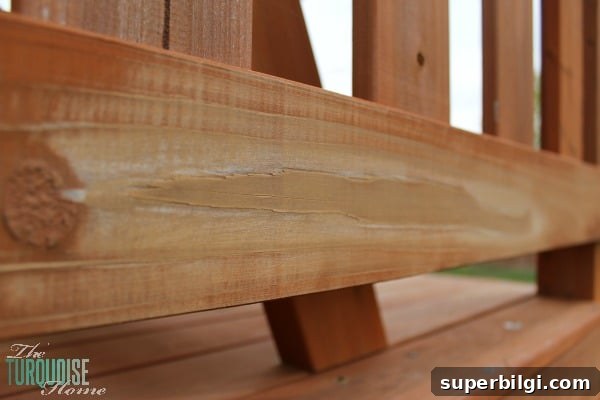
Step 1: Sand
Start by sanding any rough or raised areas so the surface is smooth and ready to accept stain. We used medium-grit sandpaper to flatten spots where the grain had lifted from moisture. Take care around edges and small details to avoid rounding them off.
Step 2: Clean
Next, remove all dirt, pollen, and bird droppings. I mixed water with vinegar and a few drops of essential oil and scrubbed the entire structure to lift the grime. Disposable gloves are helpful—bird droppings can be unpleasant and you don’t want to get chemical cleaners on your hands. A thorough cleaning ensures the stain bonds evenly and prevents discoloration.
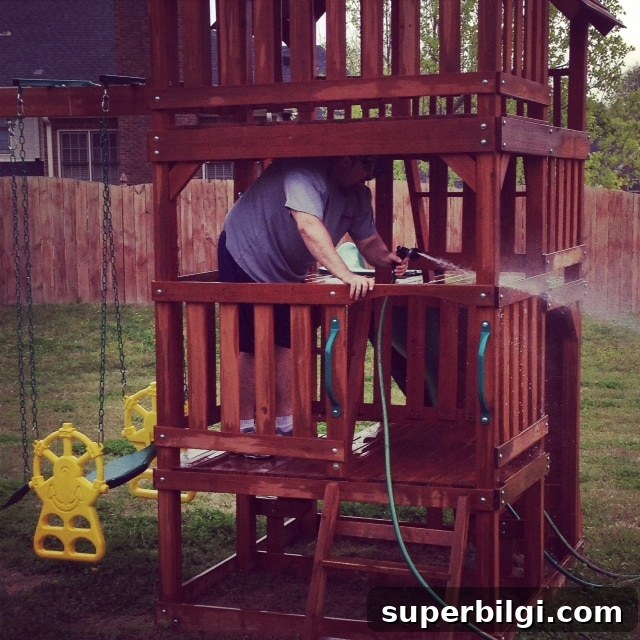
Step 3: Hose it off
After scrubbing, rinse everything thoroughly with a hose to remove loosened dirt and cleaning residue. The water also helps remove stubborn pollen that brushing alone won’t eliminate. Work from top to bottom so runoff doesn’t re-contaminate cleaned areas.
Step 4: Wait for it to dry
Allow the wood to dry completely before applying any finish. We used the drying time to take care of other chores, but resting is a good option too—staining is physical work. Follow the stain manufacturer’s guidance for recommended dry conditions to ensure the best results.
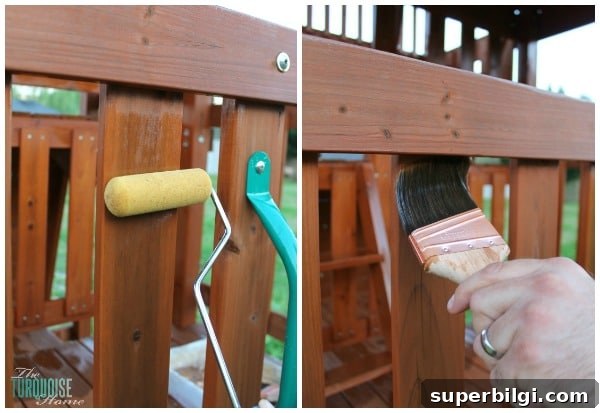
Step 5: Stain
With the surface dry, apply the stain using a foam roller for large, flat areas and a brush for corners, joints and detailed areas the roller can’t reach. Work methodically and try to avoid heavy pooling in low spots. We covered the entire structure evenly and the clear oil finish made the cedar’s color richer while protecting the wood. The whole staining process took about four hours with two people working together due to the playset’s size.
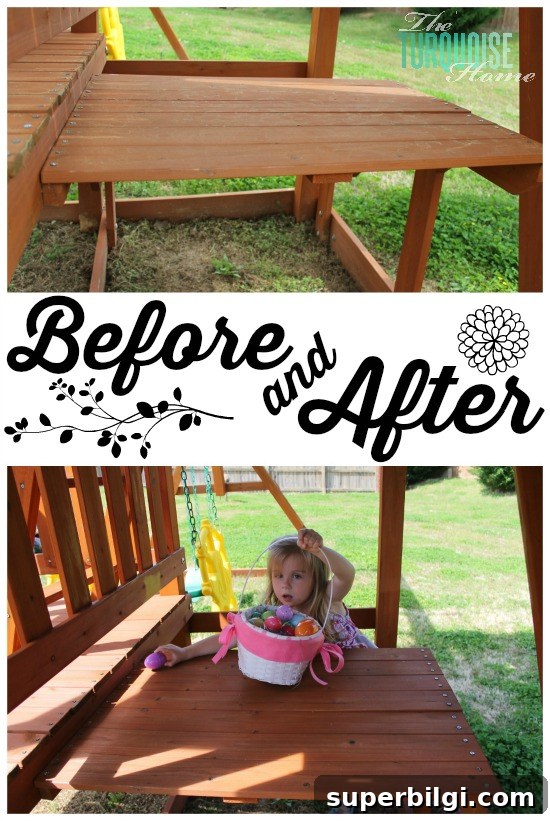
Once the stain cured, the playset looked refreshed and better protected against the elements. Staining preserved the work we put into building it and helps ensure the wood will hold up through another season of play. The clear finish subtly deepened the cedar’s natural tone and made the whole structure look clean and well cared for.
We didn’t take a full set of before-and-after photos, but the next day we hid Easter eggs on the freshly finished playset and captured a shot of the table that shows how the stain enriched the wood’s color. Simple maintenance like this extends the life of outdoor wood and keeps play areas safe and attractive.
More Posts You Will Love:
- How to Paint a Wood Fence the Fast and Easy Way!
- How to Paint a Concrete Patio
- Gorgeous and Functional Outdoor Living Spaces