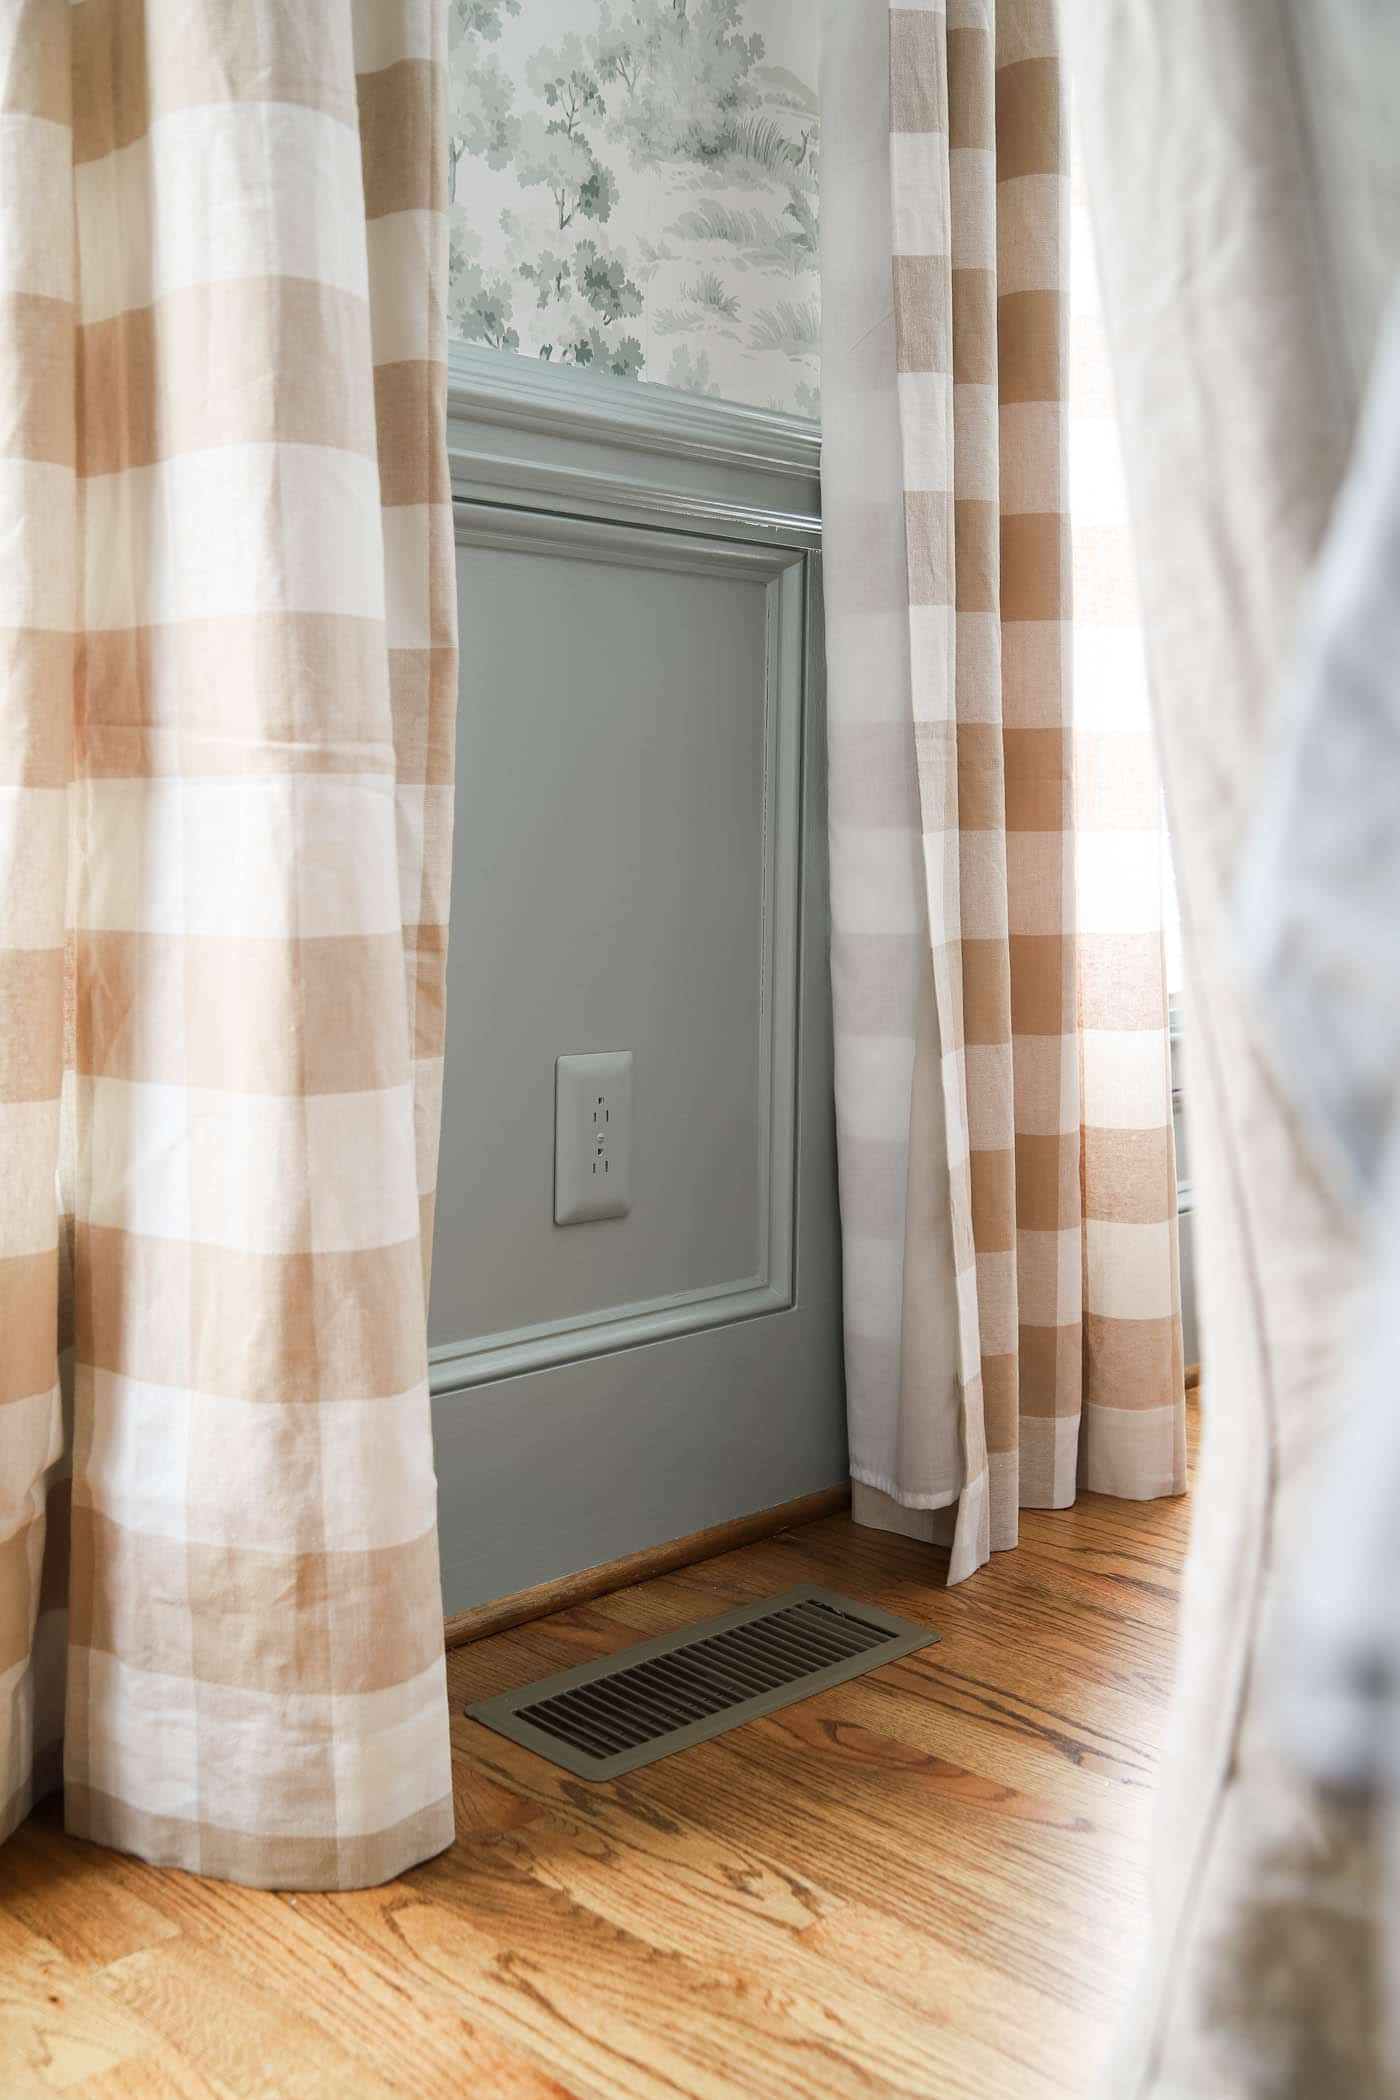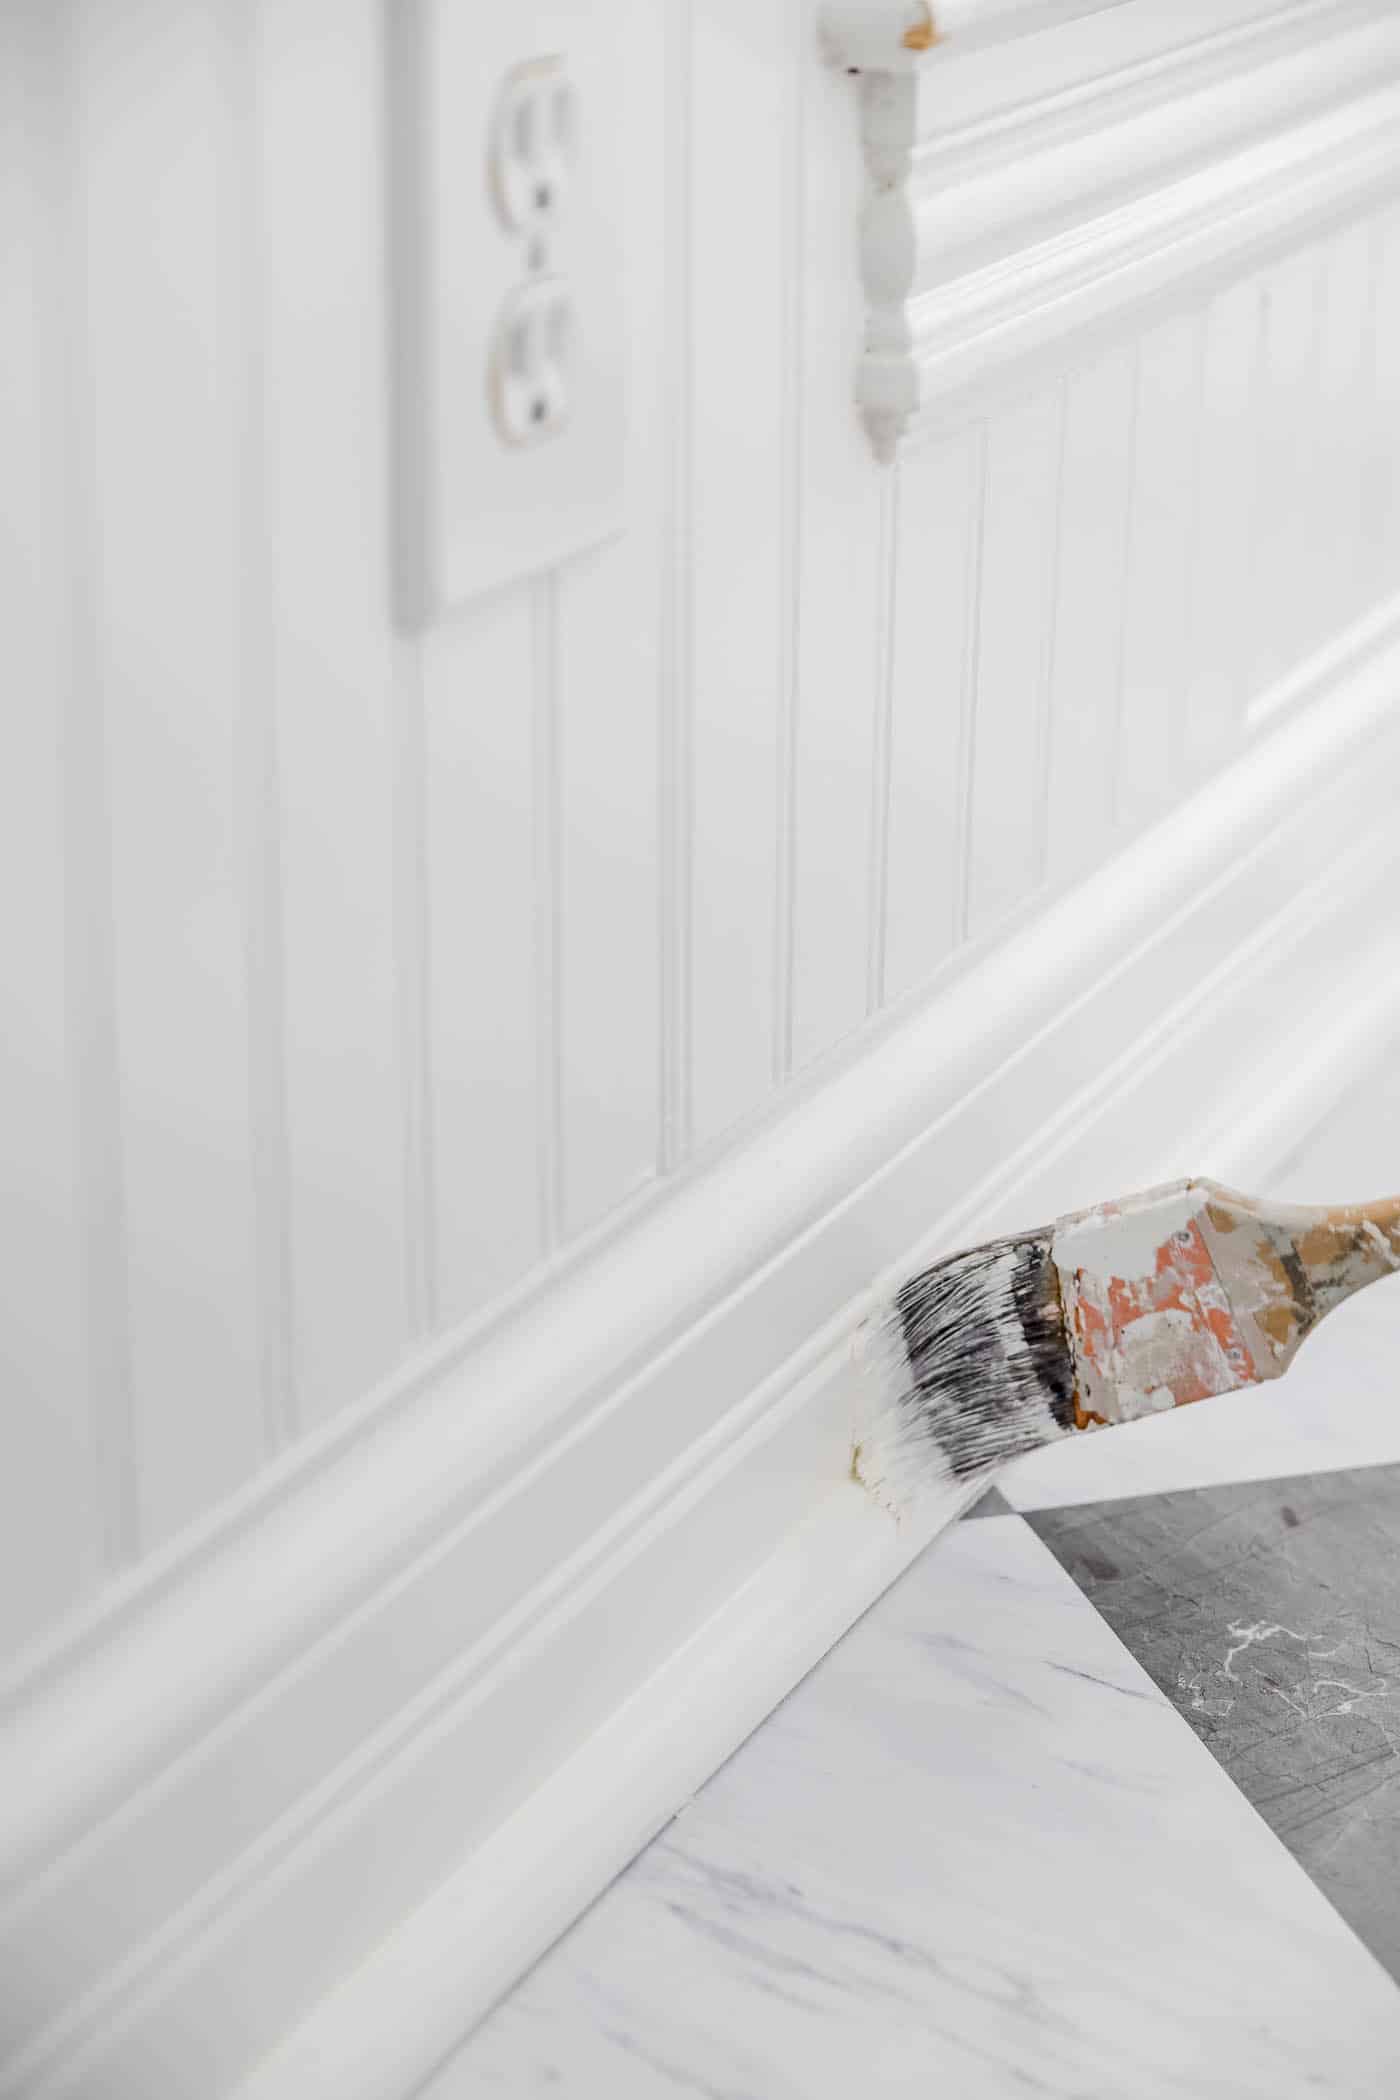
When refreshing a room, trim is frequently forgotten, yet painting it can change the finished result dramatically.
I've already shared plenty about the top paint colors, my go-to painting tools, and a simple walkthrough for painting walls. For the biggest impact, do the trim first! Below you'll find my best trim tips, including favorite trim paints and an easy process to follow.
Here's the thing: trim often gets overlooked in any project or home. Yet the right trim color can turn a dull room into a crisp, lovely one.
It's easy to forget about trim during updates, but a fresh coat works wonders for how a home looks and feels. It instantly brightens a room and gives it a crisp new look!

Picking the Right Paint Color for Trim
Choosing the right trim color is key to a polished look. I've seen lovely trim in greige and other shades, but I always go with white or off-white. White trim makes rooms feel bigger and suits any wall color.
There are subtleties, though! For a cozy feel, go with a warm white. For a crisp, modern look, pick a cool white. Here are a few of my favorites.
Warm White Trim Paint Colors
Warm whites feel inviting and pair with a broad range of wall colors. (Try saying that three times fast!) Here are some of the most popular warm white trim paints:
- Benjamin Moore Simply White: This is my favorite cabinet paint, and it looks warmer than most whites. If that's the look you want, it's also excellent for trim. It's usually my top choice for trim!
- Benjamin Moore White Dove: A gentle, warm white with a quiet, low-key feel.
- Sherwin Williams Alabaster: A creamy, warm white that gives a sense of depth.
- Sherwin Williams Pure White: A subtly warm white that works well with cool wall colors, adding brightness without feeling harsh.
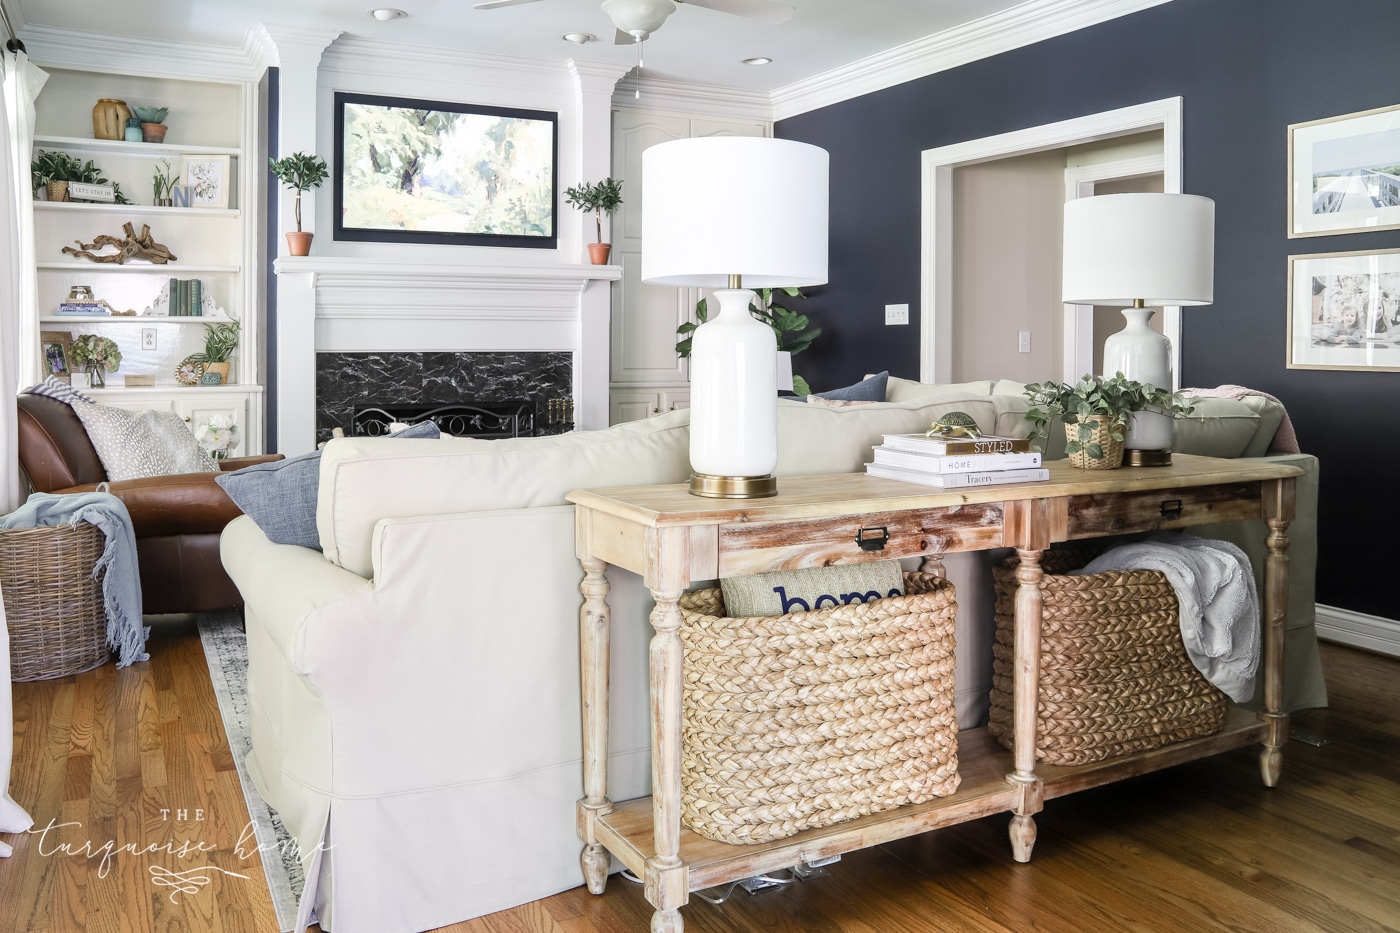
Cool White Trim Paint Colors
Cool whites can make a room feel roomy, bright, clean and modern. Here are a few of my favorite cool white trim paints:
- Benjamin Moore Chantilly Lace: This crisp, bright white is my favorite ceiling paint. It also works well for trim if you want ceilings and trim to match.
- Sherwin Williams Extra White: A crisp, clean white that boosts natural light and suits both warm and cool wall colors.
- Benjamin Moore Decorator's White: This white carries a hint of cool gray and looks great alongside blues, grays and greens.
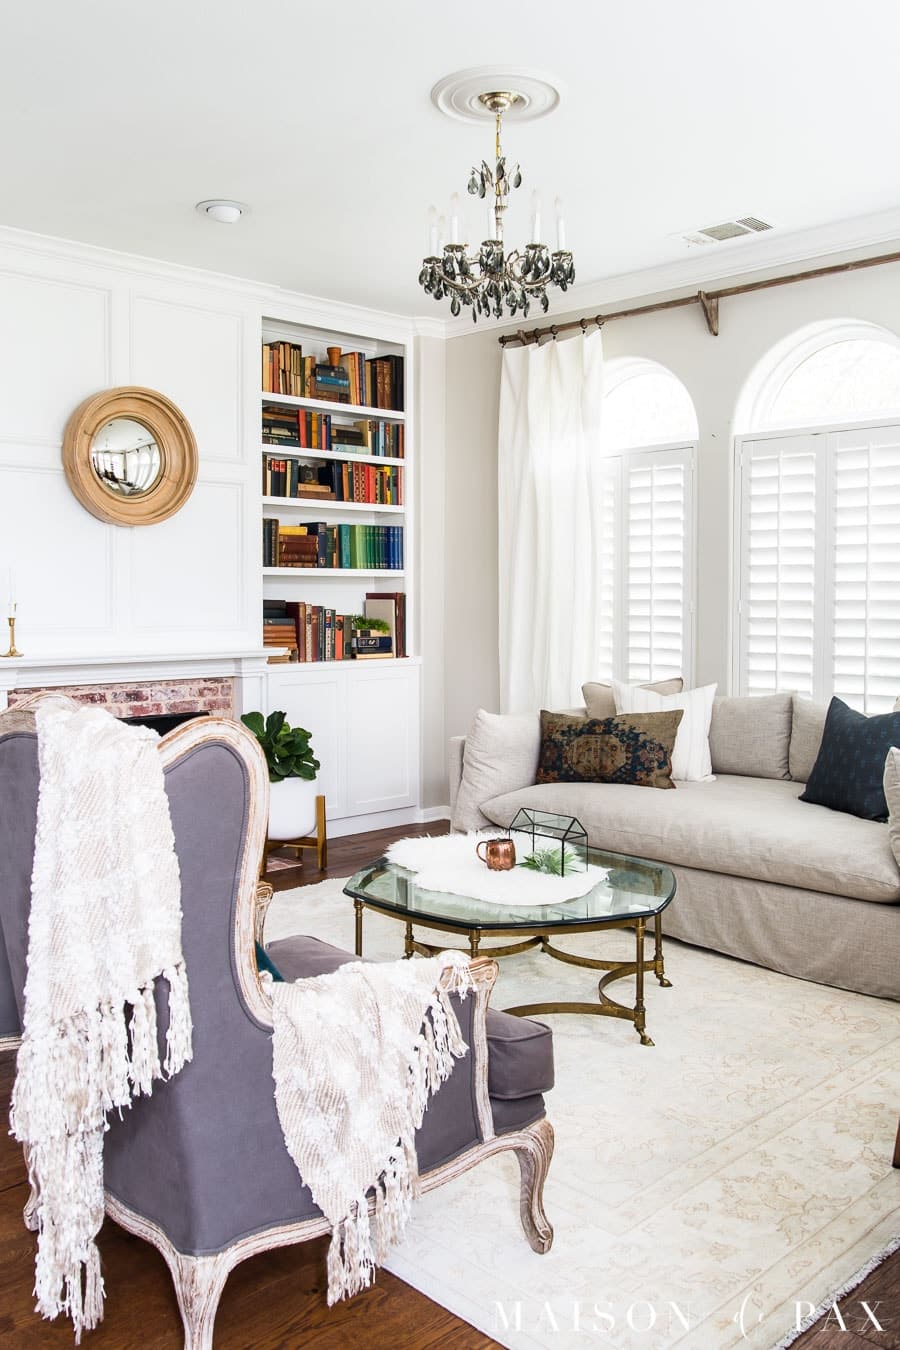
via Maison de Pax
RELATED: Unsure which finish to pick? My handy guide covers it.
Step-by-Step Process for Painting Trim
1. Prepare the trim
Wipe the trim with a damp rag or sponge to remove dust, dirt and debris. This may uncover dents, cracks or other flaws. Fill them with spackle applied using a putty knife. Once it's dry, sand the surface smooth with 120-grit sandpaper.
Tip: Sand all of the trim for the best results, especially if it already has high-gloss paint. You're aiming for a surface that's clean and smooth, not slippery.
2. Shield the surrounding areas
Lay down drop cloths and painter's tape to guard walls, floors and nearby surfaces from splatters or mishaps. Where you put the tape is entirely your call!
When I paint baseboards, I usually tape the floor and freehand the rest with my trusty angled Purdy brush. I always tape carpeted floors, but not always hardwood or tile. If you're worried about making a mess, tape off the wall, the floor or both!
As I mentioned earlier, if you're painting the walls next, you don't need to worry too much about a perfect edge where trim meets the wall.
3. Apply primer to the trim
Brush on a good-quality coat of primer, especially if the trim is bare or you're making a dramatic color change. Let it dry fully (24 hours is ideal). If you spot brush marks or drips, sand lightly and wipe away the dust before moving on.
4. Brush on the baseboards
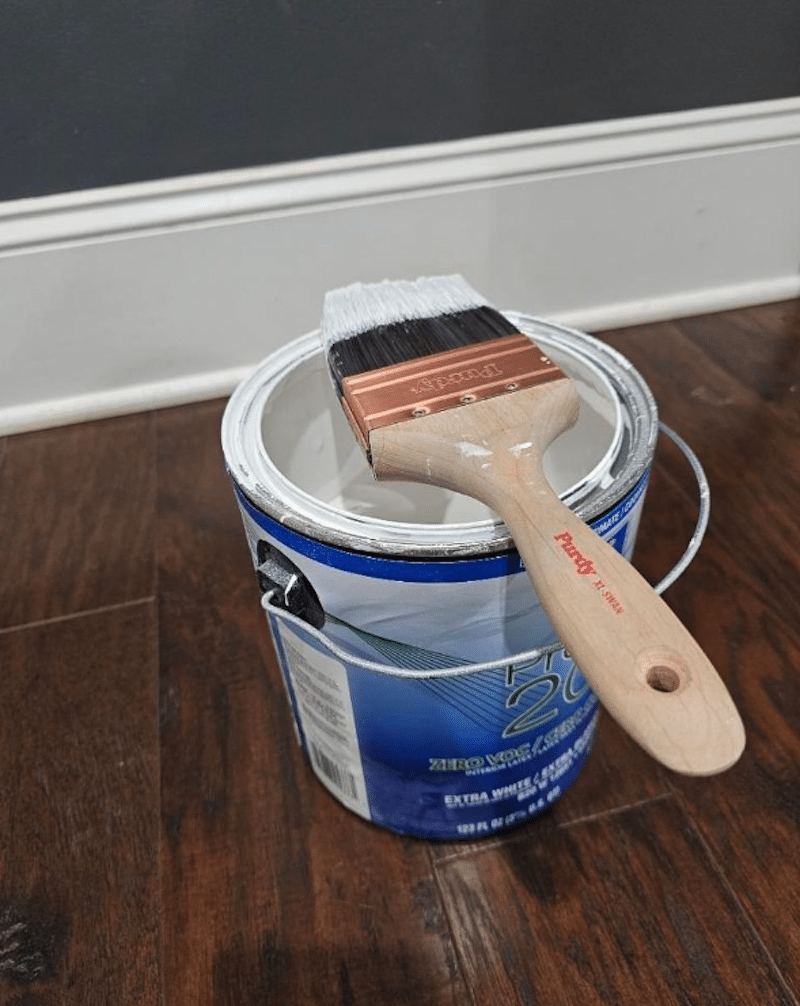
Start with an angled brush, making short strokes that follow the direction of the trim. Then, without reloading, drag the brush lengthwise over those strokes to even them out. Another option is to run a small roller along the length of the trim to smooth the initial strokes.
5. Paint the door and window casings
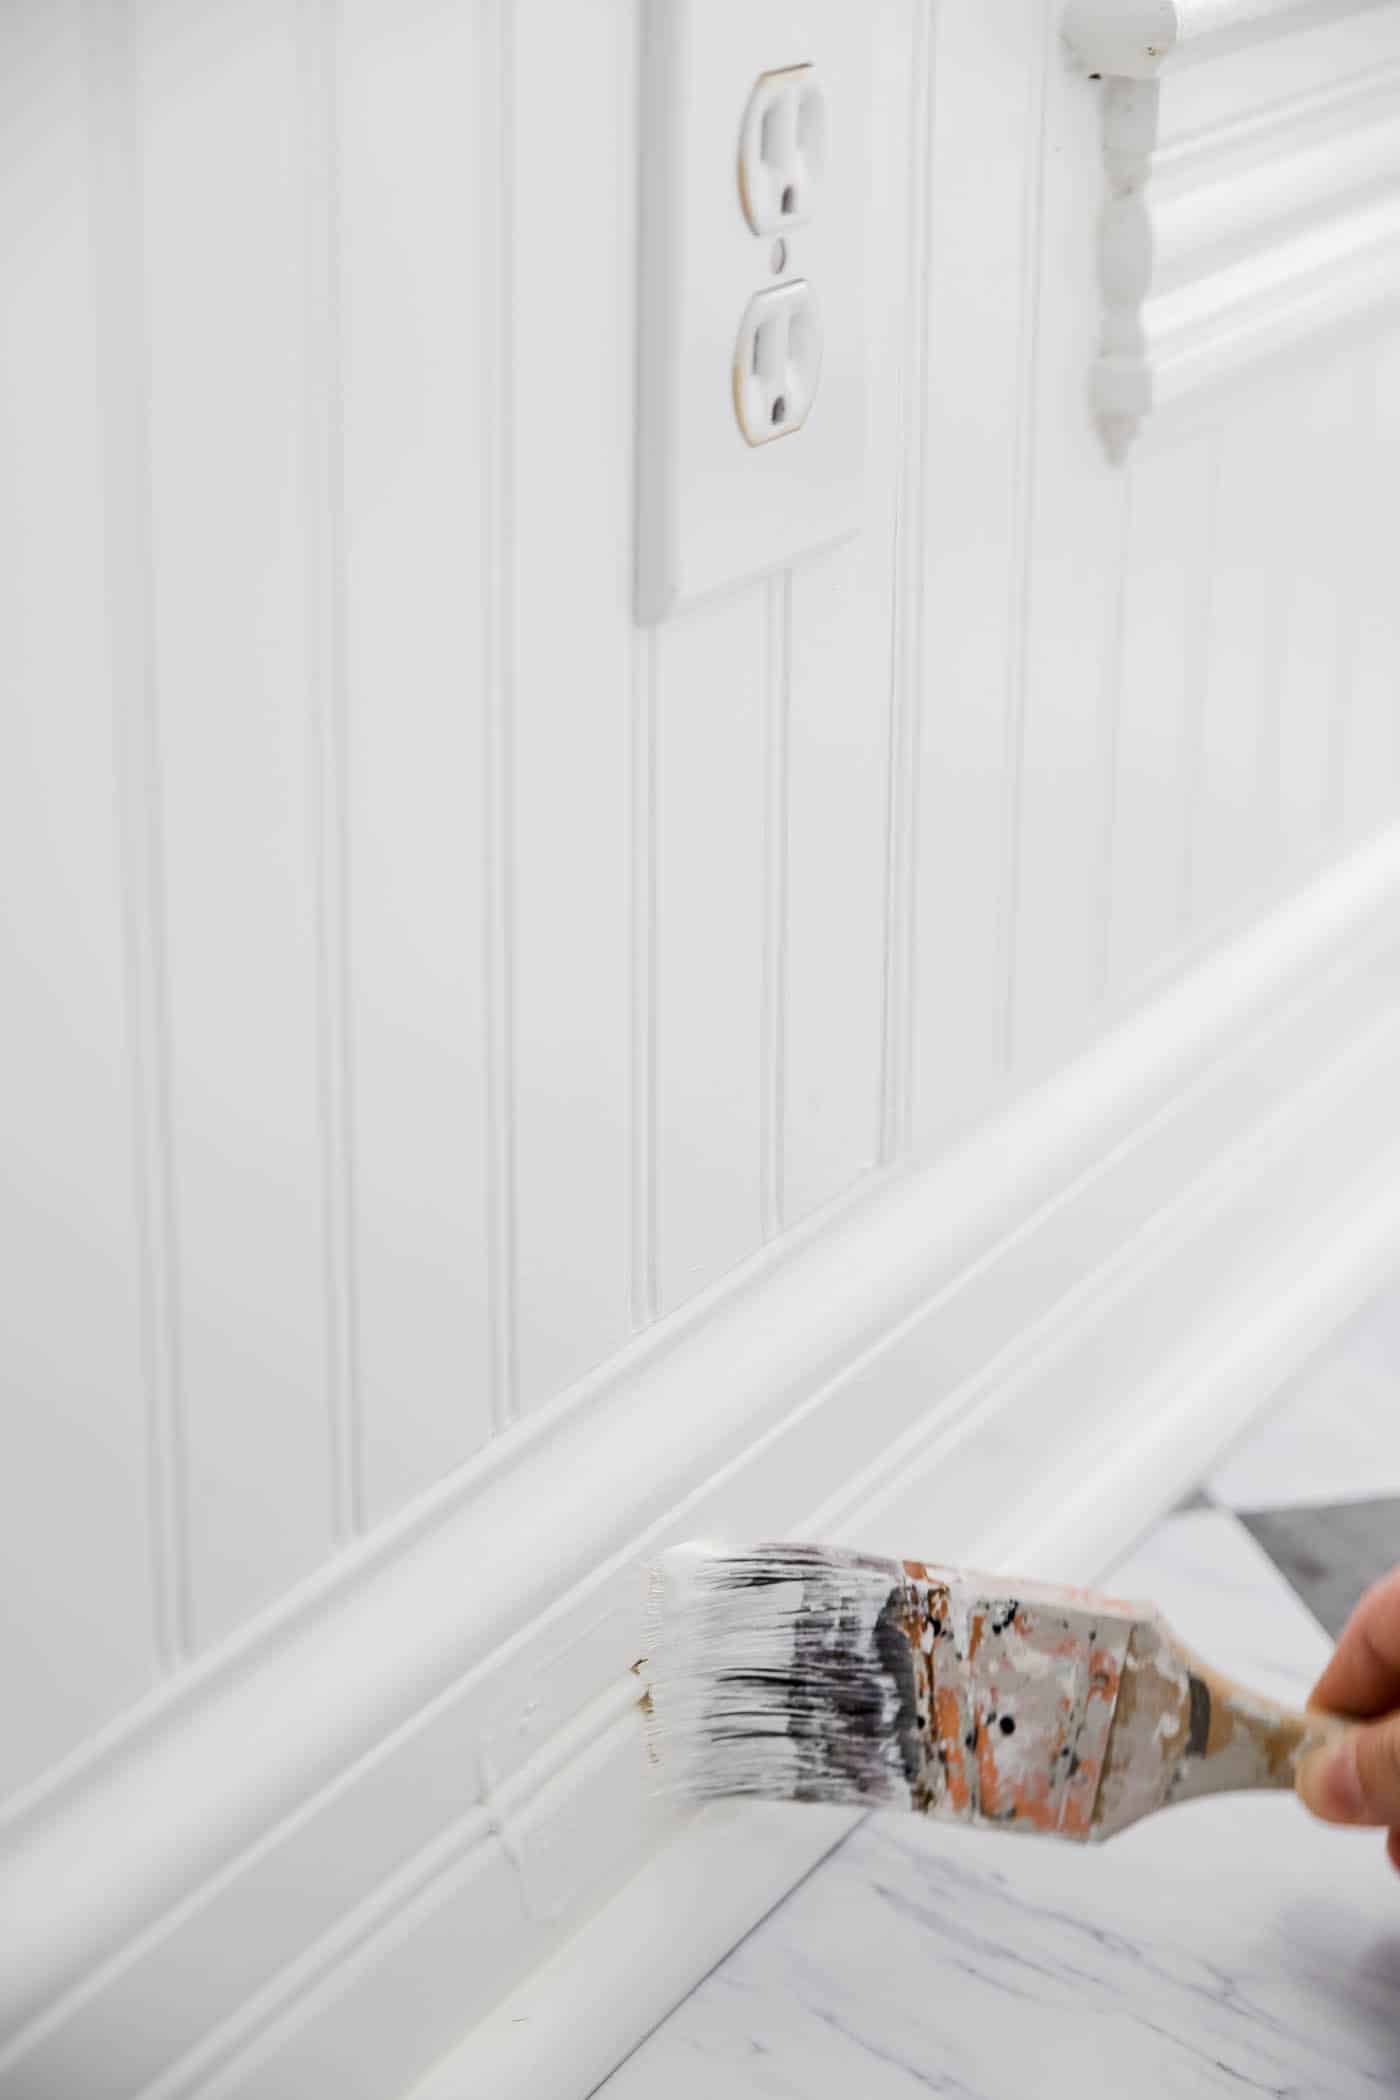
Use painter's tape to get crisp, clean lines between the frame and the wall. Apply the paint with a brush, working from the top down. A small roller for smoothing is optional here too. Again, use short strokes to spread the paint evenly, then finish with one long stroke.
6. Paint the crown molding (if you have it)
For the cleanest lines, tape off both the ceiling and the wall, unless you're painting the walls next. Work in small sections and keep a wet edge to limit brush marks.
7. Let the paint dry
You've probably heard that something is "as exciting as watching paint dry." Now's your chance to treat yourself to lunch or dinner out, or switch to another project.
How long does trim paint take to dry? Oil-based paints need about 24 hours for the best result, while water-based paints need six to eight hours. Wait until it's completely dry before adding a second coat or pulling off the tape. After all that effort, you don't want to ruin your work!
More Helpful Resources
Here are a few other posts and my paint color archives that may help with your next painting project.