
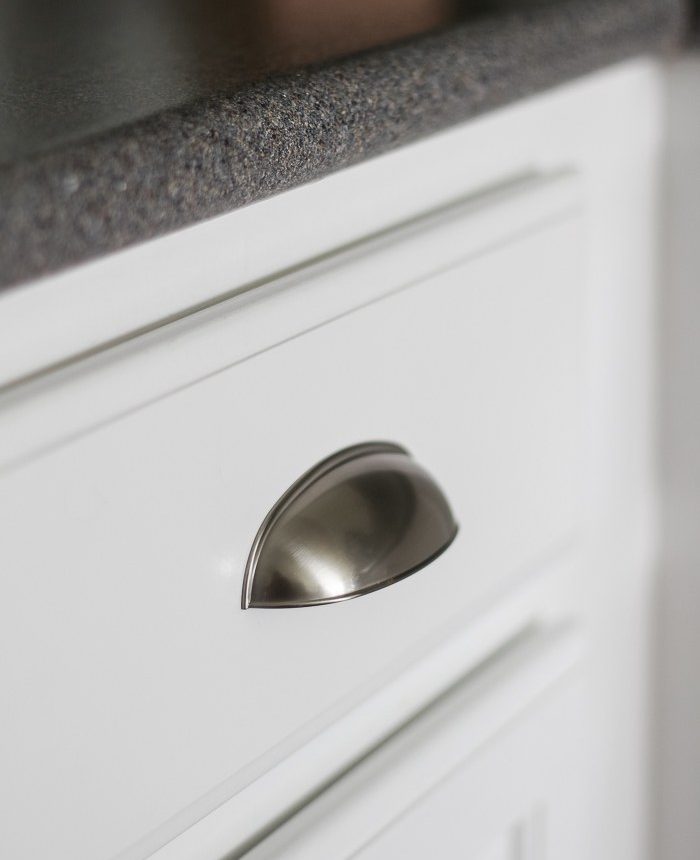
Installing cabinet hardware can feel intimidating, but it doesn’t have to be. This simple template trick lets you install new cabinet pulls quickly, accurately, and without stress.
Over the past few years I’ve been slowly updating my kitchen. After finally painting the cabinets white last winter, I loved the fresh look — but for eight months the drawers had no pulls. I had the hardware and the tools, but I kept putting off the installation because I worried I’d make uneven holes or scratch the new paint.
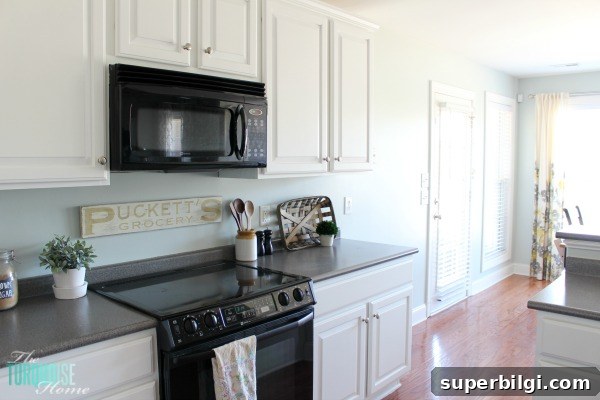
After reading a friend’s tutorial I decided to tackle it. I left the original knobs on the cabinet doors, but I’d long wanted cup pulls on the drawers. When I painted the cabinets I filled old screw holes so the drawers would be ready for new hardware.
Want to Save This?
Save or bookmark this method so you can use the same template trick when you install hardware.
How to Install New Cabinet Pulls
What you’ll need:
- Thin piece of wood, cardboard, or heavy paper to use as a template
- Cabinet hardware (cup pulls or the style you prefer)
- Level
- Sharp point such as an awl, a pointed pen, or a sharp pencil
- Drill and appropriately sized drill bit
This template method is fast and reliable. I used a piece of cardboard cut from a large box and trimmed it to the height of the drawer fronts. Then I cut the template to the width of the smallest drawer I would be working on so it would fit neatly inside the drawer face.
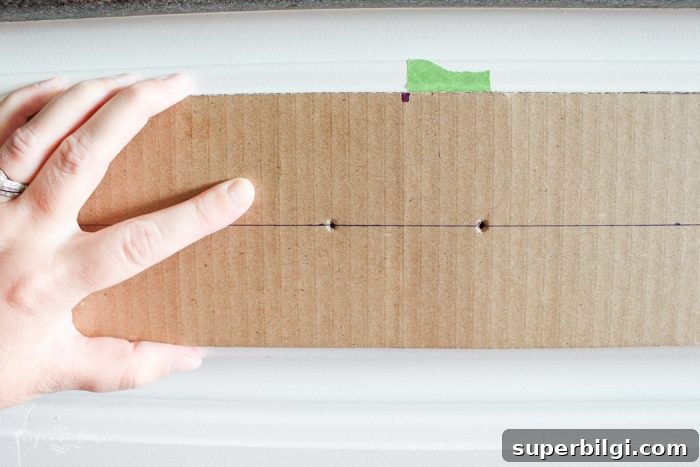
Mark the center of the template so you can line it up easily on wider drawers. Measure the pull you’re installing and mark the screw-hole spacing on the cardboard. Hold the pull against the cardboard, mark through the holes, and then punch the holes with a sharp object so you’ll have a clear guide for drilling.
I used painter’s tape to mark the center line on each drawer, then aligned the center mark on the template with the tape line. This makes it simple to place the template in the same spot on every drawer and ensures consistent placement across all drawers.
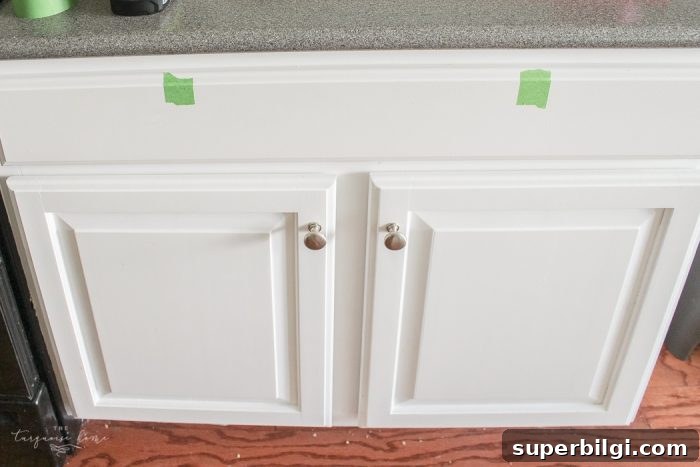
Before drilling I taped a pull on the drawer to double-check spacing and appearance. It’s a helpful visual check — you can change your mind before committing to holes in the wood.
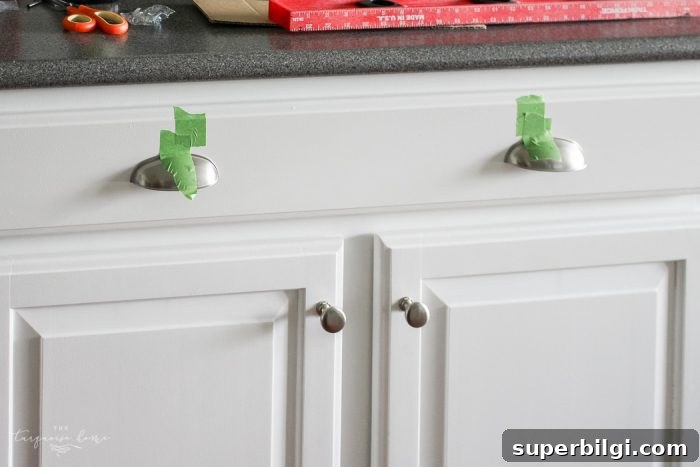
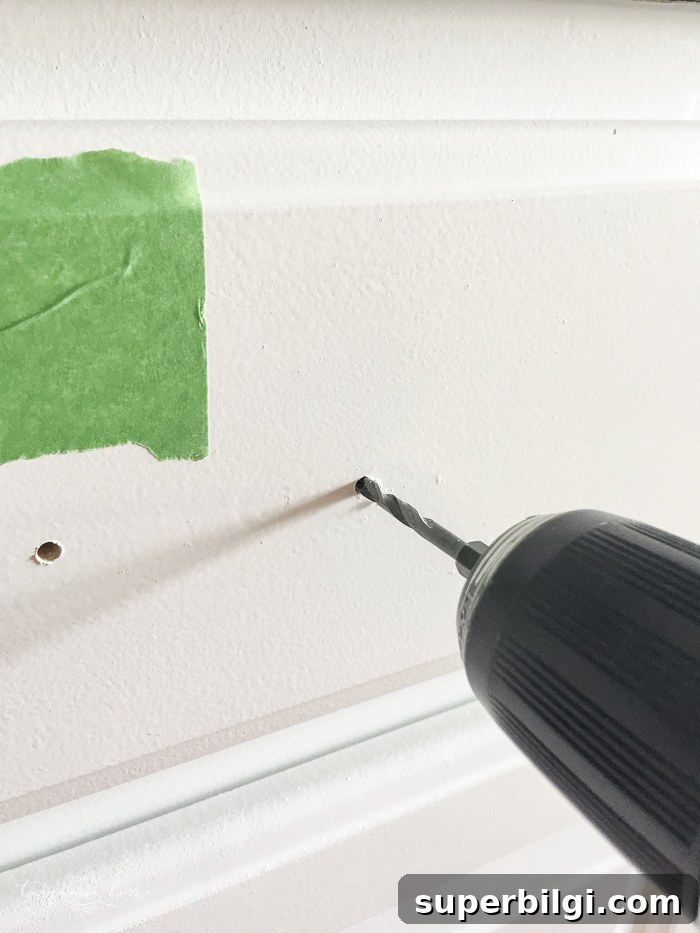
Choose a drill bit slightly larger than the screw shank so the screw can pass through easily without forcing or splitting the wood. Position the template, hold it steady, and drill straight through the marks. If your drawers are thin or delicate, clamp a scrap piece of wood behind the drilling point to reduce blowout.
Work deliberately: measure twice, drill once. Take your time when aligning the template and positioning the drill. Moving slowly and verifying placement prevents mistakes and keeps your paint job intact.
Once all holes are drilled, attach the pulls using the screws provided with your hardware. Tighten gently so the pulls sit flush against the drawer face without compressing or cracking the wood around the hole.
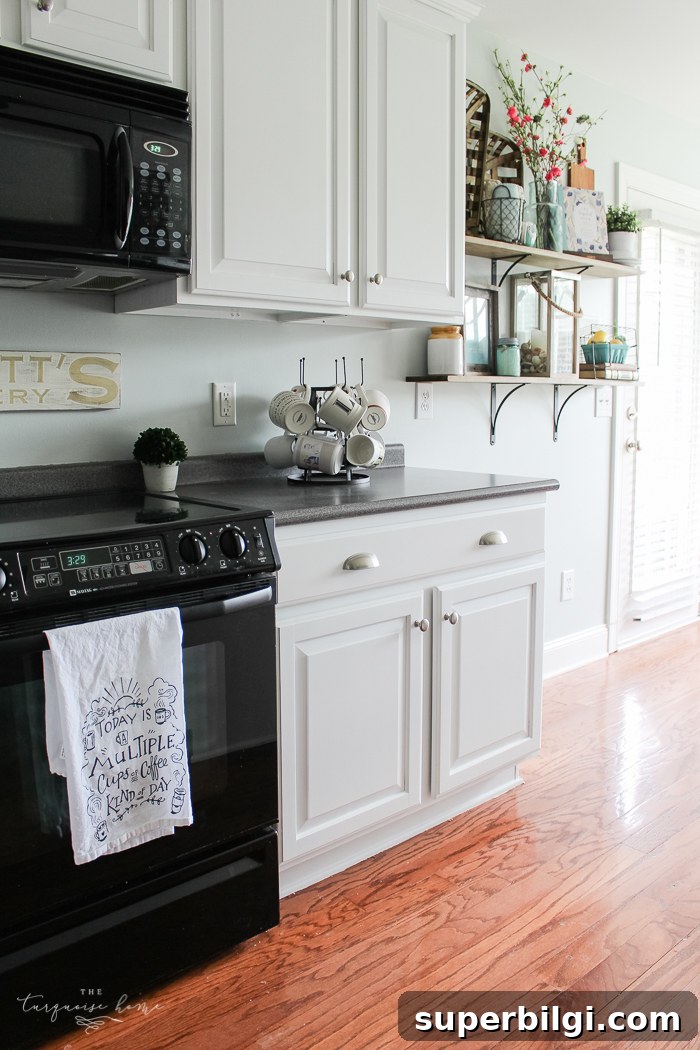
Now the drawers open smoothly and the cabinets look finished. Installing pulls not only improves function — no more sliding fingers under the drawer front to open them — but it completes the look of freshly painted cabinets.
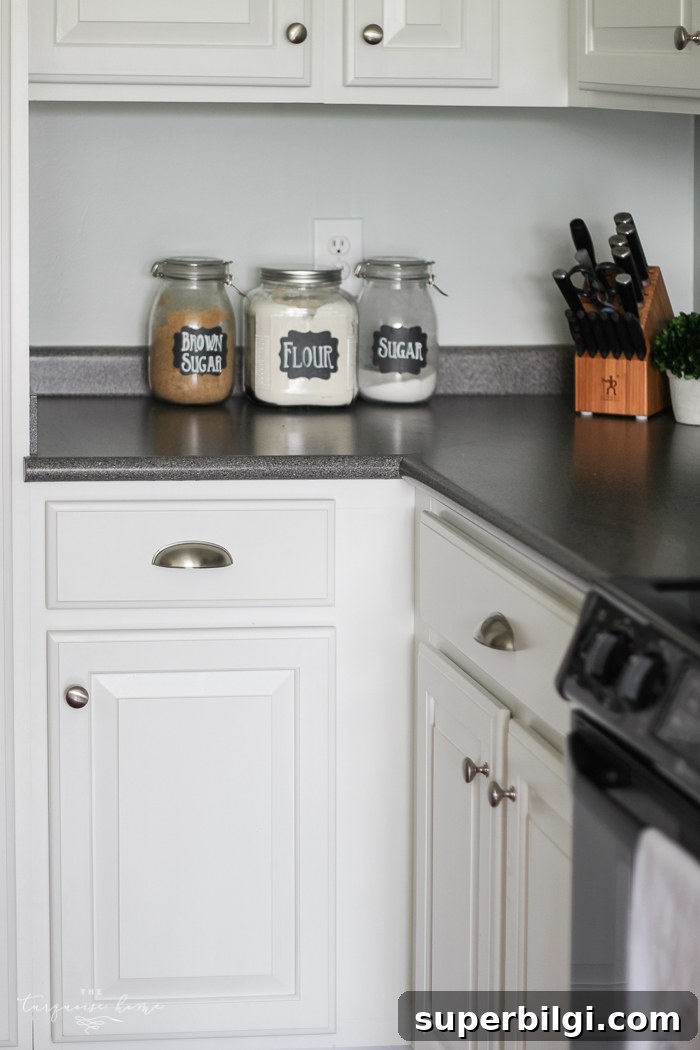
That said, I’m still deciding about two remaining cup pulls. There’s a faux drawer front in front of the sink that I plan to remove when I eventually install a farmhouse sink. I’m torn about adding hardware to it now or waiting until the sink is replaced. Adding pulls creates a fully cohesive look, but if the drawer face will go away it may be unnecessary to install them at this time.
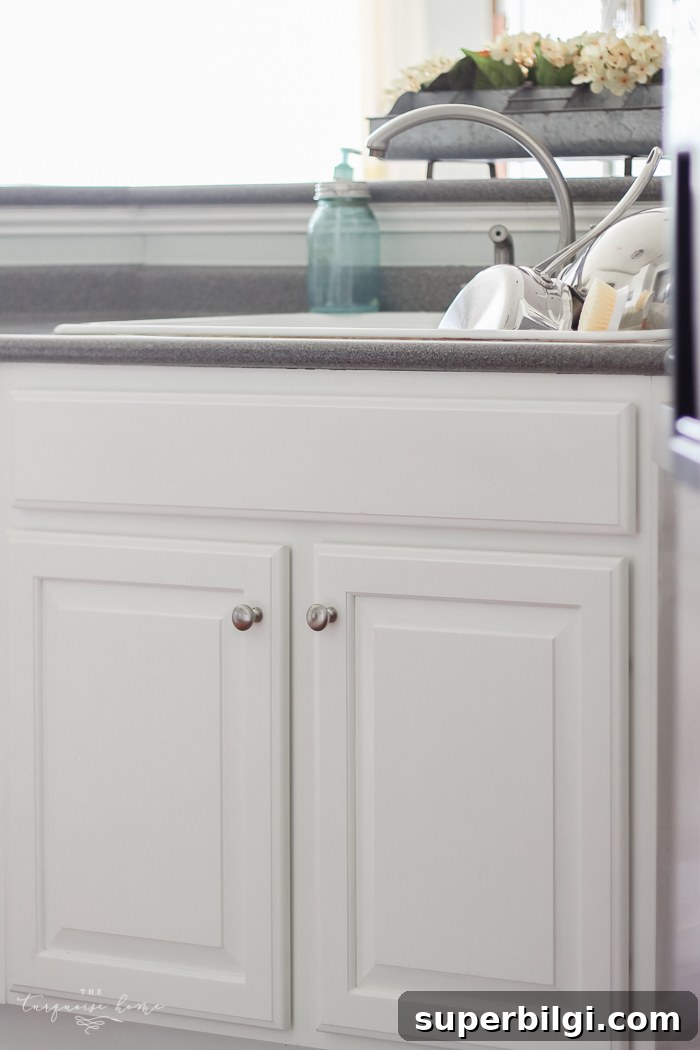
If you’re installing new cabinet hardware, here are a few quick tips:
- Use a reusable template — cardboard or thin wood — so you can place identical marks across every drawer.
- Label templates for different drawer sizes so you don’t have to re-measure each time.
- Test-fit a pull with tape before drilling to confirm scale and placement.
- Use a drill bit just slightly larger than the screw for an easier fit and to avoid splitting the wood.
- Work slowly and double-check alignment with a level before drilling.
Have you installed cabinet hardware yourself? If you’re struggling with placement, try this template method — it makes the job simple, accurate, and less nerve-wracking. If you have thoughts about whether to add those last two pulls on a faux drawer, I’d love to hear your opinion.
More posts you may like:
- How To Display Kitchen Cabinet Wreaths
- Painted Kitchen Cabinets: Two Years Later
- Cabinet Knob Placement: Tips and Tricks











