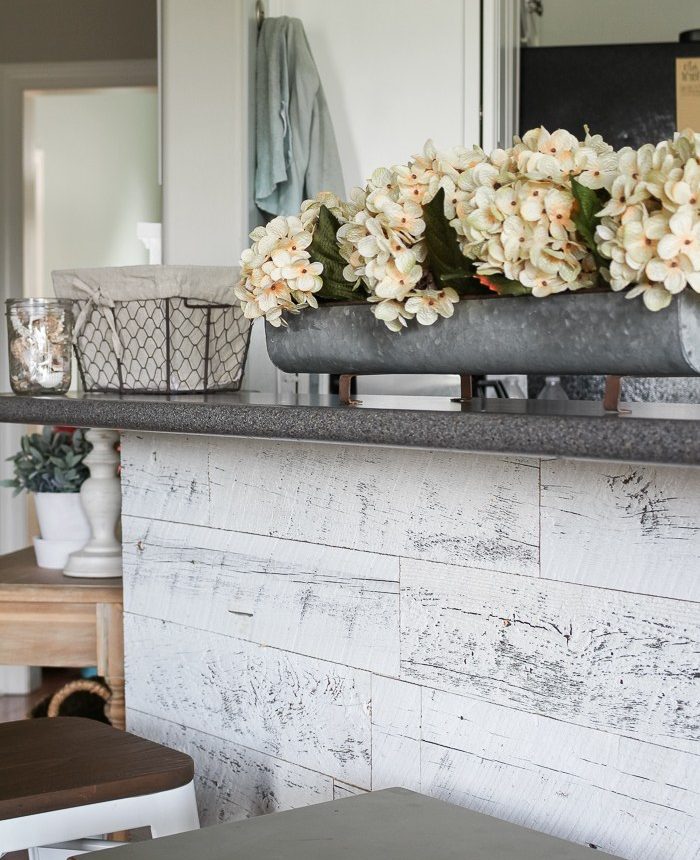
This weathered reclaimed wood is a quick project and an easy way to add character and charm to your home. I love my new weathered reclaimed wood kitchen bar.
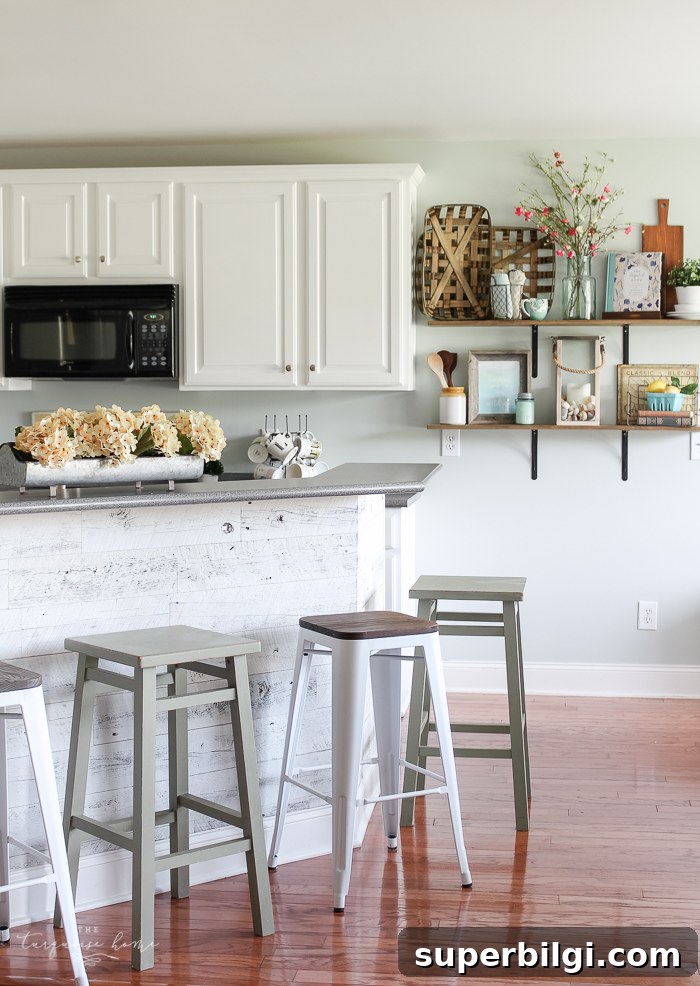
A few months ago I shared my vision for this bar wall in my kitchen. I had wanted reclaimed wood planking on my bar for years but wasn’t sure how to execute it. I knew I could do it, but it felt like a big job, so I kept putting it off. While browsing ideas online I finally found an image that captured the exact look I wanted and made the plan click into place.
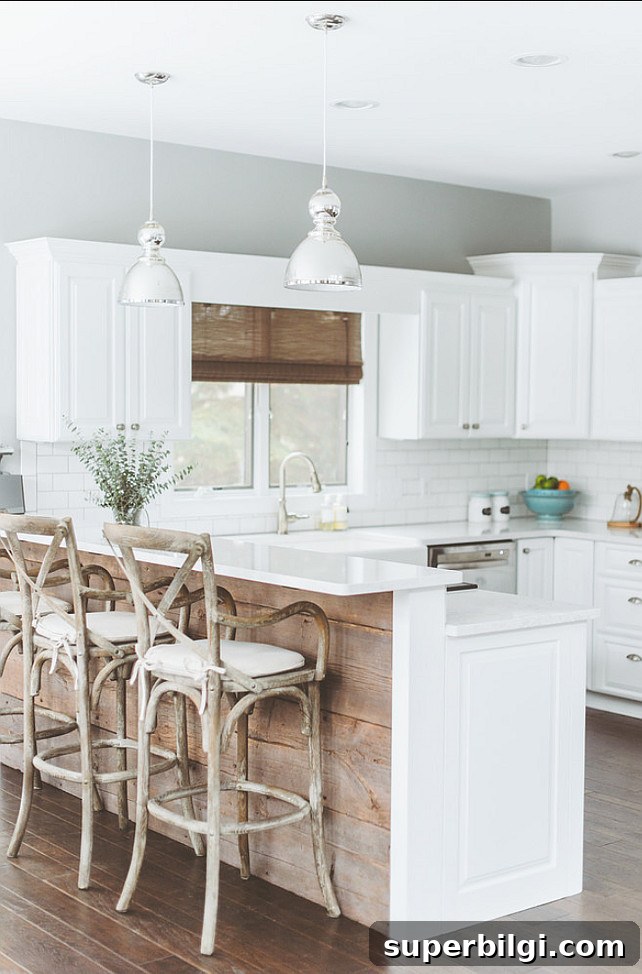
Deluxe Design Studio
Around that time I learned about Stikwood, a company that sells peel-and-stick reclaimed and sustainable wood panels. These are real reclaimed wood planks with a peel-and-stick backing, which makes them one of the simplest ways to add authentic reclaimed wood to a room.
I expected to like the finished look of my weathered reclaimed wood kitchen bar, but I ended up absolutely loving it. The transformation brought new warmth and depth to the space.
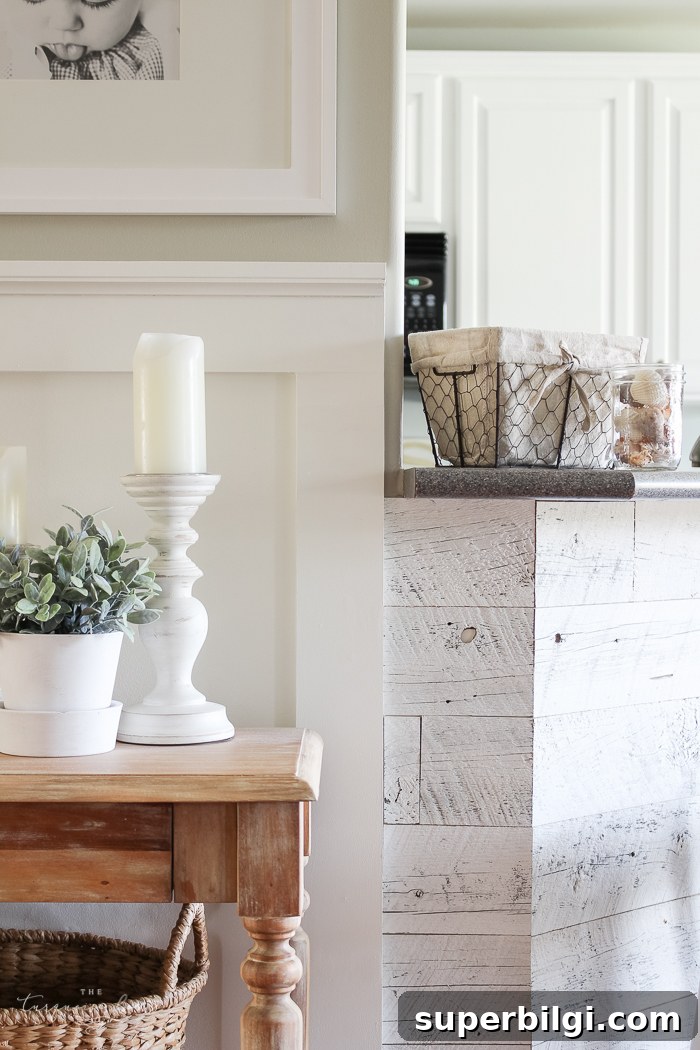
The reclaimed wood adds character and charm to my kitchen in a way paint or wallpaper could not. If you’ve been thinking about doing something similar, this is a very approachable project if you plan ahead and have the right tools.
Below I outline how I completed this easy peel-and-stick project, plus tips to avoid common mistakes.
Tools Needed for DIY Reclaimed Wood Wall
- Stikwood panels in Weathered White (or your chosen finish)
- Saw — a miter saw works best for clean cuts, but a hand saw will also do the job
- Rubber seam roller to press panels firmly to the wall
- Level
- Pencil
- Tape measure
When I opened the box, I was delighted by the authenticity: real knots, imperfections and a beautiful weathered finish. I originally polled readers about color choices and many suggested weathered gray, but I ultimately chose weathered white. It pulled together my white cabinets and gray countertops perfectly.
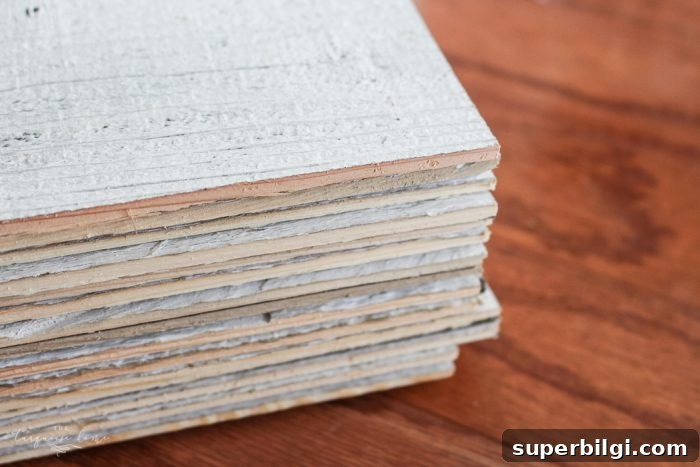
Although I thought the box might not contain enough material, it ended up being exactly the right amount with a little leftover for future projects.
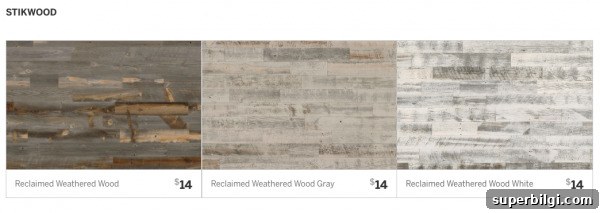
Before You Start
Plan before you begin. A few things to consider:
- I removed the trim below my countertop because I didn’t like how it looked and it gave me a clean starting edge.
- My bar was already painted white, which was helpful because some gaps or knots might reveal the base color beneath the boards. If your wall color matters, paint it first so any gaps show the intended color.
- Decide where you will start and stop the planking. I began next to existing board and batten trim so that end looked finished. On the other side I added a small trim piece to create a clean edge where the planking ended.
- Lay out all the reclaimed wood pieces and experiment with a layout that balances light and dark planks and varied lengths before you start sticking them to the wall.
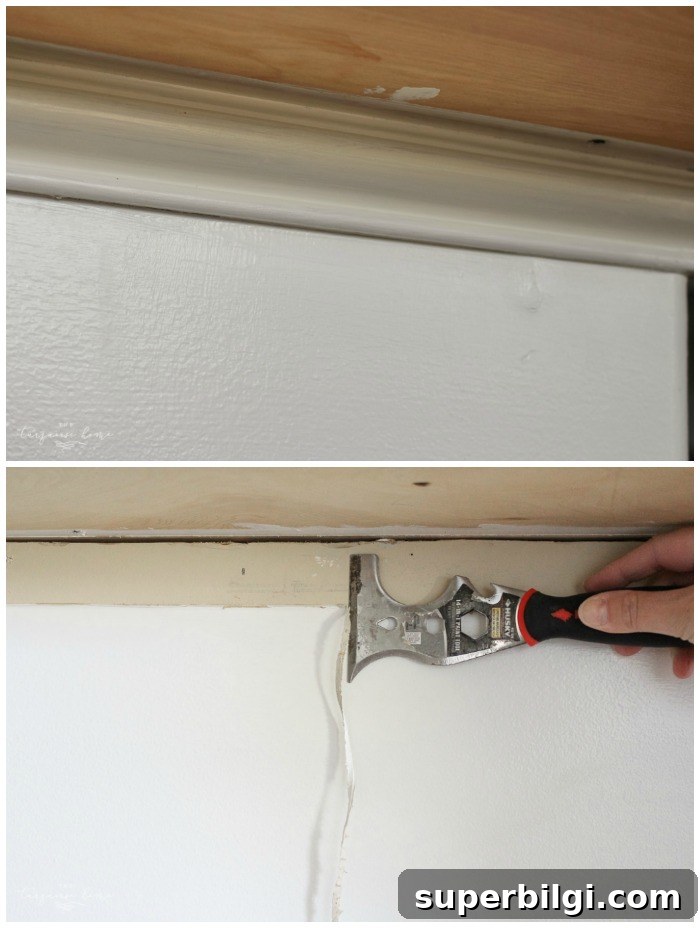
Getting Started
If I were to do this again, I would start at the bottom of the wall. I ended up cutting the lower pieces lengthwise to fit, and because the countertop overhang hides the top edge, it would have been better to hide imperfect cuts at the top. Think about which edges will be most visible and plan your starting point accordingly.
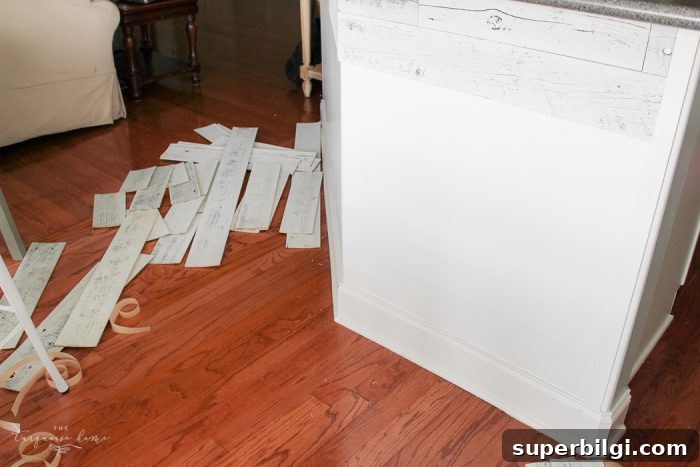
Once you’re ready, the peel-and-stick installation is straightforward. I had extra cutting because my wall had odd angles that required miter cuts, which added time. With straight walls this project can be completed in a few hours.
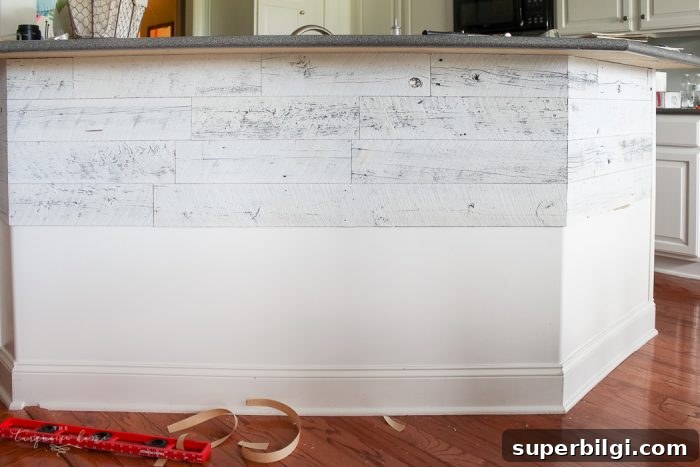
Measure and cut each piece, and make sure each row stays level. I used my miter saw for clean cuts and placed a heavy board over the thin planks while cutting to keep them flat and prevent vibration—this produced very even cuts.
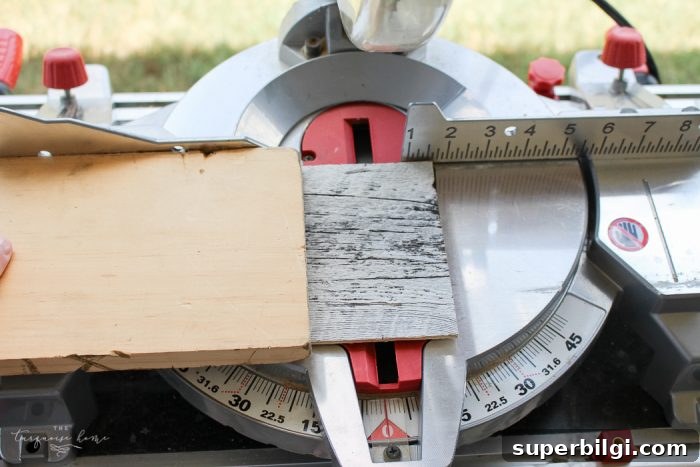
The adhesive is strong, so once a plank is applied it will hold well. Use a rubber seam roller to press each board firmly and ensure full contact with the adhesive backing. If you place a board incorrectly, removing it can damage the wall and the plank, so double-check orientation—especially if you have mitered ends.
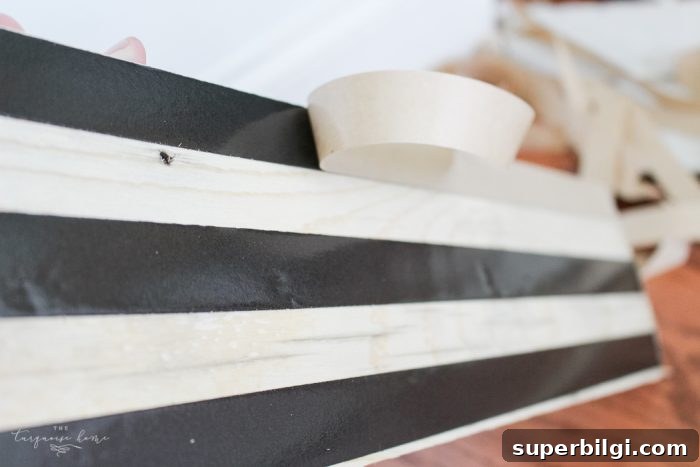
After I found a steady rhythm—measure, cut, level, stick—the installation moved quickly. The end result was a dramatic before-and-after that added texture, warmth, and a handcrafted feel to the kitchen.
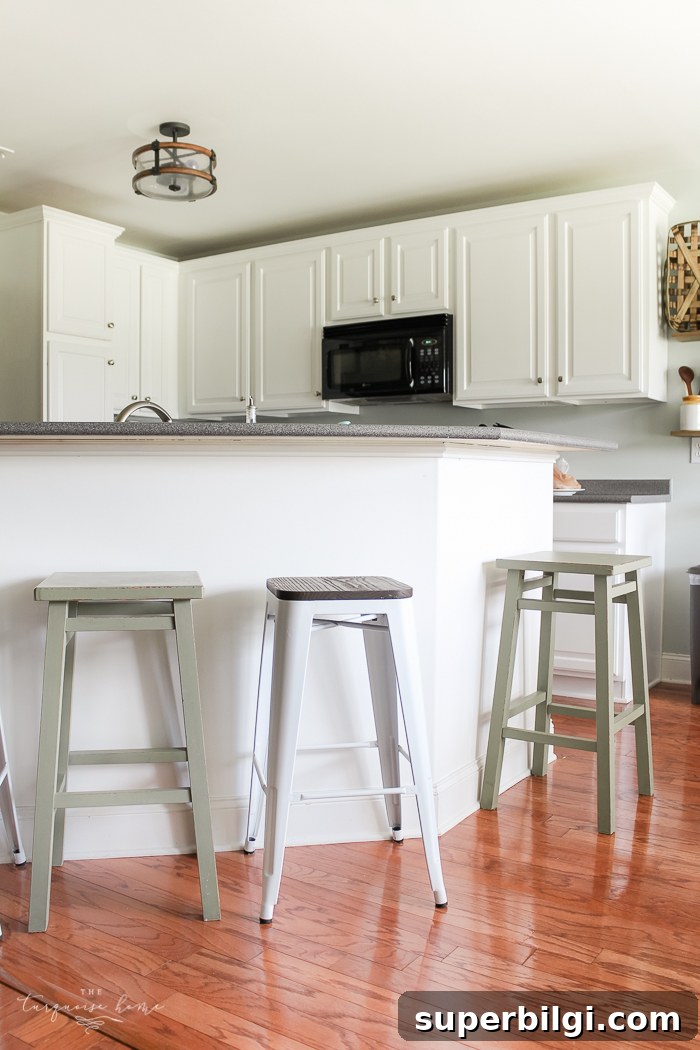
This is what my bar looked like before the reclaimed wood:
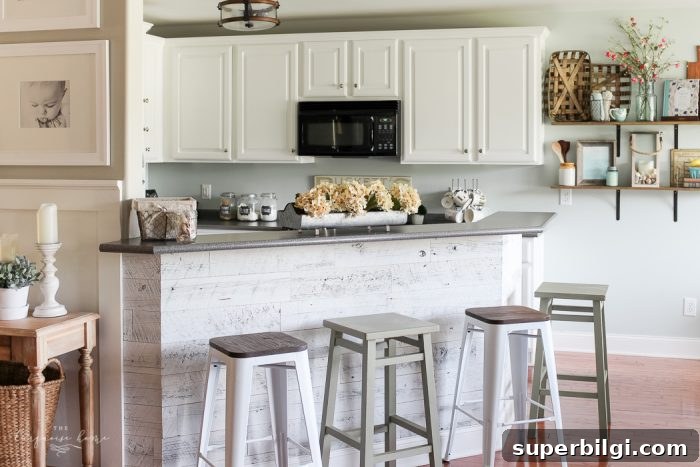
And now it’s loaded with character and charm. The reclaimed wood adds a lot of visual depth and makes the space feel more intentional and cozy. It’s a relatively simple upgrade that yields a significant stylistic payoff.
Shop This Post
Recommended items for this project include peel-and-stick reclaimed wood panels, a miter saw or quality hand saw, a rubber seam roller, and basic measuring tools. Choosing high-quality materials and taking time to plan your layout will make the installation smoother and the finished result more polished.
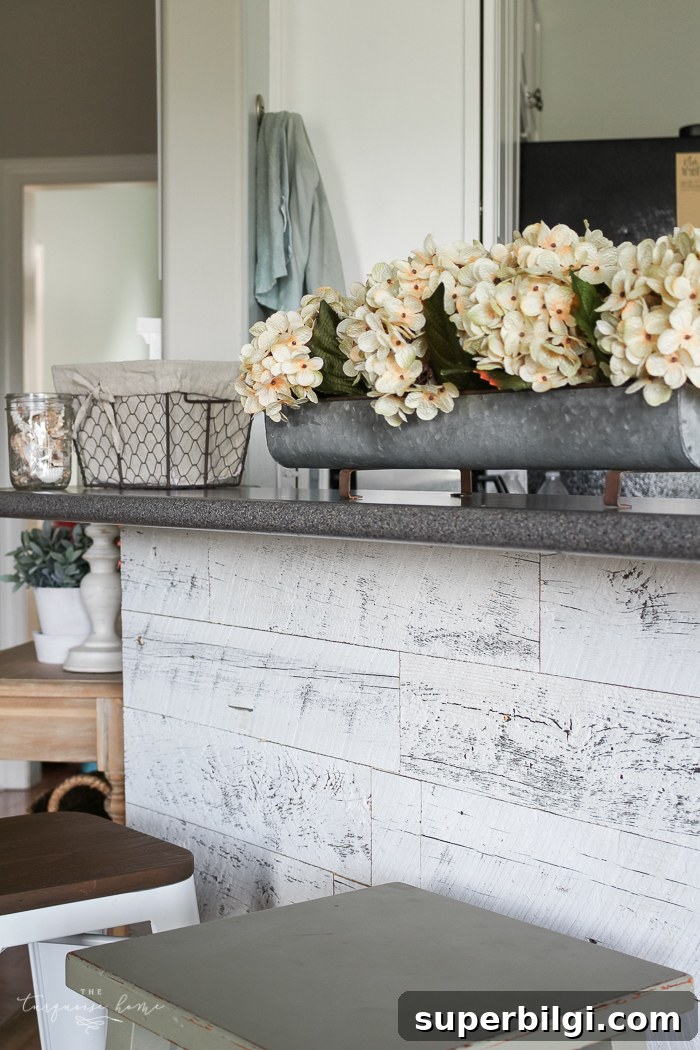
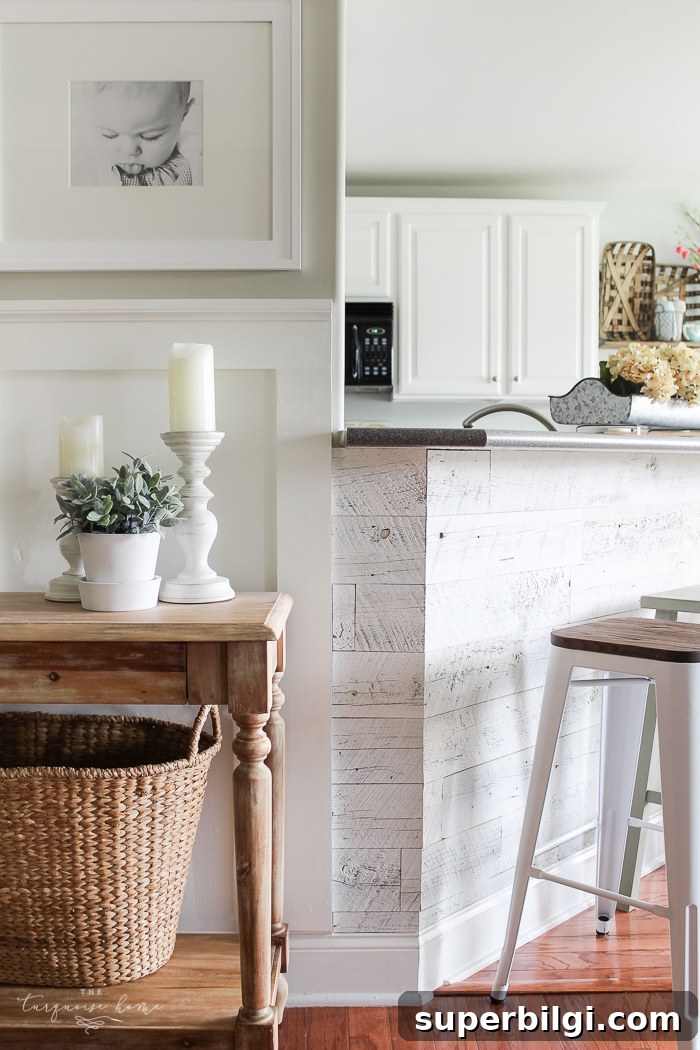
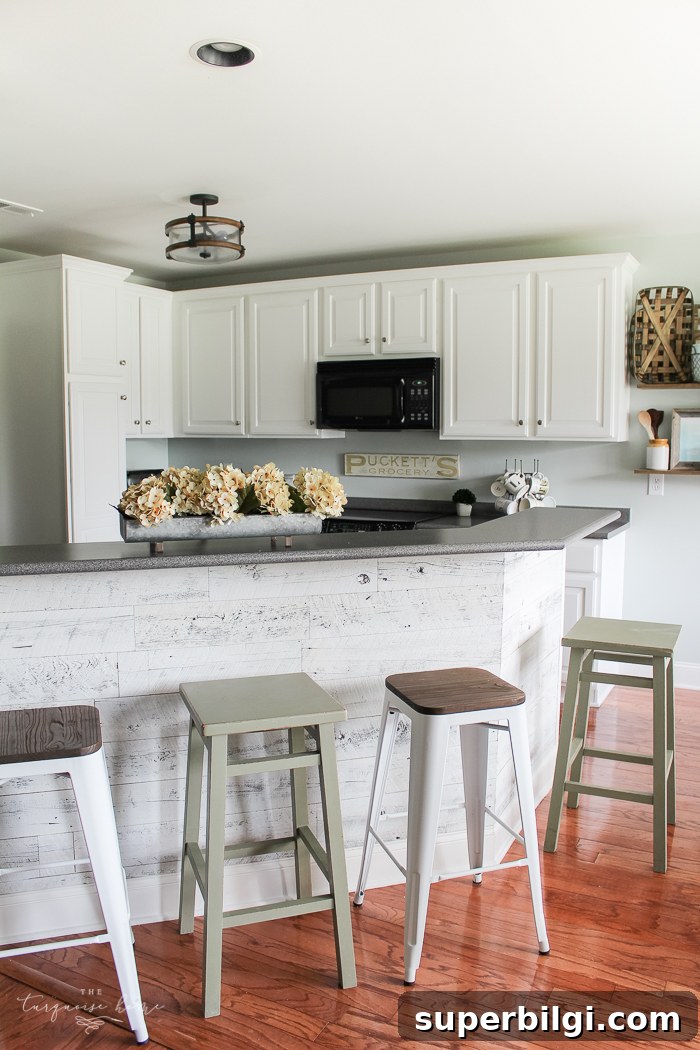
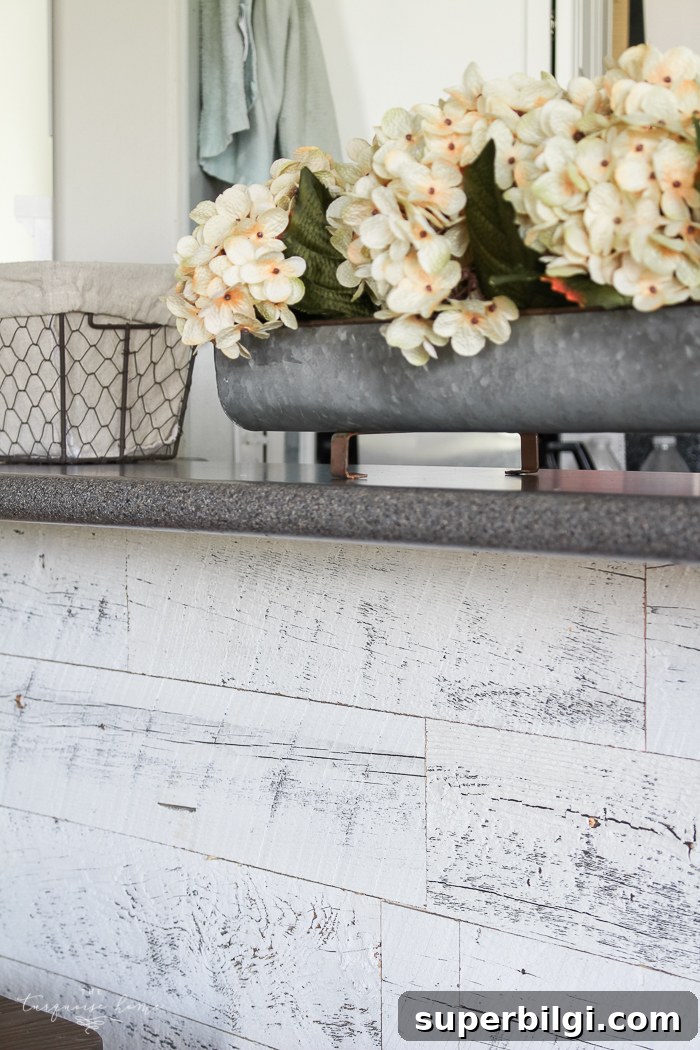
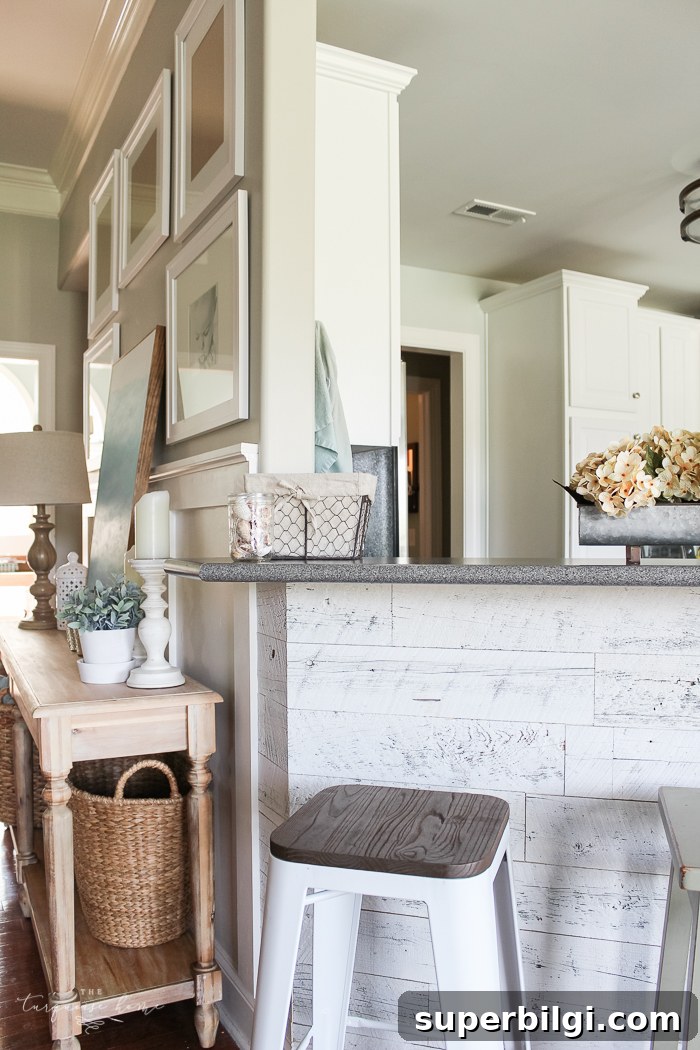
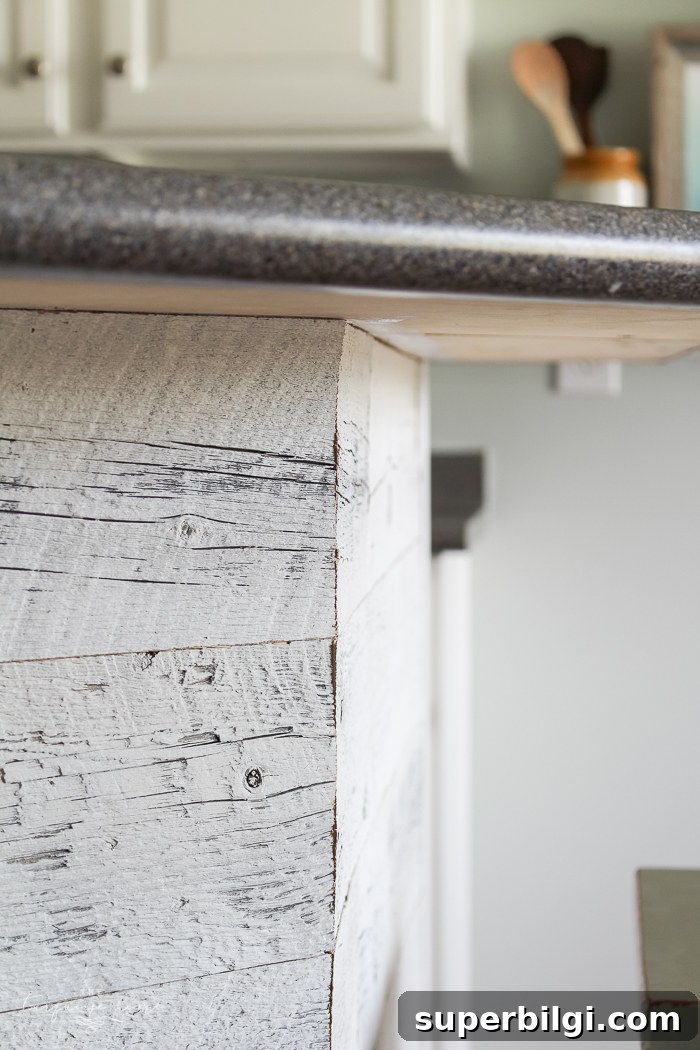
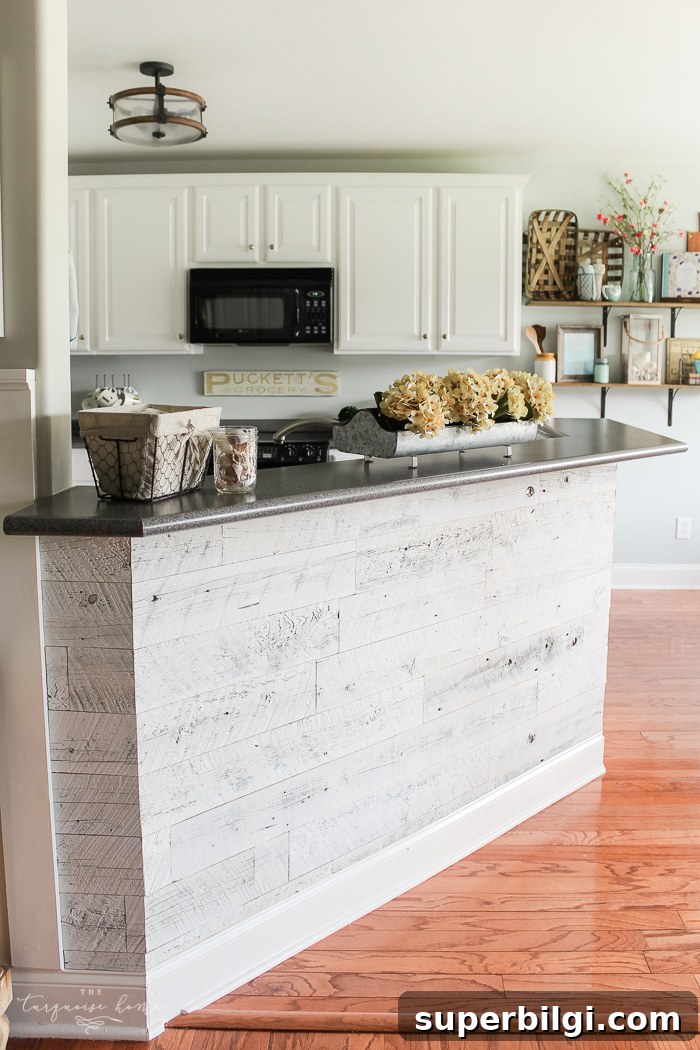
I included many photos because the visual differences helped me see how the texture and tones work in the space. Visualizing the layout and color balance before installation made a big difference in the final result.
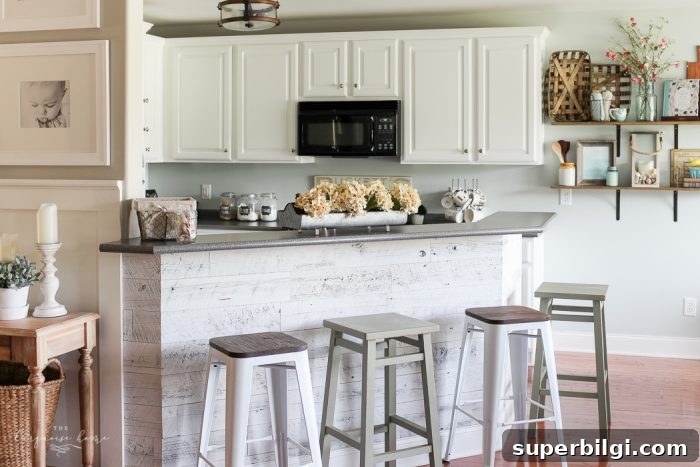
Where would reclaimed wood be a perfect fit in your home? A kitchen bar, an accent wall, a headboard backdrop, or a fireplace surround are all great options that add texture and warmth.
More Posts You Will Love:
- Large DIY Wall Decor Ideas
- How to Make a Large Wooden Sign
- 10 Large Round Mirrors We Love