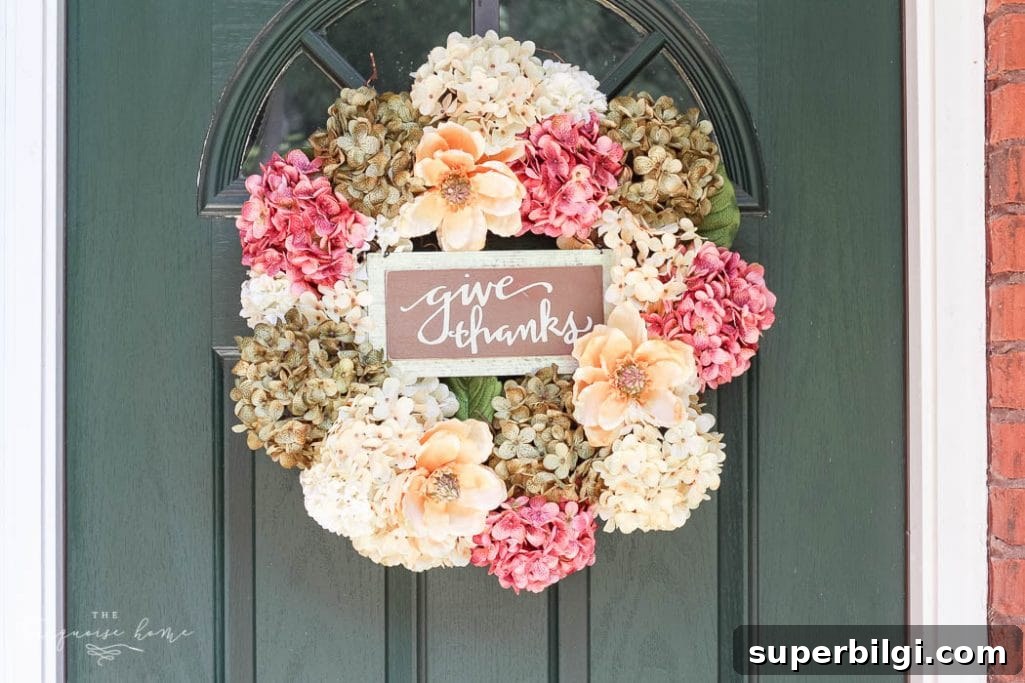
If you love refreshing your entryway for a new season, a simple fall hydrangea wreath is an easy, elegant way to welcome autumn. I made a cozy, classic faux hydrangea wreath using just a grapevine base and a few faux stems. It’s an approachable DIY that takes about 30 minutes and brings warm, autumnal color to your front door.
This project really is simple. Even if you think wreath-making isn’t for you, you’ll find the steps straightforward and forgiving. With a few faux florals, basic tools, and a little patience, you can create a beautiful seasonal wreath that lasts year after year.
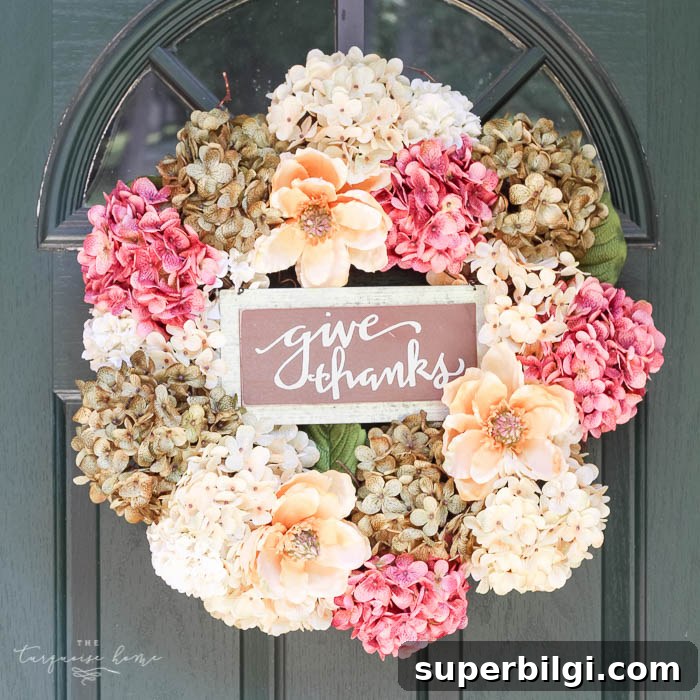
For years I used a store-bought fall wreath, which was lovely. This year I wanted something fresh and more tailored to my style, so I repurposed a grapevine wreath and added faux hydrangea and magnolia stems in muted, fall colors. The result is a wreath that reads seasonal without being strictly orange-and-pumpkin themed, so you can display it from early fall through Thanksgiving and beyond.
I was inspired by dried hydrangea wreaths, but since fresh dried blooms weren’t available to me, I used high-quality faux stems. Faux florals are durable and keep the wreath looking great for many seasons, especially when hung in a protected spot like a covered porch.

If you don’t have a big garden yet, the floral section at a craft store or an online supplier offers plenty of realistic faux hydrangeas and magnolias in fall tones—rust, cream, blush, plum, and muted green all work beautifully together. These stems make it easy to achieve a full, layered look without much effort.
This post contains affiliate links for your convenience. See my full disclosure policy.
Supplies Needed for Your Fall Hydrangea Wreath:
- 14–18 inch grapevine wreath base
- 6–8 faux hydrangea and magnolia stems in fall colors (rust, cream, plum, blush, muted green)
- Additional small filler blooms, greenery, or faux fall leaves to fill gaps
- Floral wire or a hot glue gun to secure stems
- Floral wire cutters or strong scissors
- Optional: a small fall sign or ribbon to add a focal point
This project is quick and low-cost, and the materials are widely available at craft stores or online. Choosing a few different tones for the hydrangea blooms gives the wreath depth and visual interest.
Steps to Make a Fall DIY Hydrangea Wreath
1. Gather Your Supplies
Set your grapevine wreath base on a flat surface and lay out your faux stems and tools. Organizing everything within reach makes the assembly go faster and keeps the process relaxed and enjoyable.
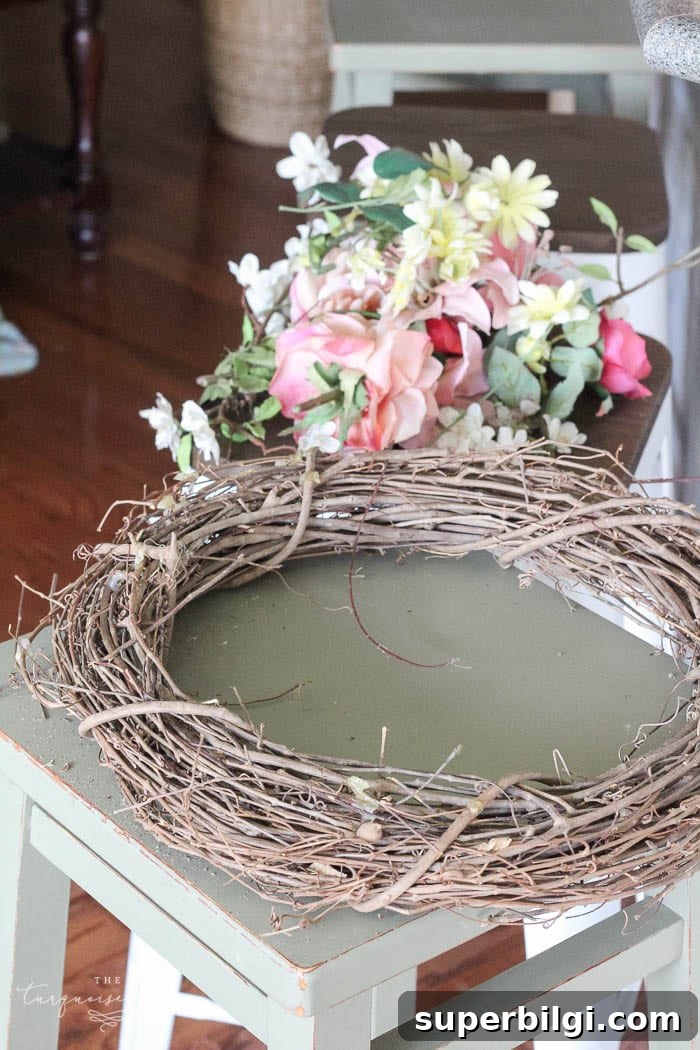
I upcycled an old wreath form that had sentimental value. Reusing a grapevine base is an eco-friendly way to refresh your decor while keeping costs down.
2. Prep the Stems
Trim each faux stem to leave about 8–12 inches of stem for tucking into the wreath. Cutting the stems down makes them easier to manipulate and helps the wreath lay flat against the door.
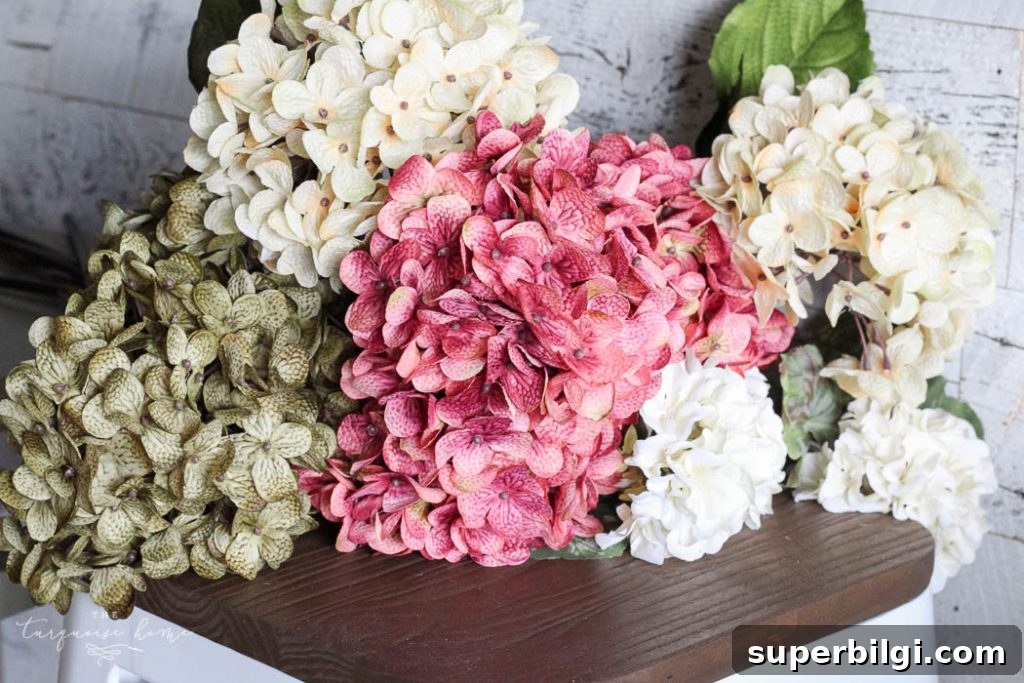
3. Arrange the Floral Stems in the Wreath
Start placing the larger hydrangea heads around the wreath, spacing them evenly or clustering them on one side for an asymmetrical look. Push the stems through the grapevine base and bend them back so the flowers sit naturally on the wreath surface.
Layer in magnolia blooms and filler greenery, all pointing in the same general direction to create a cohesive flow. Fill any visible gaps with smaller blooms or leaf sprigs for a finished appearance.
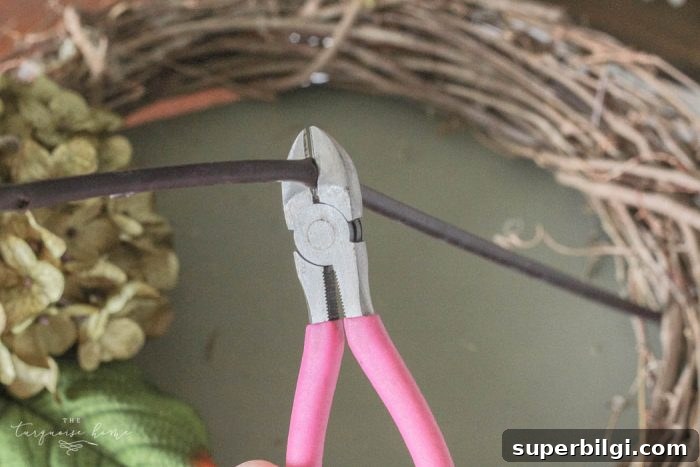
4. Secure the Stems in Place
After arranging the stems, flip the wreath over and tuck the stem ends under inner vines on the back side of the form to anchor them. For extra security, use floral wire or a dab of hot glue where the stems meet the wreath. If you prefer a cleaner back, cut the stems shorter on the reverse side before gluing.
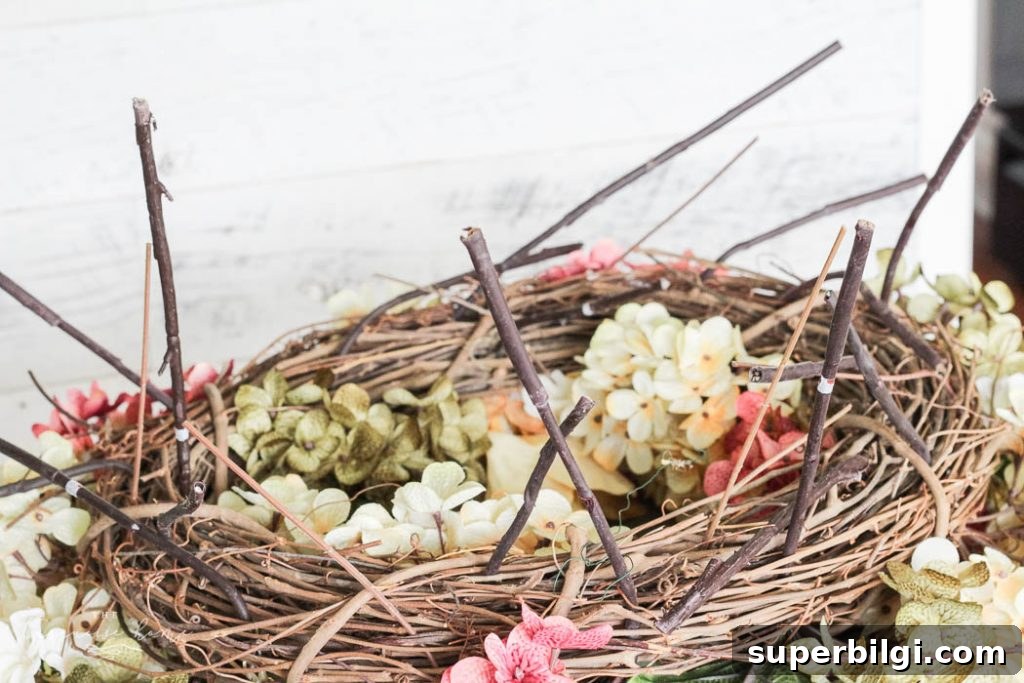
5. Optional: Add a Sign or Ribbon
If you want a focal point, attach a small sign or tie a velvet ribbon at the bottom or top of the wreath. A “give thanks” sign or a simple seasonal tag adds personality and makes the wreath feel custom. You can remove the sign between seasons if you prefer a more neutral look.
6. Hang and Enjoy Your Fall Hydrangea Wreath
This wreath took about 30 minutes from start to finish. Hang it on a covered porch or inside near your entryway to protect faux florals from rain and intense sunlight. The finished wreath adds warmth and charm to your home and can be enjoyed throughout the fall season.
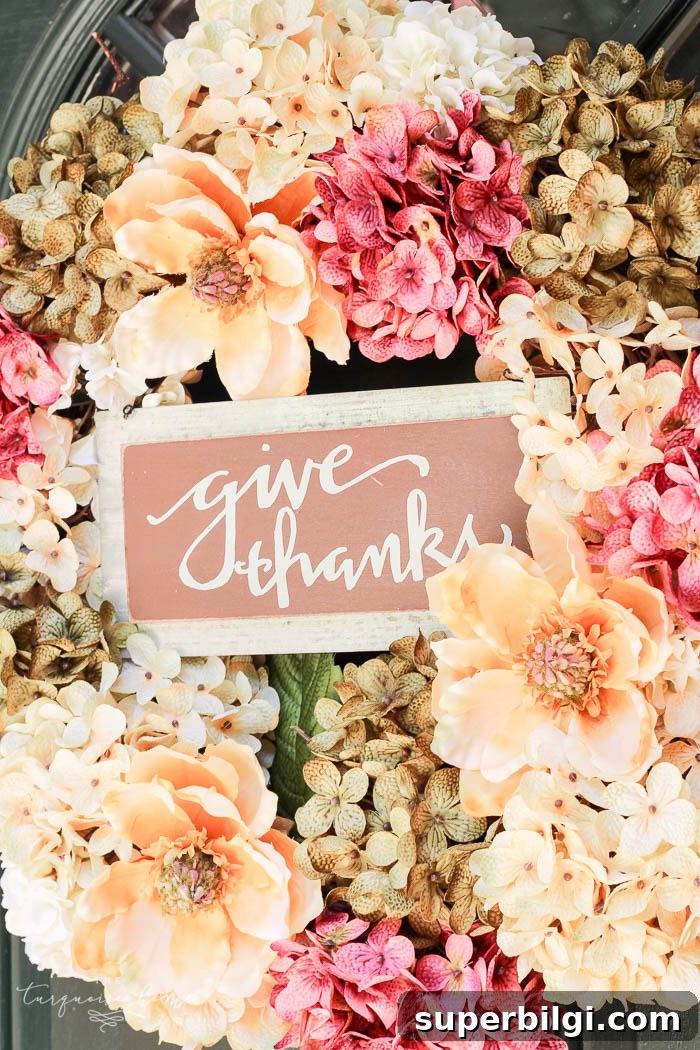
A handmade wreath like this instantly makes an entry feel welcoming. Because I used faux flowers, the wreath will stay beautiful for years with minimal upkeep—just keep it out of direct rain and intense sun for the best longevity.
Tips for Styling Your Wreath
To enhance the look, try tying a textured ribbon (velvet, linen, or burlap) to the bottom of the wreath, or add a few neutral-toned faux pumpkins around your entryway. Mixing textures—velvet ribbon, soft hydrangea petals, glossy magnolia leaves, and rustic grapevine—gives a rich, layered look that feels thoughtfully curated.
If you want a more minimalist look, use a single color family for the blooms and skip the sign. For maximum impact, cluster larger blooms on one side of the wreath and keep the rest of the form more open.
Hydrangea Wreaths to Purchase
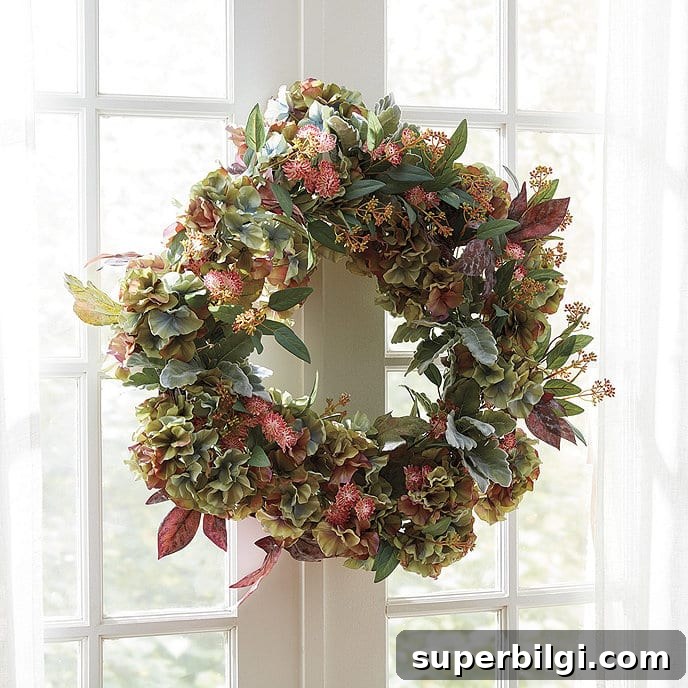
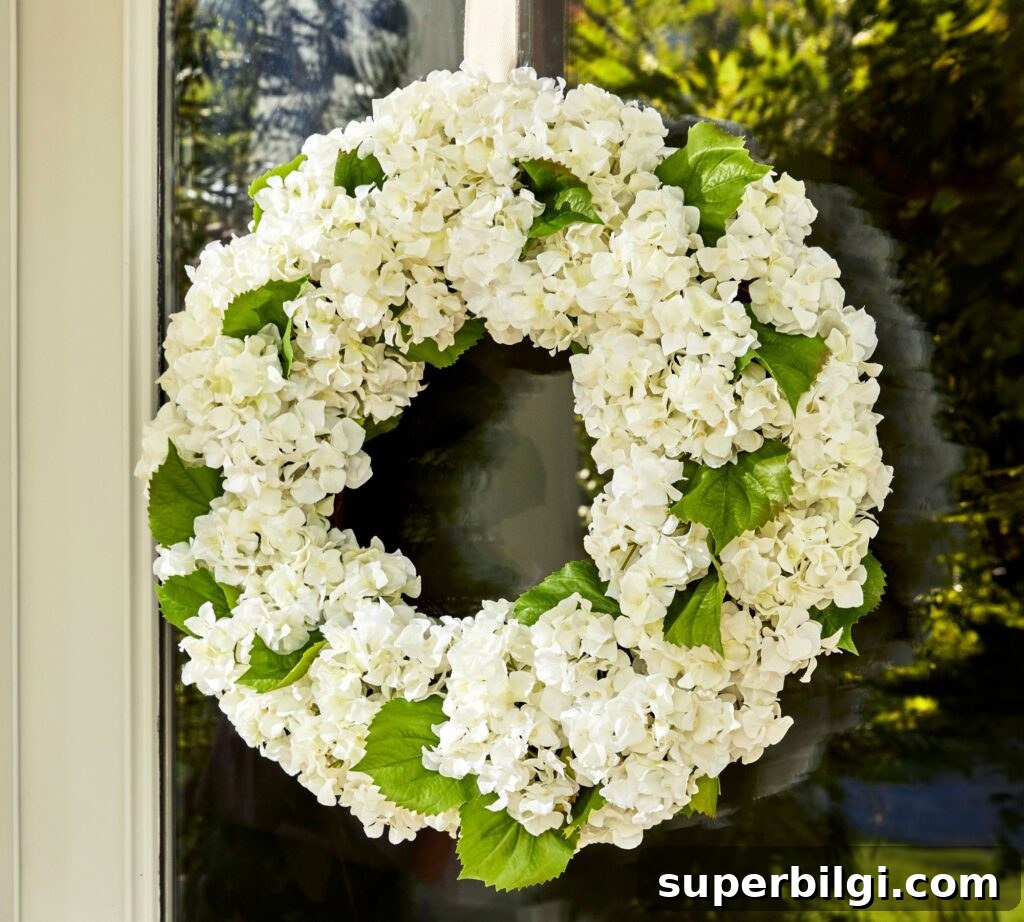
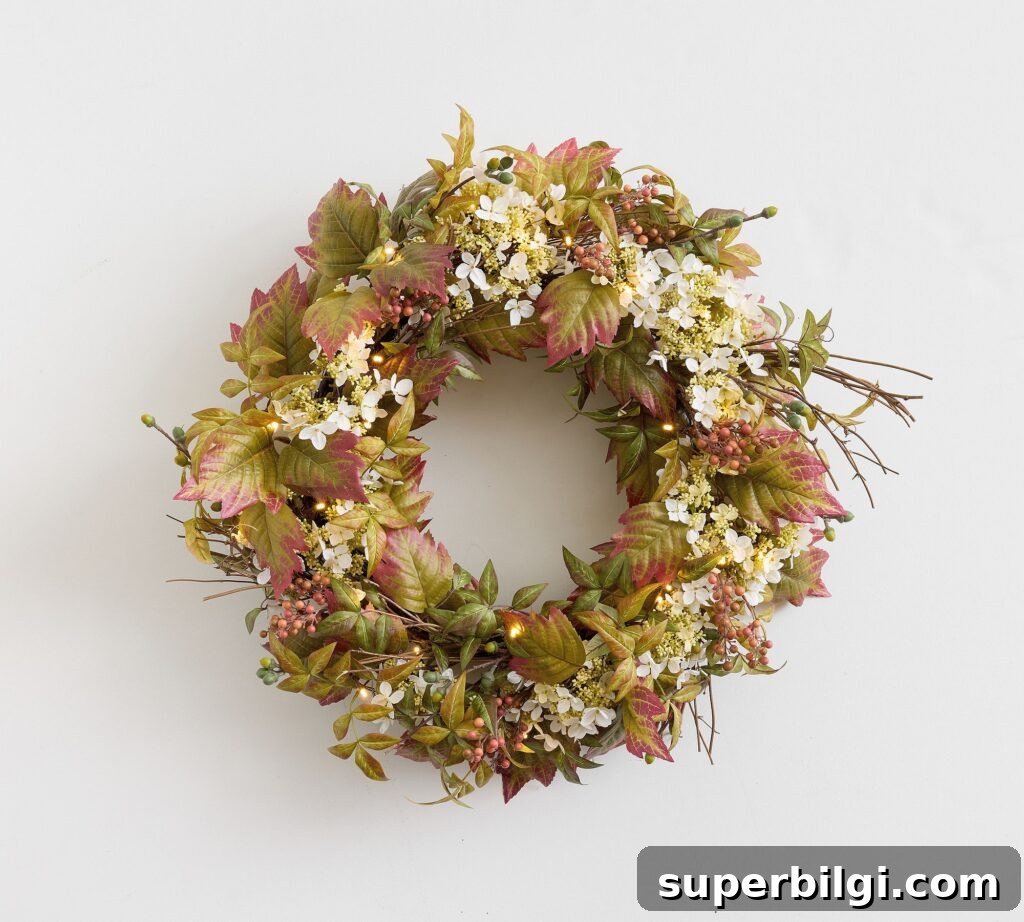
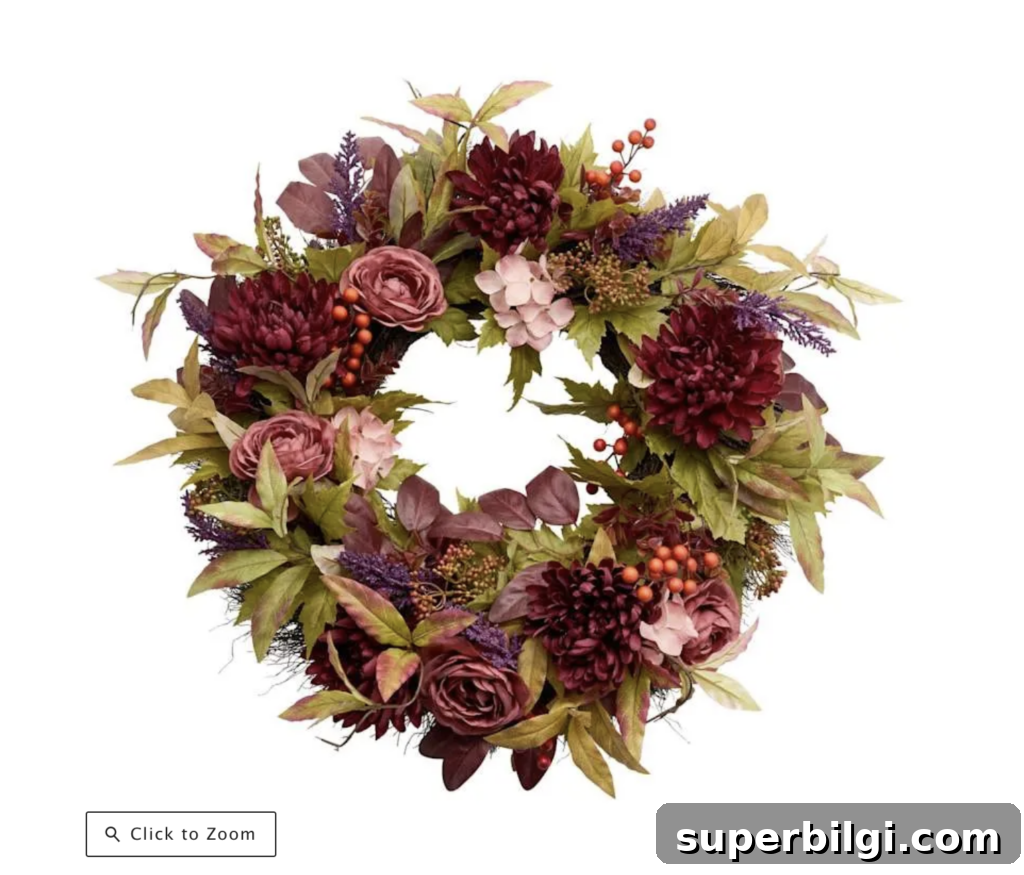
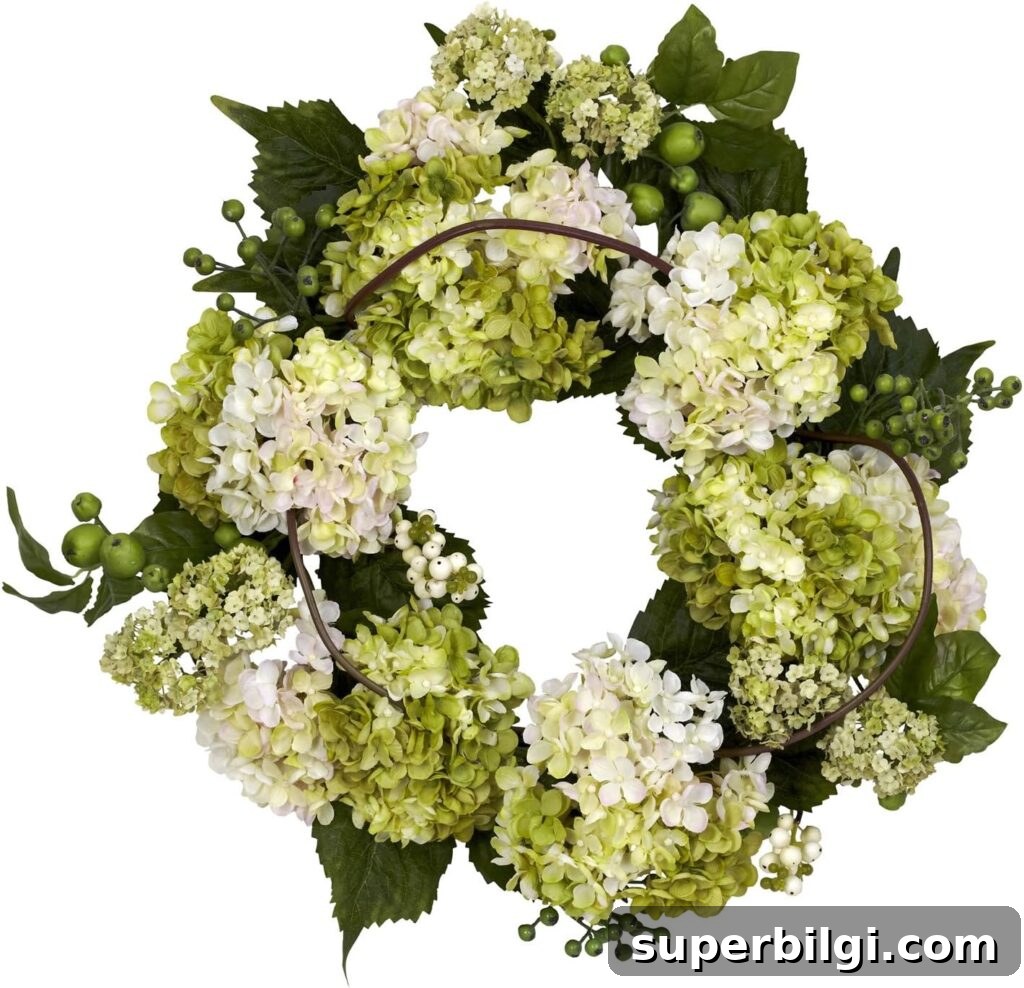
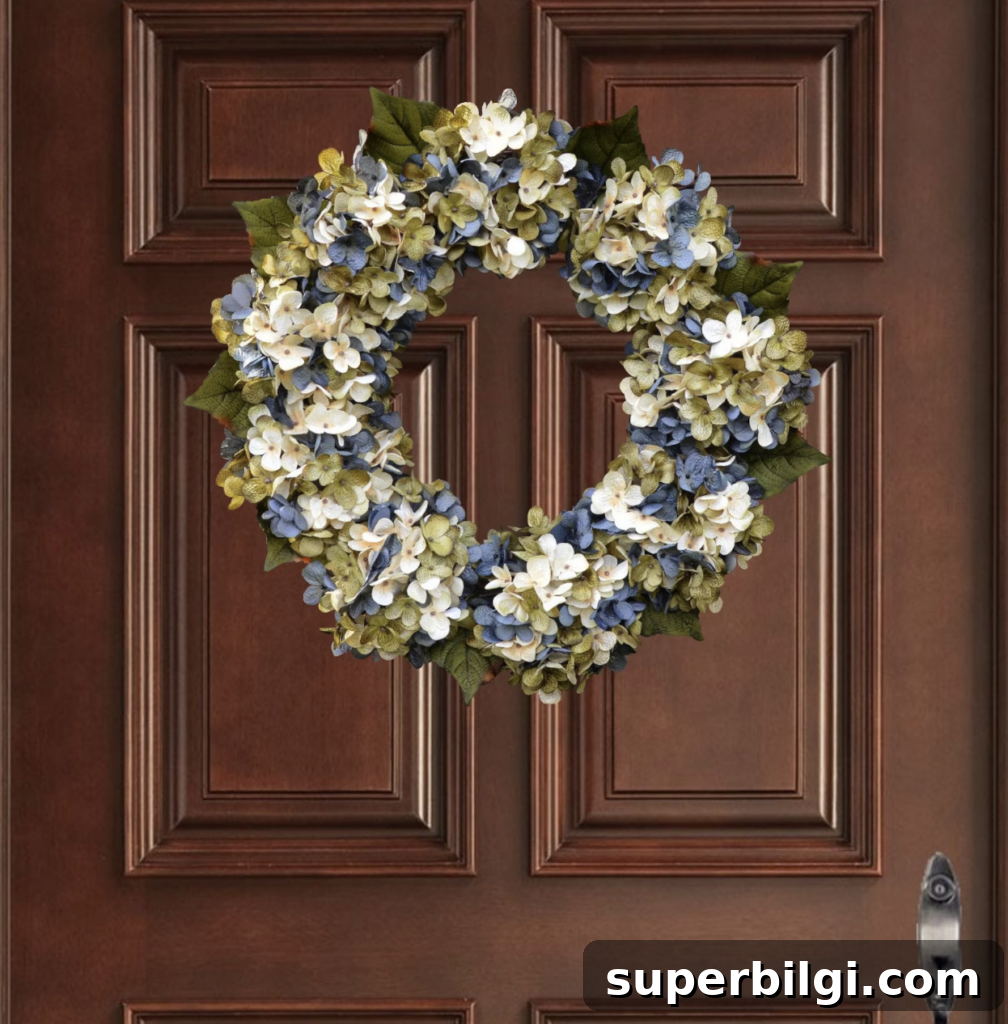
If you prefer a ready-made option, here are a variety of faux hydrangea wreath styles to consider. These examples show different color palettes and compositions so you can choose a finished wreath that matches your home’s aesthetic.
More DIY Wreath Ideas For You!
- How To Make A Patriotic Wreath
- DIY Winter Wreath with Bells
- DIY Summer Lemon Wreath
- DIY Boxwood & Bicycle Spring Wreath
- Simple Spring Wreath with Peonies
- Cotton Wreath with Free Printable Monogram