
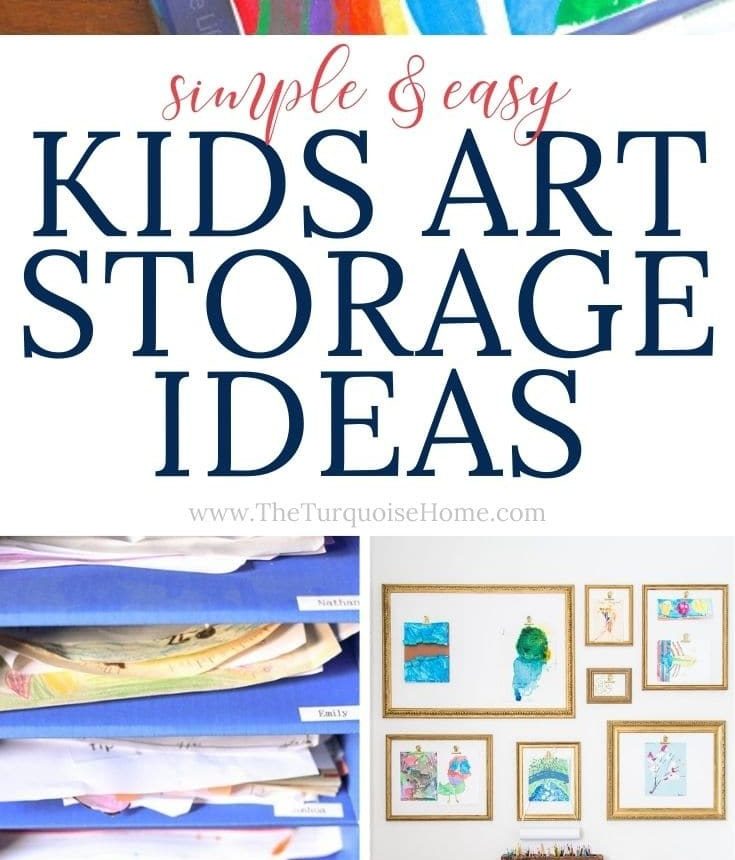
Even in the digital age, children’s artwork, school projects, and keepsakes can quickly take over a home. These practical tips and organizing solutions for kids’ art storage will help you preserve the memories without drowning in paper.
School has started again, and with it comes an influx of papers, drawings, and little masterpieces. While many of these pieces are precious, it’s not practical to keep every single sheet. The key is a consistent, simple plan that helps you decide what to save, how to store it, and how to honor those special creations.
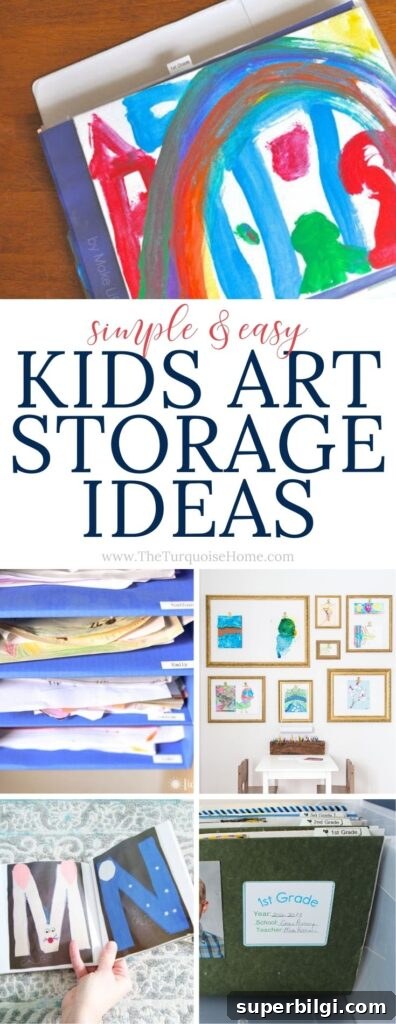
How to Start Organizing Kids’ Art
Paper seems thin until it isn’t. Piles accumulate faster than you expect, so start with a few realistic ground rules and a regular habit: sort soon after papers come home, decide quickly what will be kept, and give everything a clear home.
Give Yourself Permission to Let Go
It’s okay—and healthy—to let go of most of the things your child makes. Holding onto every scribble often leads to boxes stored in garages or attics, never to be revisited. Instead, curate. Choose a limited number of pieces that truly capture a moment, phase, or milestone. Having a small, well-loved collection is far more meaningful than a lifetime of clutter.
Practical tip: set a limit—ten favorites per school year, for example. If your child’s work is three-dimensional or fragile, photograph it and keep one small physical piece to represent that project.
Involve Your Child in the Organizing Process
Children are often surprisingly decisive about their own work. Make sorting a quick, positive activity: ask them to pick their top two or three pieces from a week’s worth of projects. Let them explain what they like about a piece—those little stories can be recorded on the back of the paper or in the photo file.
Give your child ownership of a folder or display area. When they choose what’s important, it reduces arguments and teaches good decision-making around keepsakes.
Sort Paperwork Daily or Weekly
Don’t wait until the end of the year to tackle the backlog. Papers stack up fast and memories fade. A short daily or weekly session—10 to 20 minutes—keeps the task manageable. During this time, quickly sort items into: keep, photograph/scan, or recycle.
Be decisive: anything damaged, stained, or repeated can usually be recycled after documenting digitally. For important forms or certificates, create a separate “official” folder that stays with other important household documents.
Two Main Ways to Organize Kids’ Papers
You can organize kids’ papers physically, digitally, or use a combination of both. Each approach has advantages: physical systems let you keep originals you can touch; digital systems save space and are easy to share and back up. A hybrid plan often works best—keep a curated physical selection, and digitize the rest.
Note: links and product suggestions from the original article have been removed. The ideas below are presented as general techniques you can adapt to your home.
How to Organize Kids’ Artwork Physically
1. Use a simple filing system
A basic filing bin with labeled folders—one per child and per school year—keeps everything tidy and accessible. Label folders by year and grade, and place only the best pieces inside. For larger artwork, use flat portfolio folders or a rolling art bin.
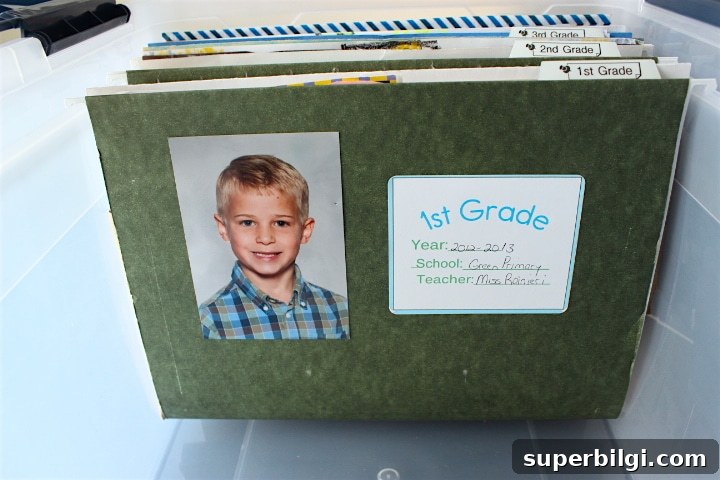
2. Create a simple shelving or inbox system
A designated shelf, cubby, or cardboard sorter gives each child a clear spot to place current work. Rotate the contents regularly—display the recent favorites, then move older ones into files or scan them for digital storage.
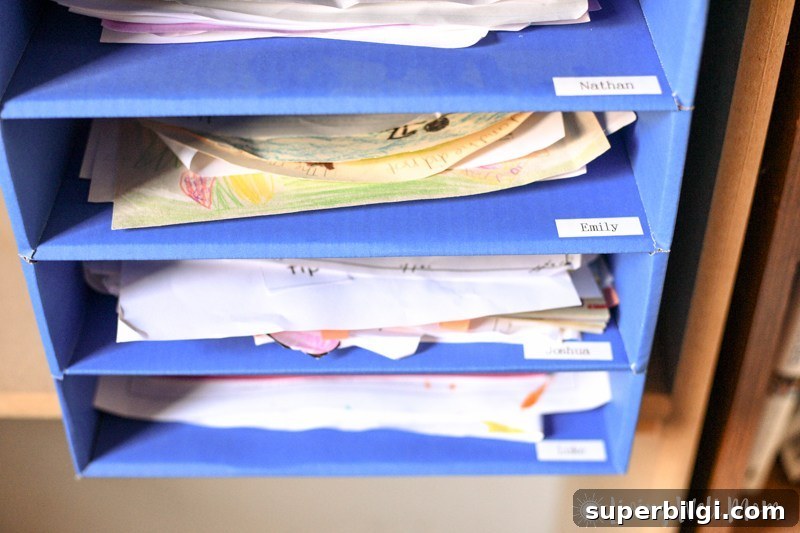
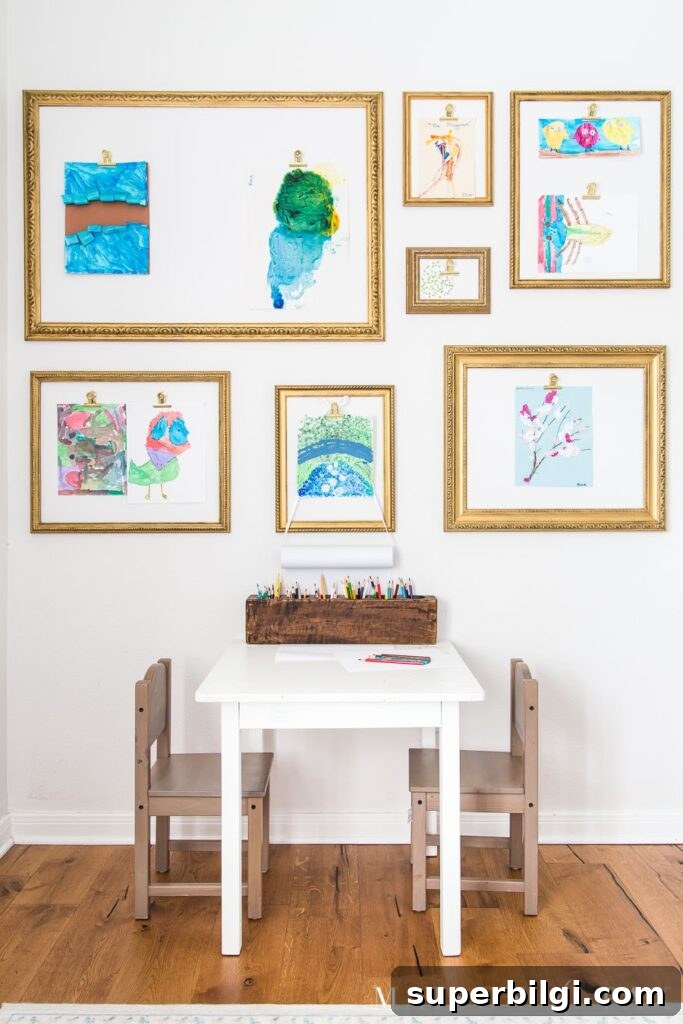
3. Create a dedicated display area
A rotating gallery on a wall, a clothesline with clips, or framed corkboards celebrate current pieces and keep them from piling up. Refresh the display monthly and archive favorites.
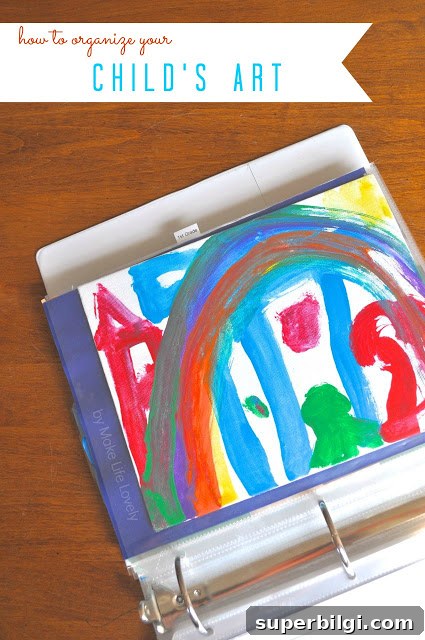
4. Use an artwork binder
Binders with clear page protectors are great for saving flat artwork and school stories. Organize them by year or by child and store them upright on a bookshelf for easy browsing.
How to Organize Kids’ Artwork Digitally
Digital organization is the space-saving champion. Photograph or scan artwork, label files consistently, and back them up to cloud storage or an external drive. Digital files are easy to share with relatives and simple to turn into printed memory books.
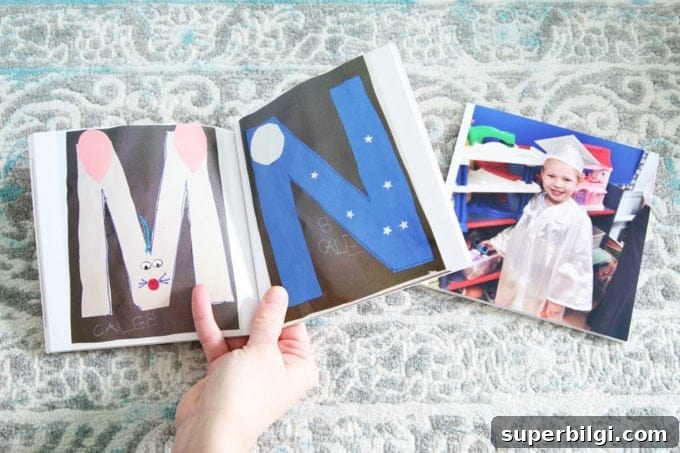
1. Make printed photo books
Compile scanned images into printed photo books—these make compact, high-quality keepsakes you can display on a shelf. Photograph three-dimensional projects and add short captions with dates and ages to preserve the story behind each piece.
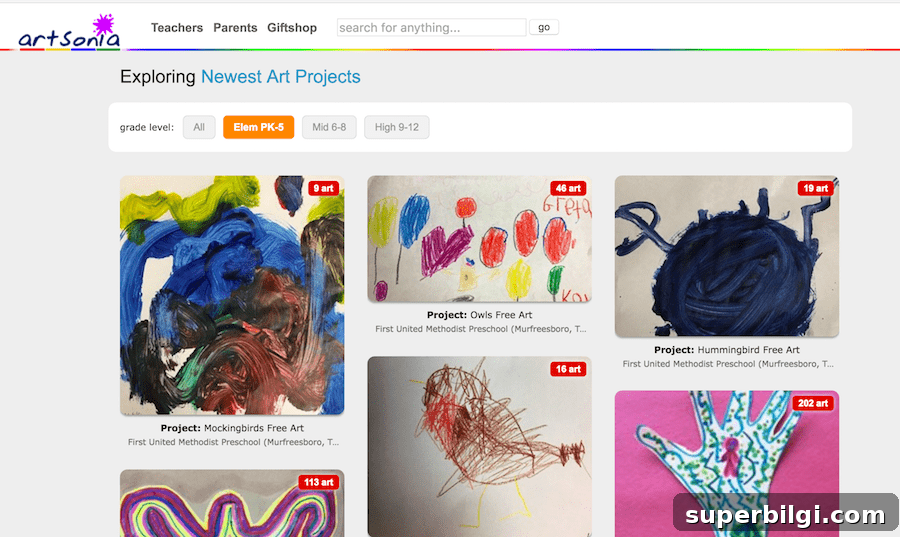
2. Use an online app or organized folders
If you have many images, an online app or a well-structured folder system on your computer can help. Organize folders by child and school year, use consistent filenames (year_child_name_title), and tag files with keywords to make searching easier.
Which approach fits your family—physical, digital, or a mix? Try one simple method for a month and adjust as needed. The goal is to keep memories accessible and manageable, not buried in boxes.
MORE POSTS YOU WILL LOVE:
- 6 Tips to Keep the Kid Clutter in Check!
- Top 5 Tips for Kids Clothes Organization
- Beginner’s Guide to doing Disney World with Little Kids











