
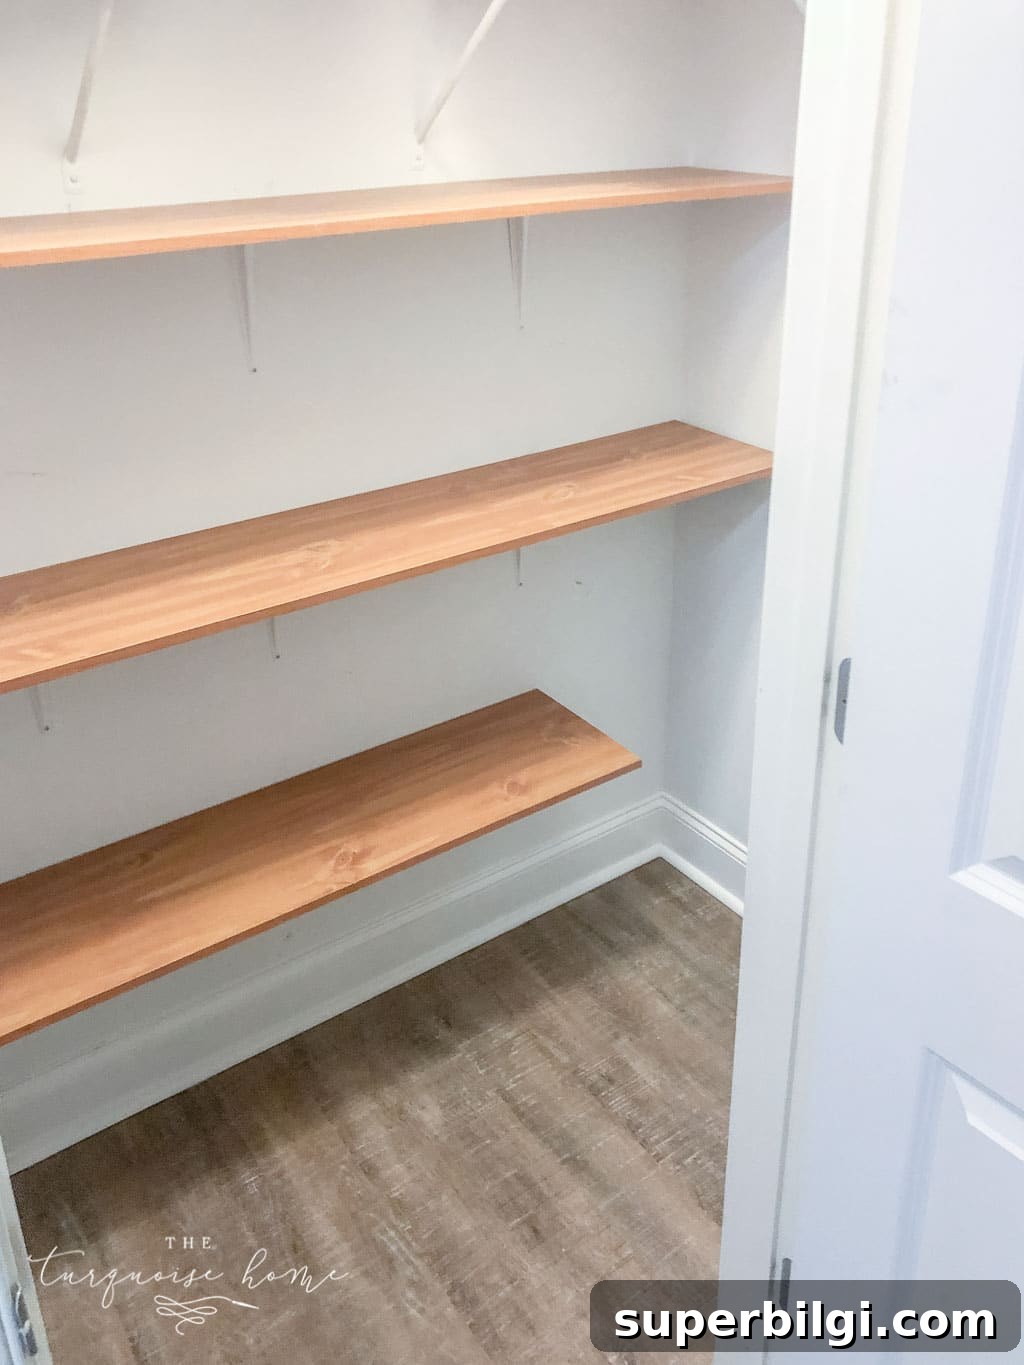
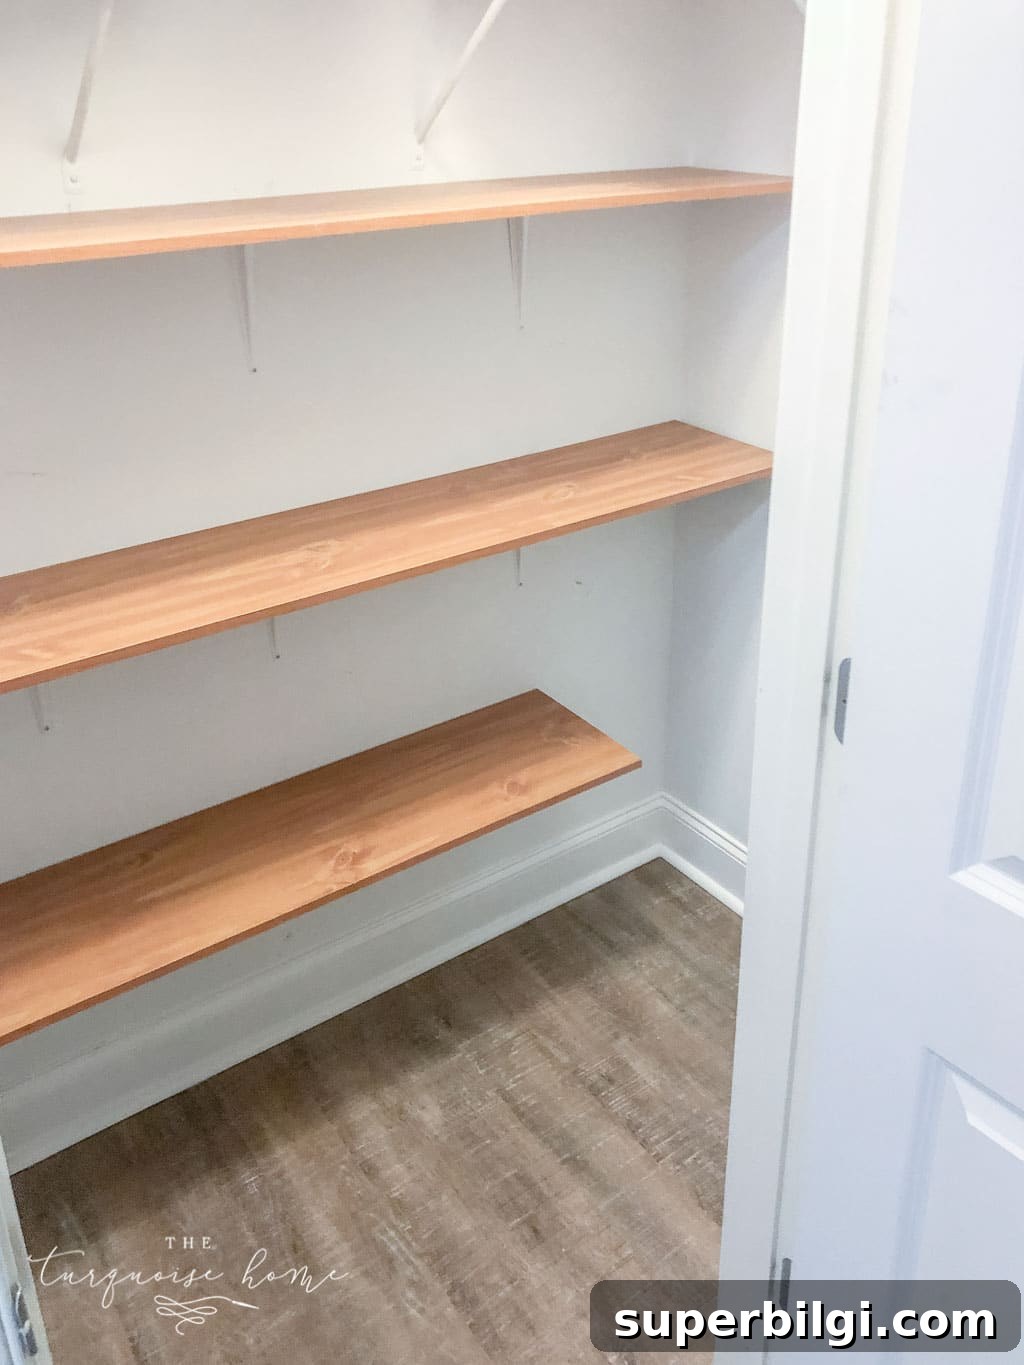
Learn how to turn an unused closet wall into practical storage with this simple DIY closet shelves tutorial. It’s a straightforward afternoon project.
This is a true beginner-friendly home improvement: not a technical step-by-step meant to intimidate, but a clear nudge to do the small project that will make your home more functional. The shelves are quick to build, affordable, and perfect for reclaiming vertical closet space.
Once your boards are cut to size, installation typically takes 30–60 minutes. These shelves work well in coat closets, linen closets, pantries, or any small nook where extra storage would help.
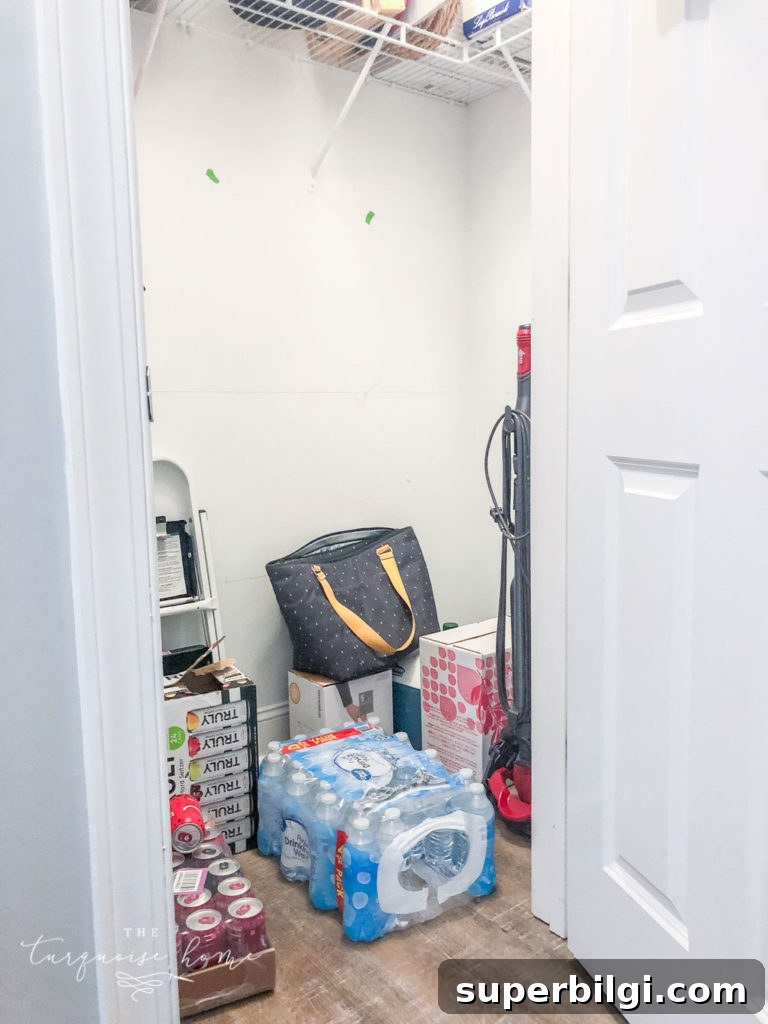
This photo shows the small coat closet I’d been meaning to improve for years. Custom closet systems can be expensive, so a simple DIY shelving solution was the perfect budget-friendly option for this space.
Before this, we didn’t have a dedicated pantry. Food storage was scattered across several cabinets in the kitchen and laundry room, which wasn’t enough for our family’s needs. Reworking this closet into shelving opened up much-needed space and made our kitchen storage far more efficient.
This post contains affiliate links for your convenience. See my full disclosure policy in my site’s disclosures.
Supplies for DIY Closet Shelves
- 12″ laminated or MDF boards cut to the width and depth of your closet space. I chose laminated boards so they’re wipeable and don’t require staining or sealing.
- Brackets sized for your shelf depth and the weight you expect to store.
- Screws — 1½” screws for anchoring brackets to the wall and shorter screws (e.g., ¾”) to attach shelves to brackets.
- Drill and appropriate driver bits
- Stud finder to locate studs for secure bracket placement
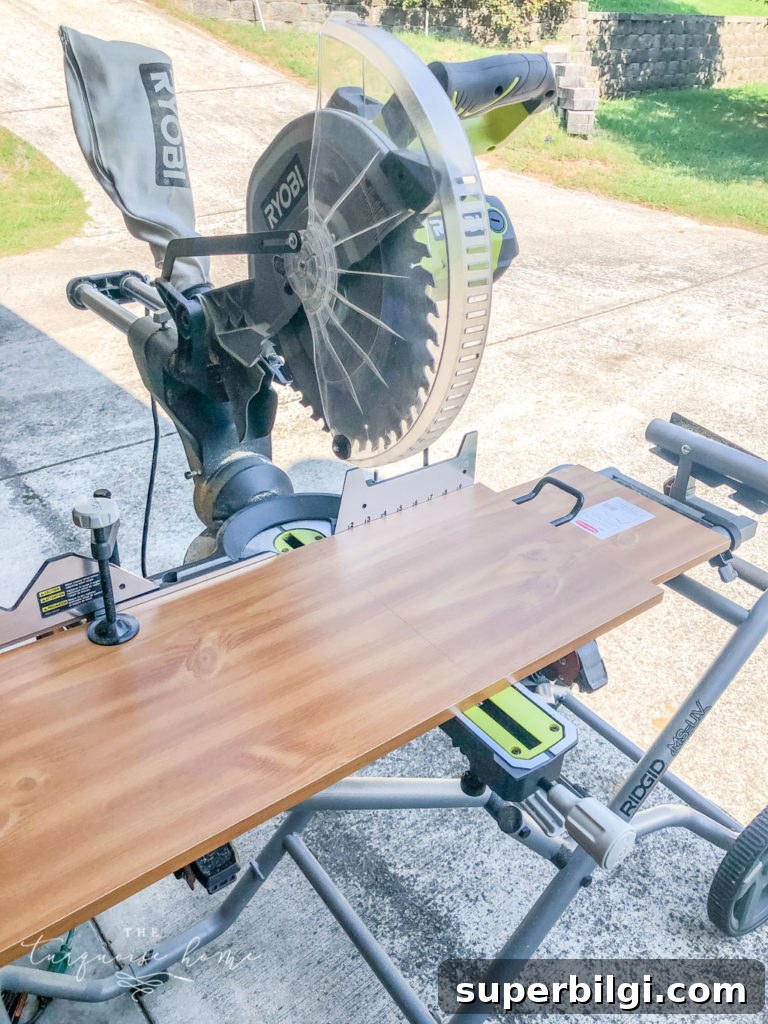
- Miter saw or have the boards cut at the store if you don’t have a saw.
- Level to keep shelves straight
- Measuring tape
- Optional: small wood strips (1×2 or 1×3) for perimeter support if you have very shallow space
Tips for Creating Closet Shelves
- Measure the tallest items you plan to store so each shelf has enough clearance.
- Screw brackets into studs whenever possible. Anchors can fail over time under heavy loads.
- Customize shelf widths and heights for your needs. For example, I shortened the bottom shelf to accommodate a card table and made a taller middle shelf to store it underneath.
- If you’re unsure about exact spacing, dry-fit the boards first and live with the layout for a few days before buying bins or organizing accessories.
How to Build Closet Shelves
The idea is intentionally simple: boards supported by brackets, similar to open kitchen shelving. This approach keeps the installation quick and inexpensive while adding a lot of usable storage.
You can apply this method to a narrow coat closet, a linen closet, or a walk-in pantry. The steps below assume you’re installing multiple shelves and want them secure and level.
1. Find the Wall Studs
Locate studs before buying brackets so you know how many secure attachment points you’ll have. Use a stud finder if you have one. If not, a gentle knock along the wall will reveal firmer spots where studs are located. Plan to place brackets at or near studs to maximize strength.
2. Mark Horizontal Lines for Each Shelf
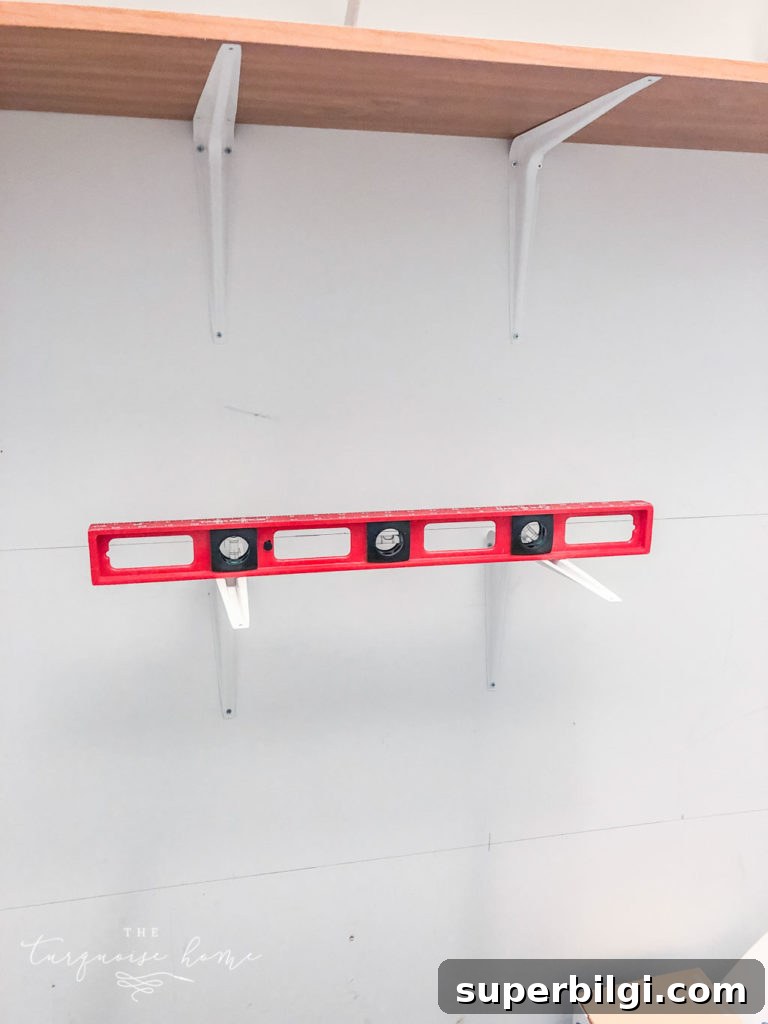
Use a level to draw straight, horizontal lines where the front edge of each shelf will rest. Consider the height of items you’ll store and leave enough clearance between shelves for easy access.
3. Cut Boards to Size
Cut your laminated or MDF boards to the closet’s width. Laminated boards are low-maintenance and easy to clean, which is especially useful if you’re using the shelves as a pantry.
4. Place All Boards in the Closet Before Installing Brackets
If the closet is shallow, you may not be able to slide boards in after brackets are mounted. Position each board in the closet first so you know everything will fit and align properly.
5. Screw in the First Bracket
Mount the first bracket into a stud, then place a level on top to mark the location for the next bracket. Continue installing brackets for the first shelf, fastening each one into studs where possible. If studs aren’t available at every bracket location, use heavy-duty anchors rated for the load you plan to store.
Tip: In very tight spaces, small perimeter wood strips (1×2 or 1×3) can act as shelf supports if brackets won’t fit.
6. Place the Shelf Board on the Brackets and Secure It
Set the shelf board on the installed brackets and drive screws up through the underside of the bracket into the board. This prevents the board from shifting and keeps the shelf stable under load.
7. Repeat for Remaining Shelves
Repeat the bracket installation and shelf attachment process for each level until all shelves are installed. Check each shelf with a level and adjust as needed.
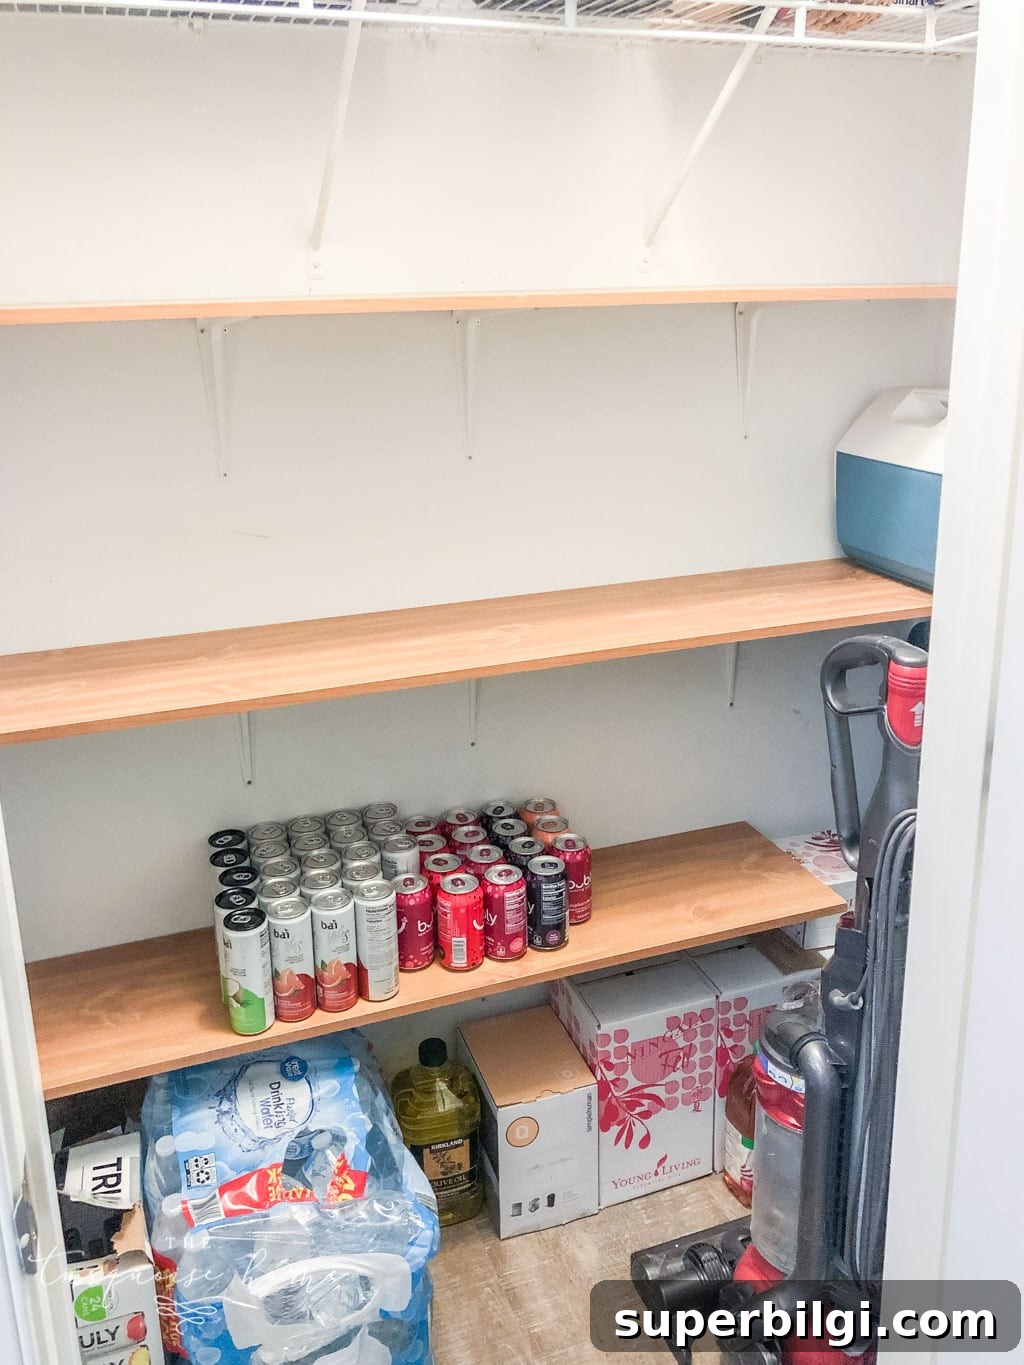
Once installed, the new shelving made an immediate difference. I cleared clutter from the tops of the fridge and dryer and eliminated piles on the closet floor. The result is better visibility and more efficient use of existing space.
After living with the shelves for a bit, plan how you’ll organize the contents. Use containers and bins you already own before buying new organizers so you can determine what sizes and styles truly work for your storage needs.
No more overstuffed cabinets and lost items—just easy access and a tidier home.
See also: How to organize a pantry and other shelving projects I’ve shared on my site.
More Posts You Will Love
If you enjoyed this build, you might also like these posts I’ve written about shelving and organization:
- Budget-Friendly DIY Shelving Ideas for Your Home
- DIY Farmhouse Shelves for Less than $40
- IKEA Spice Racks as Bookshelves
- How to Build DIY Closet Shelves
- DIY $10 Ledges for the Nursery