
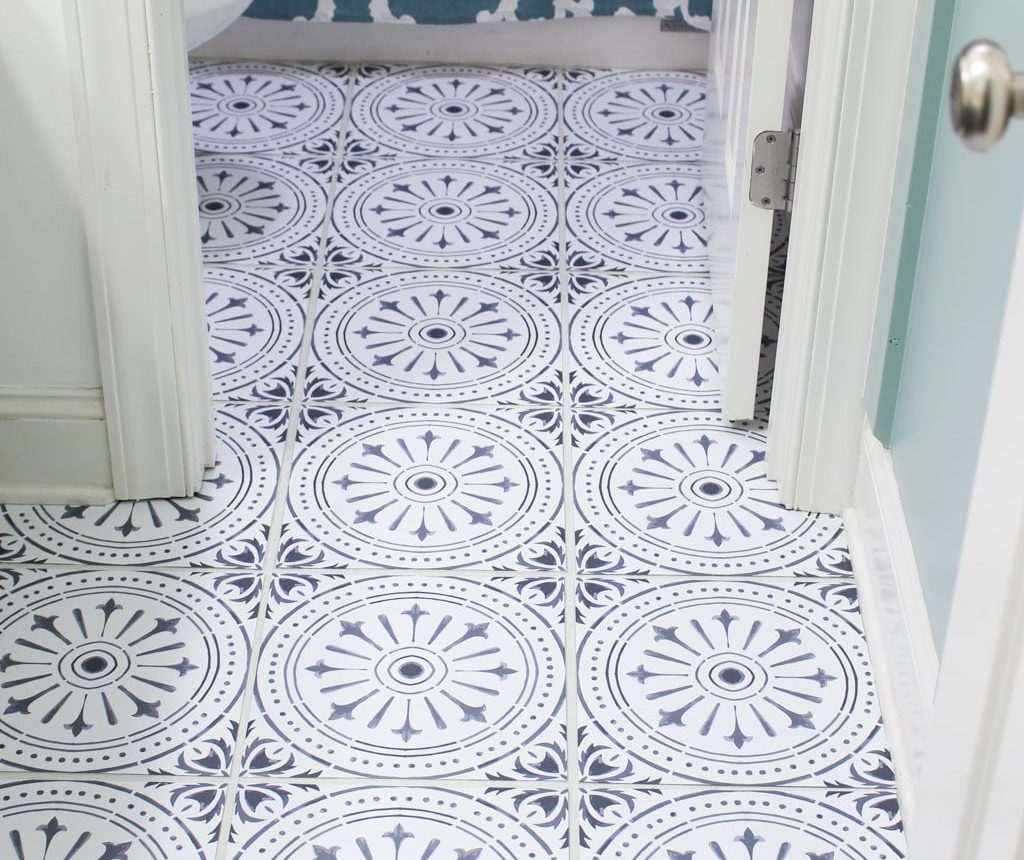
Have you been curious about applying peel-and-stick vinyl floor tile stickers? Here I share a practical, honest guide with tips, pitfalls, and my personal pros and cons so you can decide whether this budget-friendly DIY flooring option is right for your home.
This review explains how I applied DIY peel-and-stick vinyl tile stickers, what worked, what didn’t, and when they make the most sense. These tiles are an affordable way to refresh floors—cheaper than a full replacement and far less disruptive than ripping up tile or refinishing concrete.
Note: If you want a longer-lasting installation method for vinyl floor tiles, search for tutorials on installing more durable vinyl tiles or click through to installation guides on durable vinyl floors.
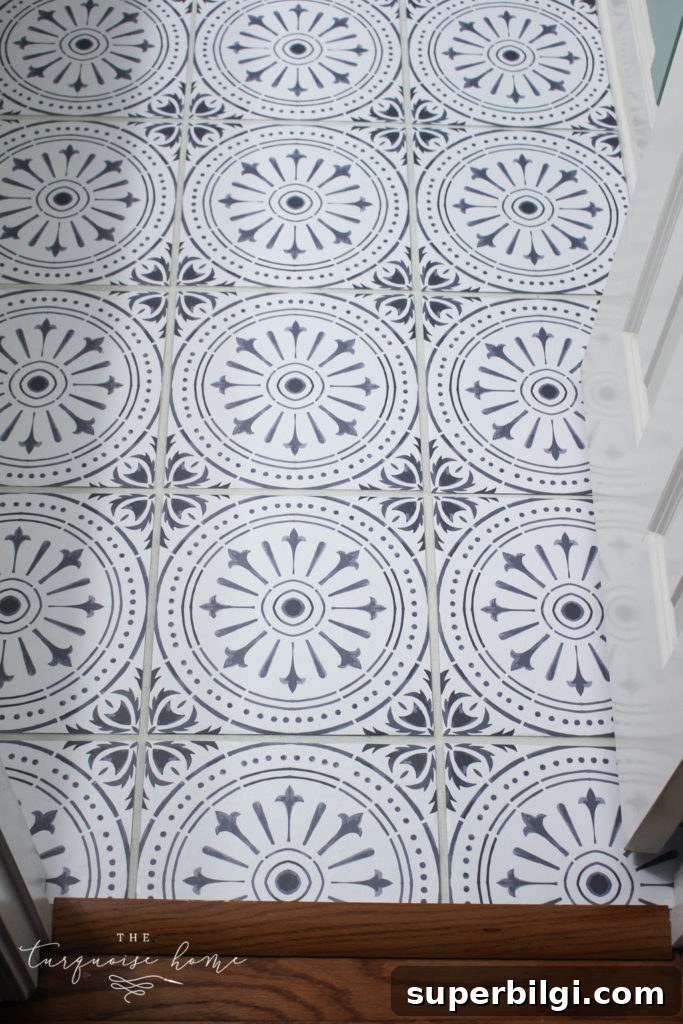
I prefer simple projects that don’t require demolition or create dust—this one fits the bill. I’ll spare you the dramatic renovation stories: I don’t remove cabinets or replace countertops myself. For me, peel-and-stick tiles were an appealing low-mess option to update the look of a small bathroom.
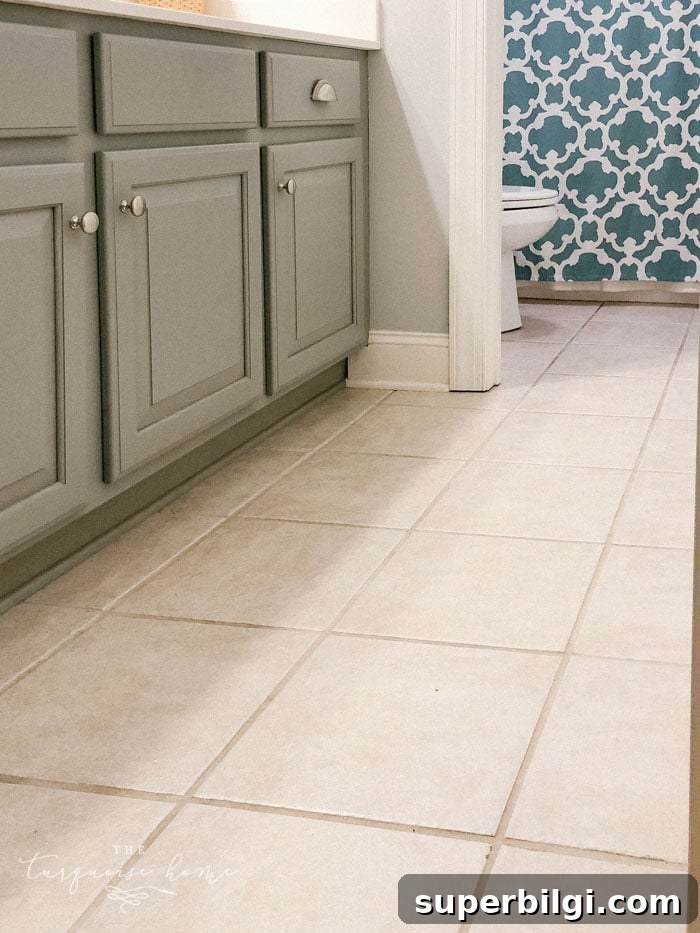
Before — the house had beige floors, beige walls, and beige cabinets. I’d already painted the cabinets years earlier.
When we moved into our home the beige tile was everywhere: both bathrooms, the laundry room, and even the fireplace. I wanted to change the look but didn’t want permanent or complicated alterations. Peel-and-stick tile decals promised an easy update without a huge investment or major disruption.
I used the tiles first in our small girls’ bathroom, a space that guests often see. The room is a good test area: small, visible, and low-traffic enough to try something new.
Prep Work
Before you order tiles, do the following:
- Calculate how many decal tiles you need. I ordered 3–4 extra tiles in case of mistakes.
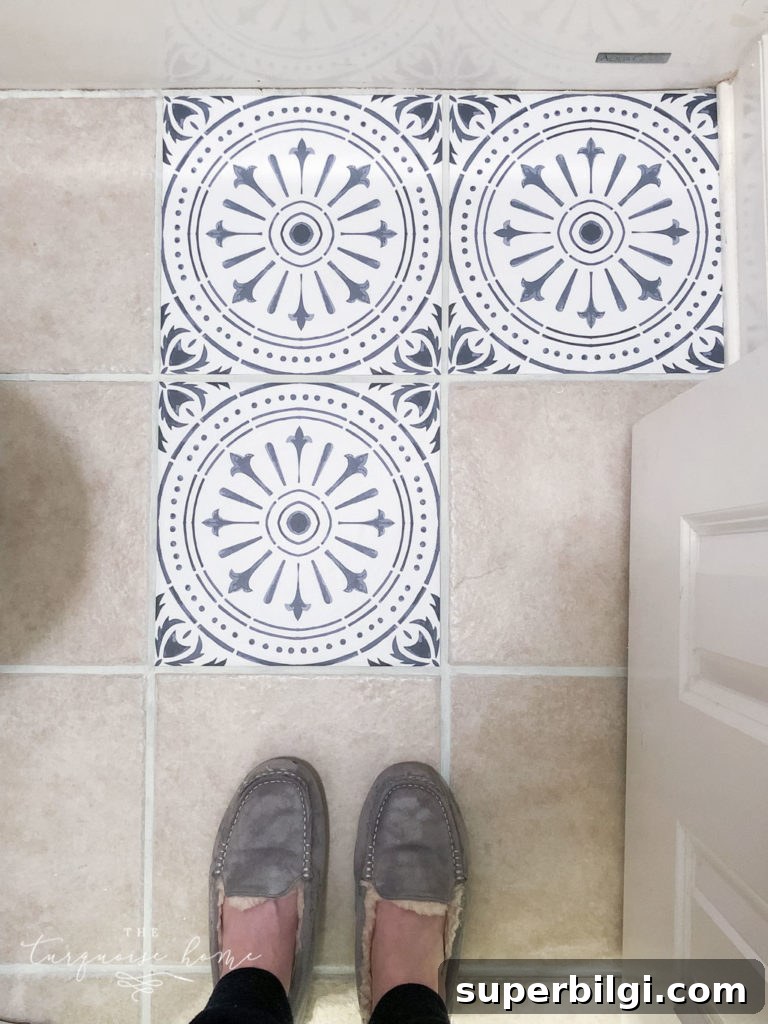
- Measure your tiles inside the grout lines. Don’t include grout in your measurements. I recommend ordering stickers about 1/8″ smaller than the ceramic tile to avoid any edge overlap or lifting—especially if your tiles have beveled edges.
- Ensure the surface is as level and clean as possible. If your tiles are beveled or highly textured, the vinyl may not adhere well at the edges.
Tip: Read the seller’s preparation instructions before you buy—some shops give specific guidance for cleaning and sizing.
Supplies You Will Need
- Peel-and-stick tile decals — choose a style and size that suit your tiles and room. Confirm whether the decals are rated for wet areas if you plan to use them in bathrooms or kitchens.
- Cleaning spray and cloths — use a degreaser to remove dirt and residue so the adhesive bonds well.
- Scissors for trimming tiles.
- Paper cutter or utility knife (optional) for making precise straight cuts.
- Pencil for marking cut lines.
- Wallpaper or smoothing tool (optional) to roll and smooth out bubbles.
Steps to Apply Peel-and-Stick Vinyl Tile Stickers
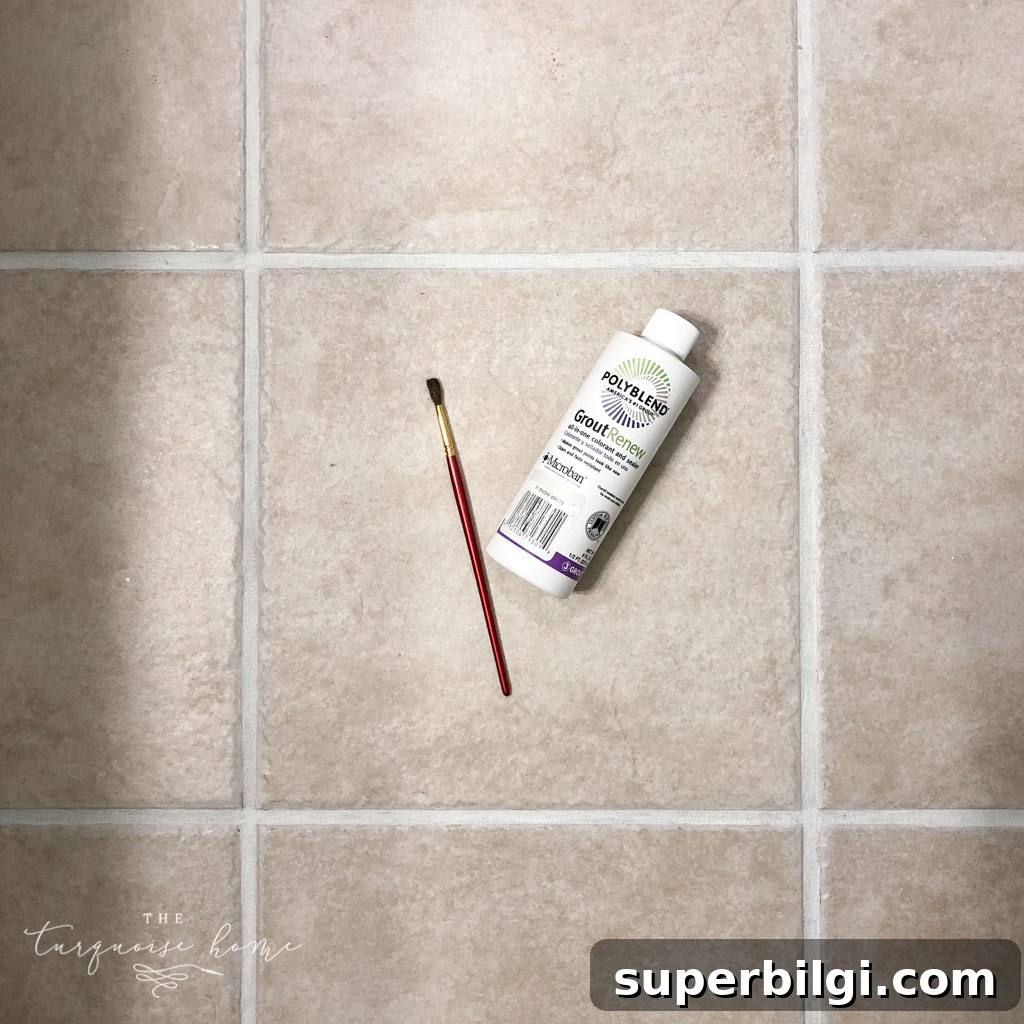
1. Paint the grout (optional but recommended).
If you want a crisp grout look, paint your grout lines before applying tiles. I painted mine, but since my tiles were slightly oversized for the stickers, I should have painted a bit farther onto the tile surface. Avoid that mistake by ordering slightly smaller stickers or painting a little wider.
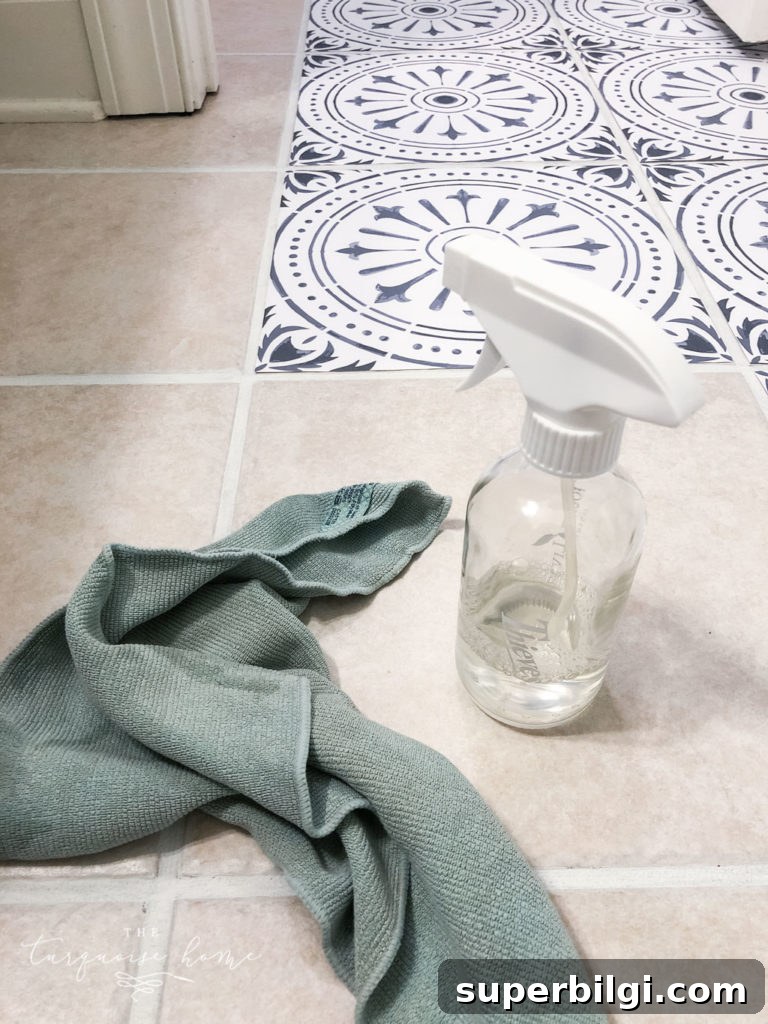
2. Clean the existing tiles thoroughly.
Vacuum and degrease each tile. Wipe the surface and let it dry completely before applying the stickers—cleaning is essential for good adhesion.
3. Position and apply the sticker.
Peel a small strip of backing and align the sticker on the tile. If you need to adjust, peel and reposition quickly. Once aligned, remove the remaining backing and press the sticker down, smoothing as you go to eliminate air bubbles.
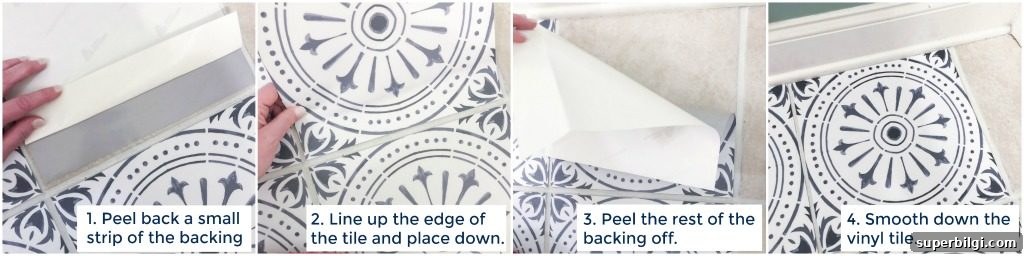
4. Smooth the tile and remove bubbles.
Use a wallpaper smoother, the side of a cutter, or your hand to push out bubbles and ensure full contact with the tile surface.
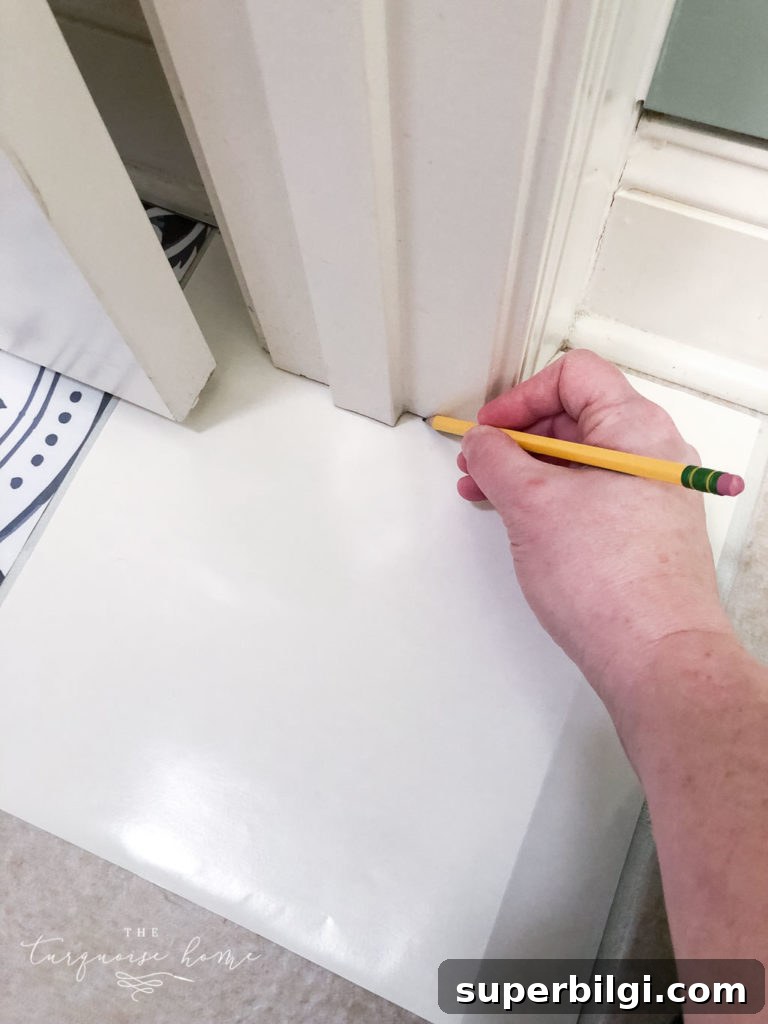
5. Trim for corners and odd angles.
Use the backing from a used sticker as a template to trace cuts for irregular shapes around trim or fixtures. Cut with scissors or a utility knife. If trim doesn’t meet the floor, leave about 1/8″ clearance so the sticker can tuck underneath without buckling.
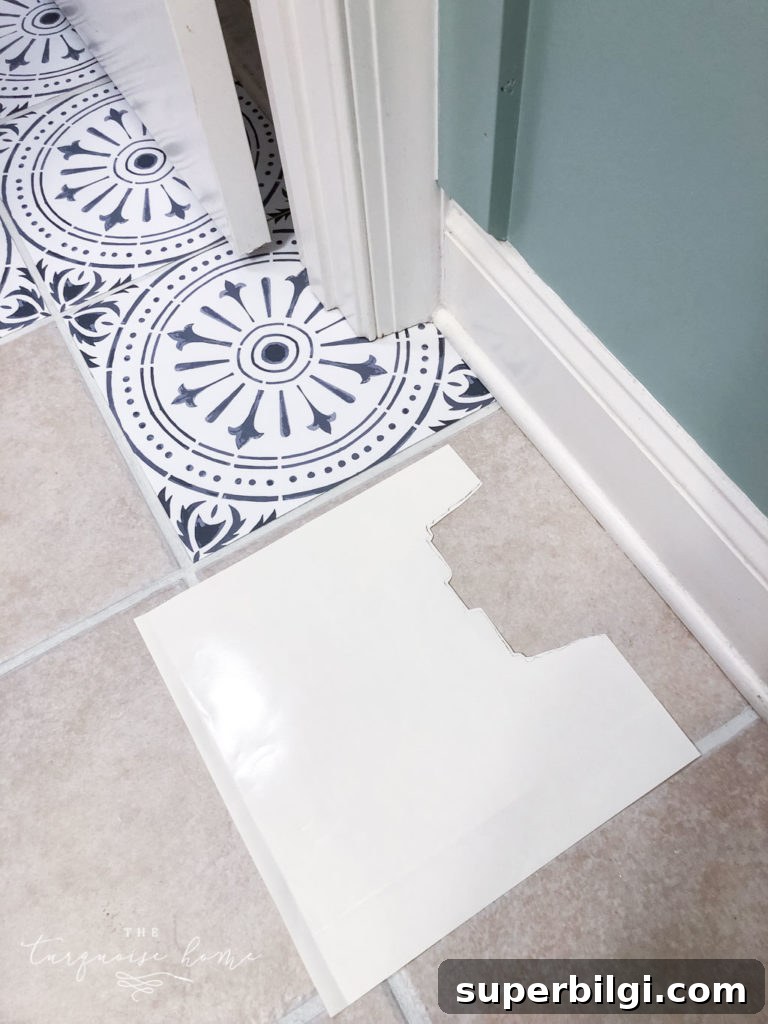
That’s it—simple steps for a big visual change in a short time.
Pros and Cons of Peel-and-Stick Tile Stickers
Pros
- The decals are thick and durable for the price.
- Installation is fast and straightforward when surface and sizing are correct.
- Many sellers offer custom sizing and fast turnaround.
Cons
- Beveled or textured tile edges can prevent full adhesion—edges may lift if the sticker must bend over a bevel.
- If stickers are too large for the tile face, corners can overhang and be prone to catching, so trimming or ordering slightly smaller stickers is often necessary.
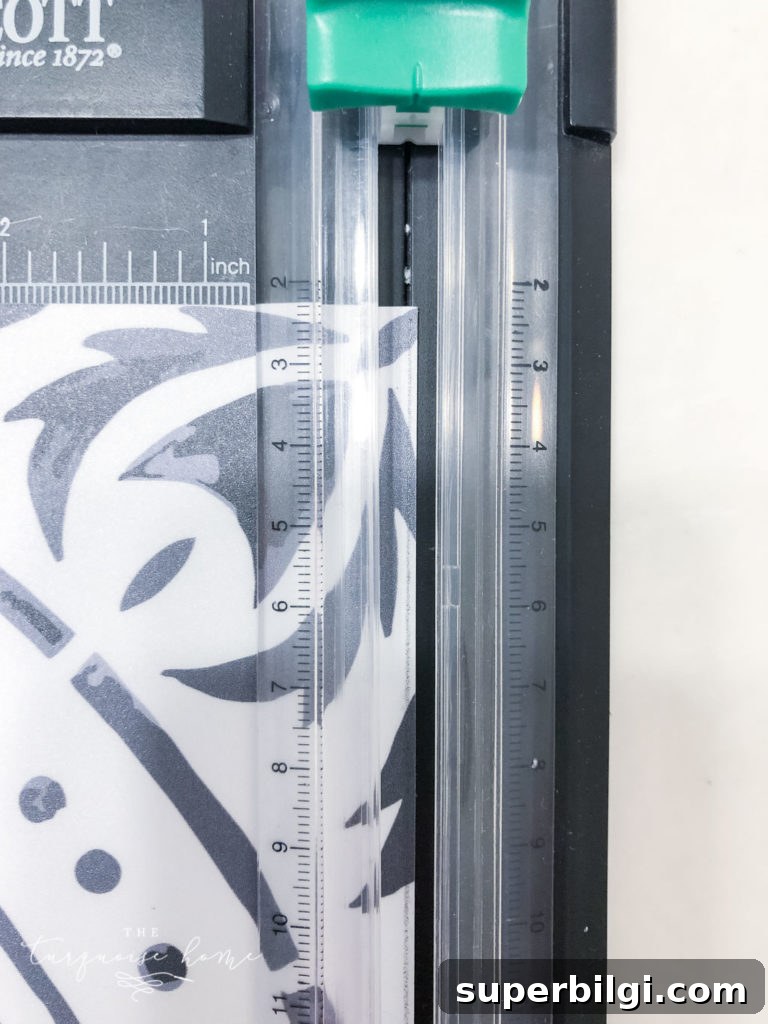
If your tiles are flat and smooth, you’ll likely have fewer problems. For beveled tiles, I trimmed about 1/8″ from two adjacent sides of each sticker—making the sticker slightly smaller overall—which helped the vinyl lie flat without bending over the edge.
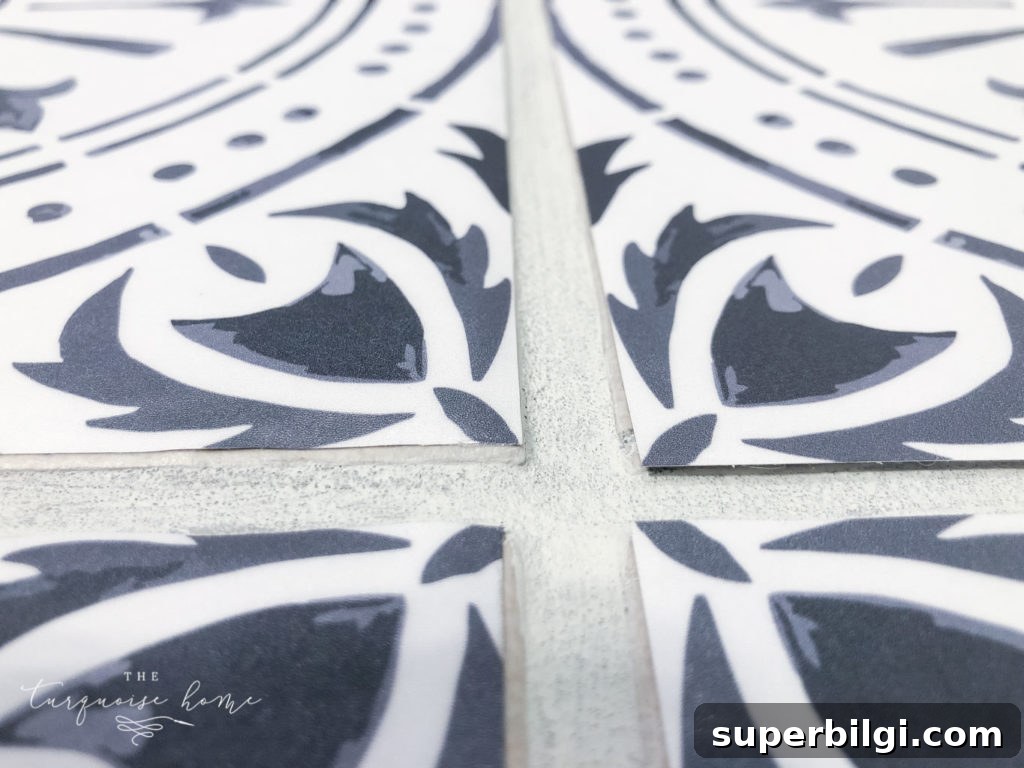
My recommendation: If your existing tile has a bevel, order stickers slightly smaller than the tile face and paint the grout first for a cleaner finish.
Update: I removed the bathroom stickers after a toilet overflow about a year and a half later. For the cost, I felt the tiles delivered good value and a solid year-plus of use.
Allow the adhesive to set: wait 24 hours before regular use and 72 hours before exposing the floor to significant moisture. This gives the adhesive time to cure and reduces the chance of lifting.
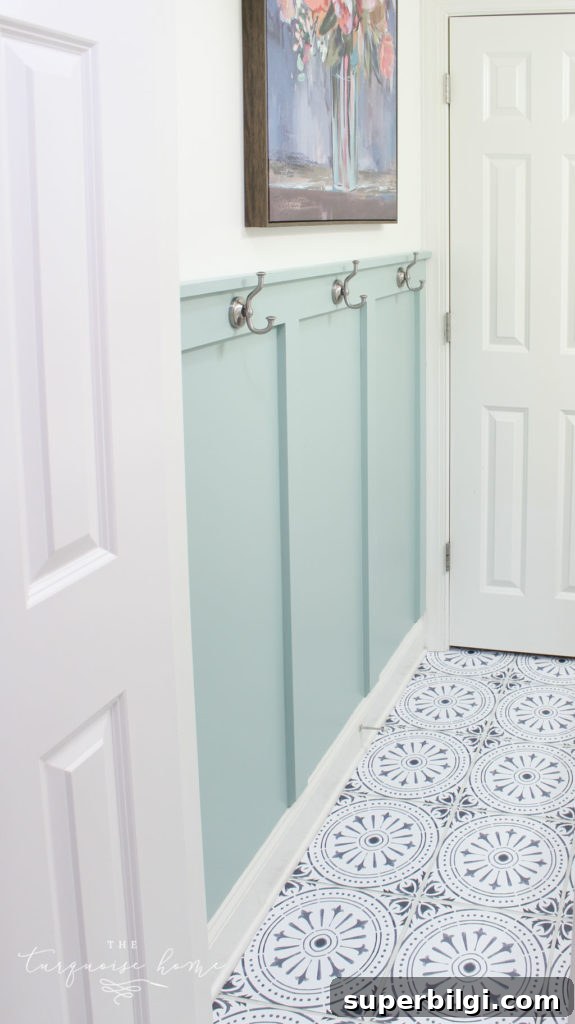
If I did it again
- Paint grout lines before applying tiles and extend paint slightly onto the tile face if necessary.
- Order tile stickers 1/8″ smaller than the tile face if the tiles are beveled.
- Level the tile surface with mortar or a leveling compound if you want a completely flat substrate.
- Or use a stencil on the entire floor surface if bevels make decals impractical.
Final thoughts
Peel-and-stick vinyl tiles are a beautiful, budget-friendly option for many projects. They’re best on flat, non-textured surfaces, low-traffic areas, or vertical applications where foot traffic isn’t an issue. For entryways, laundries, or other high-traffic wet spaces, consider a more permanent floor solution or a different decorative method like stenciling.
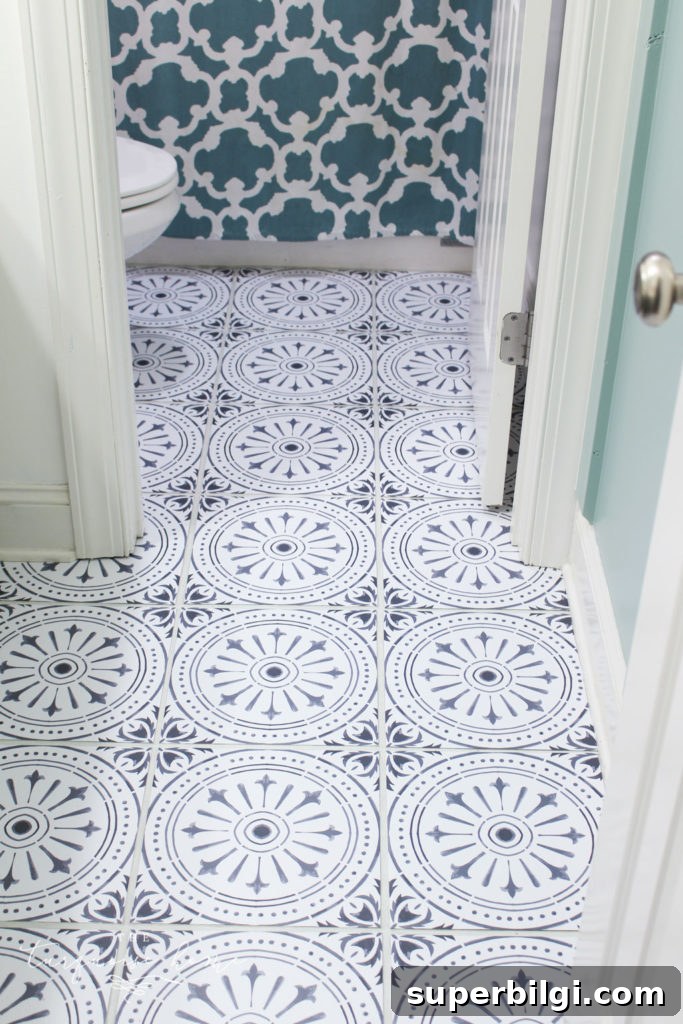
They really are pretty—and for a small room, this was an enjoyable, budget-friendly makeover.
Frequently Asked Questions
1. How long do vinyl tile stickers last?
In low-traffic areas, they can last a year or more and look great. In high-traffic entryways or laundry rooms, corners and edges are more likely to lift, so they are less suitable for those spaces.
2. Are vinyl tile stickers waterproof?
They are water-resistant on the surface, but standing water can seep under edges if floors become soaked. For areas prone to heavy water exposure, choose a more waterproof flooring option or ensure excellent edge sealing.
3. Are vinyl tile stickers worth it?
For a low-cost, low-commitment refresh of a small, low-traffic room, yes. They offer a big visual update at minimal cost and minimal labor. If you need a durable, permanent floor for a busy or wet area, consider more permanent materials.
Have you tried peel-and-stick tiles in your home? Share your tips and experiences—what worked, what didn’t, and where you used them.
Want to See More Bathroom Projects?
Look for posts on bathroom mood boards, makeovers, drywall patching, board-and-batten trim, grout painting, and curated lists of the best peel-and-stick vinyl tiles to help plan your next small renovation.











