
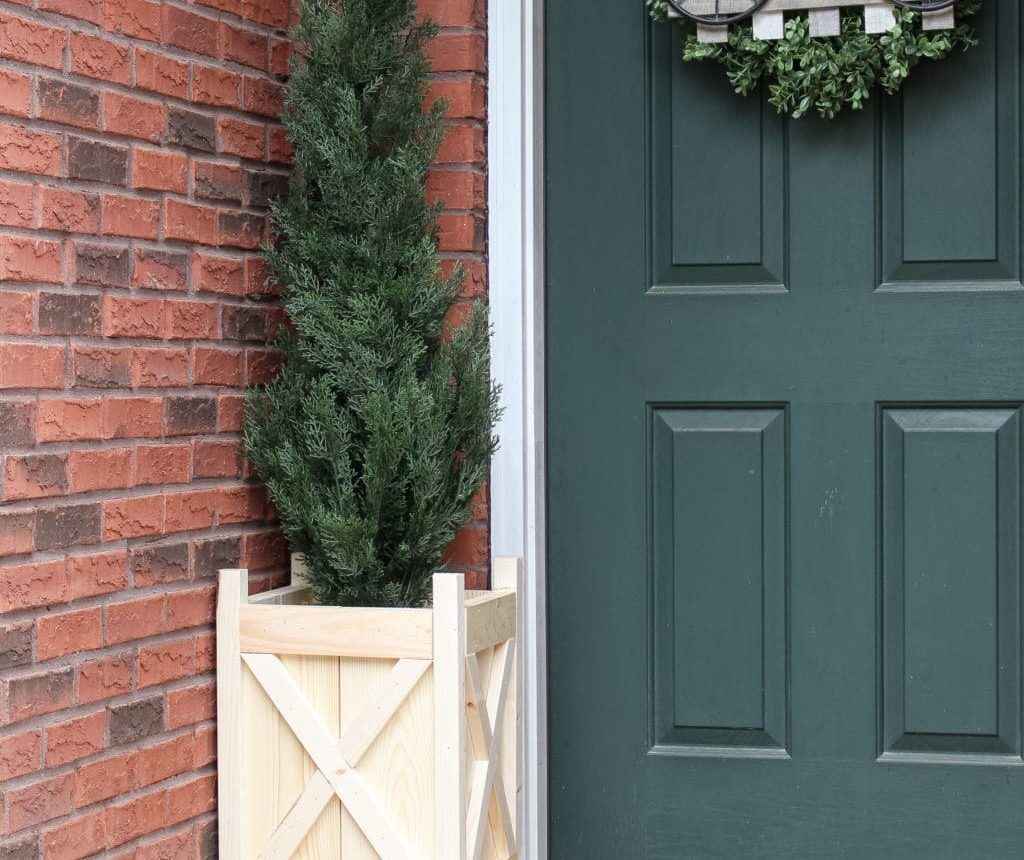
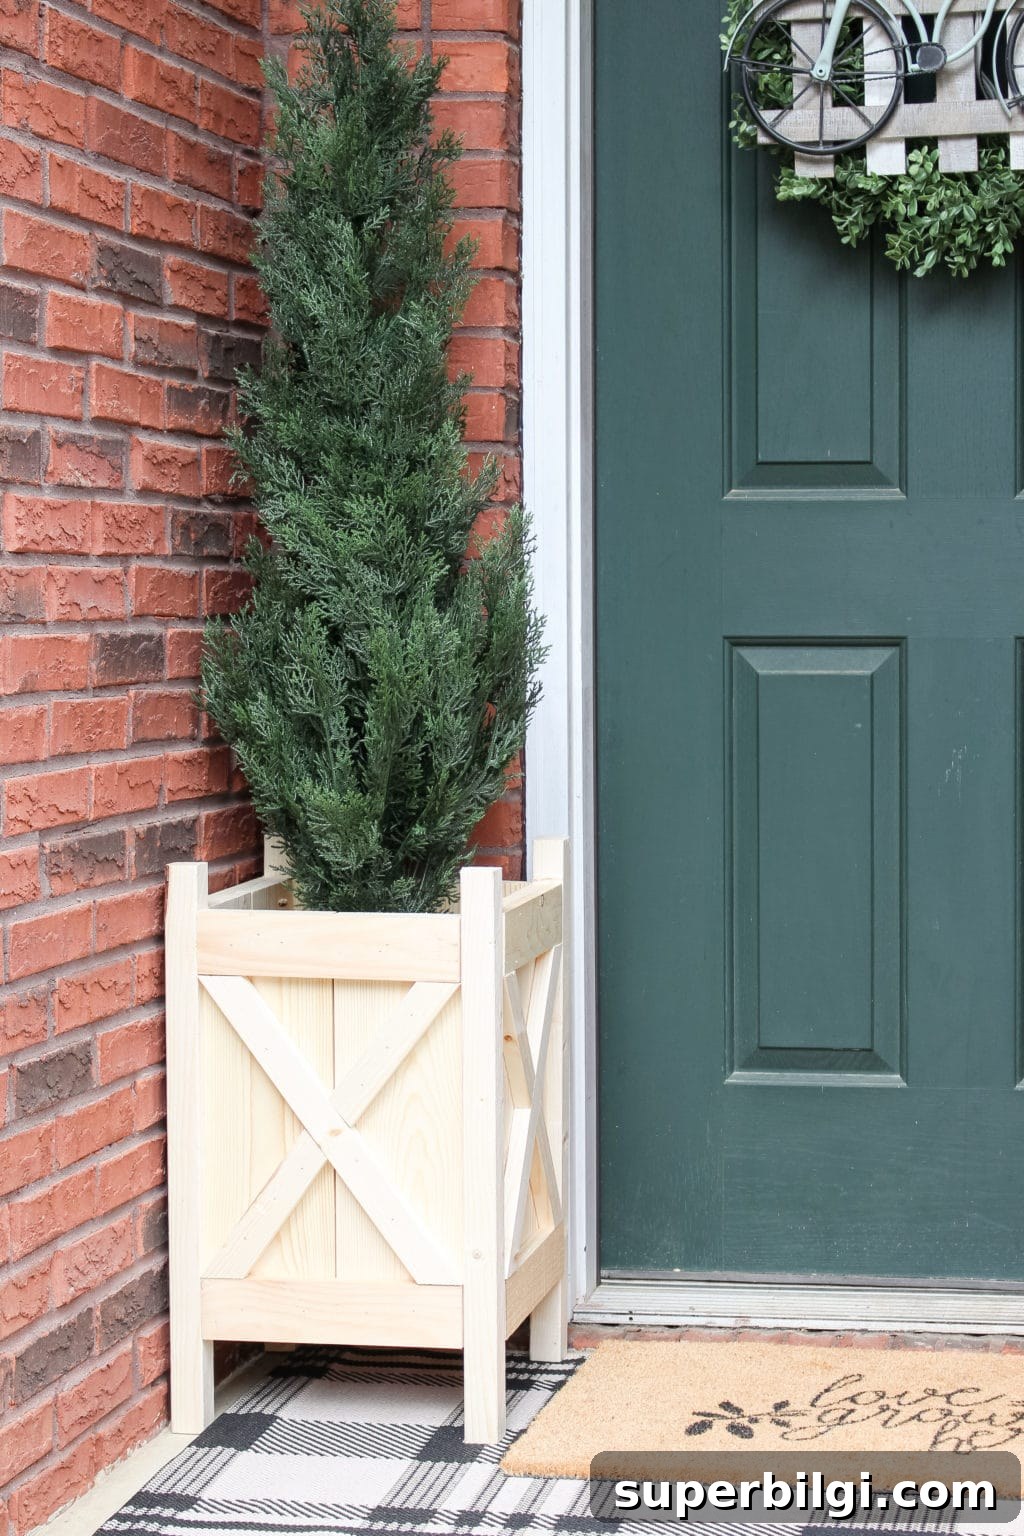
Looking to add charm to your outdoor space? This simple DIY wooden planter box is an ideal beginner project. With just three basic tools and affordable materials, you can build a tall, narrow planter that adds warmth and character to a porch or garden.
I wanted something to dress up my front porch stoop but couldn’t find a tall, narrow planter that fit. When the right item doesn’t exist, I build it. This planter design is compact, adaptable, and easy to customize to your space.
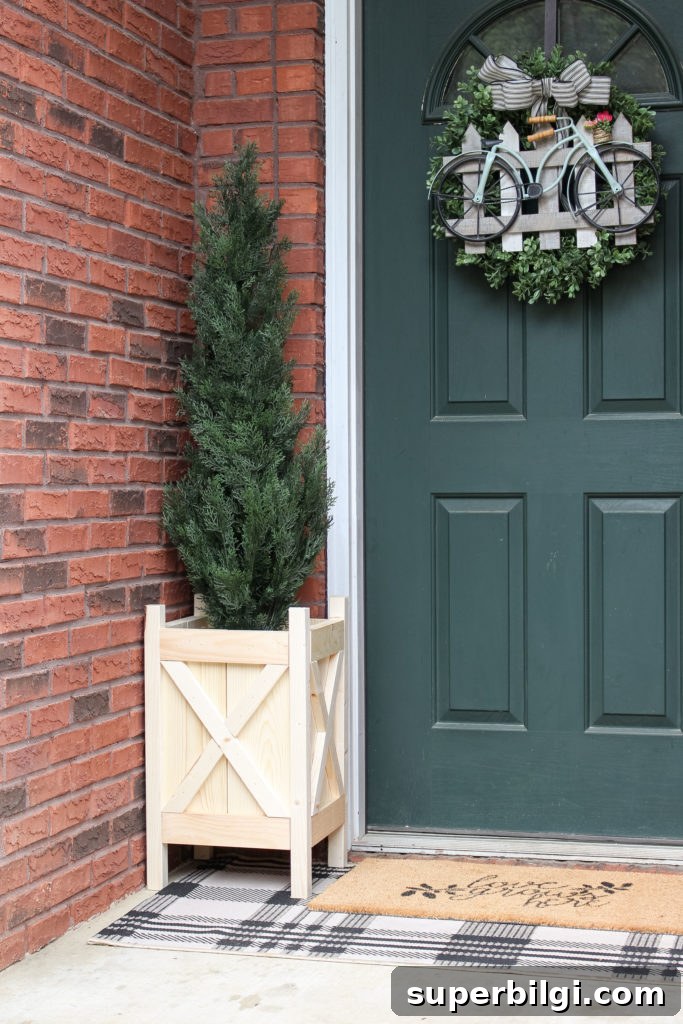
This project is straightforward and only requires three main power tools—those are the first tools many DIYers buy. Most cuts are straight, so it’s forgiving for beginners. It’s also a great way to use scrap wood: I used several scraps from my pile and returned the uncut boards I didn’t need.
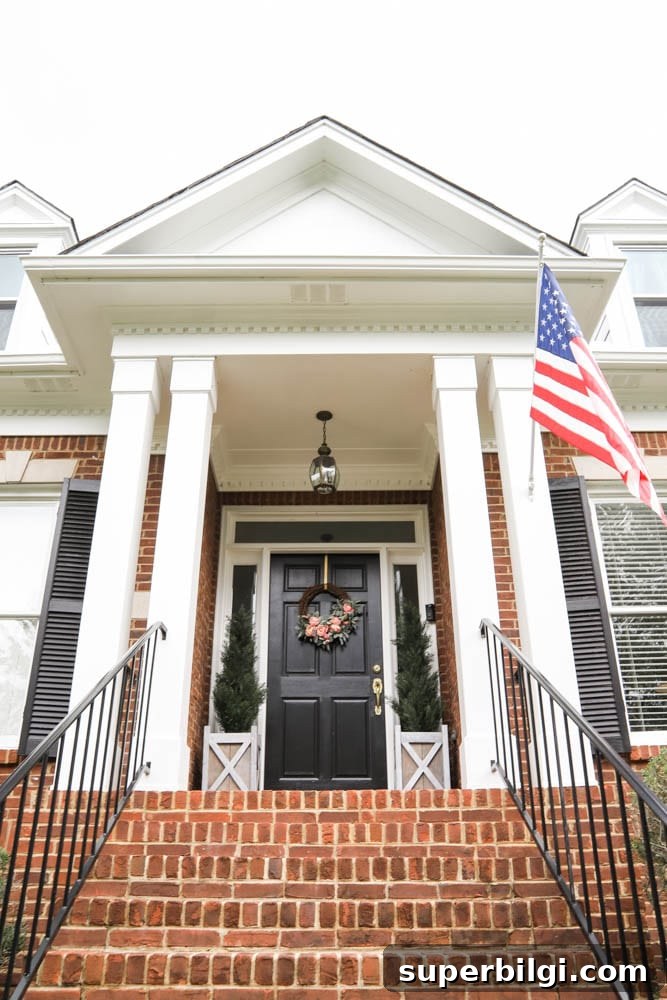
I adapted a planter design I found online to fit my narrow space and added the decorative X on the sides for a farmhouse look. Below I share the dimensions and board sizes I used; adjust them as needed for your own space.

Want to Save This?
Enter your email and I’ll send the plan directly to your inbox.
This post contains affiliate links for convenience. See my full disclosure policy.
Materials Needed for Your DIY Wood Planter Box
Note: quantities below build one planter. Double everything for two planters.
- 2 – 1 x 6 boards, 8 feet long – for the side panels (I used premium pine and supplemented with scrap boards).
- 1 – 2 x 2 board, 8 feet long – for the planter feet/legs.
- 2 – 1 x 3 boards, 8 feet long – top and bottom trim for each side panel.
- 2 – 1 x 2 boards, 8 feet long – for the X accent and bottom/floor slats.
- 1 1/4″ brad nails
- 2″ wood screws
- 1 1/4″ pocket hole screws
- Sandpaper
- Wood glue
- Paint or stain and finishing tools (I finished mine with a gray wash)
- Outdoor water sealer
- Safety eyewear
- Optional: faux evergreen or plants
- Scrap wood for cleats supporting the bottom
Tools Needed
- Compound miter saw (sliding saw recommended but a basic miter saw will work)
- Kreg Jig (for pocket holes)
- Power drill
- Measuring tape
- Brad nailer or finishing nailer (or hammer and brad nails)
- Hand sander or sanding blocks
Cut List
Note: You don’t need perfect precision—use the first cut as a template for the rest to speed assembly.
- Sides: Cut the 1 x 6 boards into 8 pieces at 17 3/4″.
- Legs: Cut the 2 x 2 into 4 pieces at 23 1/4″.
- Side trim: Cut the 1 x 3 into 16 pieces at 11″ each.
- Cleats: Cut two cleats from scrap boards about 8″ long.
- Bottom/floor: Cut 1 x 2 strips or a plywood insert to fit (about 11″ deep).
- X accent: After assembly, cut 1 x 2 boards to match your side panel angles (I used 15° and 36° cuts for mine).
Step-by-Step Guide to Building Your Wood Planter
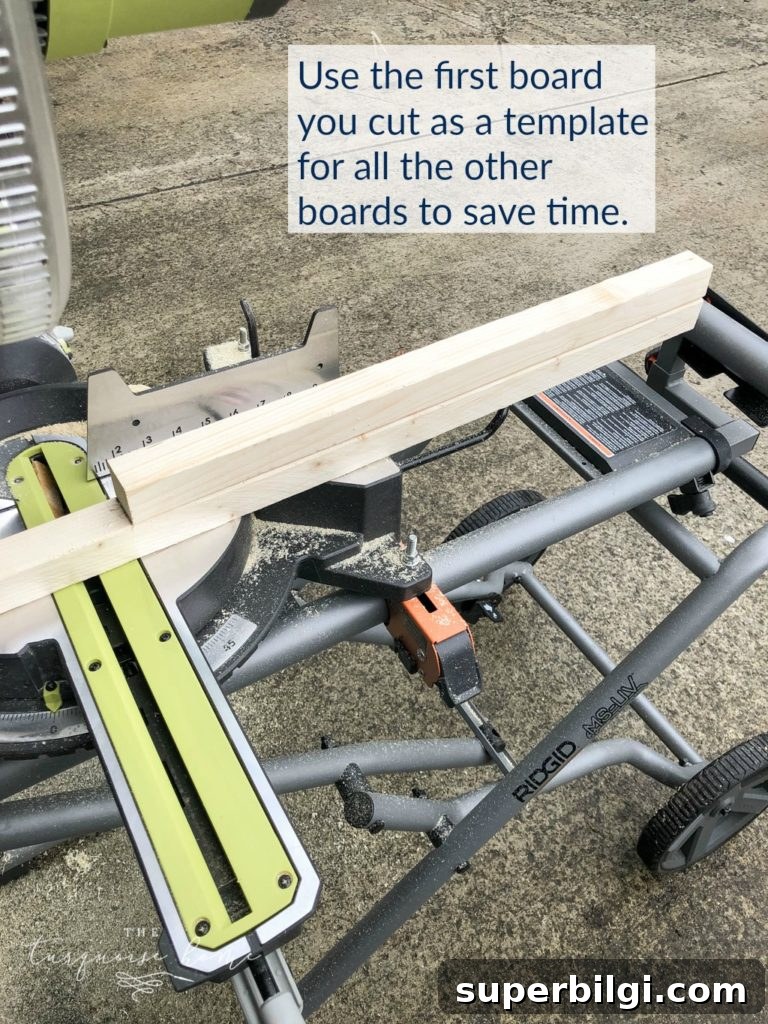
1. Cut the boards from the first four items on the list
Use the first cut board as a template to mark and cut the remaining boards so they match.
2. Create the first side panel
Place two 1 x 6 boards (17 3/4″ each) edge to edge. Nail a 1 x 3 piece (11″) across the top and another across the bottom, flush with the edges. The side with the 1 x 3 is the front of the panel. I doubled the 1 x 3 pieces so the trim depth matched the corner posts.
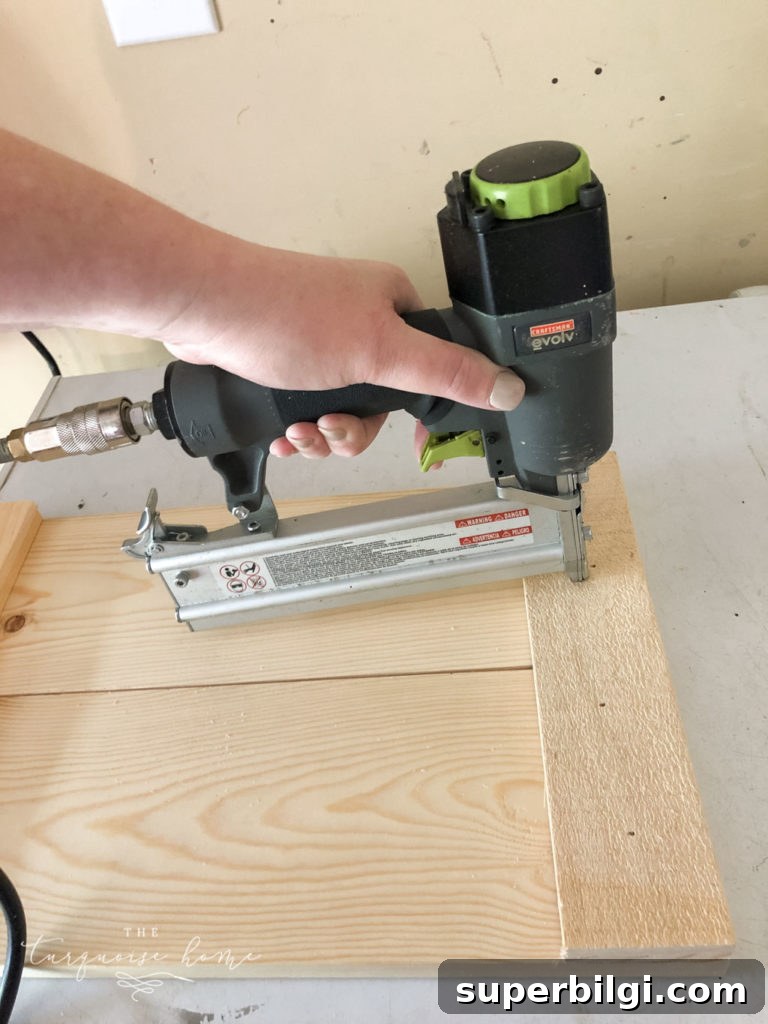
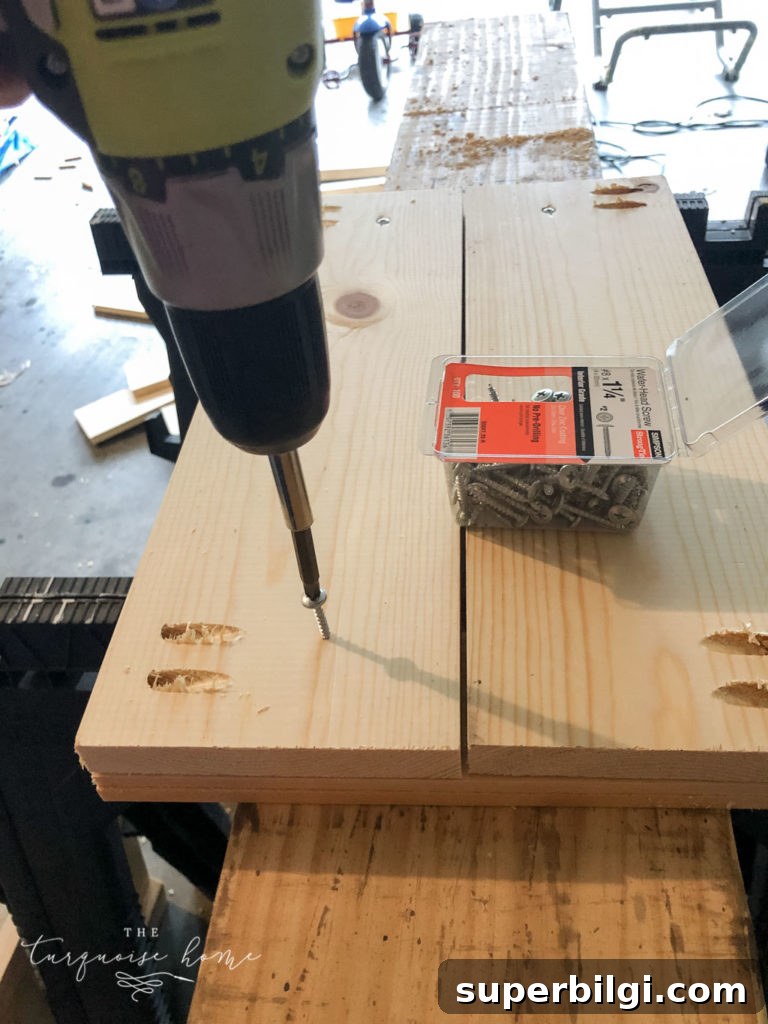
3. Secure the trim from the back
For extra strength, flip the panel and drive 1 1/4″ wood screws from the back through the 1 x 6 boards into the 1 x 3 trim. Avoid drilling through the front.
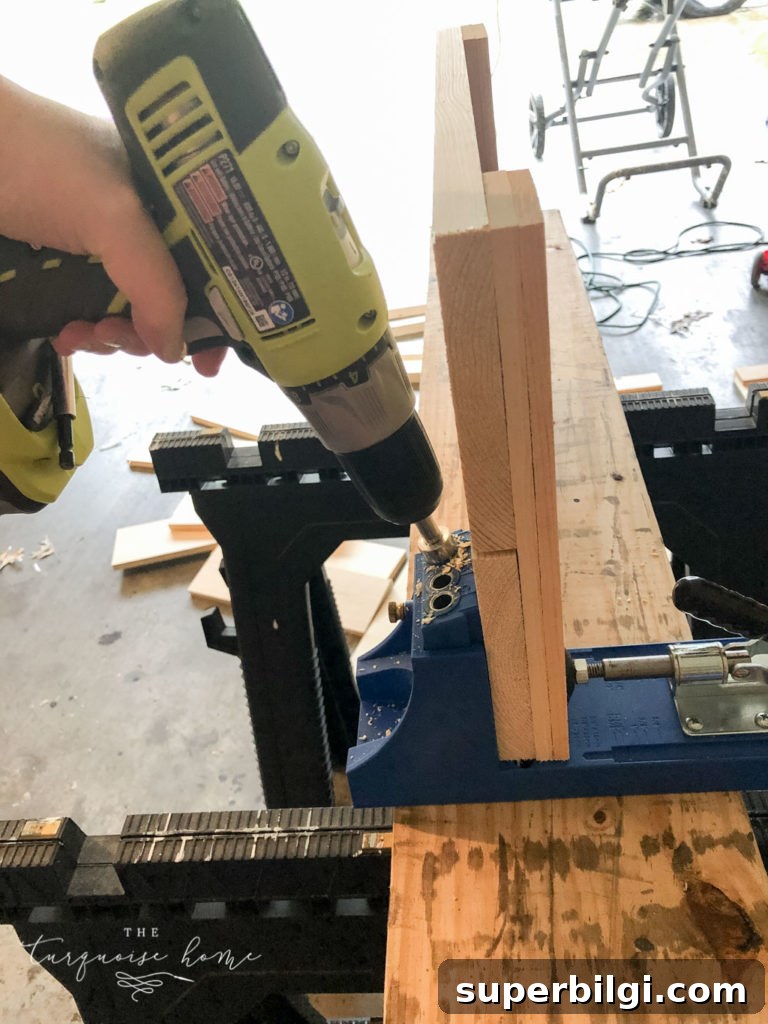
4. Drill pocket holes for attaching panels to the legs
Use the Kreg Jig to add two pocket holes in the back of each panel beneath the 1 x 3 trim. Set the jig for 3/4″ stock so the pocket hole depth is correct.
5. Repeat steps 2–4 to create three more panels
6. Attach one panel to two legs (do this twice)
Measure up 4″ from the bottom of each 2 x 2 leg and attach a panel to two legs using 1 1/4″ pocket hole screws. Repeat to create the second assembled pair.
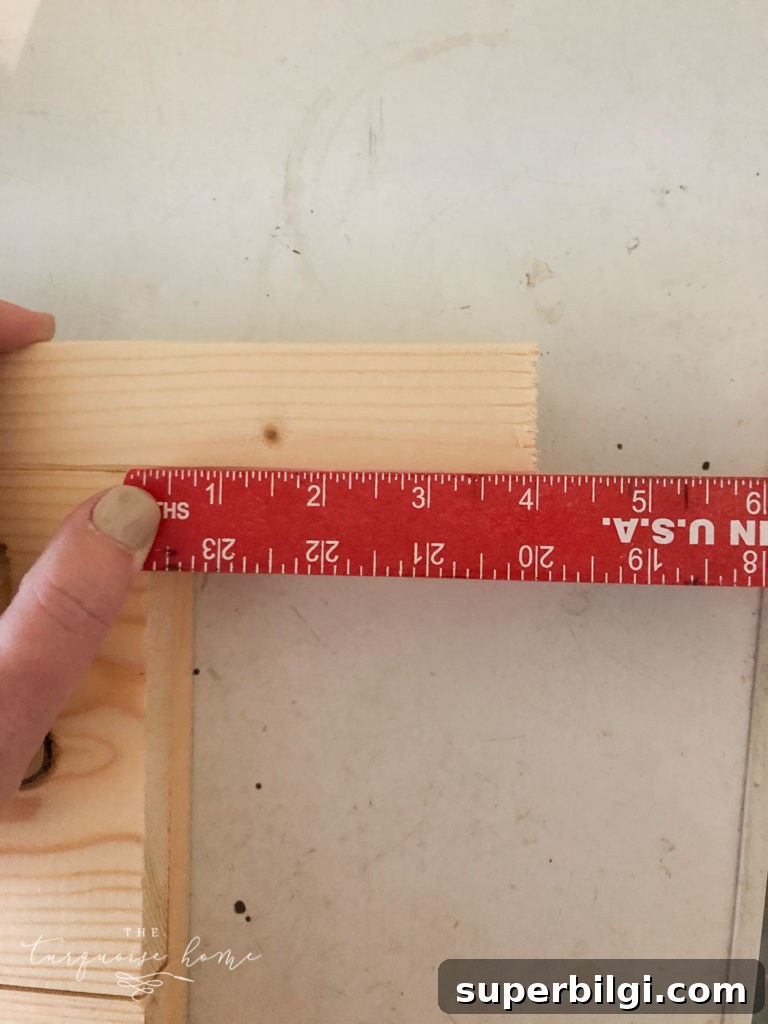
7. Attach cleats to the panels attached to the legs
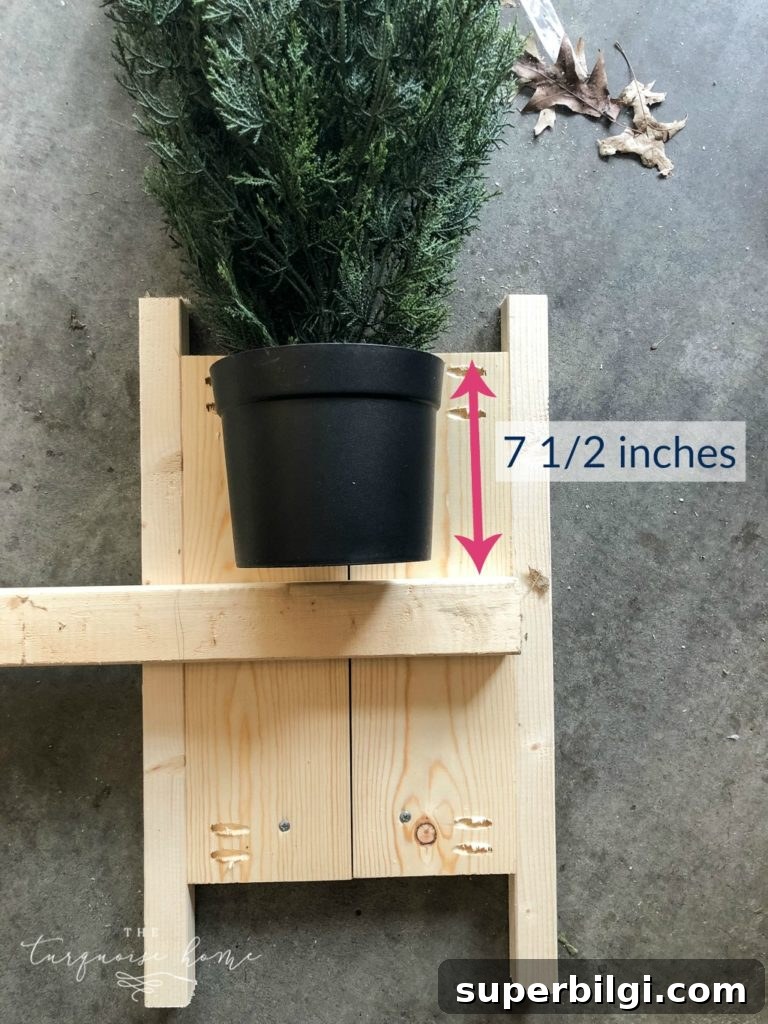
Screw an 8″ cleat to the inside of each assembled panel where the bottom support will sit. I placed mine 7 1/2″ down from the top to accommodate the plants I planned to use—adjust this measurement to fit your plants or pots.
8. Attach the remaining two panels
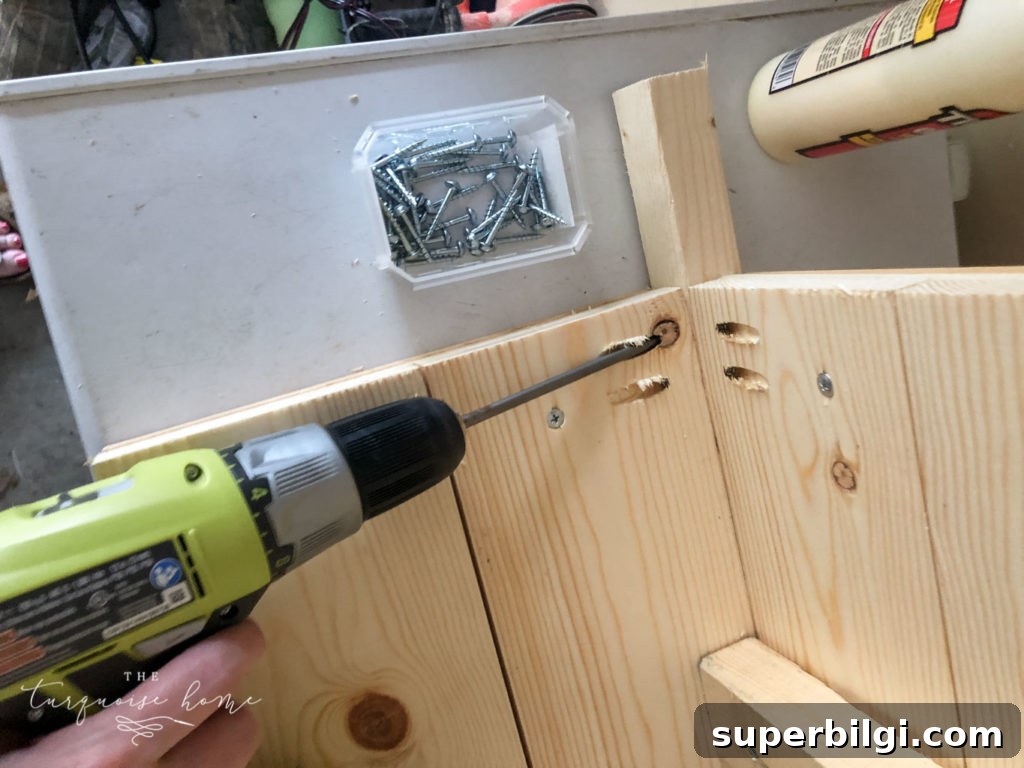
Glue and fasten the remaining side panels to complete the box. Use pocket hole screws for strength and clamp if needed while the glue dries.
9. Make the floor of the planter
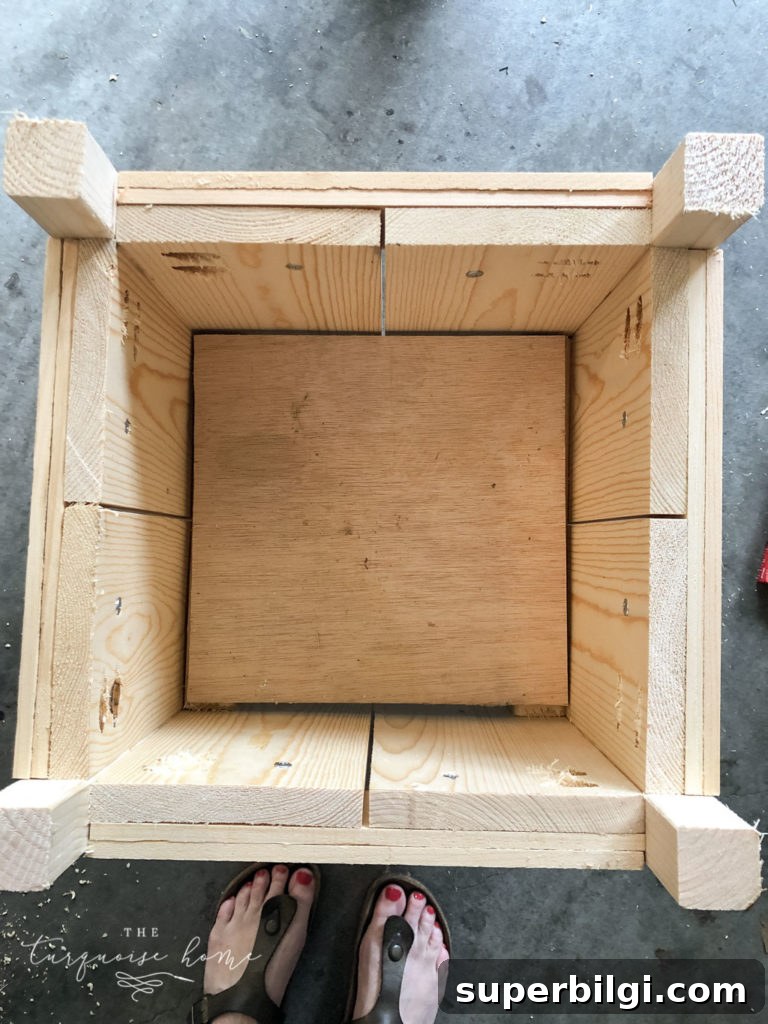
Cut 1 x 2 strips or a piece of plywood to fit onto the cleats and form the bottom. I used a plywood insert that fit neatly on the cleats, but you can also run multiple 1 x 2 boards across the cleats for drainage and airflow.
10. Add X accents to the sides (optional)
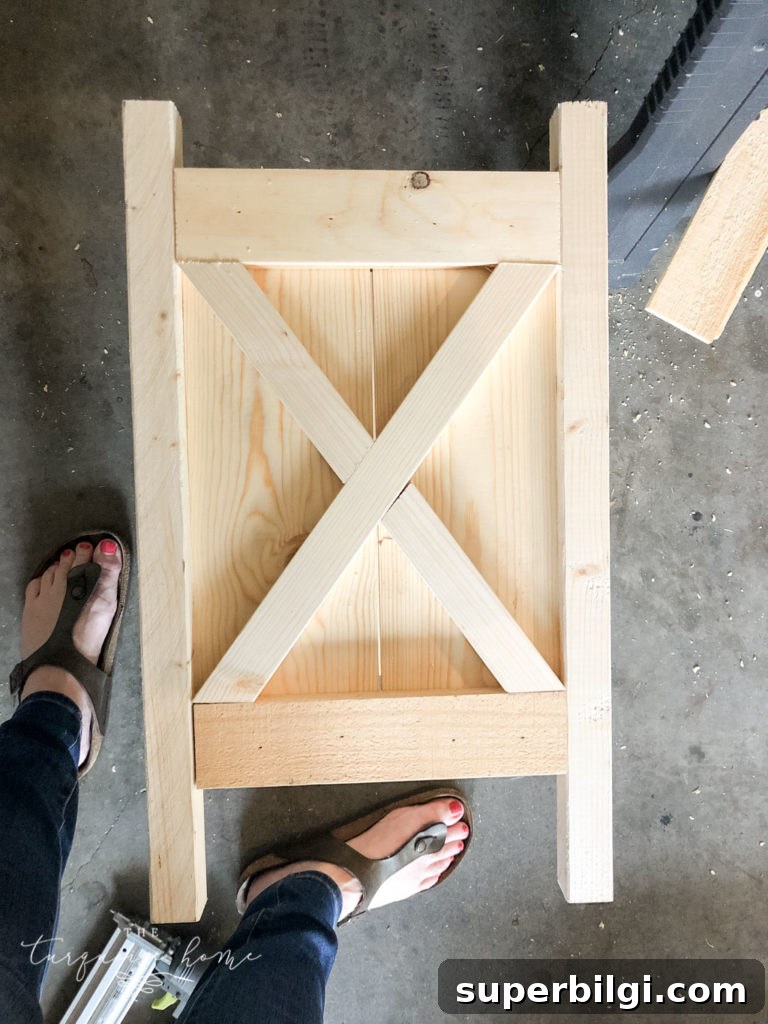
If you want the farmhouse look, cut the 1 x 2 boards to match the angles of your side panels and attach them with wood glue and brad nails. Measure the panel angles first so the X pieces fit precisely.
11. Finish: stain, paint and seal
Finish the planter with paint or stain, then seal it with an outdoor water sealer to protect against rot and mildew. If you plan to grow edibles, choose a non-toxic sealer. I applied a gray wash for a weathered look and then sealed the wood.
Once sealed and dry, add soil and plants. I used a faux evergreen in mine so I don’t have to water or worry about it dying, but real plants work beautifully too—especially when paired with a quality potting mix.
Frequently Asked Questions About DIY Wood Planters
Q: What type of wood is best for a DIY planter?
A: Cedar and redwood resist rot and insects naturally. If you choose treated lumber, verify it’s safe for plants.
Q: Should I seal my planter?
A: Yes — sealing extends the life of the planter, especially outdoors. Use a water-resistant, outdoor-rated sealer and a non-toxic option if you’ll grow edibles.
Have you built your own planter? Share your experience and photos in the comments!
More Posts You Will Love:
- 50+ Things to Do When You’re Bored at Home
- How to Make a Headboard: 13 Beautiful DIY Headboard Ideas
- Budget-Friendly DIY Kitchen Cabinet Ideas
- 10+ Stylish Dog Crate Furniture Ideas
- 7 Rental-Friendly Home Decorating Ideas











