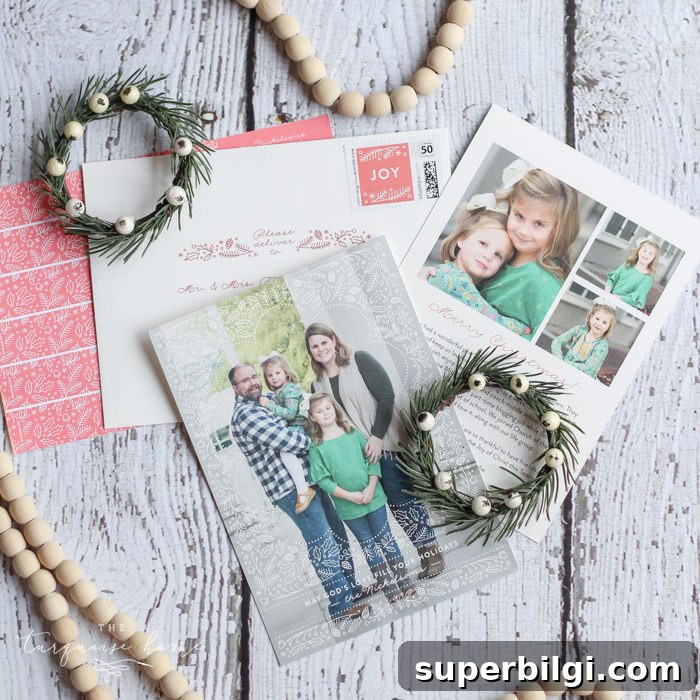
One of my favorite Christmas traditions is receiving and sending photo Christmas cards. I look forward to checking the mailbox every day between Thanksgiving and New Year’s, and I love the surprise of spotting a familiar face among the envelopes. Planning the perfect photo card often starts as early as September for me—I enjoy deciding on the photo, the card design, and the little details that make it special.
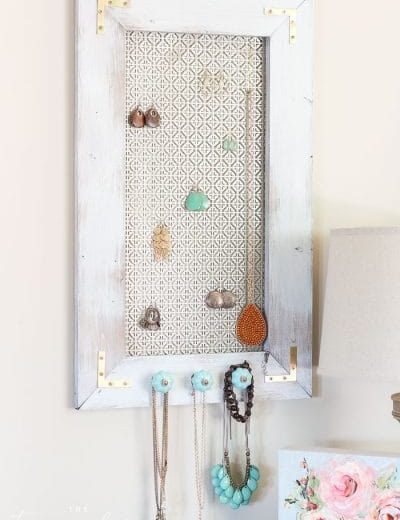
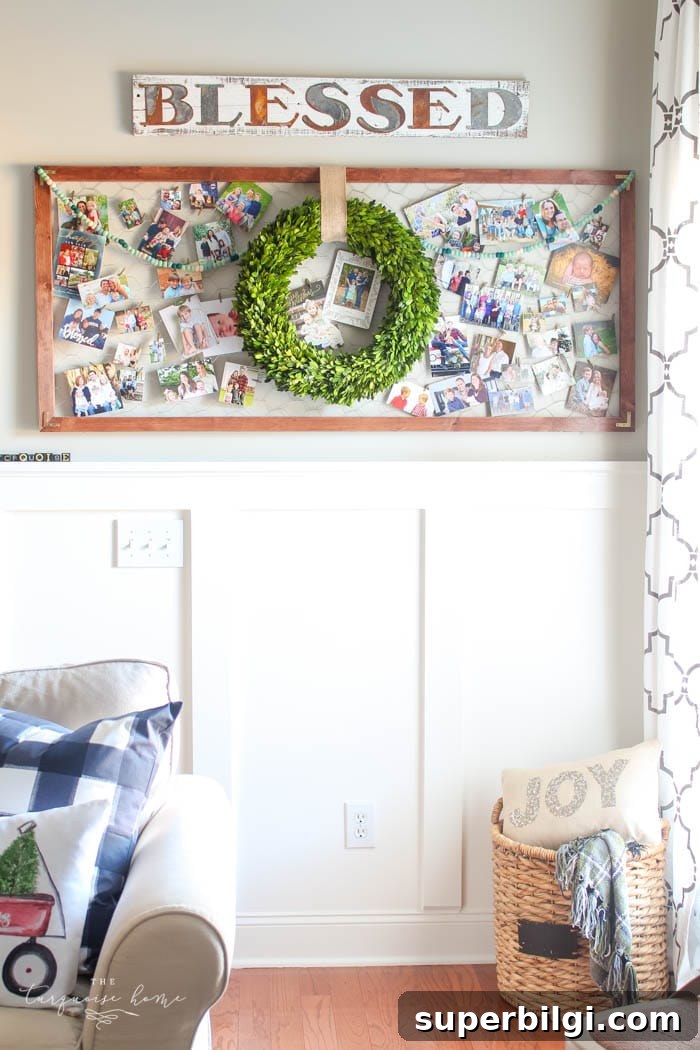
In recent years many people have shifted to digital greetings, but I still cherish holding a physical card with a loved one’s photo. I keep many of the cards and display them on a DIY chicken wire frame all year. Friends who visit always comment on how pretty the photos are—it’s one of my favorite parts of the season.
This post contains affiliate links and some recommendations based on my experience.
Tips for Choosing a Photo Christmas Card
Choosing the right photo and card design makes a big difference. You can either pick a card first and plan your photo session around it, or take the photos and then choose a card that complements them. Either approach works; this year I took the photos first and then selected the design.
Schedule your photo session in October so you’ll have plenty of time to receive the proofs and finalize the card without rushing.
A friend photographed my family in the park on a warm fall day. Small styling choices—like grabbing a favorite vest or choosing complementary colors—can really elevate the photo and help it translate beautifully onto a card.
How to Choose the Perfect Photo Christmas Card
1. Select Your Best Photo
Decide which image you love most and note whether it’s landscape, portrait, or square. The orientation and any empty “white space” affect which card layouts will work best. Crop and edit the image as needed before selecting a design.
2. Review Card Designs and Quality
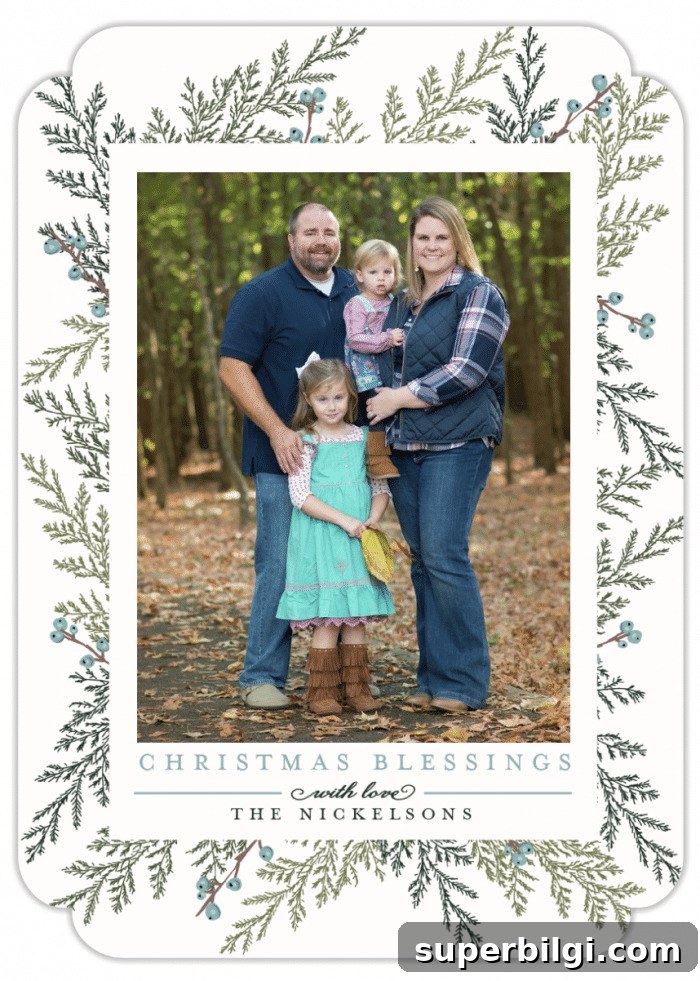
I chose a popular photo-card vendor for consistent print quality, a wide variety of styles, and time-saving printing options like free printed recipient addressing. Look for vendors that offer multiple colorways, layout flexibility, and upgrades such as foil or rounded corners.
Pick a design that complements your photo. If the card’s colors clash with the image, consider converting the photo to black and white for a cohesive look.
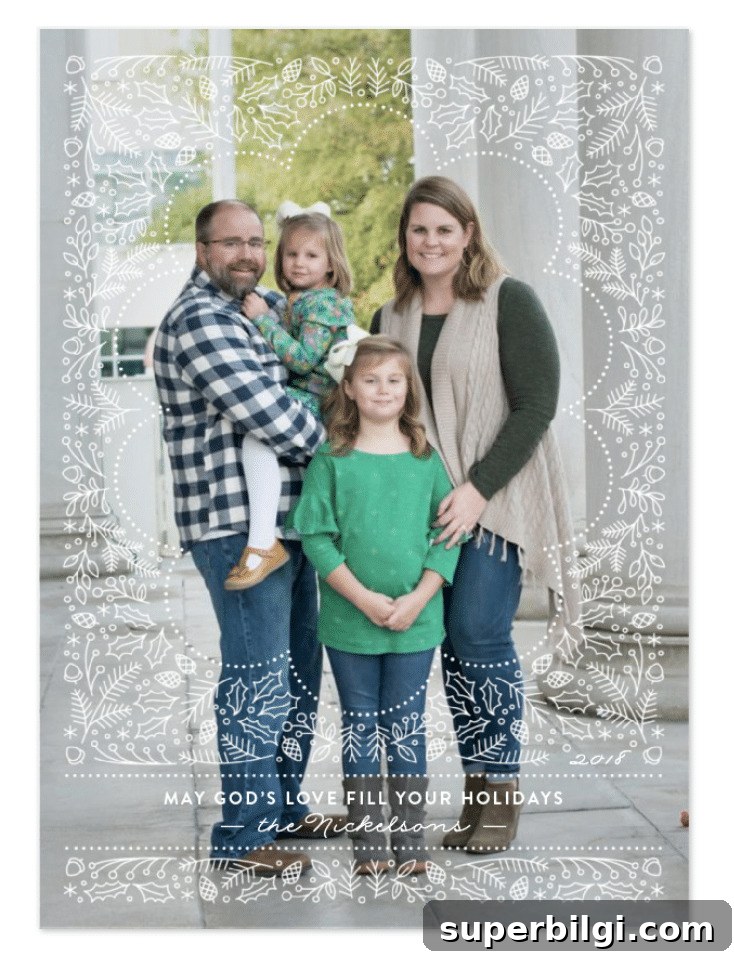
Over the years I’ve liked designs ranging from botanical prints and foil accents to playful, whimsical layouts. Save a shortlist of favorites, then narrow it down once you see how your photo fits each option.
3. Use Tools That Let You Preview Your Photo in Multiple Designs
Many card sites offer a preview tool that lets you drop your photo into many designs at once. This feature is invaluable for quickly spotting which layouts and orientations work with your image. Use heart or favorite options to save designs you like and compare them side by side.
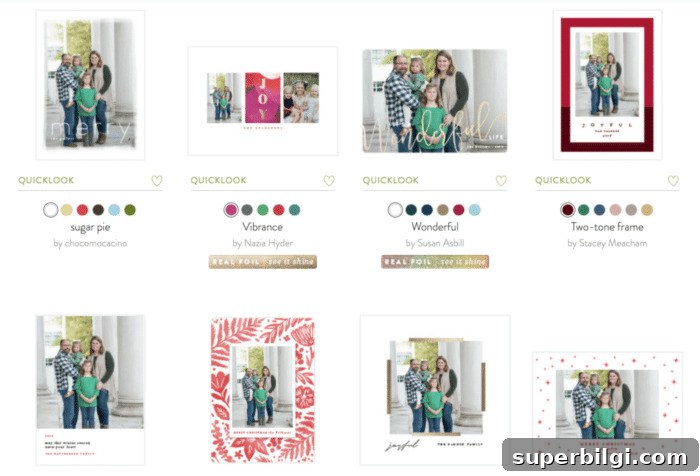
If you haven’t had photos taken yet but already love a card, bring that design to your photographer and ask for shots that will fit the layout. Photographers can often frame or crop shots to match a chosen card format.
4. Time to Customize
After selecting a design, take advantage of customization options:
- Choose corner styles (rounded, scalloped, or square).
- Pick a format—traditional folded cards or cost-saving postcards.
- Select one of the available colorways so the card complements your photo.
- Choose the greeting that best fits your family’s style—Holiday, Happy New Year, Merry Christmas, or a religious message.
- Edit the signature line to include family names or a short message.
5. Add Helpful Extras
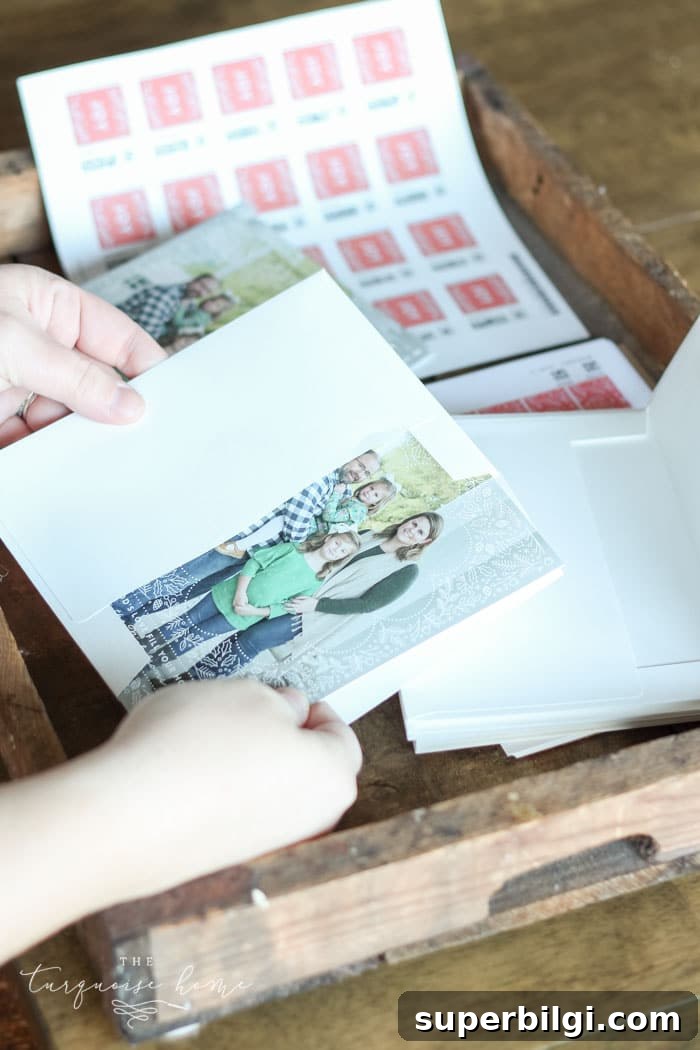
Upgrades make assembly quicker and give the finished product a polished look. Popular extras include colored envelopes, printed envelope liners, wrap-around return address stickers, and even matching postage stamps. One of my favorite time-savers is free recipient addressing—upload your contact list and the vendor prints the mailing addresses for you.
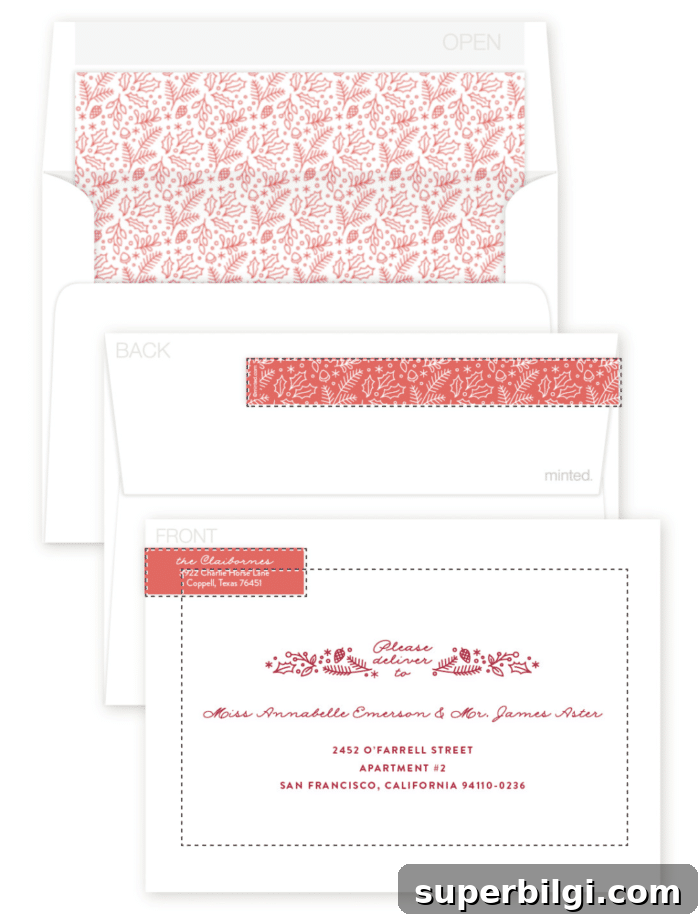
Once everything is printed, I check the addresses off my holiday planner as I send them out—small rituals like that keep me organized during a busy season.
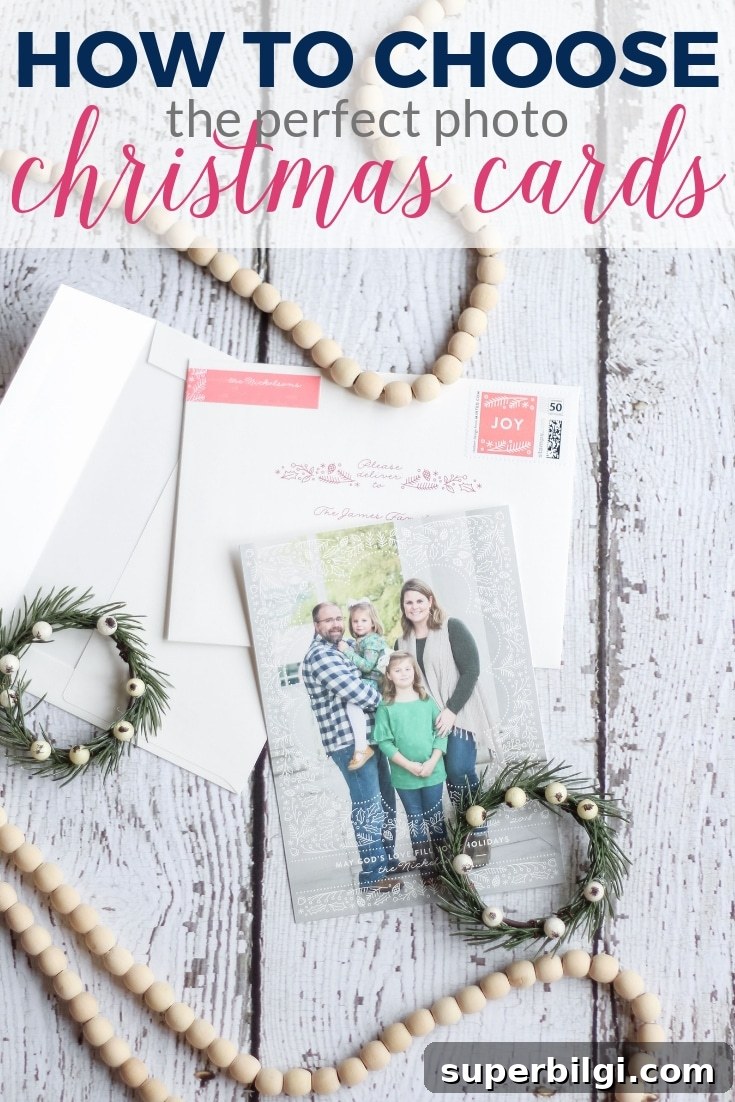
Do you love photo Christmas cards as much as I do? If you do, consider saving your favorite photos each year and displaying them—these portraits become a visual record of family seasons and moments that you’ll revisit fondly.
More posts you might enjoy:
- Christmas Gift Wrapping Station and Simple Wrapping Tips
- Blue and White Christmas Living Room Inspiration
- DIY Winter Wreath with Bells — step-by-step tutorial
Note: This post was originally written as a sponsored article in 2018 and updated later. I continue to use the same card service for their designs and convenience, especially the addressing options that make mailing easier each year.