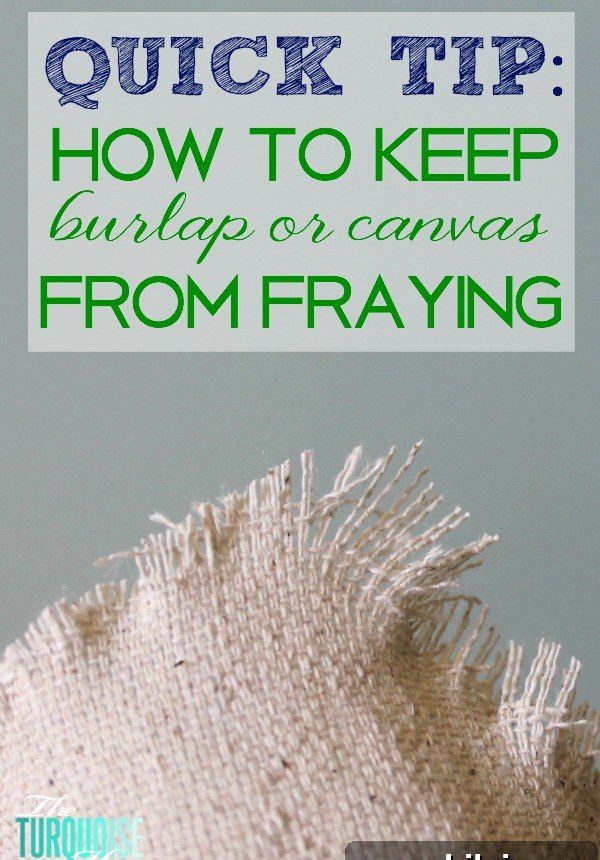
Learn how to keep burlap from fraying after you cut it with this simple step!
It’s been a little quiet here while I worked on a DIY project for Baby G’s nursery. I started weeks ago with an idea that required sewing burlap or canvas, and I ran into an annoying problem: the fabric kept fraying at every cut edge.
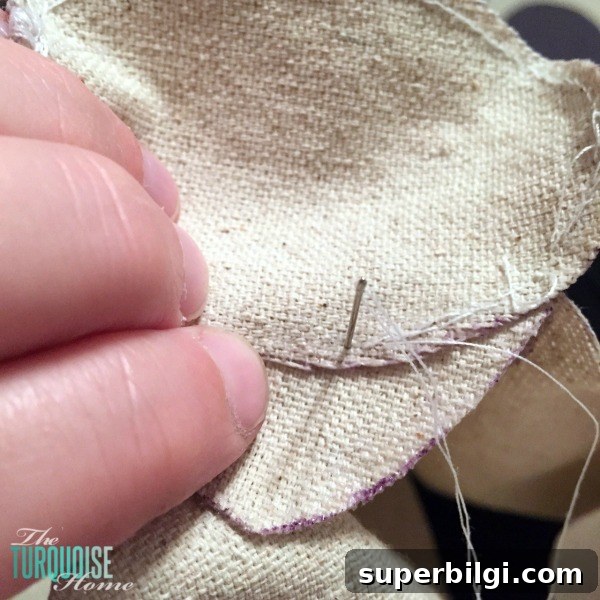
At first I tried a thin canvas-like material, but it was too lightweight and frayed immediately. Then I moved to a sturdier drop cloth canvas that should have been ideal, but as soon as I stitched, the edges began to unravel. The seams didn’t hold, and my stitching kept pulling threads free. I either needed a quick fix, a different material, or to abandon the idea.
Simple solution that actually works
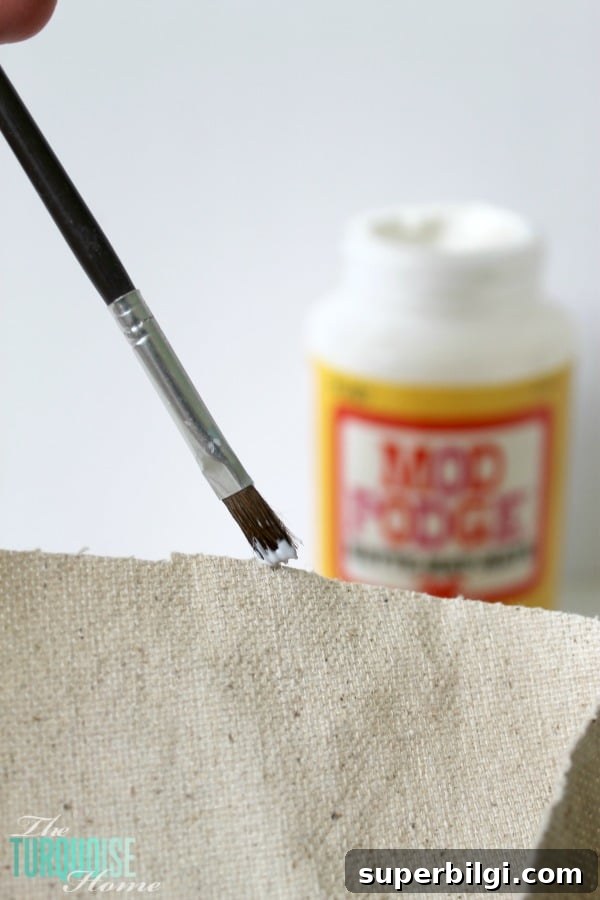
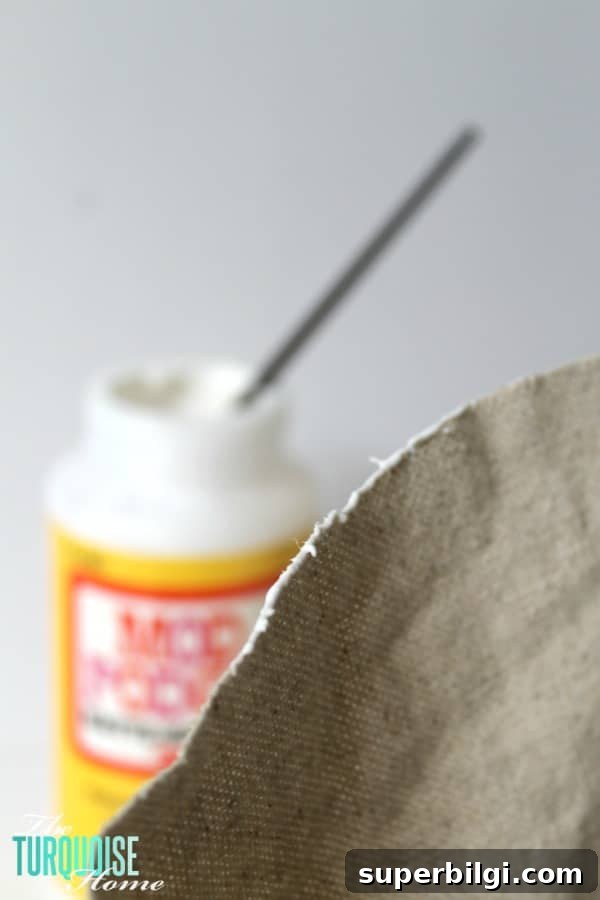
The trick I found is uncomplicated and uses a sealer you may already have in your craft stash: Mod Podge. It’s commonly used to glue and seal fabrics, paper and craft surfaces, and it also seals cut edges so the weave won’t unravel while you sew.
How to seal burlap or canvas edges (step-by-step)
Follow these quick steps to stop fraying and get back to your sewing:
1. Trim loose threads. Before sealing, gently trim any long loose fibers along the cut edge so the sealer can form a neat line.
2. Use a small brush. Dip a small paintbrush into a little Mod Podge and apply a thin, even line along the raw edge of the fabric. You don’t need a thick coat — just enough to saturate the outer threads so they bind together.
3. Remove excess. If the sealer puddles, blot it with a scrap of paper towel. A smooth, thin bead dries cleaner and is less likely to stiffen the seam too much.
4. Let it dry completely. Allow the sealed edge to dry fully before handling or sewing. Drying time varies with humidity and how much product you used, but waiting until the surface feels dry to the touch ensures the weave won’t shift while you stitch.
Notes and sewing tips
Once the edge is sealed, the fabric holds together far better. You can sew near the edge without the threads walking out of the seam. A few practical tips that helped me:
- Test a scrap first to see how stiff the edge becomes when sealed, and to confirm drying time in your environment.
- If you’re sewing a heavy canvas or drop cloth, choose a heavy-duty needle and strong thread designed for upholstery or canvas work.
- For delicate projects where you don’t want a visible sealed line, apply the sealer to the back side of the fabric or use a very thin application.
- If you prefer other products, commercially labeled fray preventers and fabric glues work similarly; I used Mod Podge because it’s easy to apply and clear when dry.
This simple trick allowed me to move forward with my nursery project without changing materials or giving up. The sealed edges stayed intact through several seams, and my stitching held exactly as it should. I’m back on track and nearly finished with the piece — I can’t wait to share the final reveal.
Any guesses about what I’m making? 🙂 (Spoiler: I later finished a DIY plush deer head for the nursery.)
More posts you will love:
- 25 Timeless Interior Design Choices That Will Last
- How To Hang Curtains: Easy Steps and Tips
- DIY Christmas Decorations on a Budget
- Ideal Cabinet Knob Placement
- The 10 Easiest Family Command Centers to Get Organized