
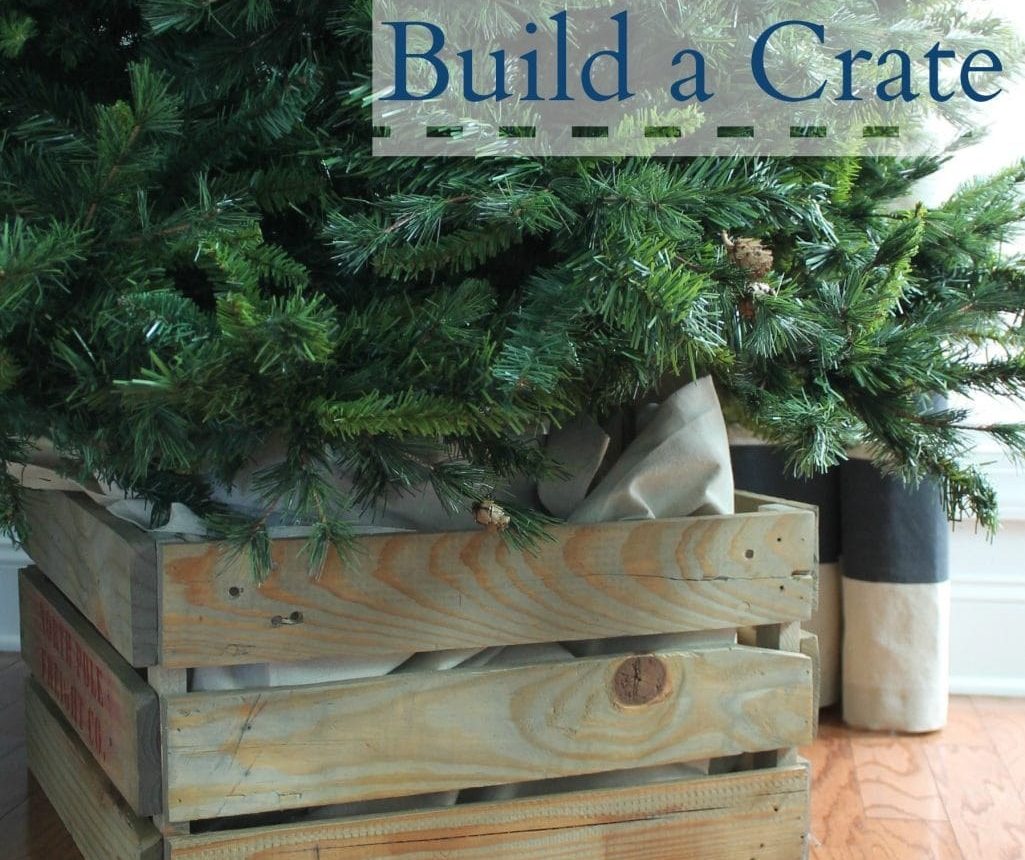
DIY Rustic Pallet Christmas Tree Collar (Step-by-Step)
This beautiful, rustic Christmas tree collar made from pallet boards is an easy, customized way to hide your tree base and add farmhouse charm to your holiday decor.
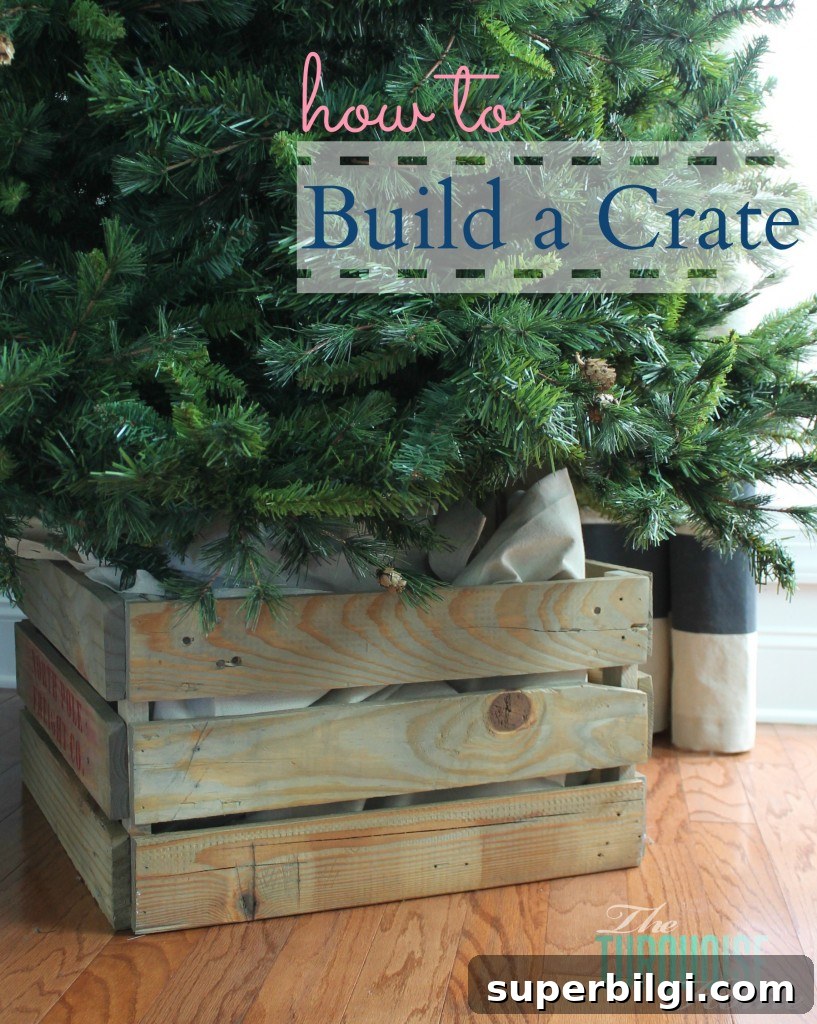
While setting up my tree this year I realized I could make a tree collar that fit exactly instead of hunting for a pre-made basket or skirt. I had pallet boards in the garage, so I decided to break a pallet down and build a rustic crate that would surround my tree base perfectly.
Are you searching for simple, original Christmas tree collar ideas or a creative DIY tree stand? A pallet crate is affordable, customizable, and gives a warm, rustic look that works with many holiday styles.
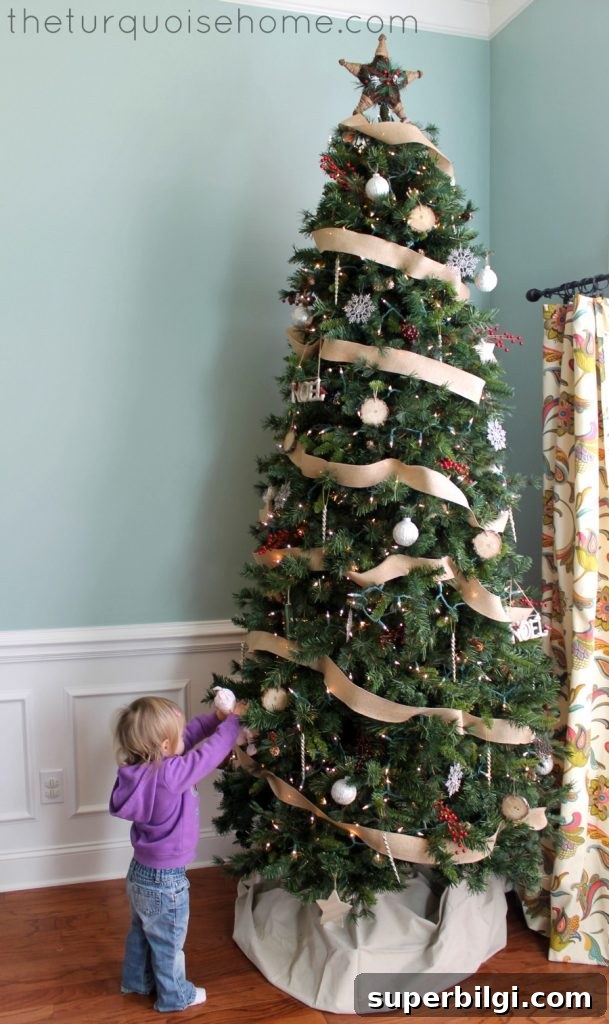
My Rustic Glam Christmas Tree
Materials and Tools
Below are the materials I used; adapt quantities and sizes to fit your tree base dimensions.
- Pallet boards or 1×4 pine boards — I used twelve pallet boards cut to 21 inches long (adjust length to suit your tree base).
- 1×2 pine boards for corner supports — I bought a 4-foot piece and cut it into four 12-inch corner pieces to match the crate height.
- Wood glue for extra strength.
- Nail gun with finishing nails (or hammer and finish nails).
- Stain (optional) — I used Minwax Weathered Oak for a worn look.
- Stencil and paint (optional) if you want a stamped or lettered design on the crate.
- Reciprocating saw or pry bar for disassembling pallet boards, plus a saw for cutting boards to length.
Prep and Cutting
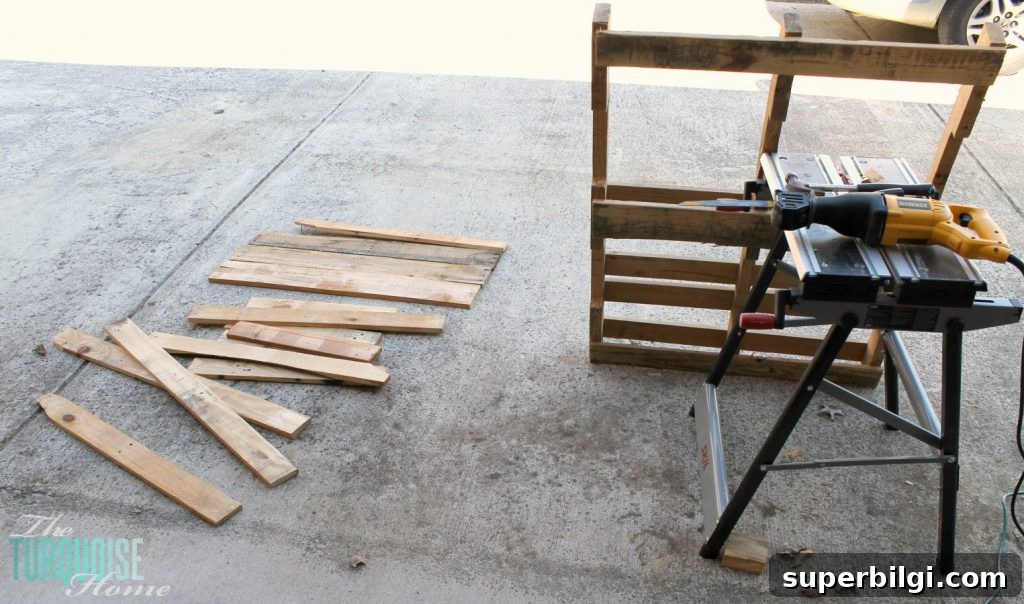
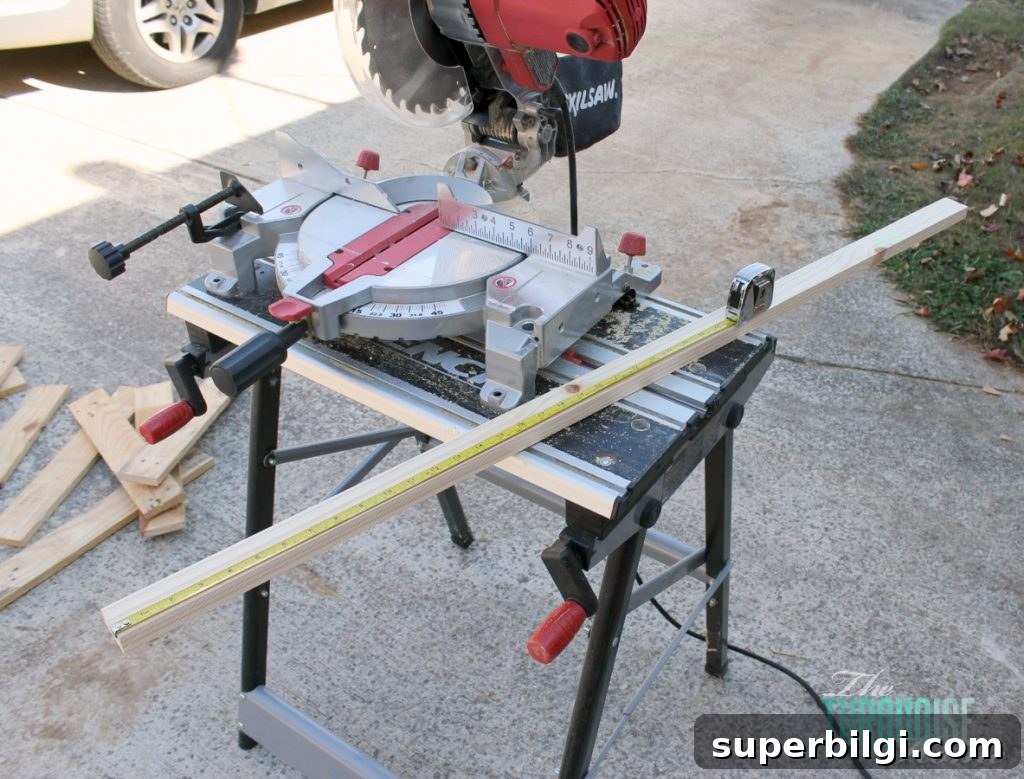
First, disassemble your pallet. I alternate between prying boards loose with a hammer and cutting nails out with a reciprocating saw when the nails are stubborn. Once the boards are free, cut them to the length that will surround your tree base. My tree base is a 19-inch square, so I cut the slats to 21 inches so the crate sits a little larger than the base.
Assembly Steps
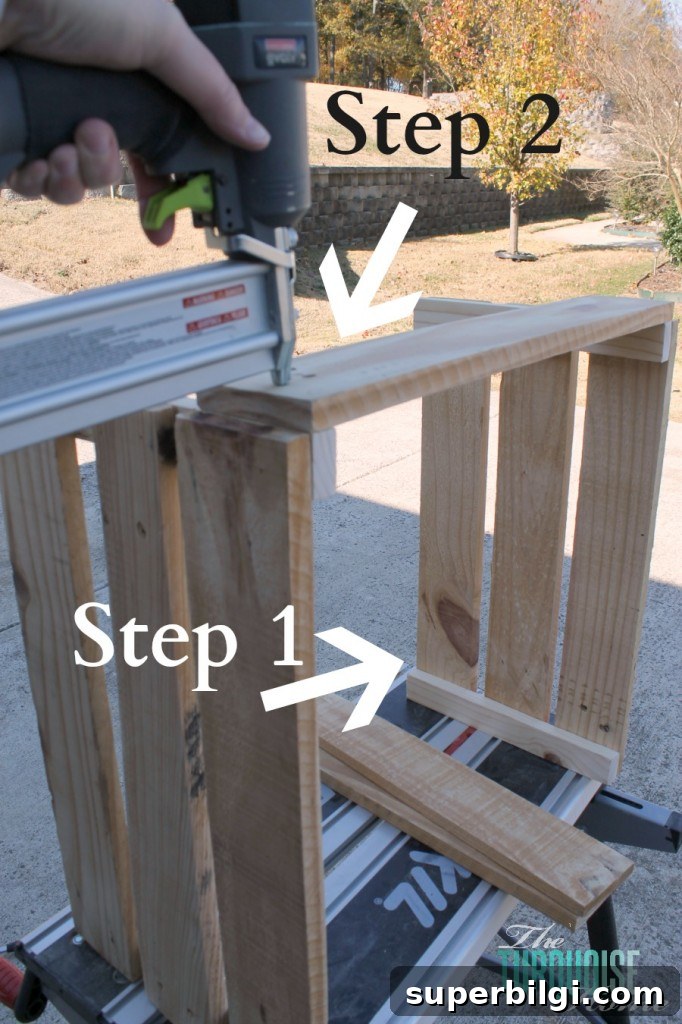
- Arrange three slats side by side and apply wood glue to the back edges. Align them on two corner support pieces (the 1×2s) and fasten them with finishing nails. Repeat for the opposite side.
- Stand the two assembled side panels upright and attach three slats to each of the remaining corner supports to form the other two sides. Use glue and finishing nails to secure the joints for a strong crate.
- I left the bottom open because my tree stand fits inside the crate. If you prefer, add additional slats across the bottom after assembling the sides.
- Leave spacing between slats if you like the rustic look; a drop cloth or decorative fabric inside the crate will hide the tree base while keeping ventilation.
Finishing Touches
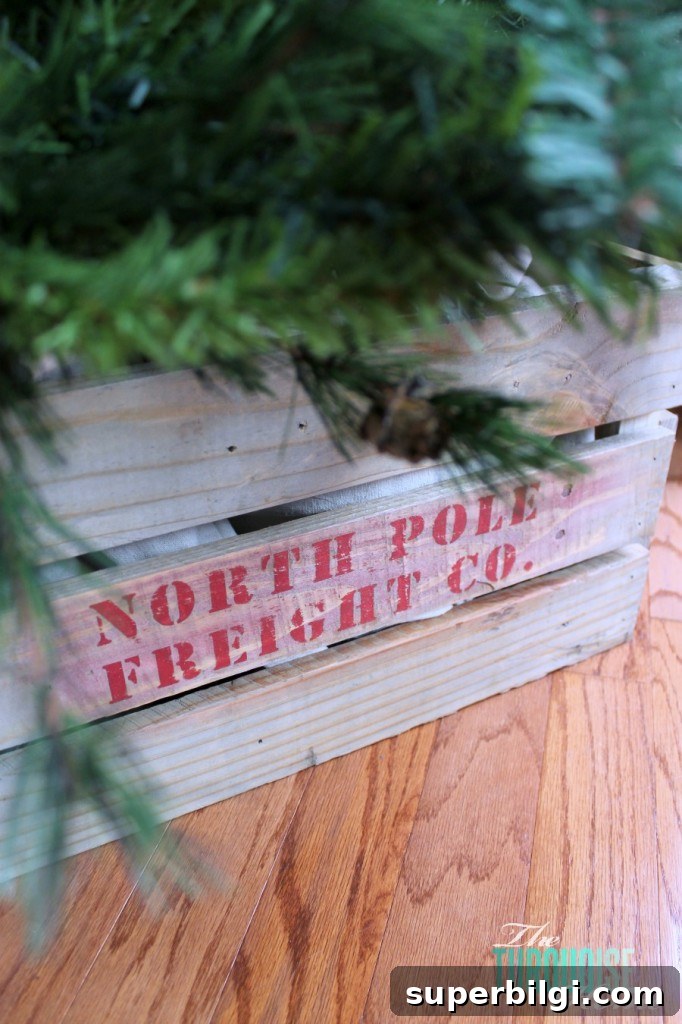
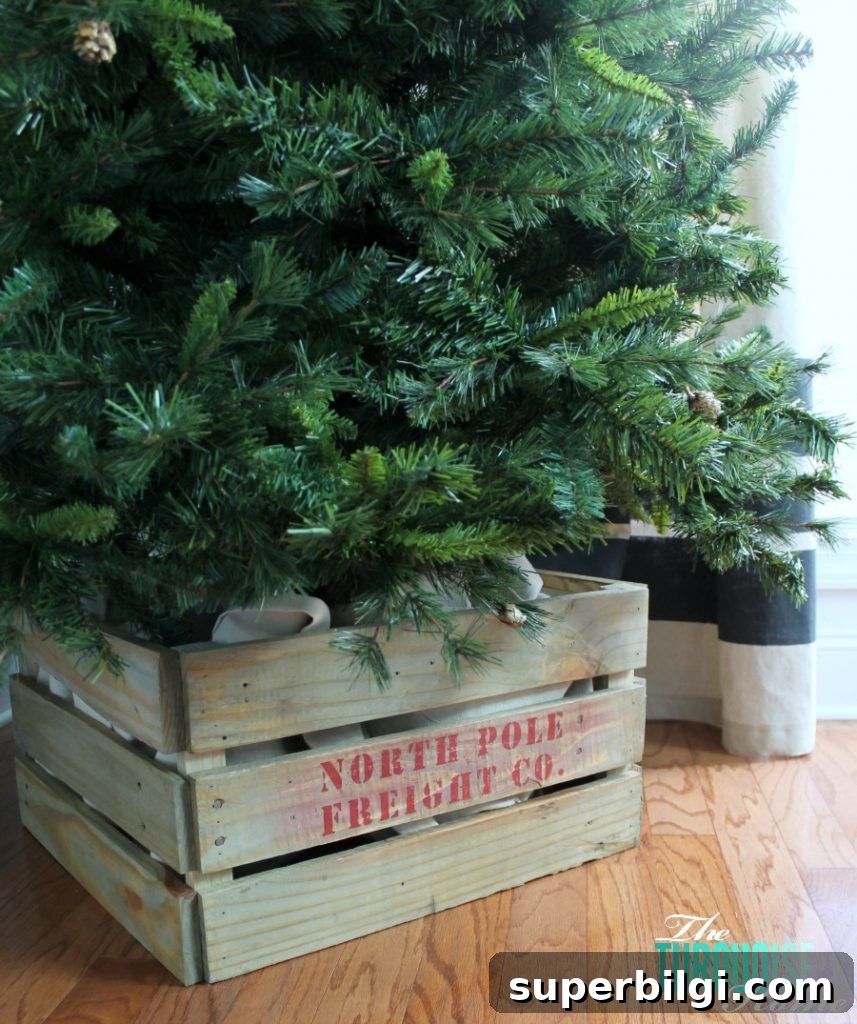
After the crate was assembled, I stained it with Weathered Oak for a weathered appearance. Staining brings out the grain and helps the wood look intentional rather than salvaged. If you want a stamped or personalized stamp on the side, create a stencil and use paint to add a mark or message.
Stenciling Tip for Rough Wood
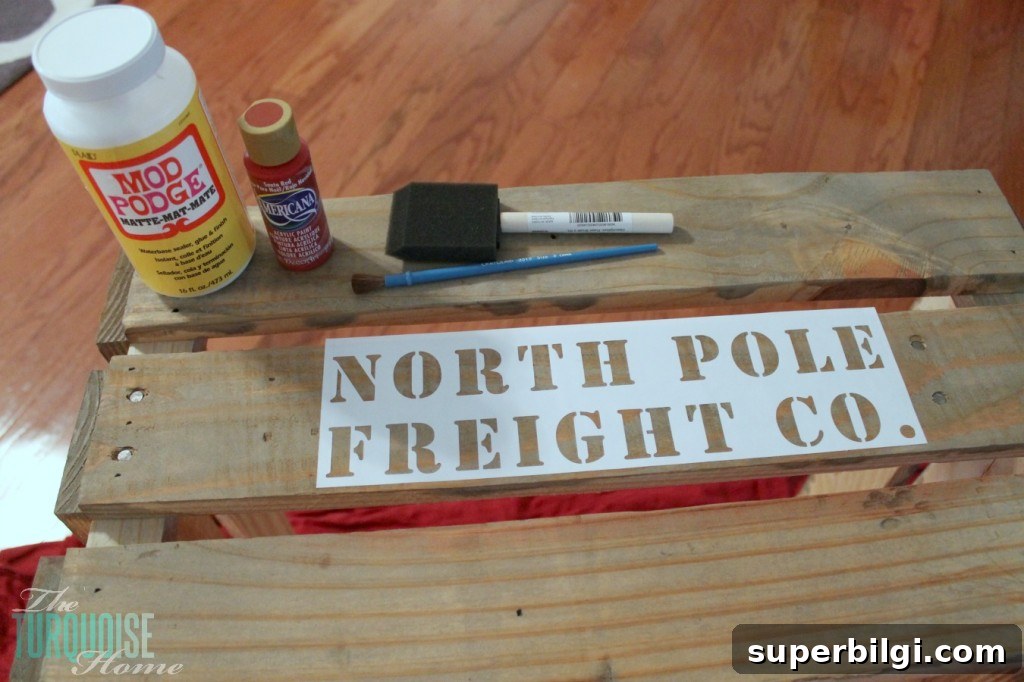
If your wood surface is rough, apply a coat of Mod Podge (or a clear craft medium) over the stencil area before painting the letters. The Mod Podge seals the wood pores where the stencil meets the surface, reducing paint bleed and producing crisper edges. It dries clear and helps achieve a cleaner result on textured wood.
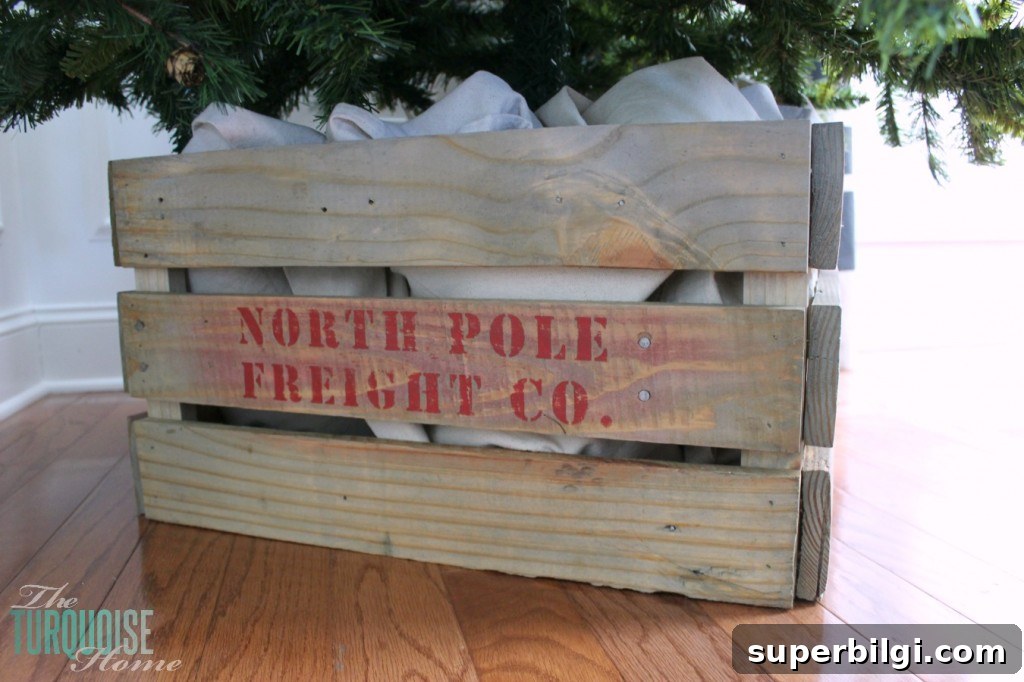
I did a stencil in a bold red, but after sanding to age the letters, the red feathered into a lighter, clouded halo around the letters — not exactly the distressed look I intended. It still looked good, but it reminded me that sometimes experimenting gives unexpected results. If you don’t like the first attempt, you can always flip the crate, hide the stencil, or touch up the paint.
Final Thoughts
I love the final result: a sturdy, rustic tree collar that fits my tree perfectly. Building a crate from pallets is economical and customizable — you can change the height, stain, or add stenciled text to match your holiday theme. Whether you keep the stencil visible or hide it, the crate adds personality and hides the unsightly tree stand.
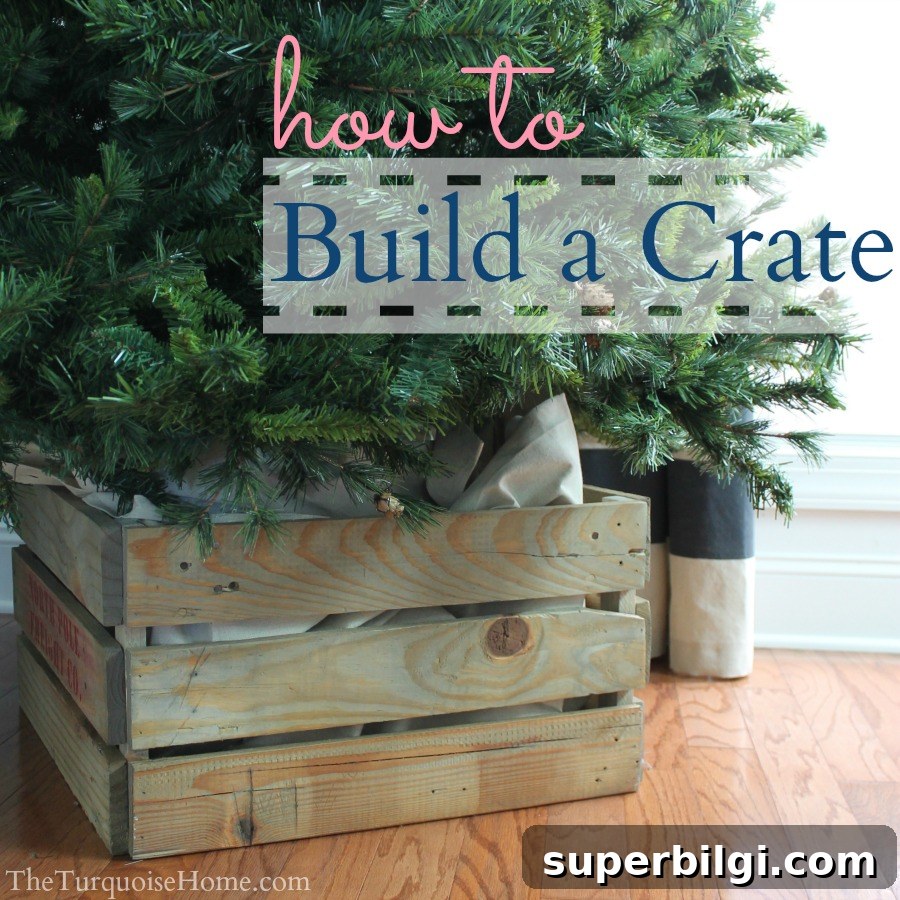
Would you show the stencil or keep it tucked away? I’d love to hear which finish you prefer when you build your own pallet tree collar.
More Posts You Will Love
- The Best Artificial Christmas Trees
- 40+ Amazing DIY Christmas Gift Ideas
- 21 Fun Holiday Ideas for Your Family’s Christmas Bucket List
- Quick & Stylish Christmas Card Holder Ideas











