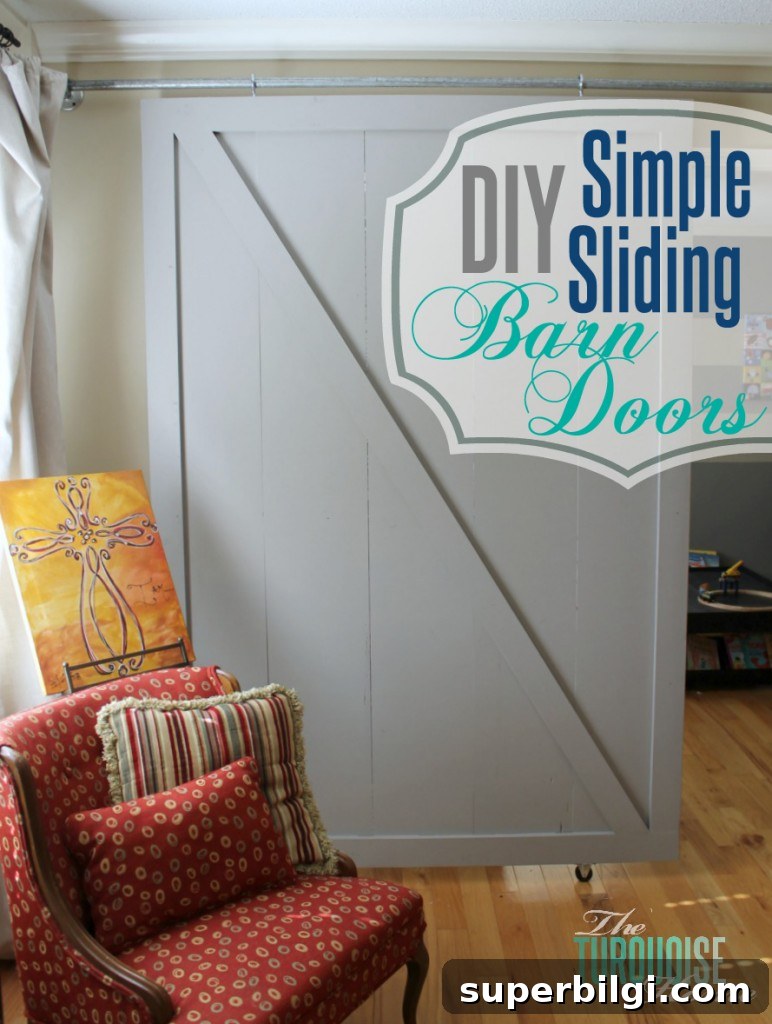
These simple DIY sliding barn doors are an easy way to add character and function to your home. We built these from pine using common tools to create beautiful, oversized handcrafted doors that glide smoothly and look great.
Barn doors are a popular design element because they combine style and practicality. While they’ve been featured all over home blogs for years, a sliding barn door still makes sense in many homes—especially when you need to save space, create a dramatic focal point, or close off a large opening without swinging doors that require clearance.
I recently built two large barn doors for a friend as part of a dining room-to-playroom makeover. Her opening was nearly 10 feet wide, so prefabricated doors weren’t available in the size we needed. Building custom doors allowed us to get the exact fit and finish we wanted. The wood for one door cost about $175; the price is higher than a small weekend build but reasonable for large, custom doors.
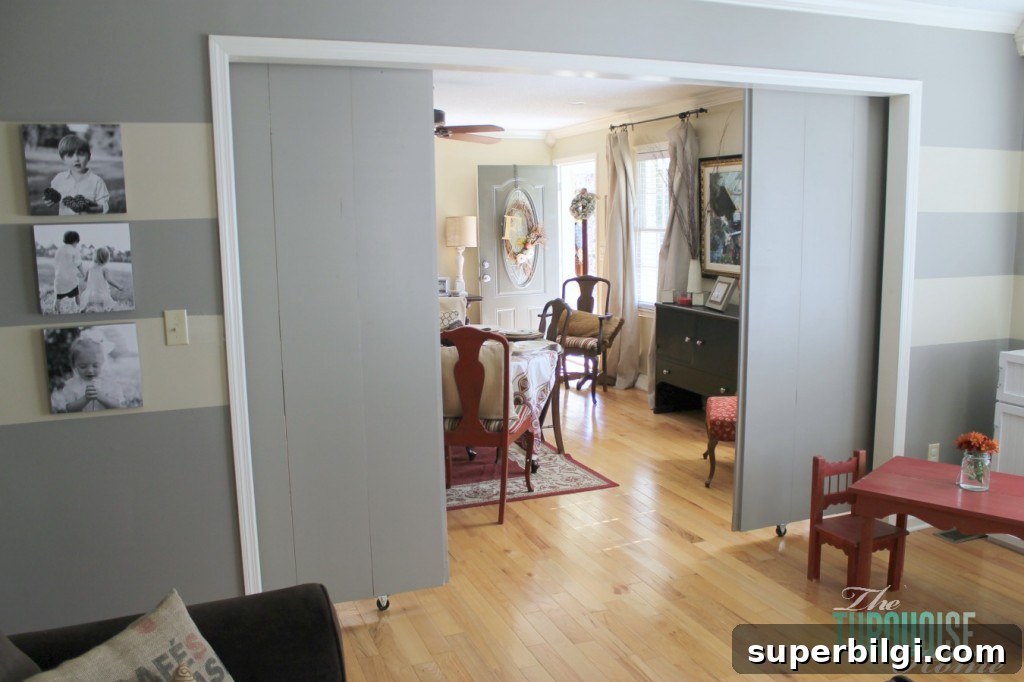
Tools and Materials Needed for DIY Barn Doors
Lumber (we used high-quality pine):
- 5 — 1×12 @ 7 feet (enough to cover the width of your door; increase length if your ceilings are over 8 feet)
- 4 — 1×4 @ 8 feet (for door framing)
- 1 — 1×4 @ 10 feet (long enough to cut a diagonal brace that spans the door)
Hardware:
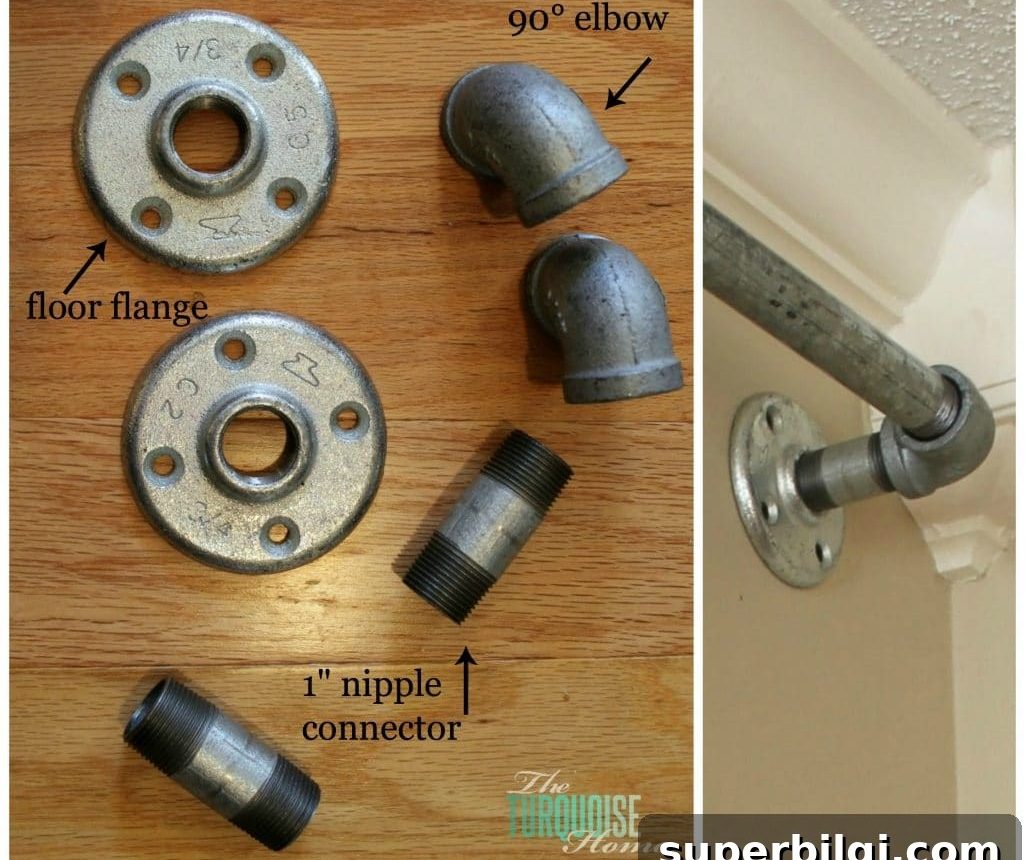
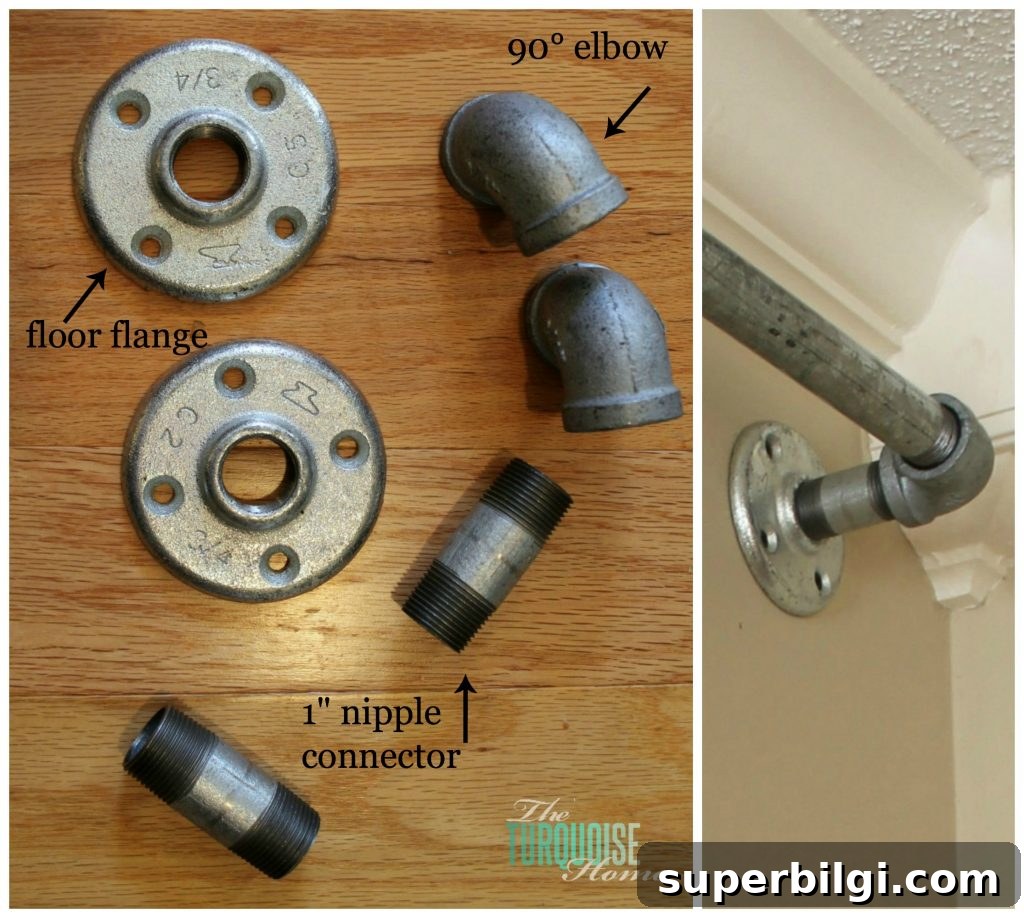
- 3/4″ galvanized pipe cut to the width you want the door to cover plus travel distance (have the store thread both ends so it can screw into 90° elbows; allow room for elbows and floor flanges)
- 2 floor flanges (match them to your pipe diameter)
- 2 — 1″ nipples
- 2 — 90° elbows
- 2 non-swiveling casters for floor guidance
- 2–3 large eye hooks (sized to fit over the pipe)
Make sure all hardware pieces share the same pipe diameter—ours were 3/4″. Consistent sizing ensures everything threads and fits together smoothly.
Tools and other supplies:
- Miter saw or circular saw for cutting boards to length
- Kreg Jig (pocket-hole jig) to join boards quickly, or alternatively use glue and screwing blocks across the rear if you don’t own one
- Screwdriver or drill/driver for screws
- Nail gun and brad nails to attach trim and frame pieces
- Sander and sandpaper
- Wood glue, spackling for filling holes, and various screws
How to Build a Sliding Barn Door
Building a barn door is straightforward, though large doors are heavy and much easier with two people. Below is the general process we followed for each door.
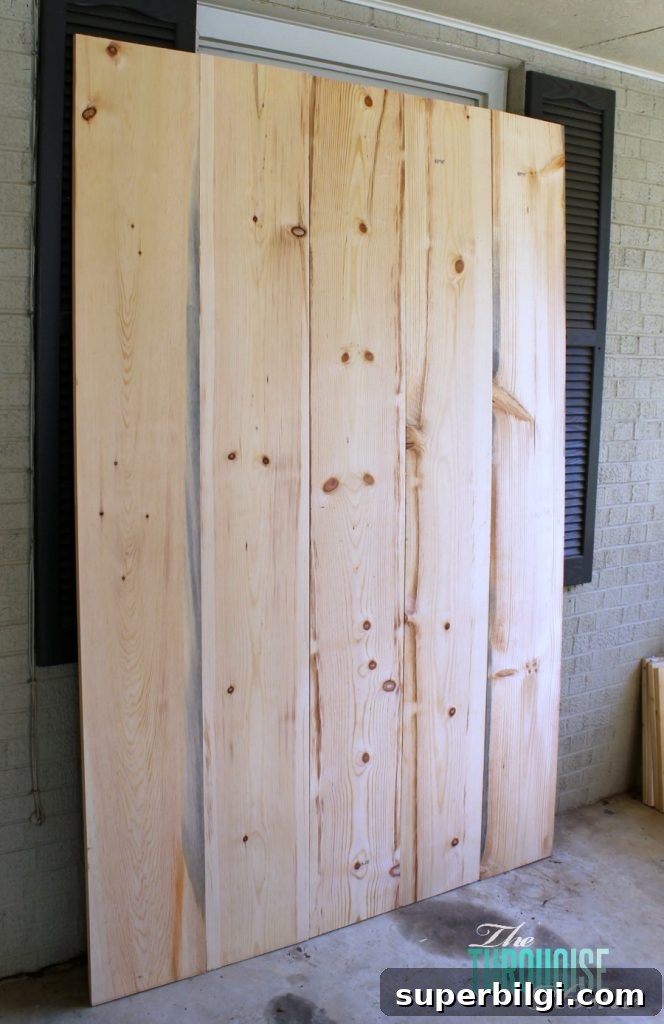
1. Join the face boards: Lay all 1×12 boards edge-to-edge and join them into a single wide panel. We used a pocket-hole jig and wood glue, which creates a strong, flat surface. If you don’t have a pocket-hole jig, glue the seams and screw cross-blocks across the back to hold the boards together.
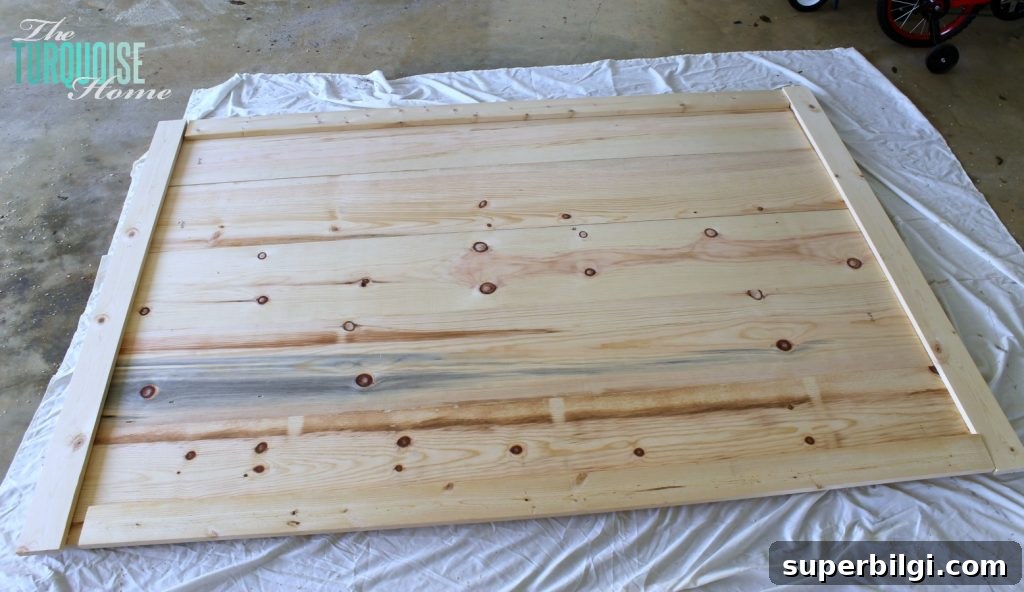
2. Frame the door: Cut the 1×4 pieces to create a perimeter frame and attach them to the front of the door with a brad nailer and glue. This gives the door a finished, sturdy edge.
3. Add the diagonal brace: The diagonal trim adds structure and a classic barn-door look. To cut the diagonal, lay the long 1×4 where you want it on the door, draw the cut line, and trim it on a miter saw. I adjusted the saw until the piece fit perfectly—my saw read about 30.6°, but the precise angle depends on your door dimensions. Test-fit before final nailing for a clean result.
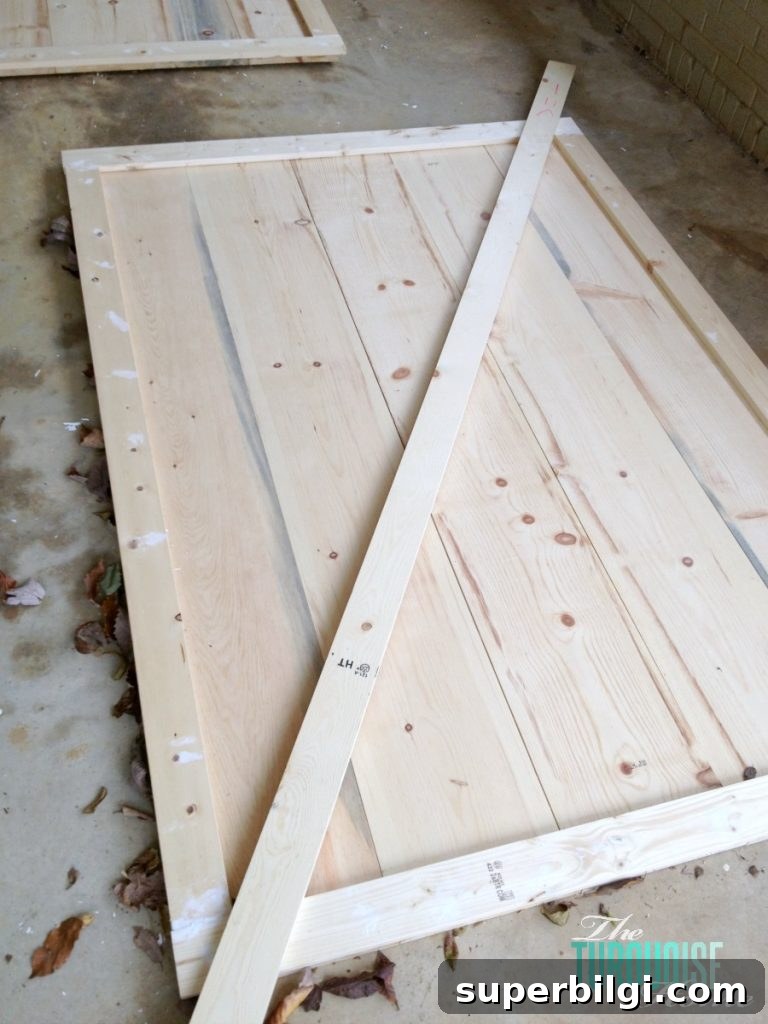
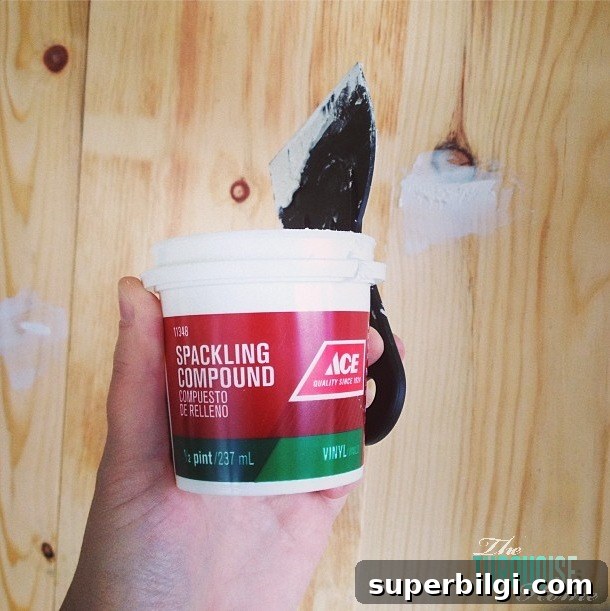
4. Finish and sand: Fill nail holes and joints with spackling or wood filler. Once dry, sand the surface smooth with an orbital sander and prepare for paint or stain.
5. Paint or stain: Choose a finish that complements the room. We painted these doors a soft gray to match the playroom, but you can stain the wood for a rustic look or paint a contrasting trim color for added detail. Handles or pulls are optional and can be added later to suit your style.
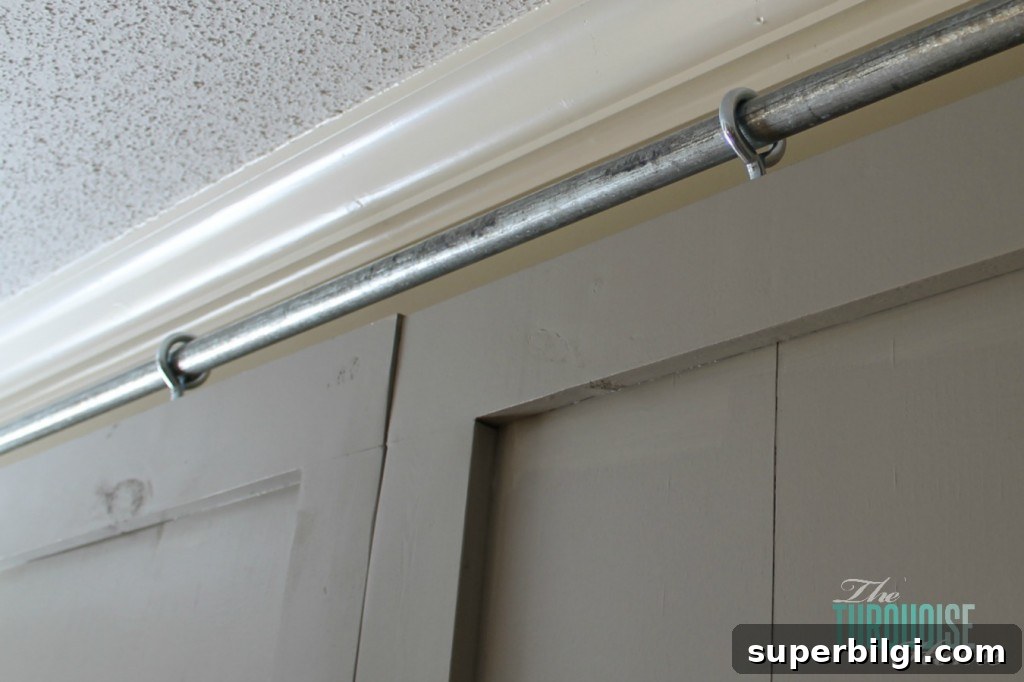
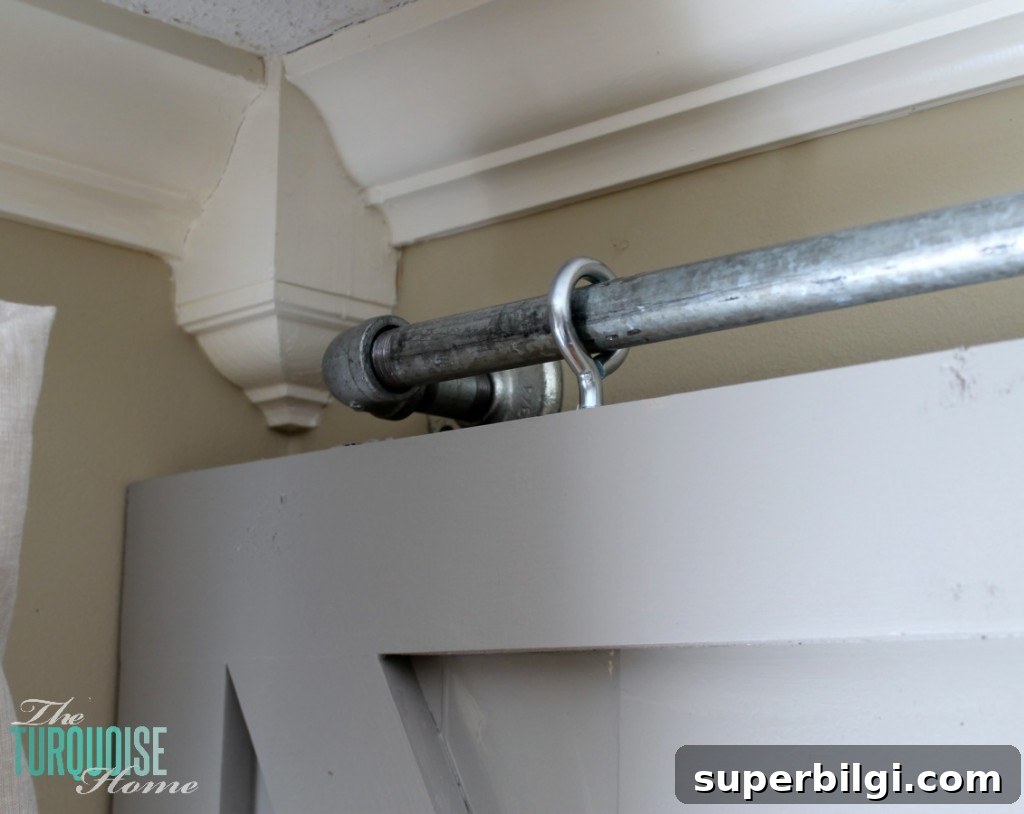
6. Attach hanging hardware: Before positioning the doors, fasten the eye hooks into the top edge of each door and attach casters or guides to the bottom. Position the eye hooks so the door can slide fully open to the wall without the hardware hitting the wall—leave a little clearance from the door edge.
Thread the eye hooks onto the galvanized pipe, then mount the pipe to the wall using 90° elbows and floor flanges. Make sure the pipe is level and securely fastened into studs or a solid backing that can carry the door weight. Once threaded and mounted, lift the door so the eye hooks engage the pipe and test the slide action. The casters or bottom guides will keep the door stable as it moves.
And that’s it—you’ll have custom sliding barn doors built to your exact opening. With a bit of planning, common tools, and a helpful assistant for the heavy lifting, you can create durable, attractive doors that transform a space.
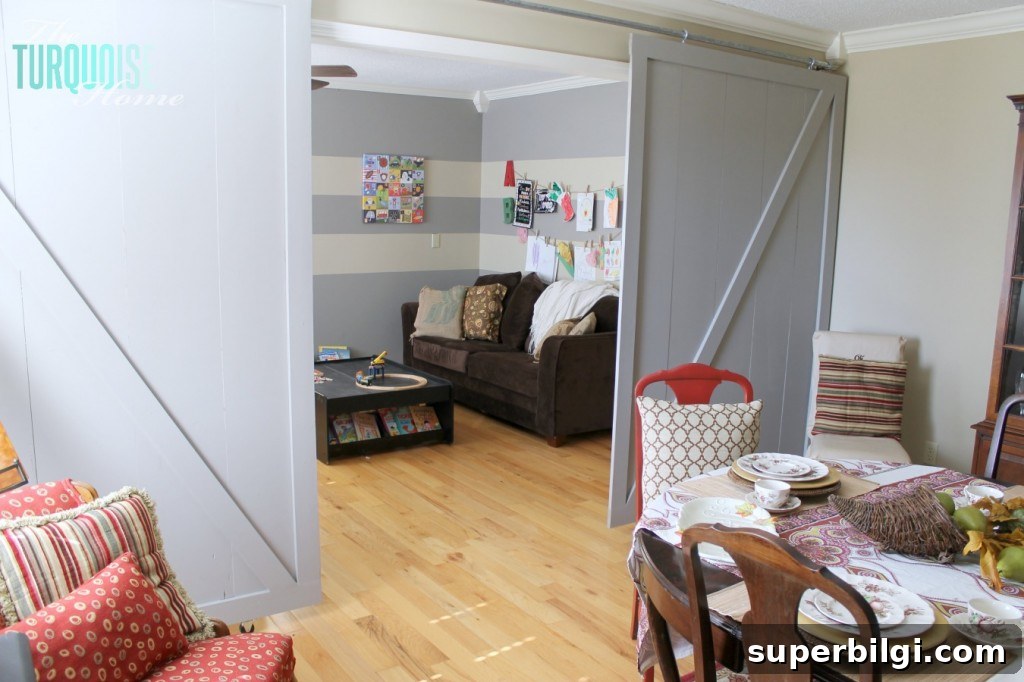
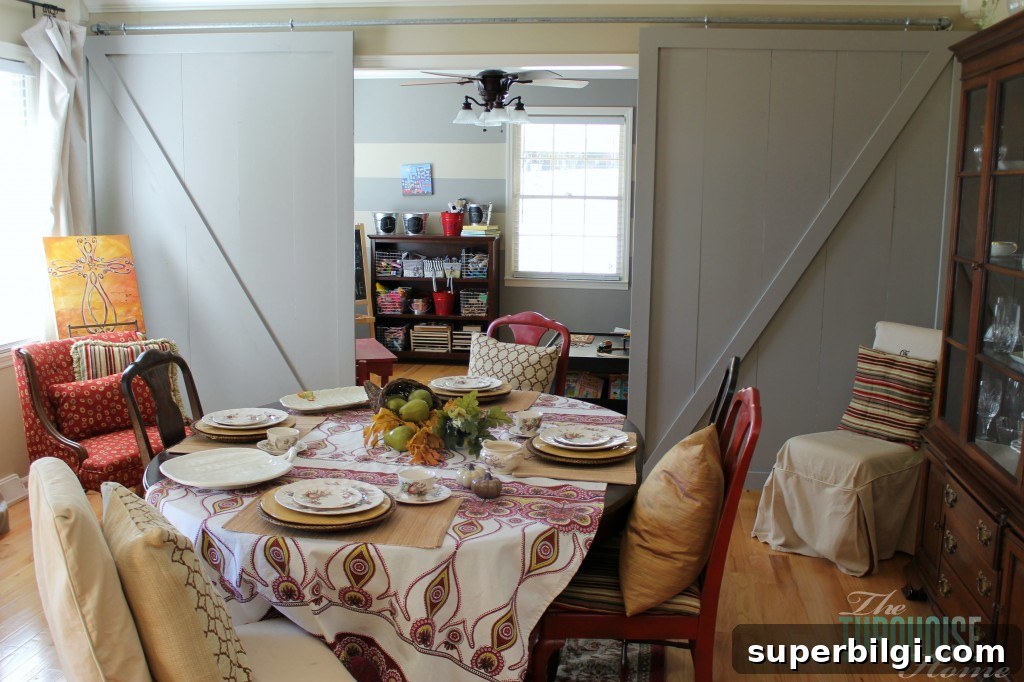
Have you ever built barn doors? Would you consider a project like this, and where would you install sliding barn doors in your home?
More posts you might enjoy: How to Decorate the Dining Room for Christmas; How To Organize The Playroom Before The Holidays; Traditional Dining Room Reveal; Interior Door Paint Colors; ZZ Plant Care Guide.