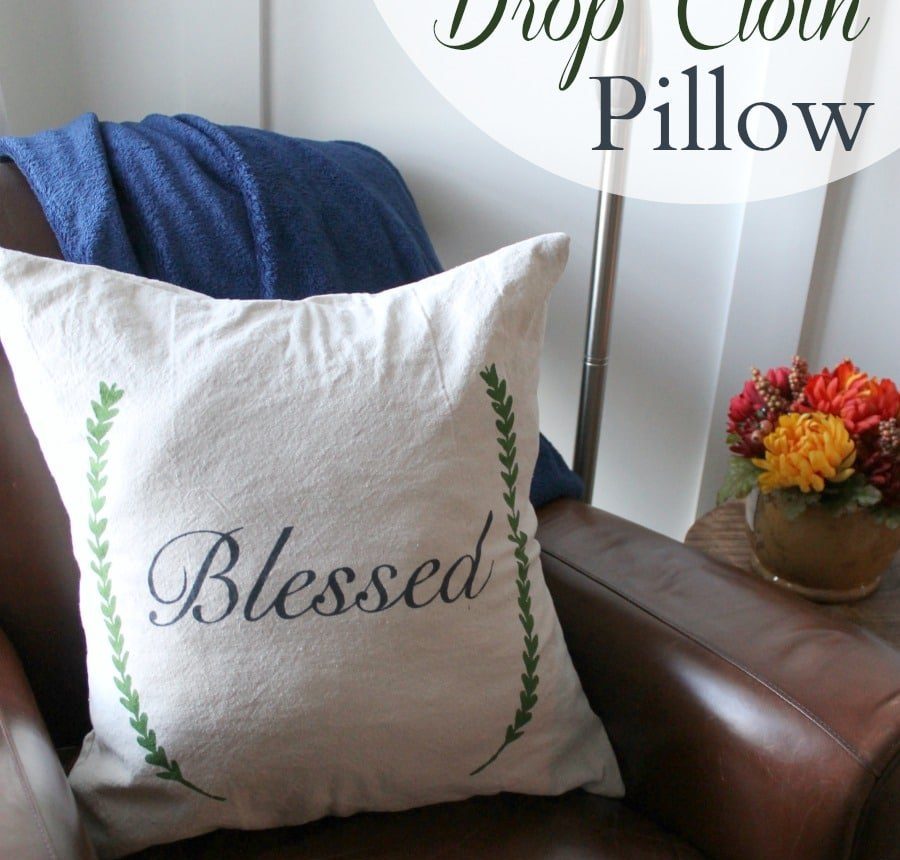
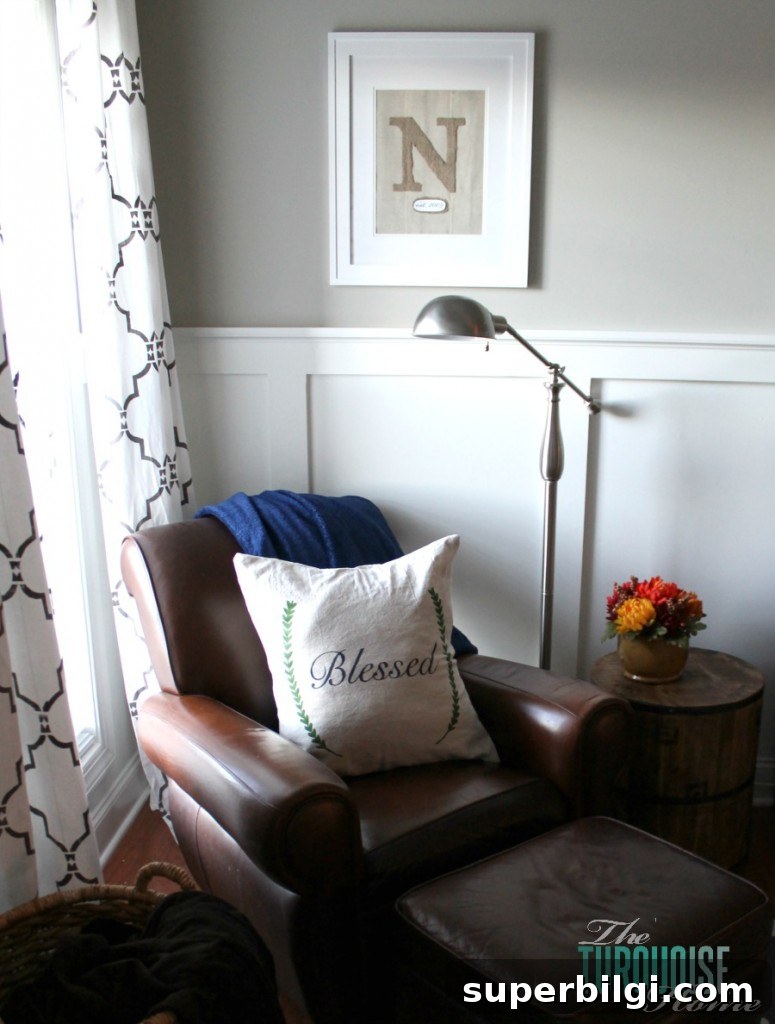
This DIY stenciled pillow cover is an easy way to create a custom throw pillow using leftover fabric. The simple, stylish design celebrates gratitude and adds a warm, handmade touch to your decor through the holidays and all year long.
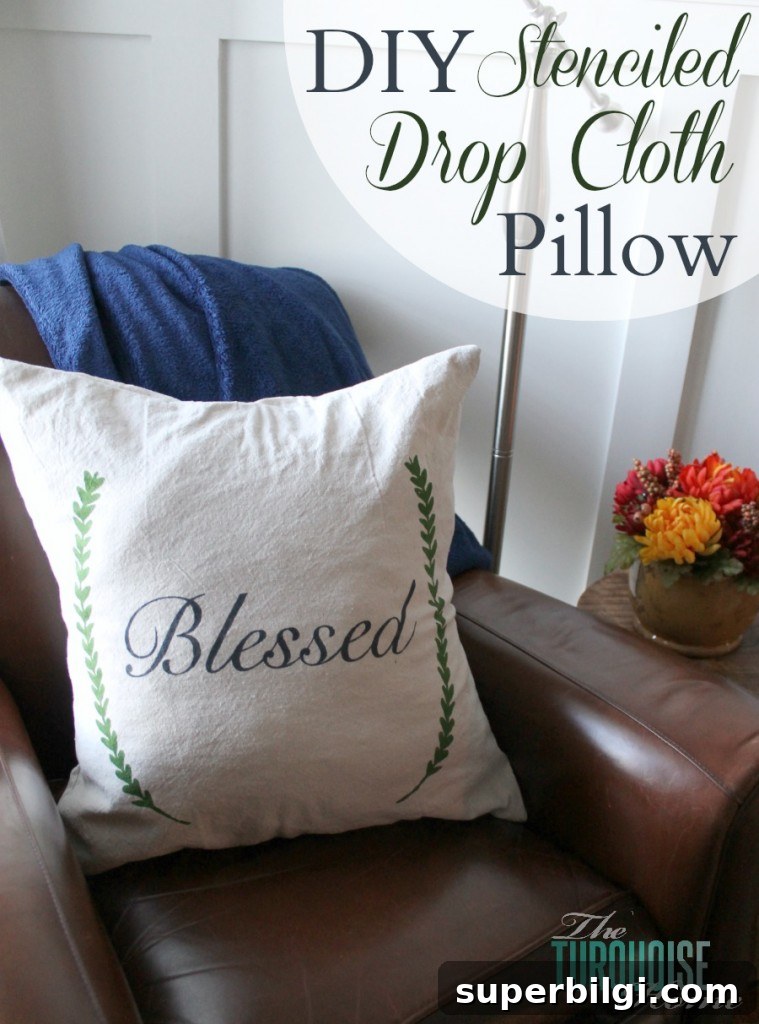
If you follow this blog, today’s project will feel familiar: it brings together three of my favorite things—drop cloth fabric, stenciling, and my Silhouette Cameo—to make a simple, attractive pillow cover.
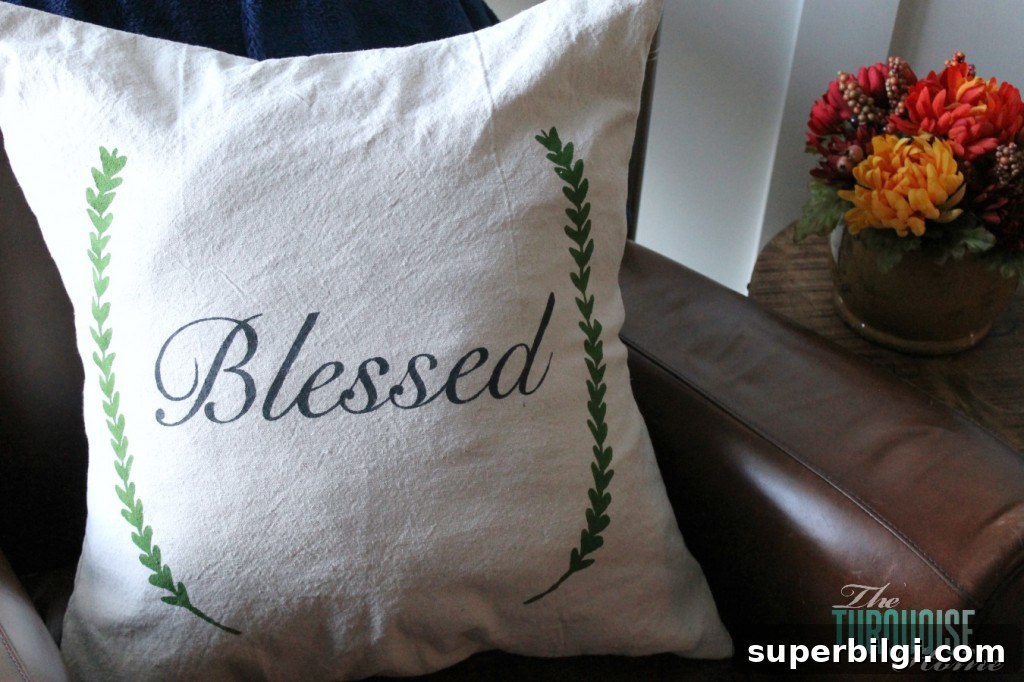
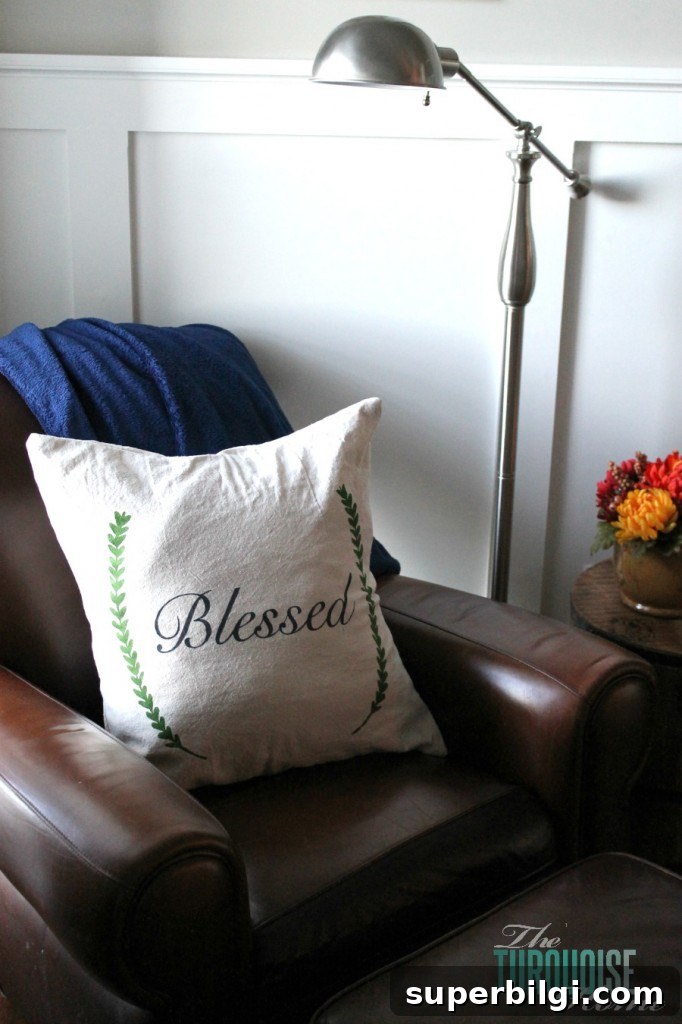
When I reflected on what I’m thankful for, the word that kept coming to mind was “Blessed.” I wanted a piece of decor that echoed that feeling, so I decided to make a throw pillow with the word stenciled on it. I had pillow forms waiting for covers and some leftover drop cloth material from a previous project, so the idea came together quickly.
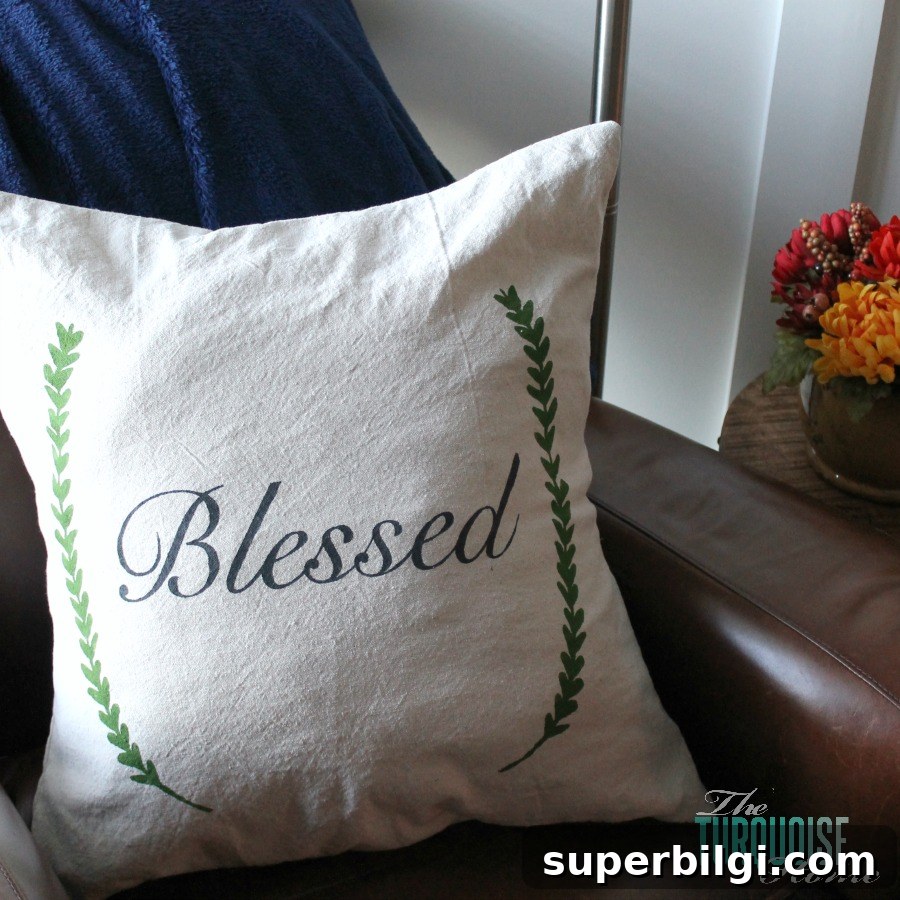
I made the pillow cover to fit a 20 x 20 inch finished size because I had a limited amount of drop cloth left. The insert I used is slightly larger, which gives the finished pillow a full, overstuffed look that I prefer. Using scrap fabric for projects like this is a great way to reduce waste and create custom home accents on a budget.
For the stencil, I relied on contact paper and my Silhouette Cameo. Using contact paper as a stencil material is inexpensive and effective: it cuts cleanly in the machine, adheres well to fabric, and peels away without damage. I welded the script letters in the Silhouette software so the whole word cut as a single connected piece, which makes stenciling script fonts much easier and produces neater results.
Supplies for DIY Stenciled Drop Cloth Pillow Cover
- Drop cloth fabric enough to make a pillow cover in your preferred size (mine was 20 in x 20 in)
- Silhouette Cameo or comparable cutting machine (optional; stencils can also be cut by hand)
- Contact paper for making the stencil
- Design file in the Silhouette Studio or a printable stencil design
- Scrap piece of cardboard to place inside the pillow cover while painting
- Small foam craft brush or stencil brush for applying paint
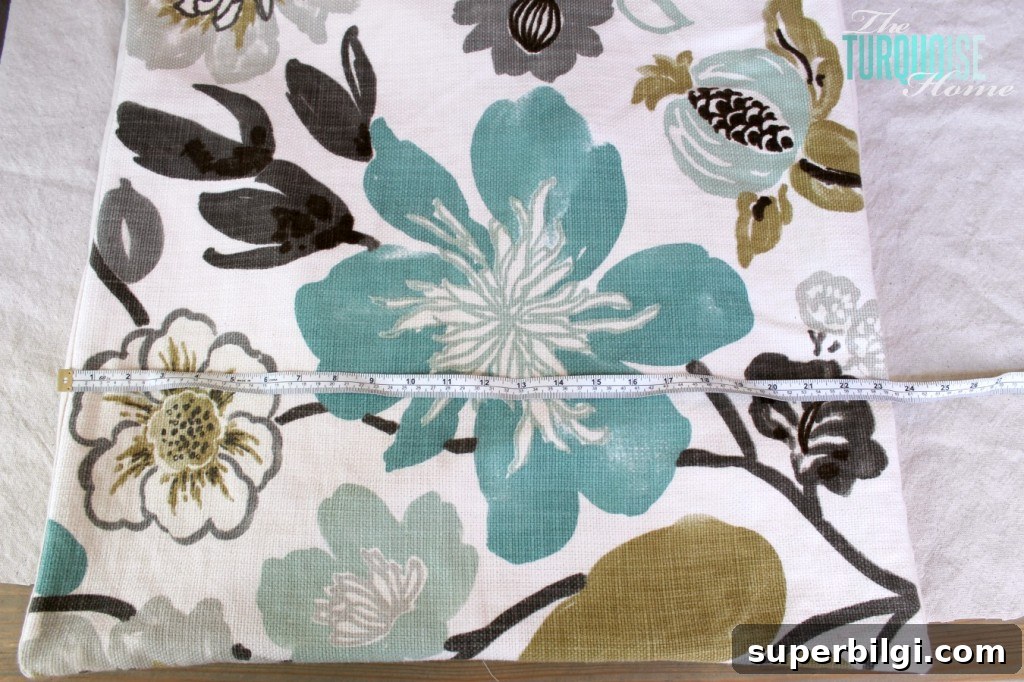
To construct the pillow cover, I used measurements from an existing cover and adapted to the amount of fabric I had. If you need a step-by-step guide for a basic envelope-style pillow cover, look for a simple pillow cover tutorial that matches the dimensions you want; the construction is straightforward and well suited to beginners.
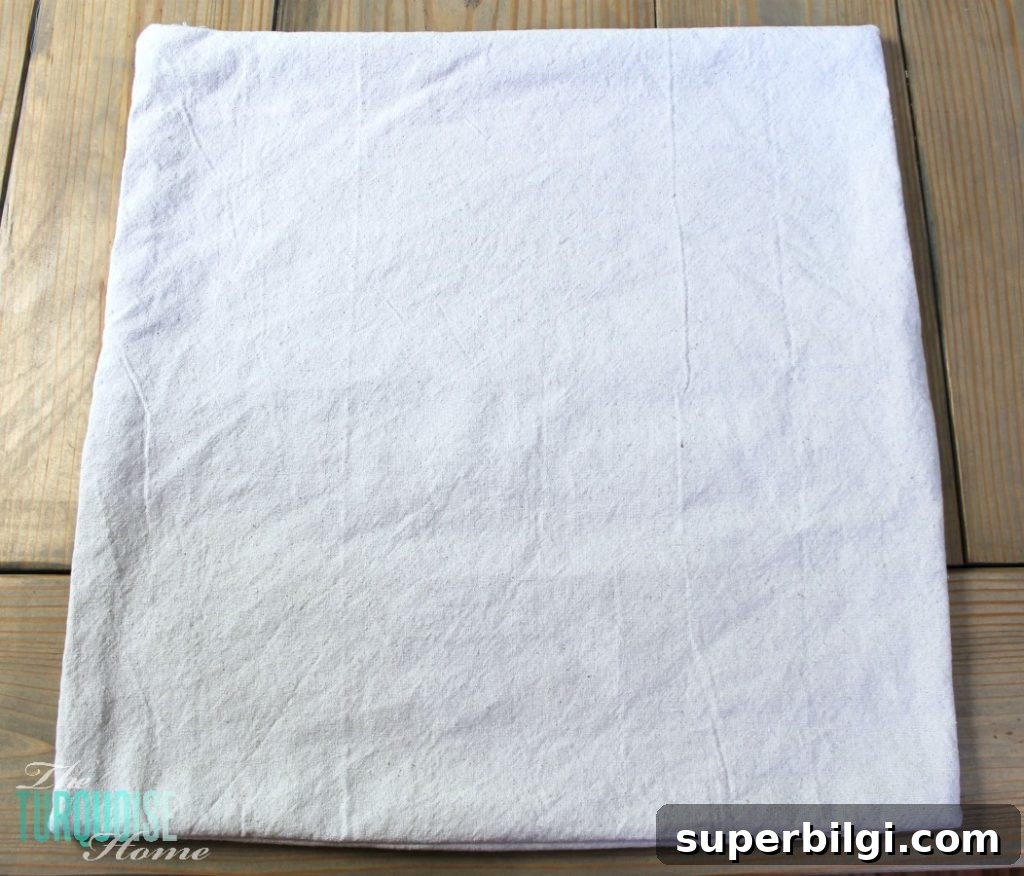
After sewing the cover, I prepared the stencil. If you’re using a cutting machine, weld connected script letters so the cut forms one continuous piece instead of separate letters. You can also convert a PNG design into a cut file in many graphic or cutting programs if you want to use decorative elements such as floral laurels around a word.
Before painting, slide a piece of cardboard inside the pillow cover to prevent paint from soaking through to the back. Press the contact paper stencil firmly onto the fabric, smoothing it carefully to eliminate bubbles and ensure the edges are sealed. I use a flat tool or scraper to burnish the stencil down, which helps prevent paint bleed.
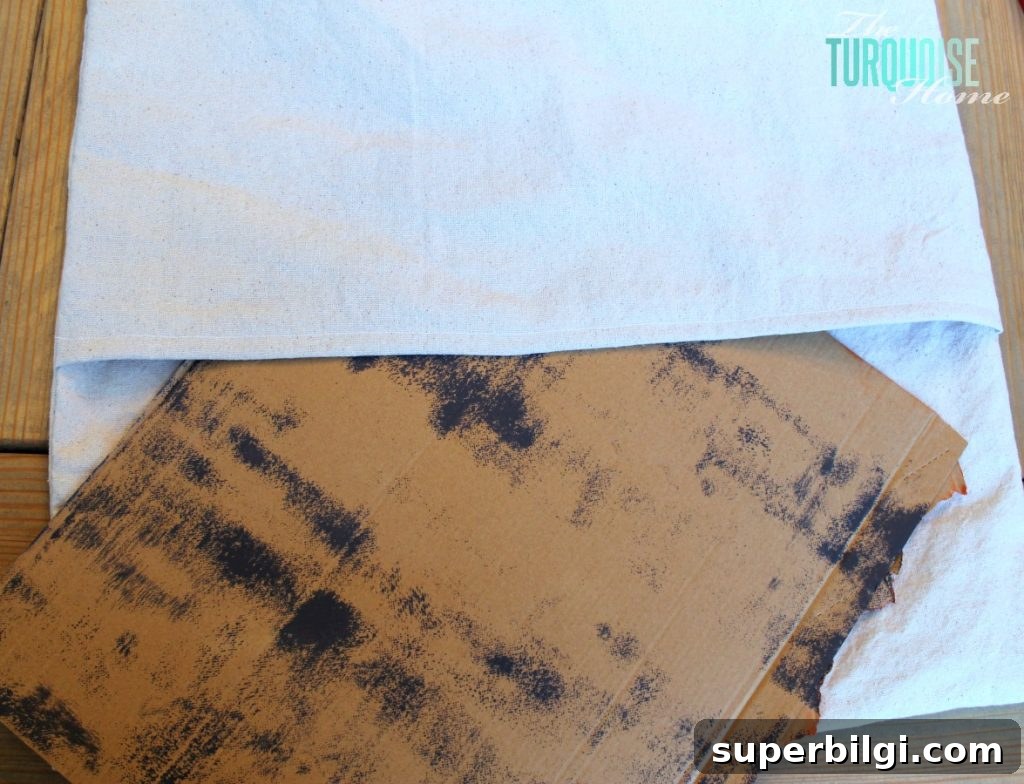
For painting, use a small foam stencil brush and apply the paint in an up-and-down dabbing motion rather than brushing across the stencil. Work lightly: too much paint at once can push under the stencil and create fuzzy edges. Multiple light layers will give you a more even, crisp finish.
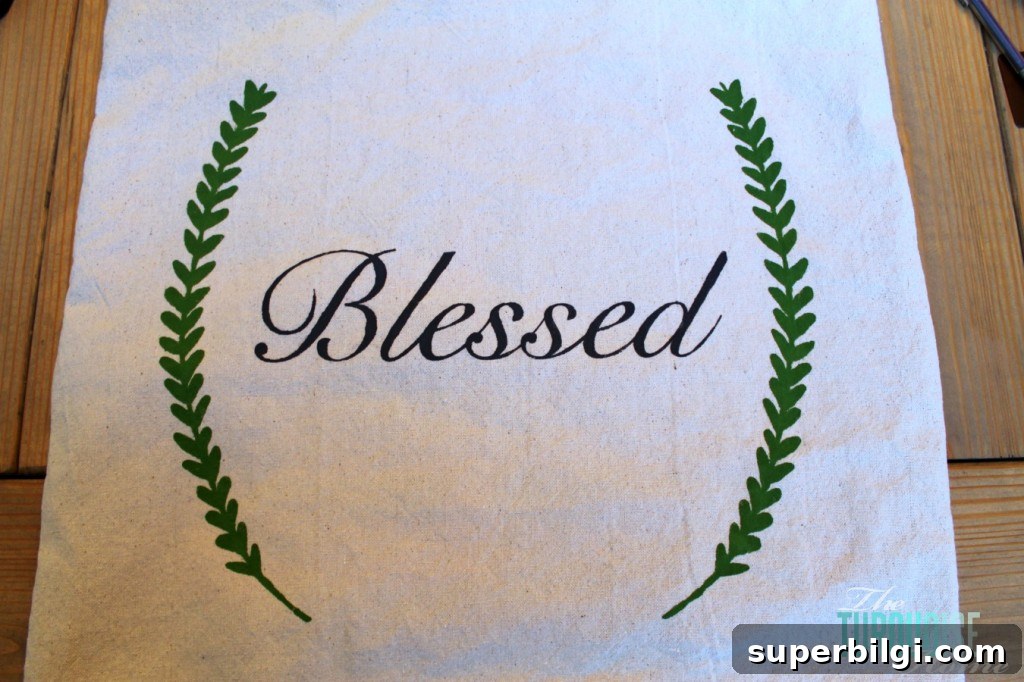
I used the font Chopin Script for the word “Blessed” because it has an elegant, hand-lettered look that pairs well with wreath or laurel graphics. I also incorporated laurel elements around the word to enhance the design and echo popular chalkboard-style artwork.
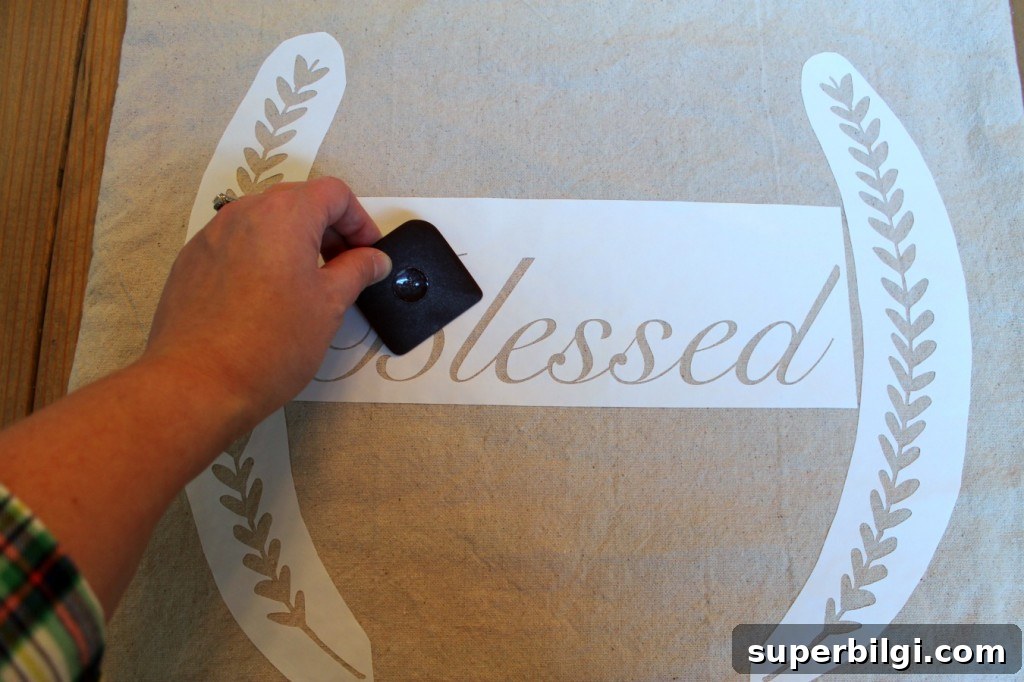
Once the paint was dry, I carefully peeled away the contact paper stencil and admired the clean lines. The whole project felt simple and satisfying because it used materials I already had on hand. The finished pillow adds a personal, heartfelt touch to my living room and serves as a gentle reminder of gratitude.
Tips for best results:
- Test your stencil on a scrap of the same fabric to check paint opacity and edge crispness before committing to the final piece.
- Use minimal paint and build up coverage with several light layers rather than one heavy coat.
- Seal a stencil edge by burnishing it down with a flat tool or scraper to reduce bleed.
- Allow paint to dry fully between layers and before removing the stencil to avoid smudging.
This is an ideal beginner-friendly project that yields a polished, handmade accent for your home. With a few simple supplies and a little patience during the stenciling step, you can create personalized pillows that reflect your style and sentiments.