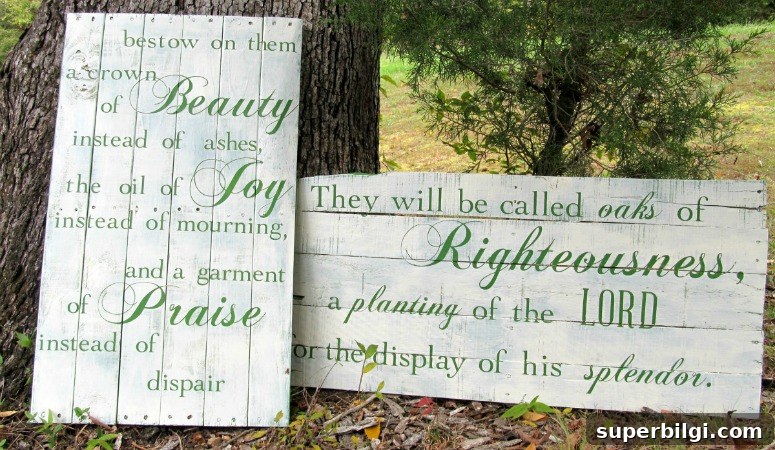
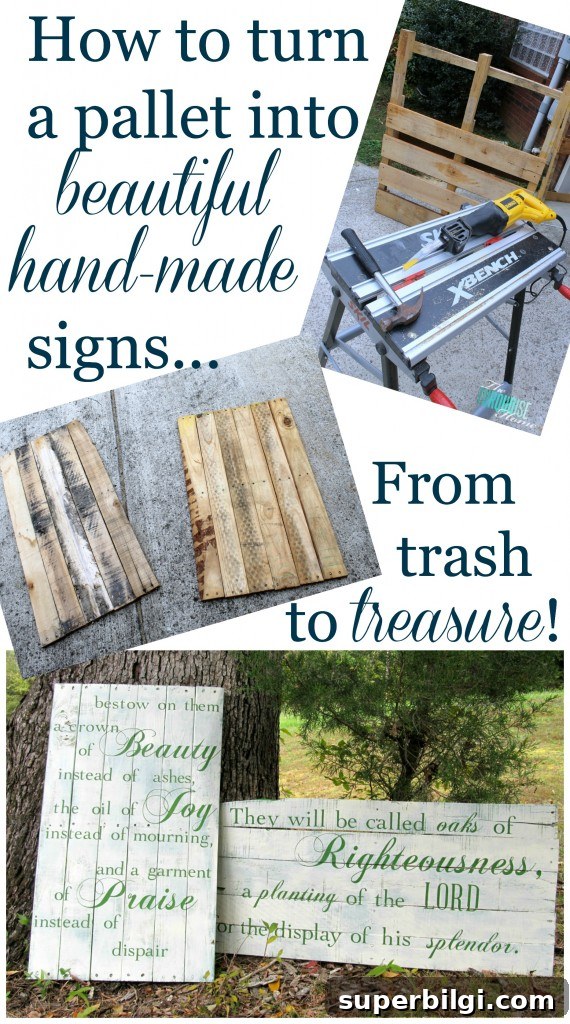
These DIY pallet signs make a beautiful, lasting gift — or a charming addition to your own home. They’re handmade, personal, and perfect for decorating after the event is over.
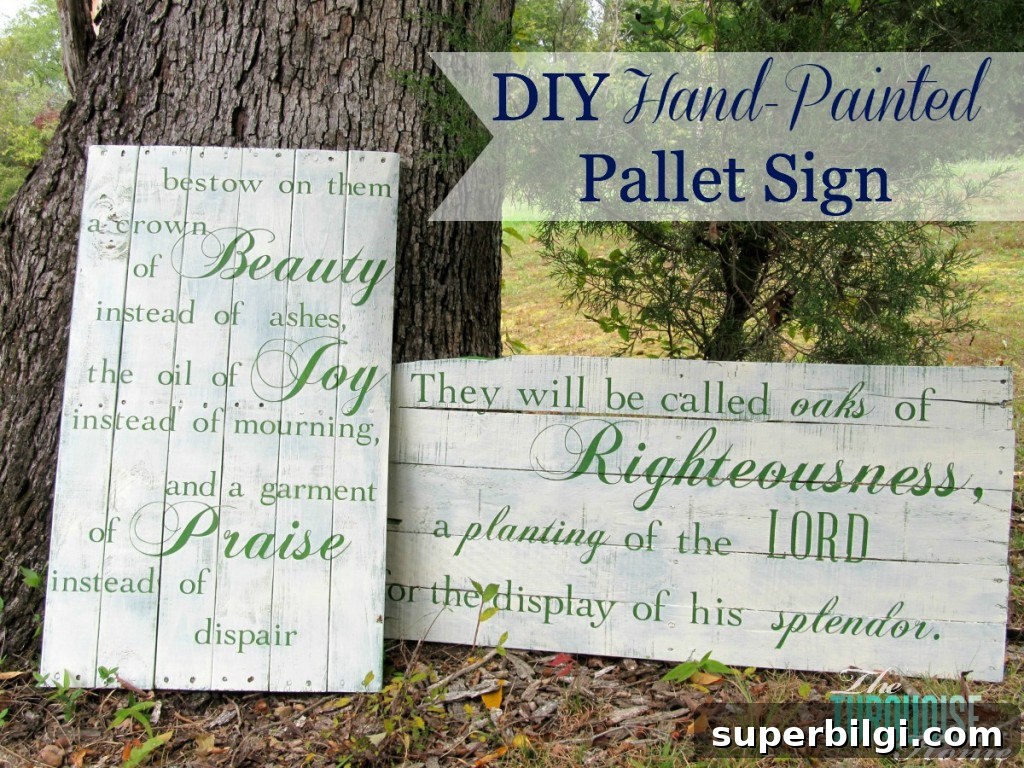
I recently made a set of pallet signs as a wedding gift. My friend asked for signs featuring favorite Scripture verses that could also be hung in her home after the celebration. It’s such a nice idea to give something useful for the day that becomes a lasting keepsake.
Materials Needed to Make DIY Pallet Signs
- Wood planks from a pallet or new boards from the hardware store
- Kreg Jig or similar pocket-hole jig (very useful for joining boards)
- Contact paper or shelf liner to use as an adhesive stencil
- Silhouette Cameo, vinyl cutter, or pre-made stencils
- Painter’s tape and/or transfer paper for placing lettering
- Mod Podge or similar clear sealer
- Foam brushes and regular brushes
- Paint for background and text colors
- Reciprocating saw or pry bar and hammer to dismantle pallets
- Orbital sander or sanding block
How to Make a DIY Pallet Sign
1. Remove Pallet Boards
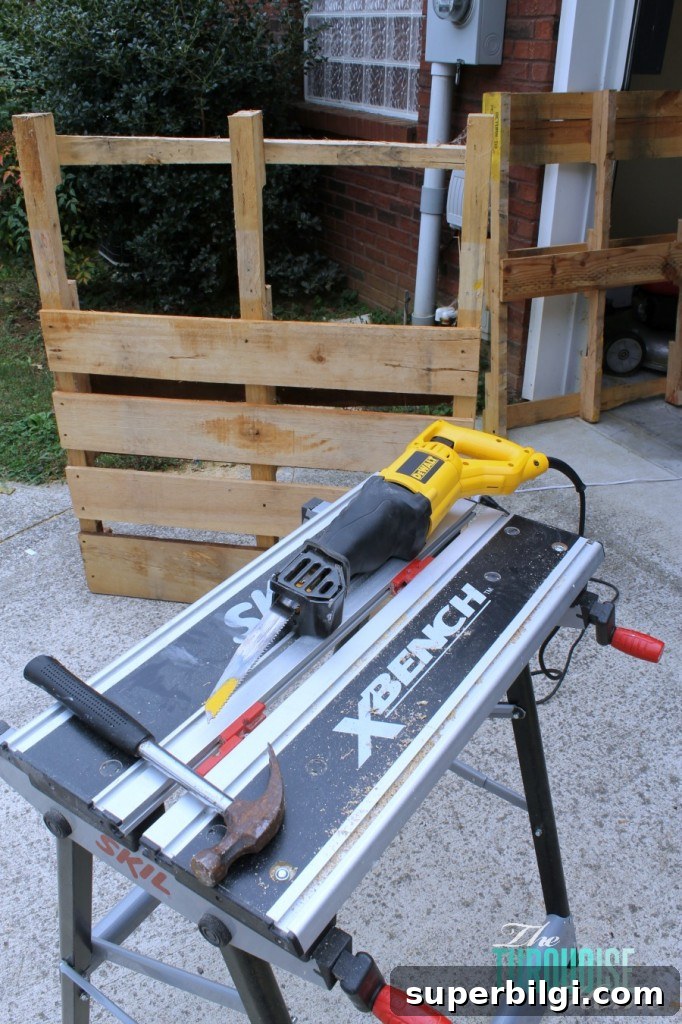
Begin by removing boards from the pallet. A reciprocating saw with a demolition blade cuts quickly through nailed joints; a hammer or pry bar can help loosen stubborn boards first. A fresh, sharp blade makes the job much easier.
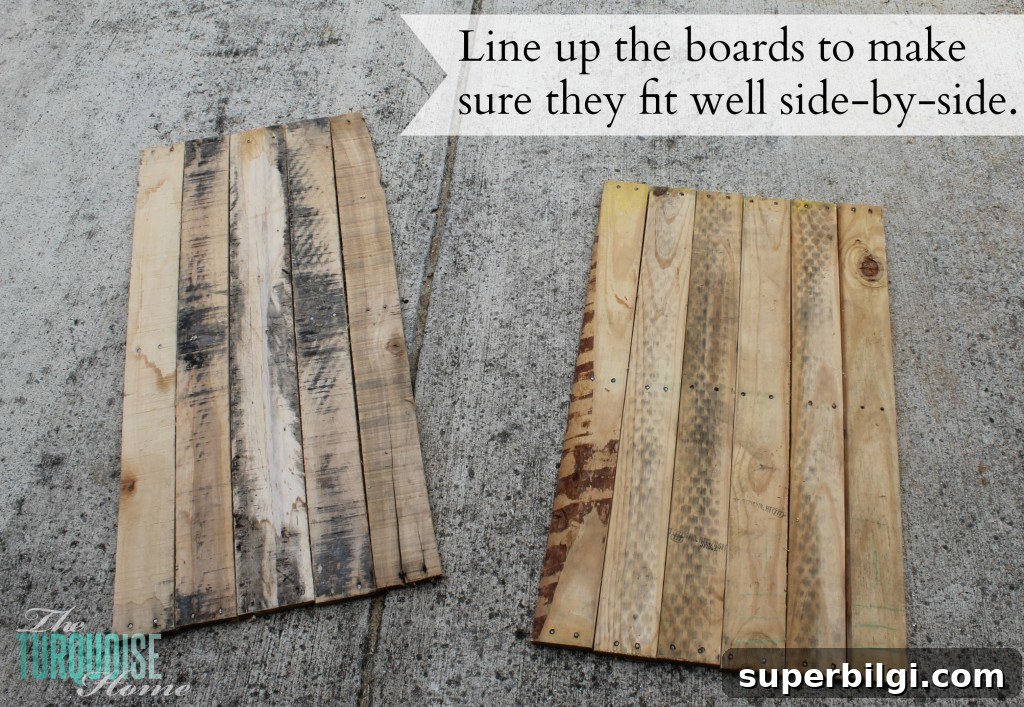
2. Arrange Board Placement
Lay the boards side by side to find the best arrangement. Swap pieces around until the grain, color, and any imperfections line up in a way you like. This step saves a lot of frustration later.
3. Attach Boards with Pocket Holes or Screws
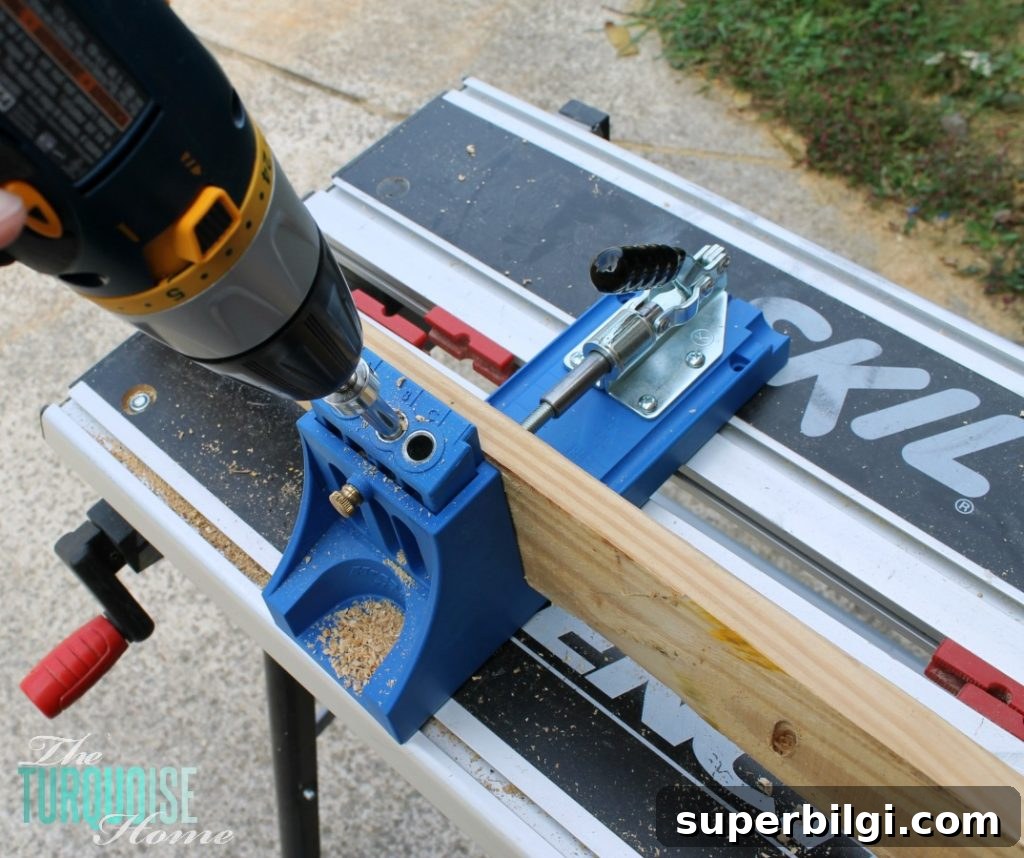
Use a pocket-hole jig to join the boards, or run a couple of support strips across the back and screw through them into each board. Pocket holes give a clean look and strong joints, but the back support method works fine if you don’t have a jig.
4. Reinforce with Support Boards
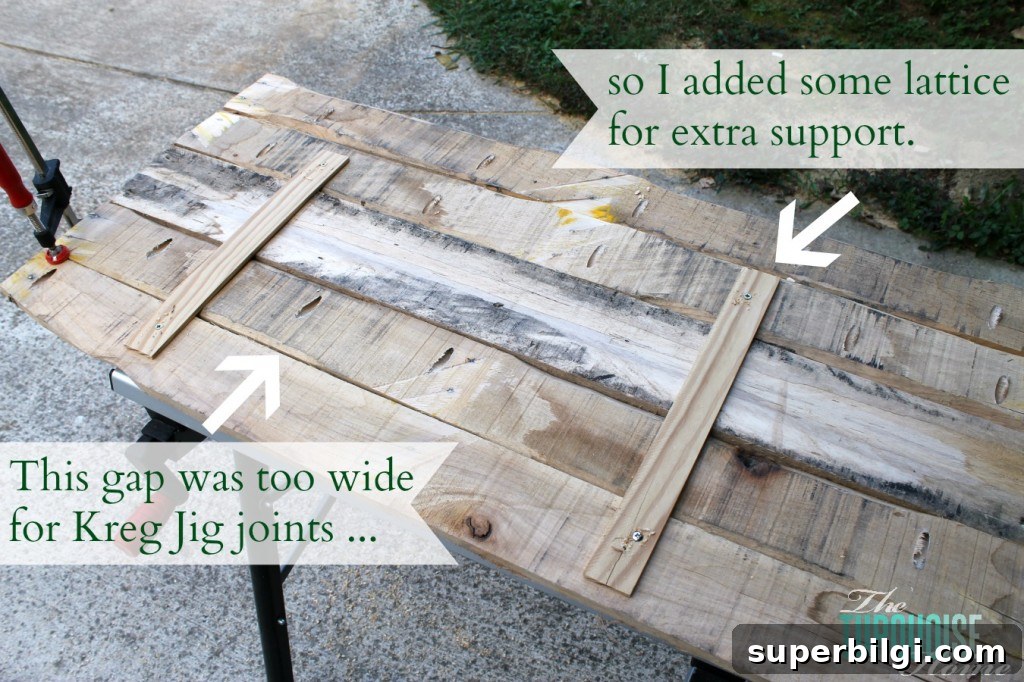
If needed, add one or two horizontal support boards on the back for extra stability. Screw them into each plank so the sign stays flat and secure.
5. Sand Down Rough Edges
Sand the face and edges of the sign until smooth. An orbital sander speeds this up, but sanding by hand works just fine for a more rustic finish. Wipe away dust with a damp cloth before painting.
6. Paint the Text Color First
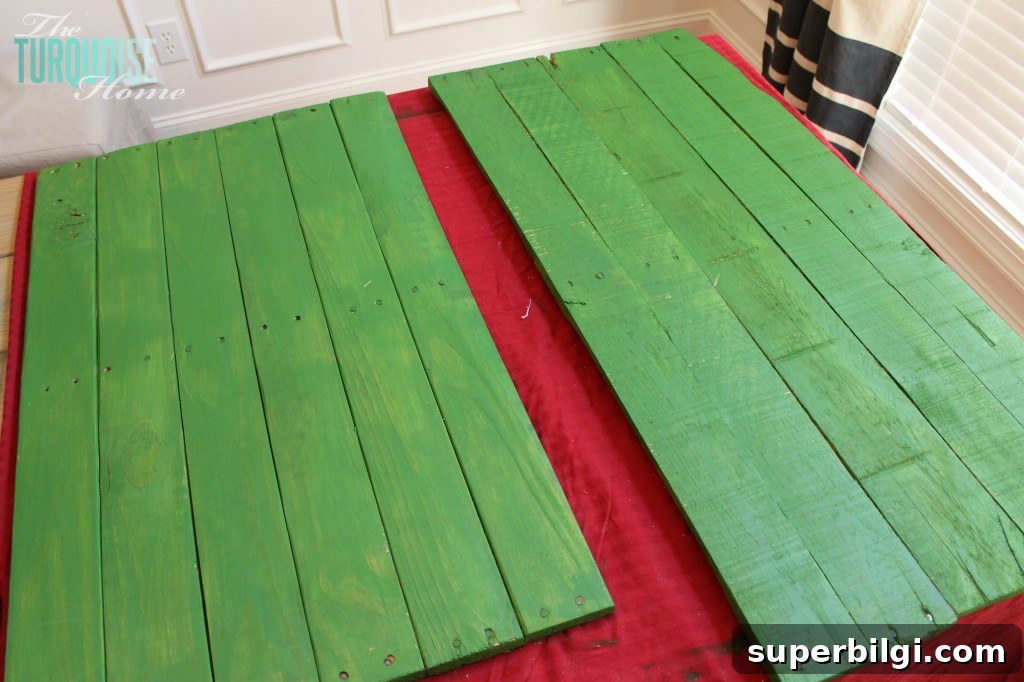
I painted the boards a green the bride chose, using a sample pot to get the right shade. Painting the text color first ensures crisp edges when you reveal the lettering later.
7. Create Vinyl or Contact-Paper Letters
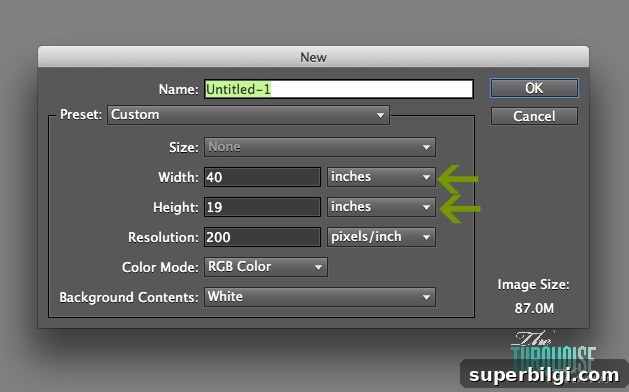
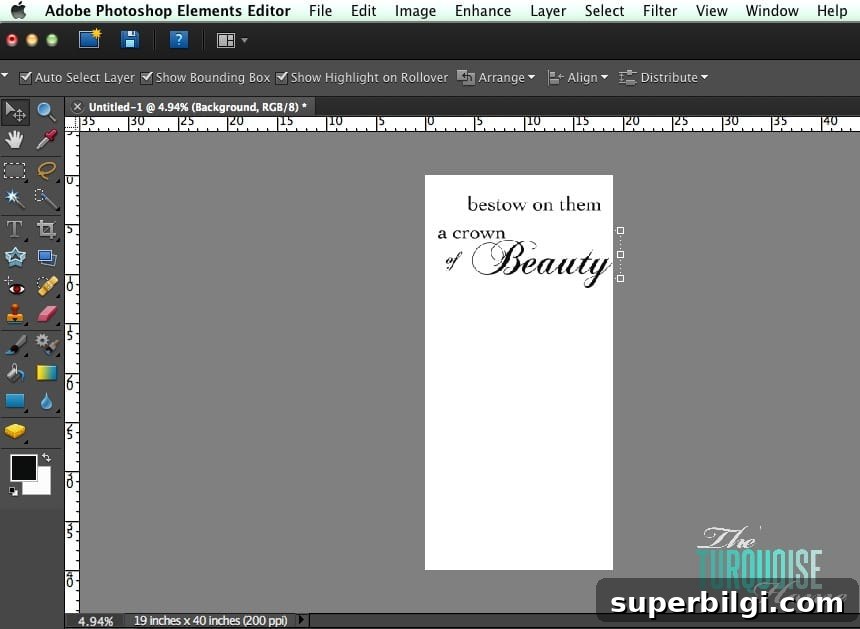
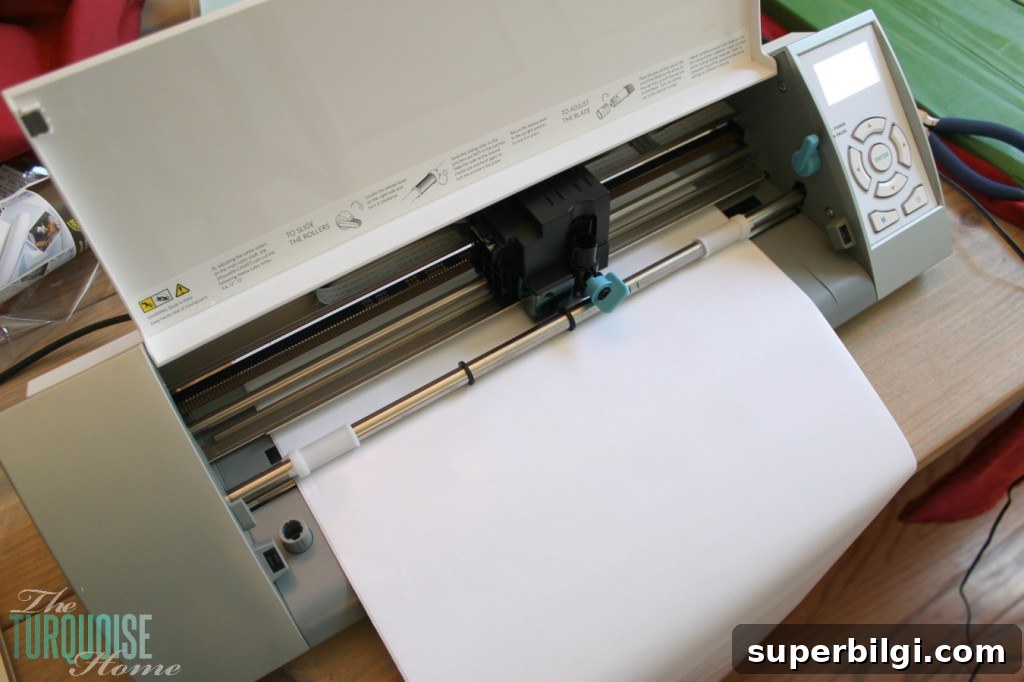
Design your typography to scale using design software or by measuring the board and planning on paper. I used a vinyl cutter to cut letters from white contact paper, which makes excellent adhesive stencils. Popular fonts for signs include Cochin and script styles like Chopin Script for a hand-lettered feel.
8. Place Lettering on the Board
Peel and place letters one at a time, using painter’s tape as a straight edge guide. For long words or script fonts, transfer paper makes placement much faster and keeps the letters aligned. Take care at board seams where letters might overlap — this is where bleeding can happen.
9. Seal Letter Edges with Mod Podge
Brush a thin layer of Mod Podge (or clear glue/sealer) around the edges of each letter. This seals the stencil edges and helps prevent paint from bleeding under the stencil, so any bleed that does occur will be clear instead of the background color.
10. Paint the Background Color
Once the sealer is dry, paint your background color over the sign. A dry-brushing technique with a light neutral will let the base color show through in spots and give a layered, aged look. Work lightly and build up color gradually to control opacity.
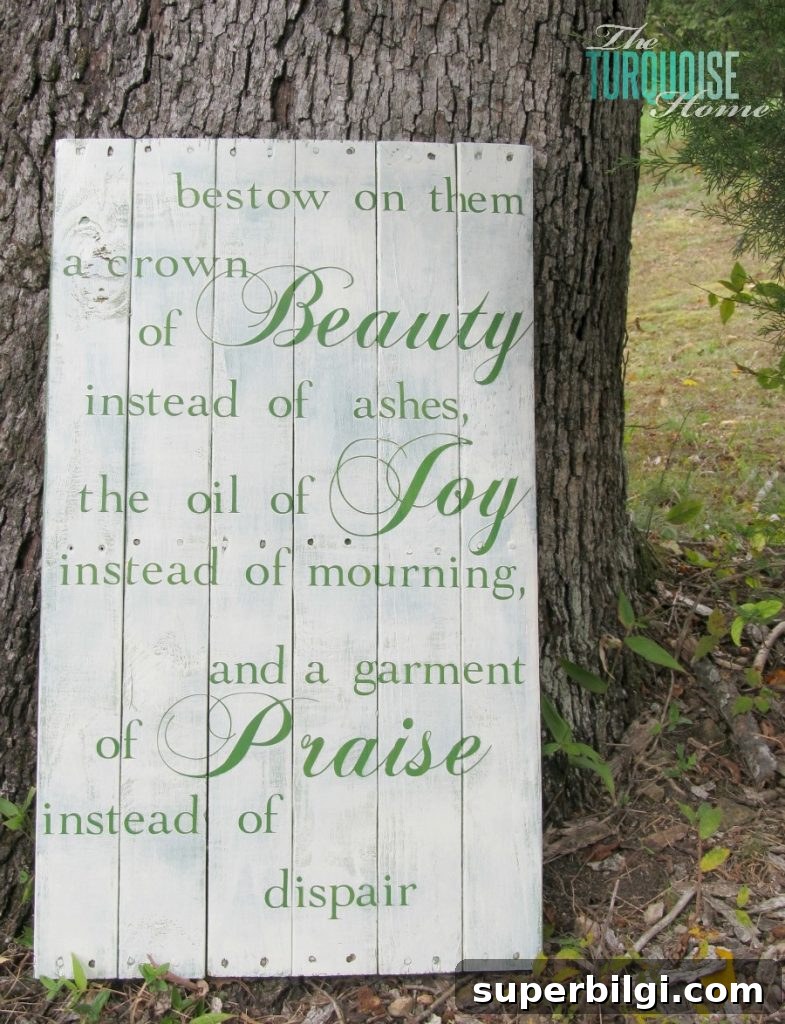
11. Peel Off the Stencil
When the paint is mostly dry, carefully peel off the contact paper to reveal the original paint color beneath. If you remove the stencil too early the paint can smudge, but waiting too long can make lifting the vinyl more difficult. Find a balance depending on your paint’s drying time.
Expect some minor bleeding where letters cross board seams; that can add character, but if you prefer a perfectly crisp edge, avoid placing letters across joints.
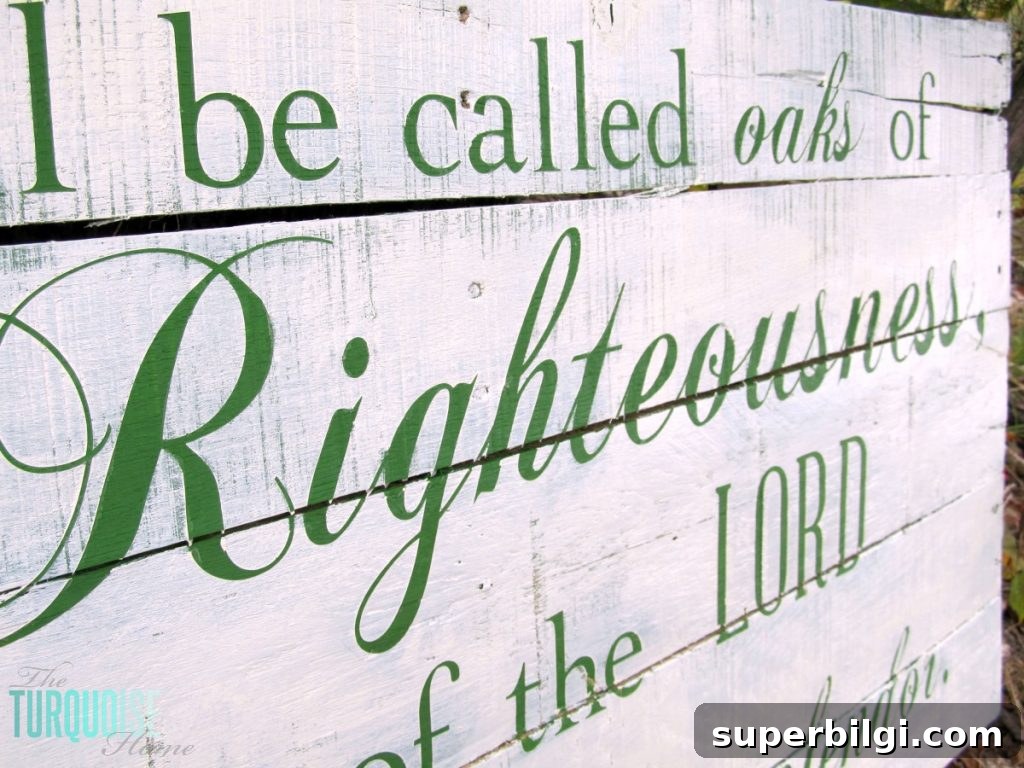
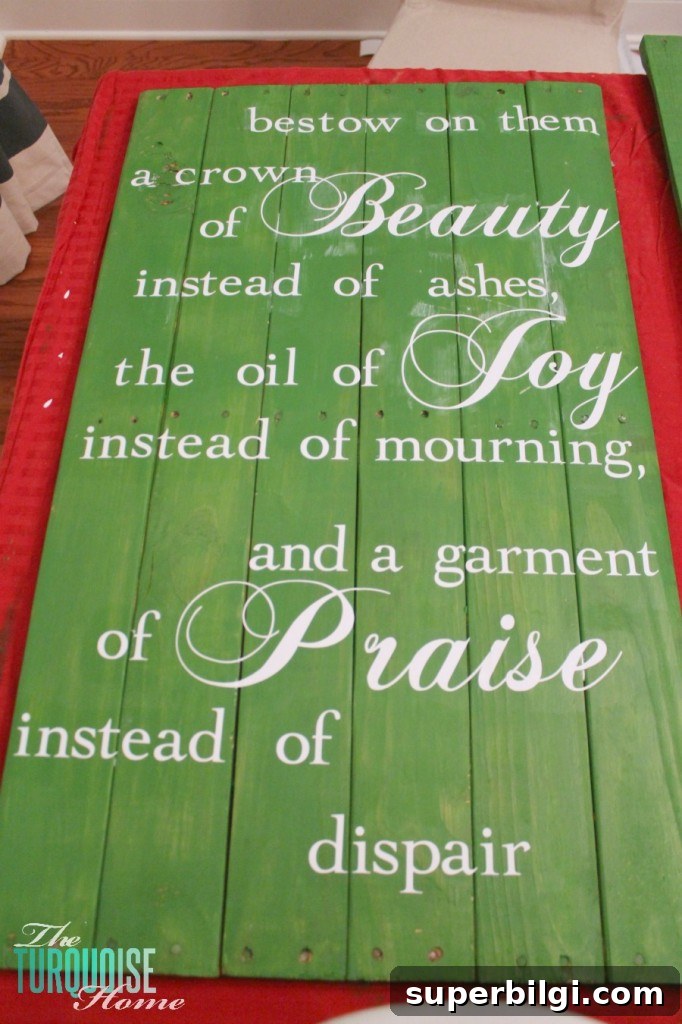
I loved how the thin script details turned out — delicate script pairs beautifully with a rustic pallet background. These signs felt special at the wedding and are now hung in the couple’s home as a daily reminder.
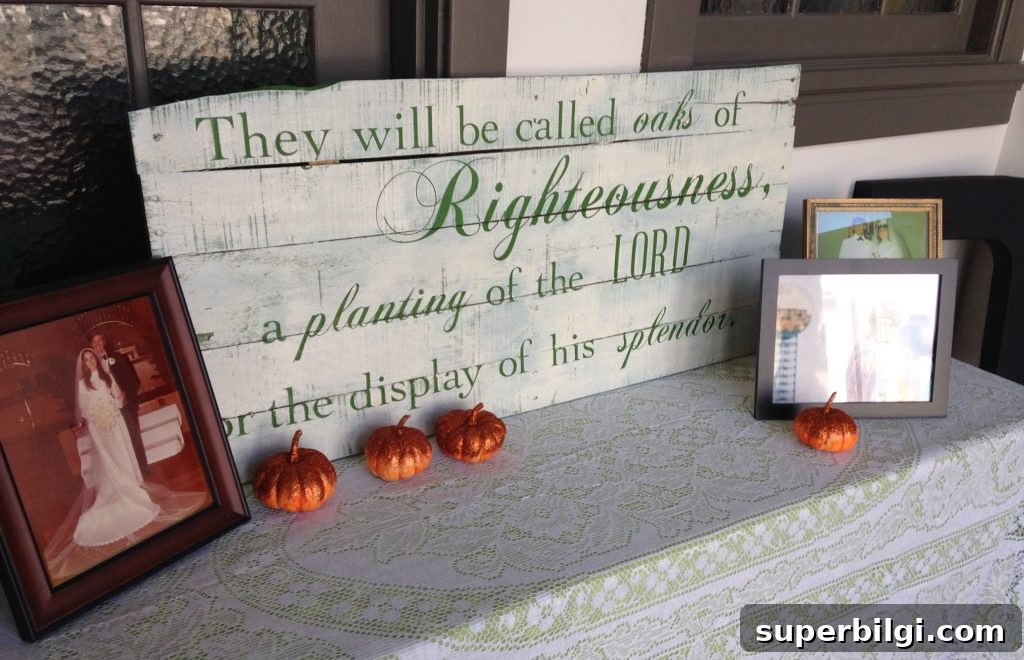
A bridesmaid captured a photo of the sign in use at the event so I could see it in context. It looked lovely on the welcome table and added a personal touch to the celebration.
If you want to make one yourself, plan your layout carefully, test your stencil method on scrap wood, and be patient during placement. The results are worth the time — pallet signs are timeless, customizable, and full of handmade charm.
Related project ideas:
- How to make a large wooden sign
- Ideas for large DIY wall decor
- Guides to wall trim and molding for home decor