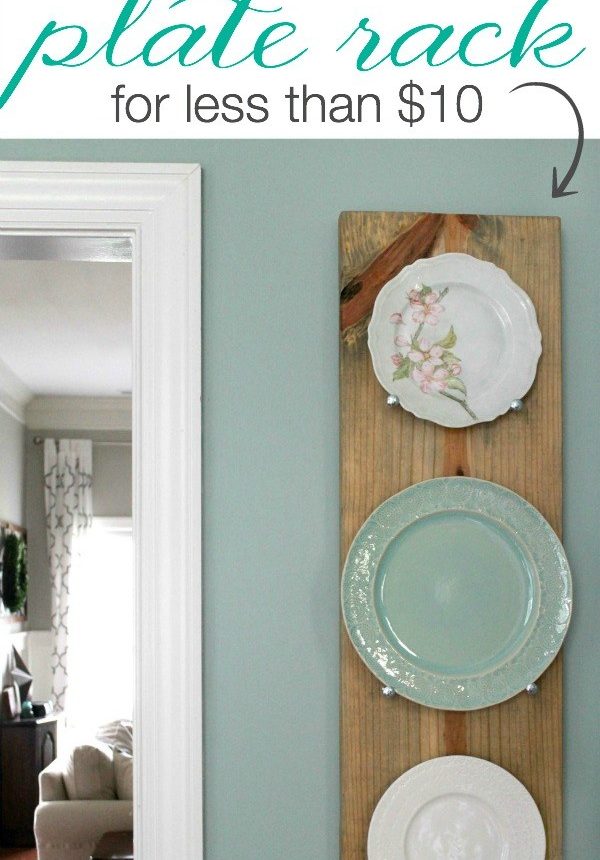
Build a stylish DIY industrial plate rack to display special plates on your wall. You only need two inexpensive supplies and six simple steps to complete it.
This easy industrial-style plate rack has been on my to-do list for a while, and I’m so glad I finally made it. Using a few items I already had, I created a unique piece of wall decor in just a few hours. Even if you need to buy everything, the total cost is under $10, making this an affordable and satisfying DIY project.
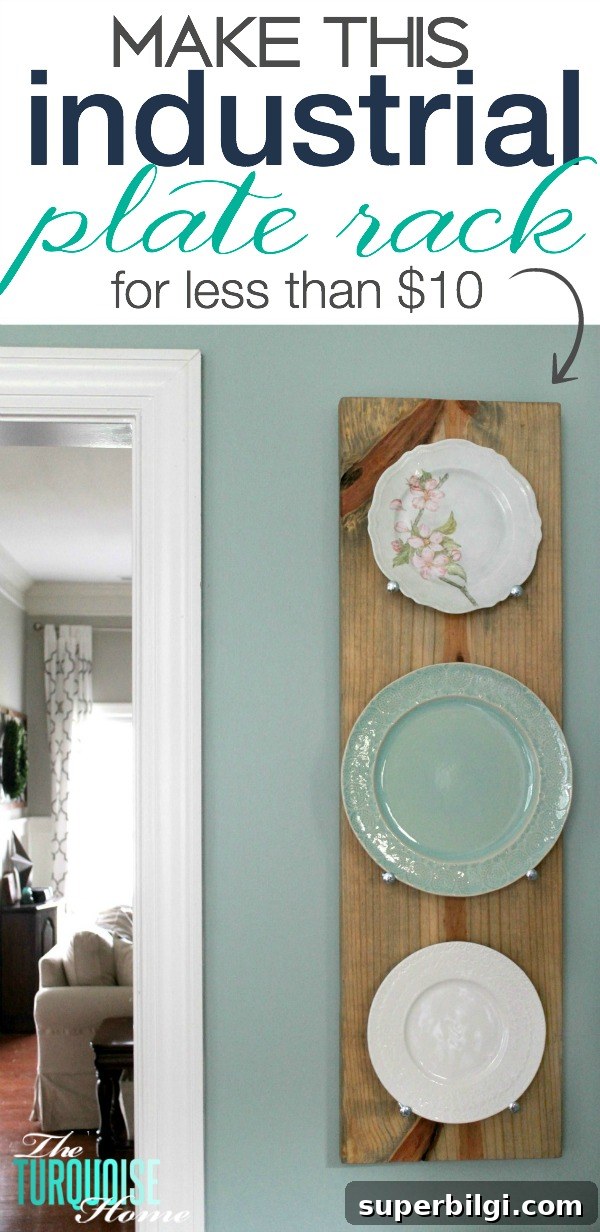
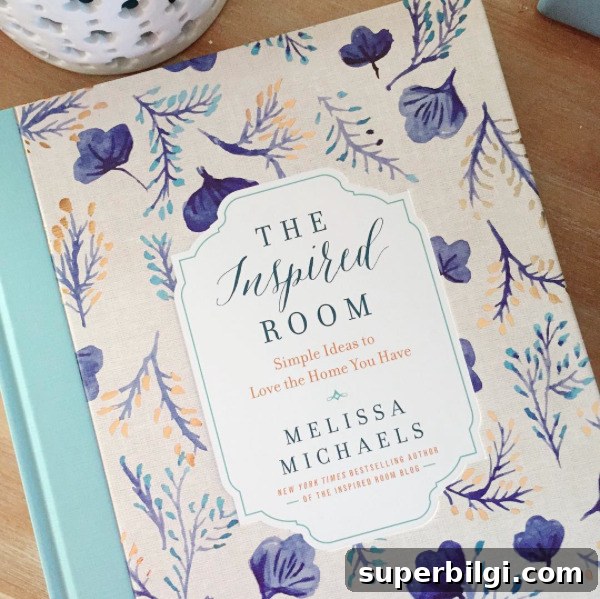
A recent read about simple decorating reminded me that many great design moments happen quickly—sometimes right before guests arrive. That pushed me to take plates I’d been storing in a closet and turn them into a cohesive wall display. One of my plates matched the wall color, so I knew I needed a contrasting backdrop to make the set stand out.
After a quick search for inspiration, I found a simple design using carriage bolts and a piece of wide board. The concept couldn’t be easier, and I already had most of the materials on hand—score!
This project cleared out unnecessary clutter, used existing materials, and produced a fast, attractive result. It’s the kind of DIY that feels like a big win for very little investment.
I did pick up the carriage bolts at the hardware store and bought a new bottle of glue when I couldn’t find my old one, but overall the supplies were inexpensive and widely available.
Materials and Tools
- Carriage bolts (about 2″ long work well)
- One 2 x 12 board cut to the length you need (an 8-foot piece covers most projects)
- Strong construction glue (such as an expanding polyurethane glue)
- D-ring hangers for mounting
- Self-drilling drywall anchors if you can’t hit a stud
- Tools on hand: miter saw or circular saw, sander, drill, and basic measuring tools
How to Make a DIY Industrial Plate Rack
1. Decide the Board Length
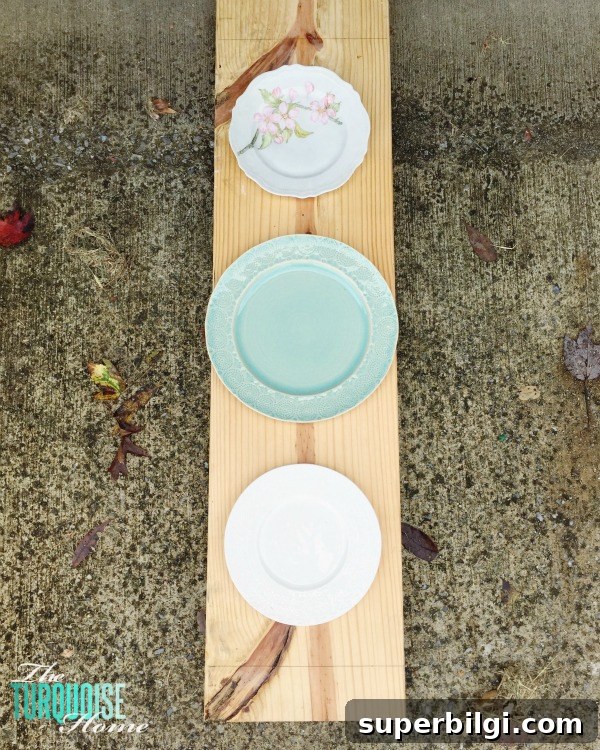
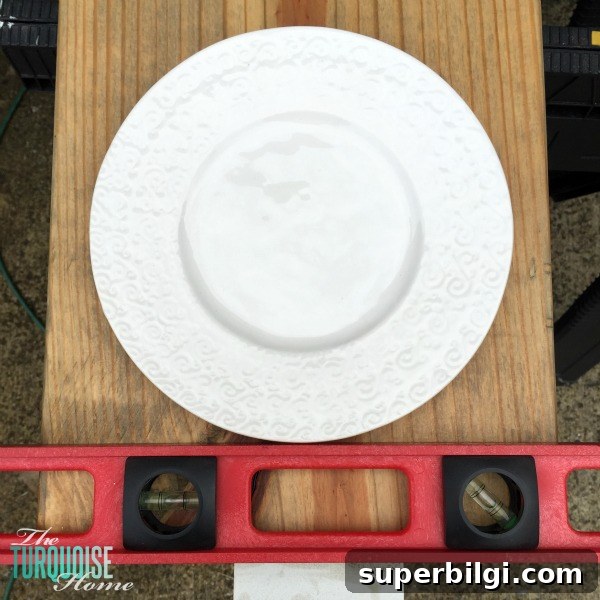
Lay out the plates you want to display on the board and space them visually. Use a level and a pencil to mark where each plate will sit, then measure the total width and mark where to cut the board.
2. Cut the Board
Cut the board to your marked length. A miter saw gives a clean edge, but a circular saw can do the job if that’s what you have.
3. Sand Smooth
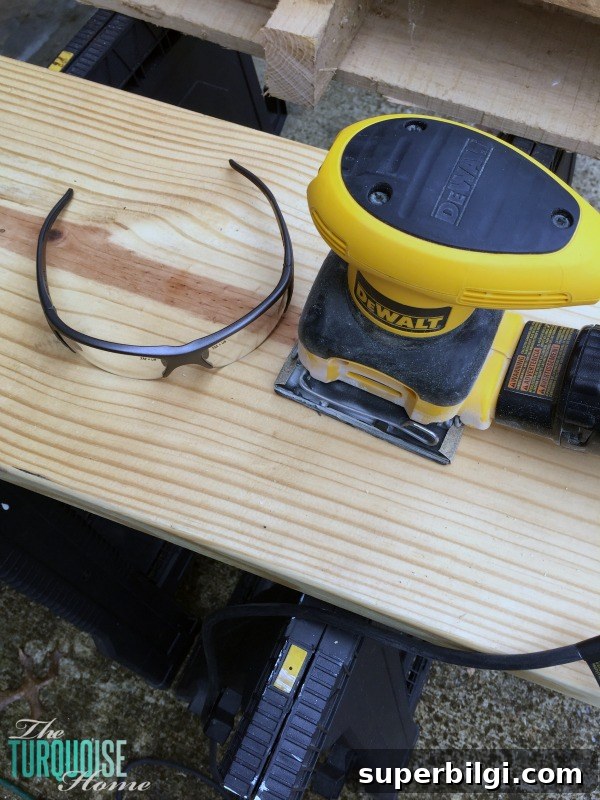
Sand all edges and surfaces to remove any rough spots or marks. Sand with the grain and finish with a fine grit for a smooth surface that will accept stain evenly. Wear eye protection and a dust mask when sanding and cutting.
4. Stain or Finish the Board
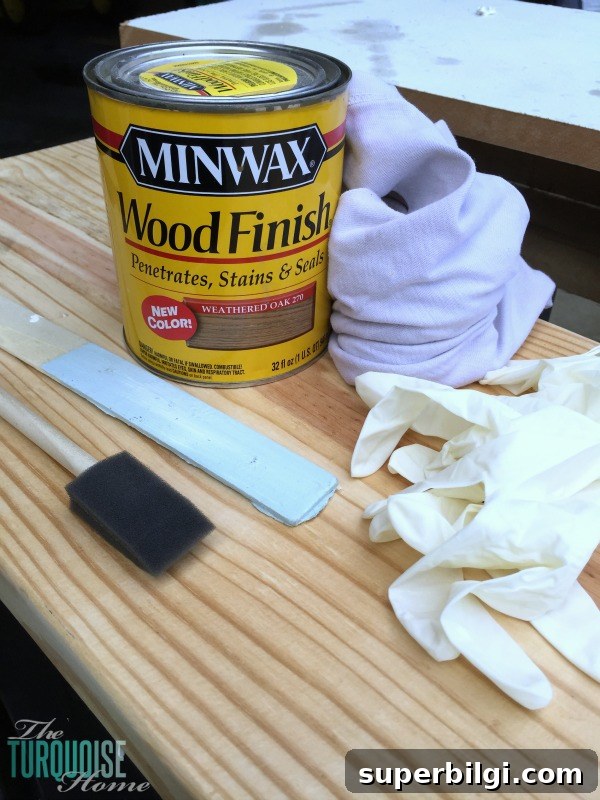
Choose a stain or finish that complements your room and plates. I used a weathered-oak tone to match nearby furniture. Apply the stain according to the manufacturer’s instructions and let it dry completely before proceeding. Disposable gloves are useful for handling stain without mess.
5. Add the Bolts to Hold Plates
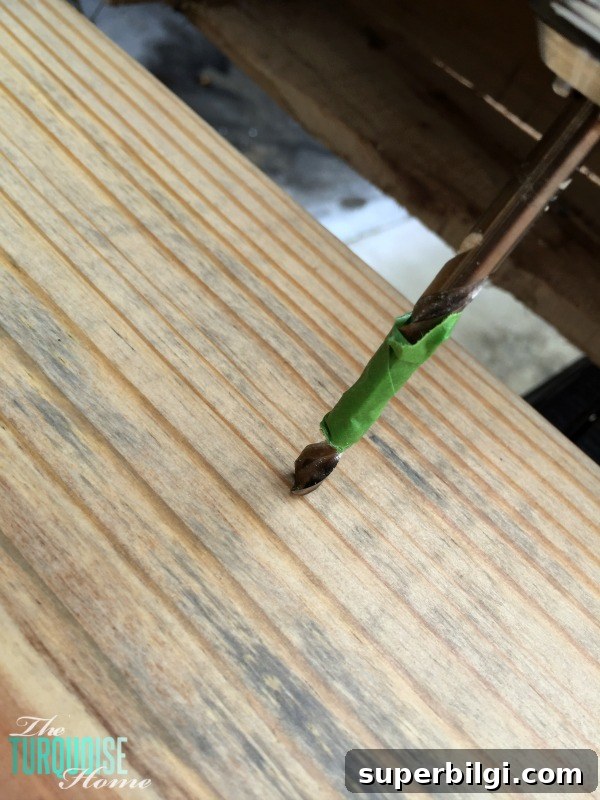
With the finish dry, mark the bolt locations using the plates as guides. If your plates are uniform, you can measure and space them evenly; if they vary in size, position each bolt where it best supports each plate. Drill shallow pilot holes so the carriage bolts insert about 1/2″ into the wood and leave approximately 1½” protruding to cradle the plate.
Glue each bolt in place with strong construction glue. Be aware that some glues expand as they cure, so wipe any excess to avoid visible residue around the bolts.
6. Attach Hanging Hardware and Mount
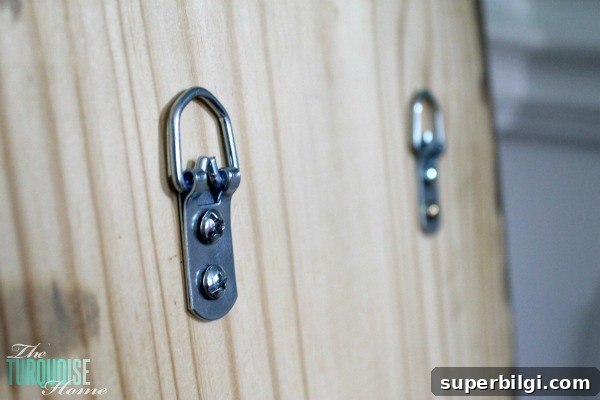
After the glue has cured, attach D-ring hangers to the back of the board and mount it on the wall. If you can secure the rack to studs, do so. If not, high-quality self-drilling drywall anchors work well for medium-weight displays. Once hung, place the plates on the bolts and add a small piece of Velcro behind each top edge as a safety measure if desired.
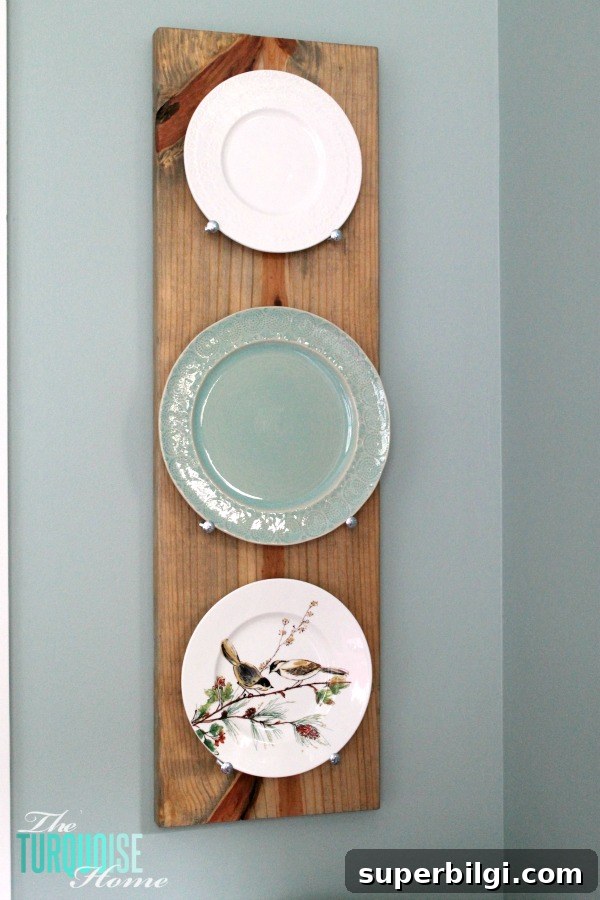
And that’s it—a simple, affordable DIY industrial plate rack that turns plates you love into wall art. This display keeps your plates visible and protected and adds a handcrafted focal point to the room.
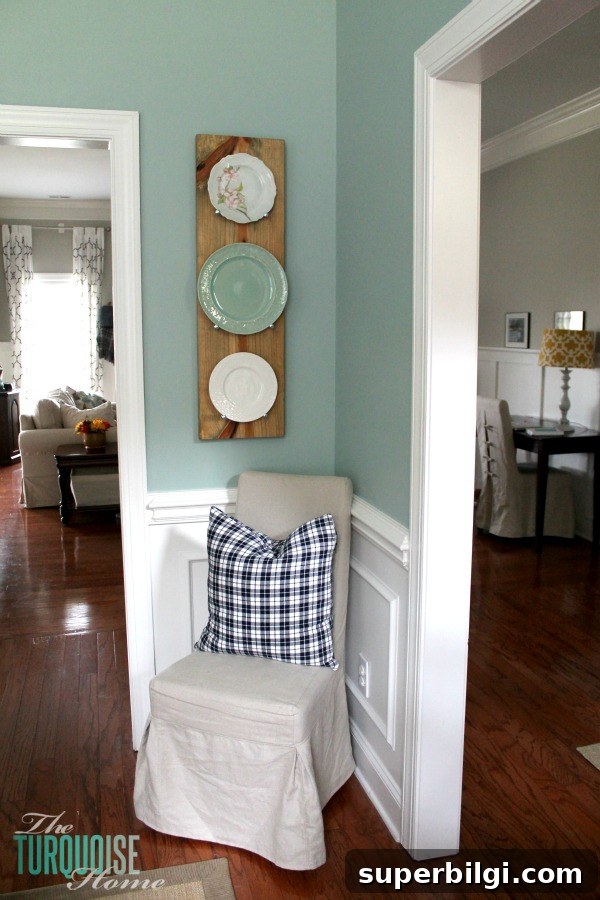
The plates I used include a couple purchased from Anthropologie and a sentimental dogwood plate I found years ago. Displaying them together gives the room personality and preserves memories.
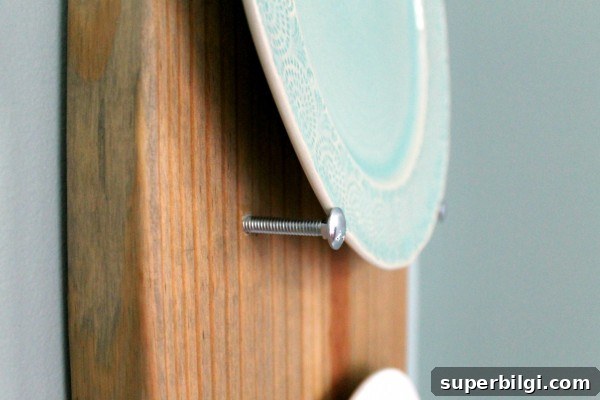
This project was quick, inexpensive, and deeply satisfying. If you’ve been postponing a small project, pick something achievable and start—those few hours of work can make a big difference in how your home looks and feels.
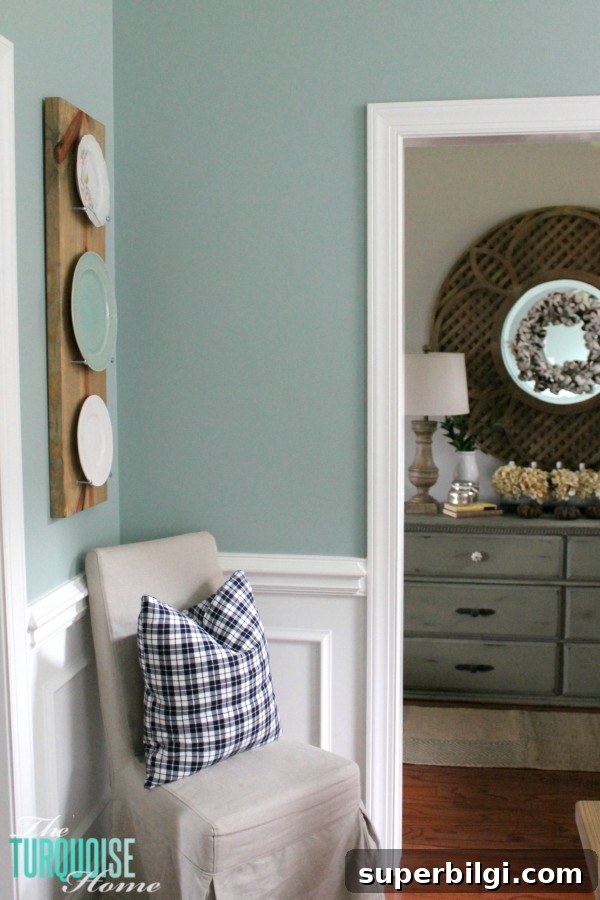
More posts you may enjoy:
- How to Decorate with Winter Decorations for Christmas
- DIY Photo Transfer to Wood (Step-by-Step Tutorial)
- 5 Must-Have Tools for the DIYer
- 10 More Essential Tools for a Beginner DIYer
- DIY Farmhouse Table