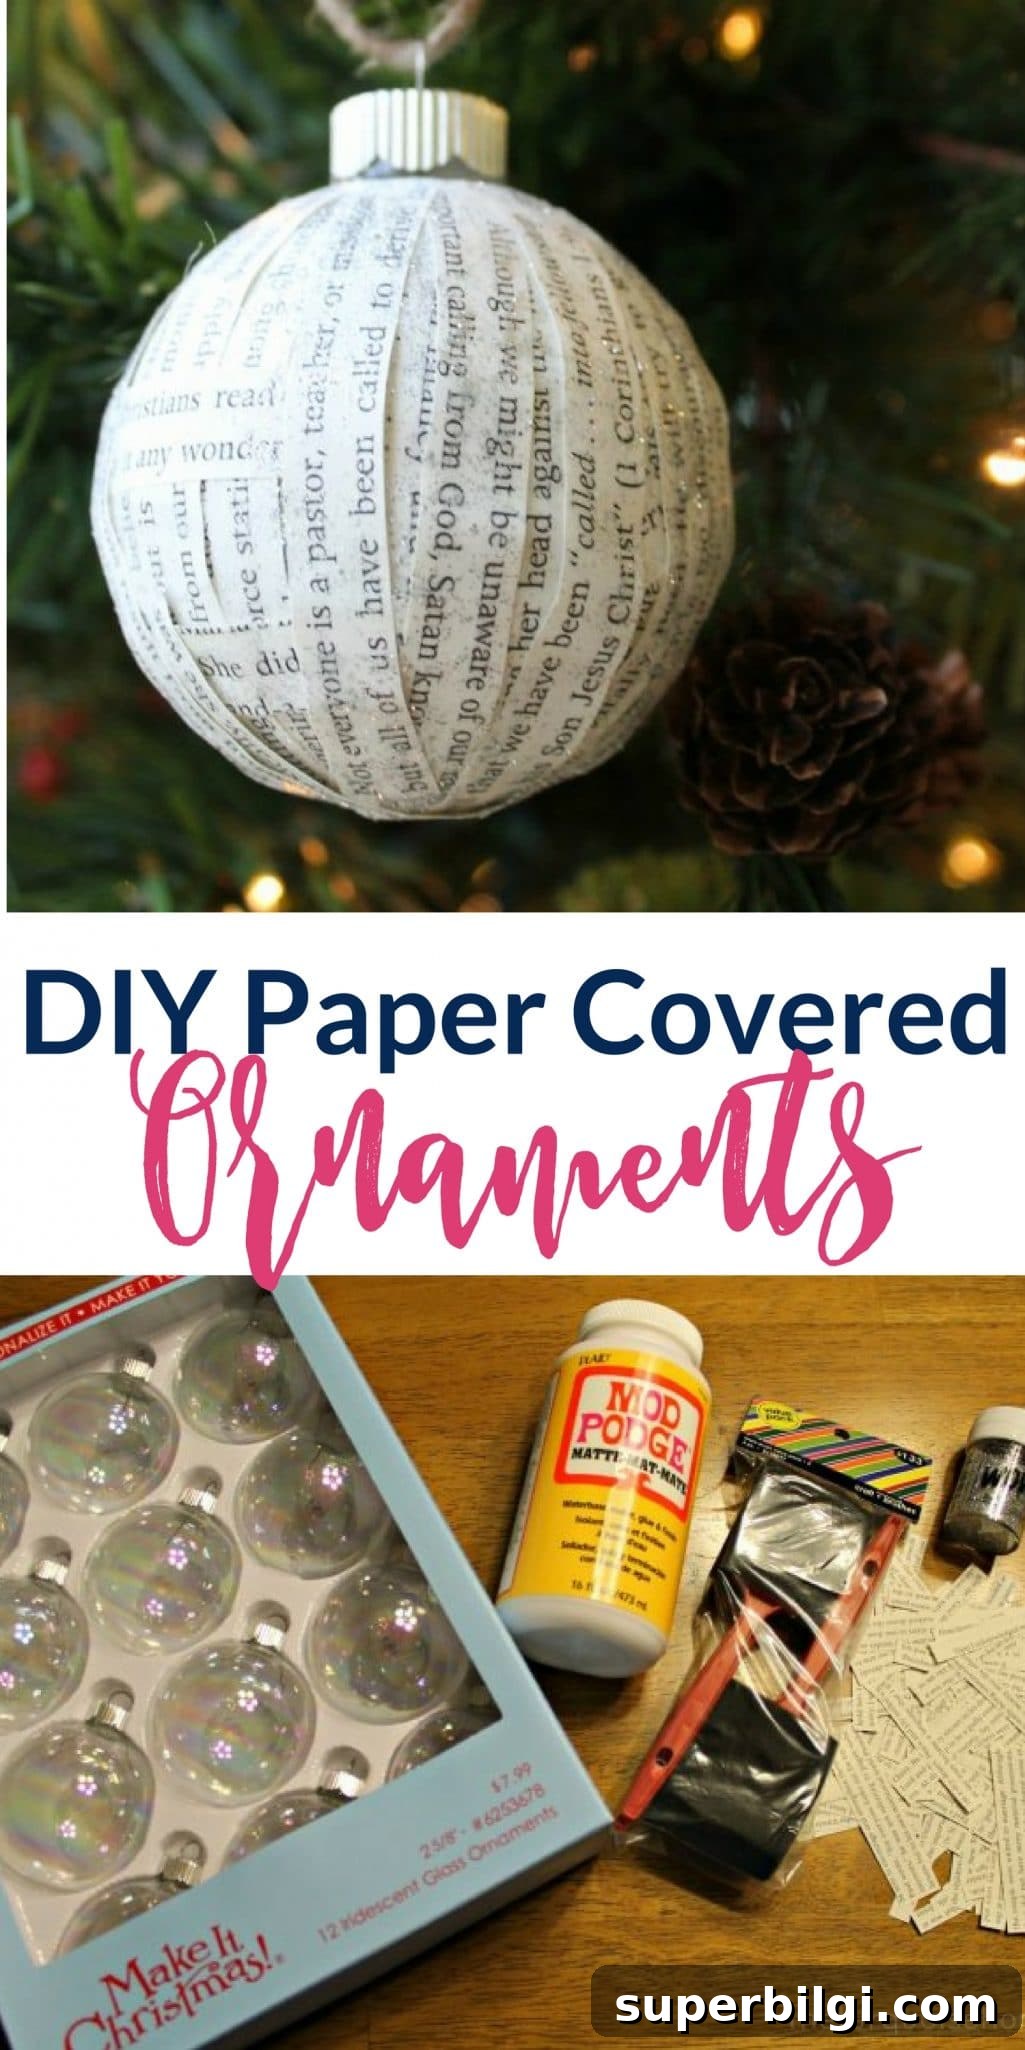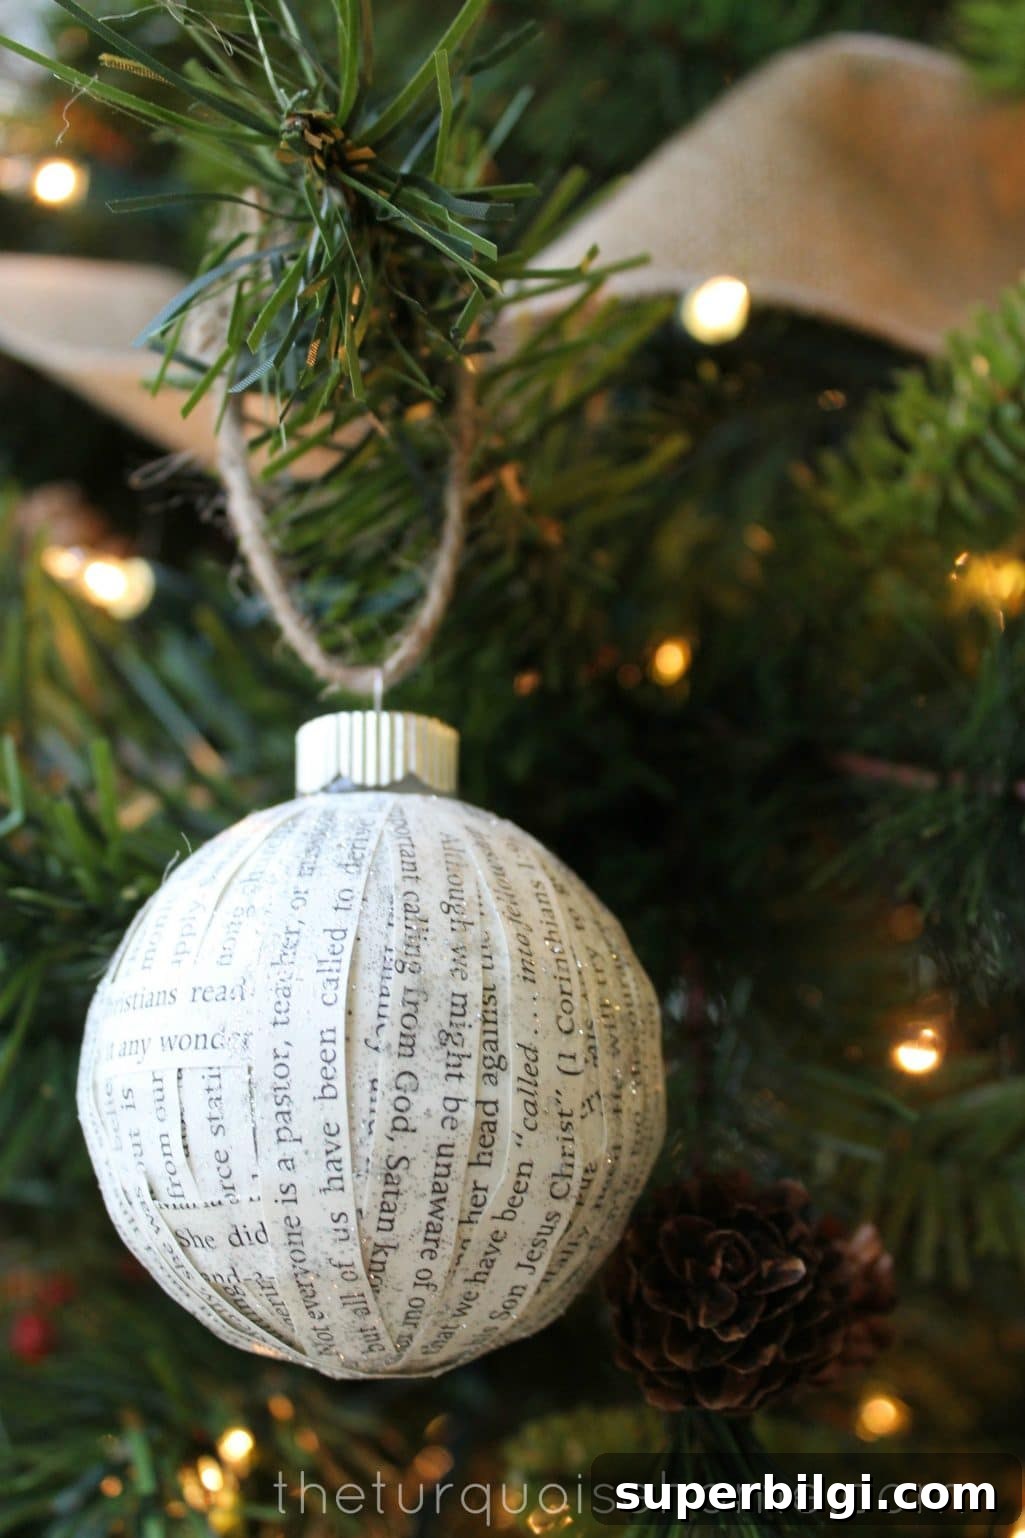
Discover an easy DIY ornament: paper-strip covered ornaments that are charming, budget-friendly, and can even hold sentimental value.
I finally finished my Christmas shopping and started carving out time for projects again—so I made these simple paper-covered ornaments for my new tree. They’re straightforward, affordable, and a great way to personalize your holiday decor.
I first spotted a similar ornament years ago, but there wasn’t a tutorial, so I experimented and developed this quick method. I call it a DIY paper-covered ornament, and it’s perfect for using up scrap paper or pages from an old book you don’t mind cutting up.
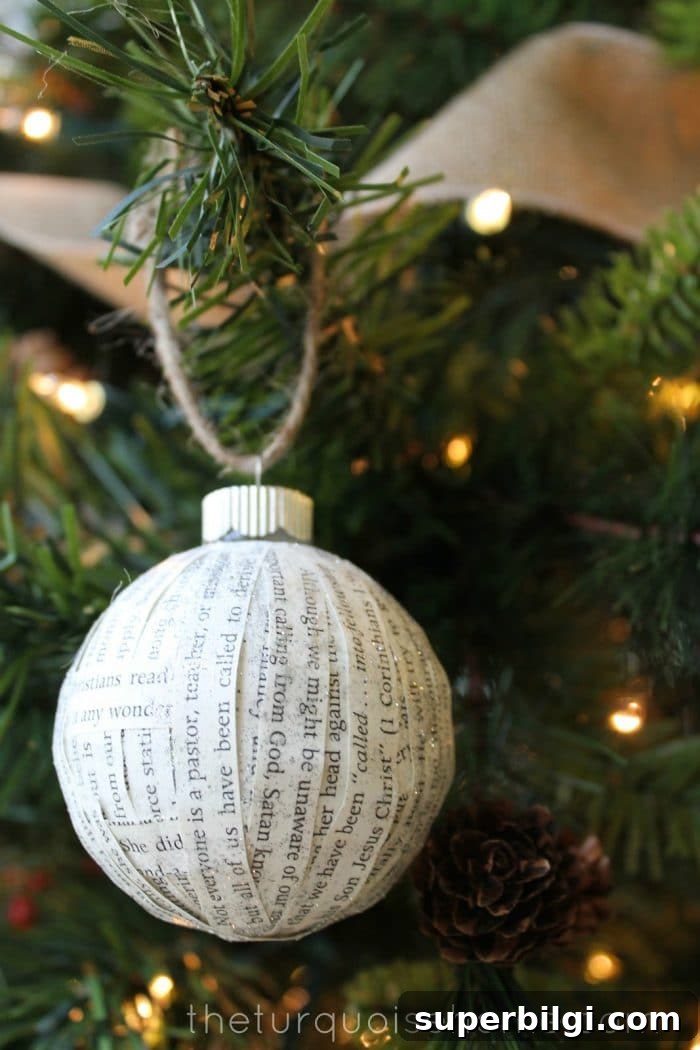
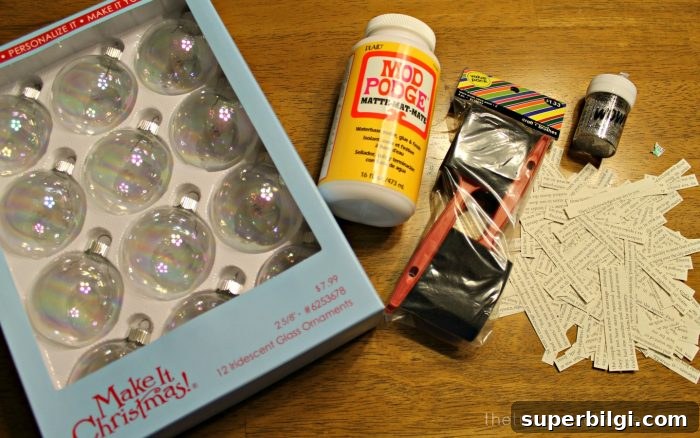
Supplies Needed for Making Paper-Covered Ornaments
- Plain craft ornaments (plastic or foam work well)
- Mod Podge or another decoupage glue
- Small sponge brush or foam brush
- Loose glitter (optional)
- Paper strips cut from old books, sheet music, magazines, or scrap paper
- Twine, ribbon, or ornament hooks for hanging
- Scissors and a small dish for glue
Steps for DIY Paper-Covered Ornaments
1. Gather the Supplies
Choose ornaments with a smooth surface for easiest application. I used a book from my yard sale pile—using a hymnal, an old novel, or any book that holds meaning can make these ornaments sentimental as well as decorative. Lay out your Mod Podge, brushes, paper strips, and a clean workspace you don’t mind getting a little gluey.
2. Cut Paper Strips
Cut the paper into narrow strips. Vary the widths for visual interest—thin strips for delicate detail and wider strips to cover larger areas faster. Strips about 1/4″ to 1/2″ wide work well for most ornament sizes. If you want a more uniform look, measure and cut consistent widths.
3. Adhere the Strips to the Ornaments
Brush a thin layer of Mod Podge onto a small section of the ornament, place a paper strip and smooth it down with your finger or brush. Continue around the ornament, overlapping edges slightly and switching directions—mostly vertical strips with an occasional horizontal strip creates an appealing patchwork look. Work in small sections so the glue doesn’t dry before you position the paper.
It’s a quick process, and while I didn’t photograph the gluing step (my hands were sticky and covered in glitter), it’s very straightforward. Use enough Mod Podge to adhere the paper but not so much that it causes bubbling.
4. Embellish with Glitter and Twine
Before the Mod Podge fully dries, sprinkle a small pinch of glitter over the ornament to add sparkle. Pouring glitter directly from the bottle can clump, so I recommend using a pinch and tapping it on gently. Tie a piece of twine, ribbon, or a ready-made ornament hanger to the top, then hang the ornament so it can dry without sticking to a surface.
You can add a small bow, a stamped name tag, or other embellishments once the ornament is dry. Seal the finished ornament with another light coat of Mod Podge if you want extra durability and a slightly glossy finish.
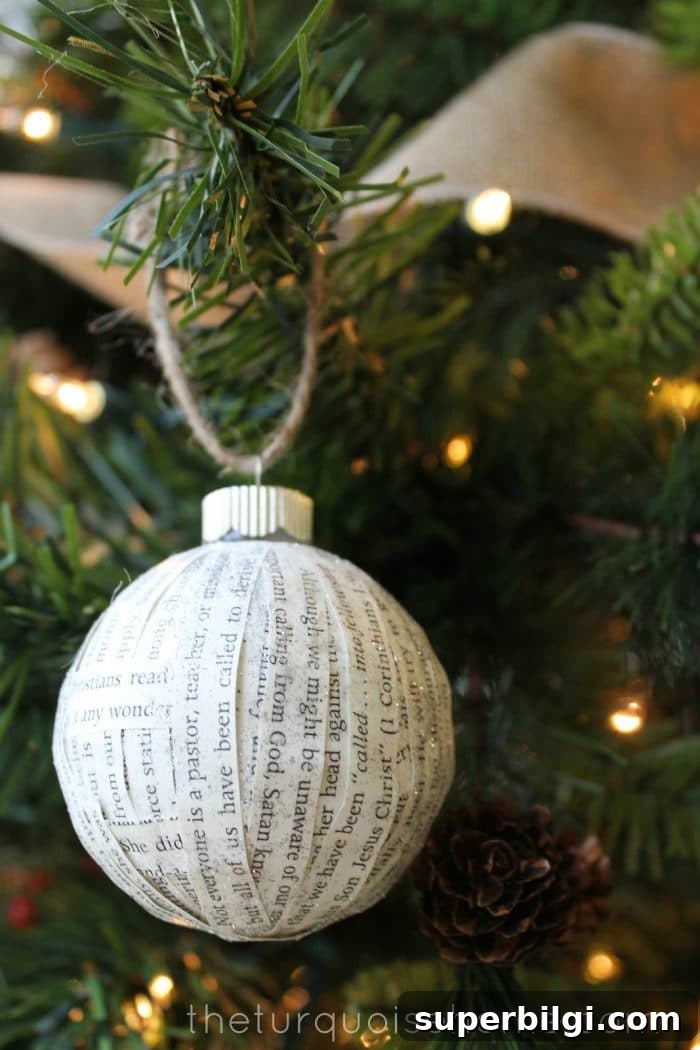
Each ornament took me about 30 minutes from start to finish, so plan time accordingly. Allow ornaments to dry completely before placing them on the tree to avoid smudging or losing glitter. Once dry, these ornaments are light, inexpensive, and full of charm.
Variations: try different paper sources—vintage sheet music, maps, or patterned scrapbooking paper—for distinct looks. Use metallic paint or gold leaf accents for a more polished finish, or apply a matte Mod Podge for a softer, vintage feel.
Finished product = simple, inexpensive, and meaningful Christmas ornaments. Have you tried making ornaments this year? I’d love to hear about your versions—feel free to share photos or ideas in the comments.