
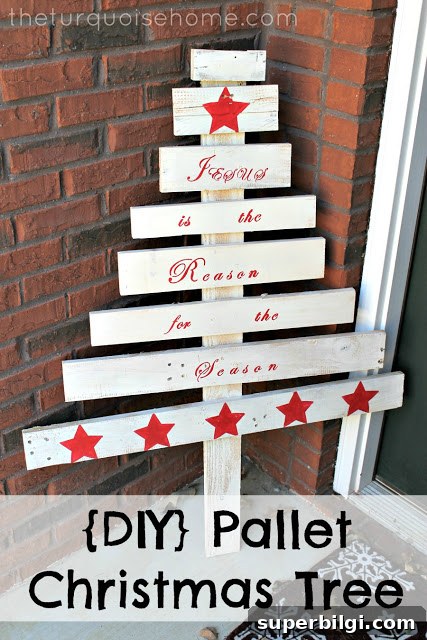
Make this easy DIY pallet wooden Christmas tree before the holidays end. I put mine together in under 30 minutes using scrap wood from my garage.
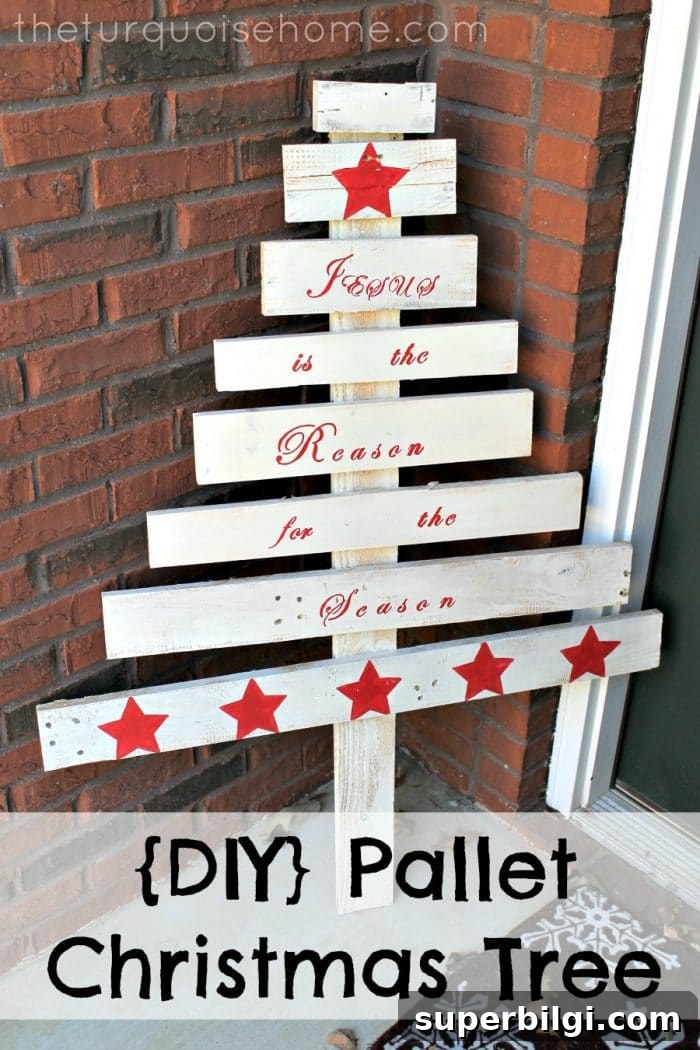
A friend shared a photo of a pallet Christmas tree with me a few months ago, and when she visited in early December we made one for her. I pre-cut pieces for my own tree and then assembled it at the last minute before a small gathering—perfect for quick, charming seasonal decor.
Power Tools You’ll Need
- Drill
- Miter saw or circular saw
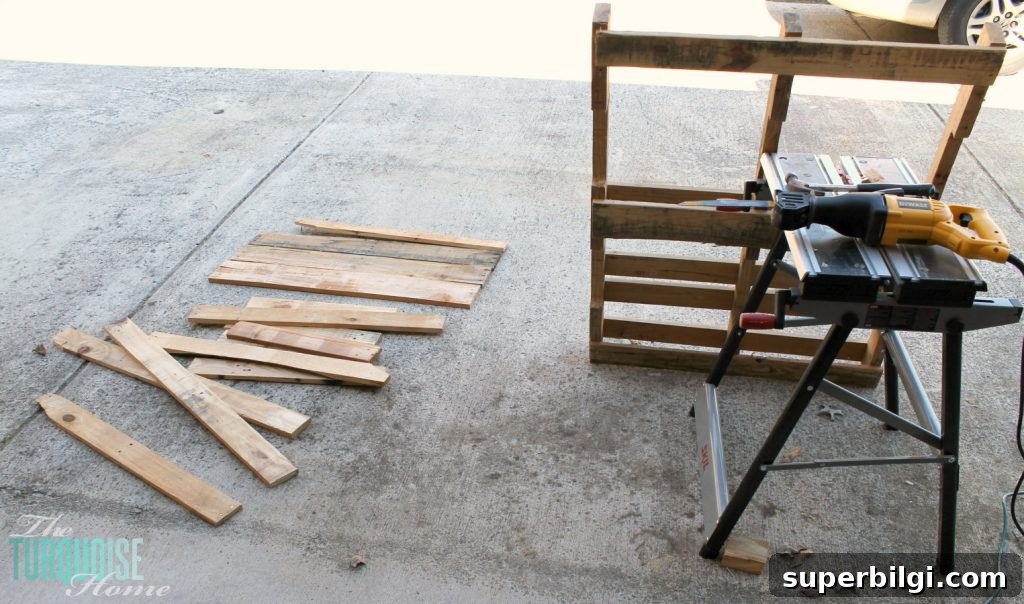
- Reciprocating saw (if you need to dismantle an old pallet)
- Orbital sander
Supplies You’ll Need
- Reclaimed wood planks (choose sizes to suit the height and width you want)
- Background paint or wood stain (your preferred color)
- Accent paint for stenciling or details
- Screws long enough to pass through both boards
- Wood glue
- Lettering stencils or stencils for shapes
- Stencil brushes
- Outdoor sealer if you plan to display the tree outdoors
How to Make a DIY Christmas Tree Pallet
1. Cut the Boards
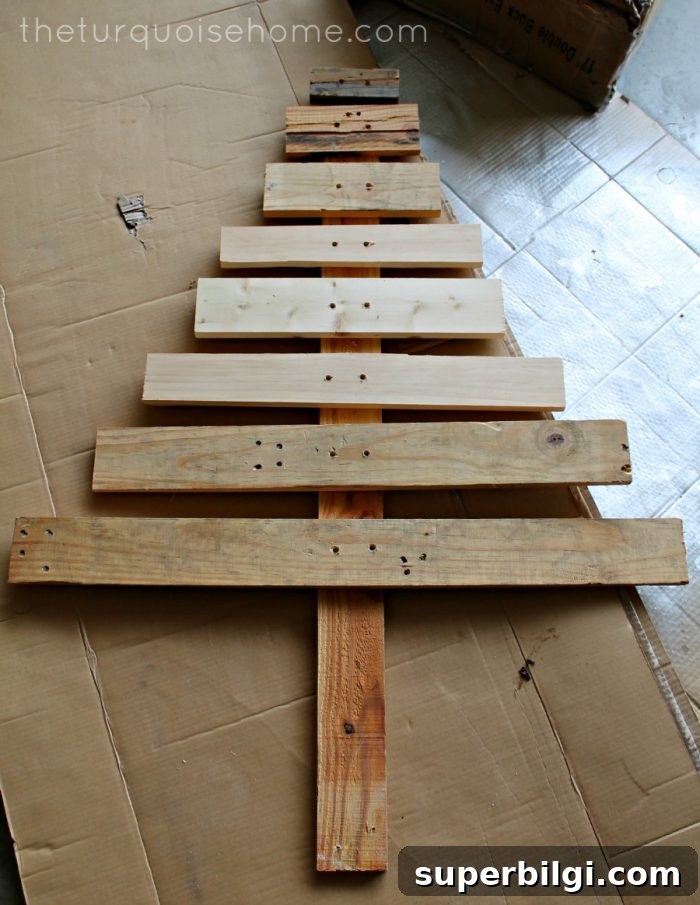
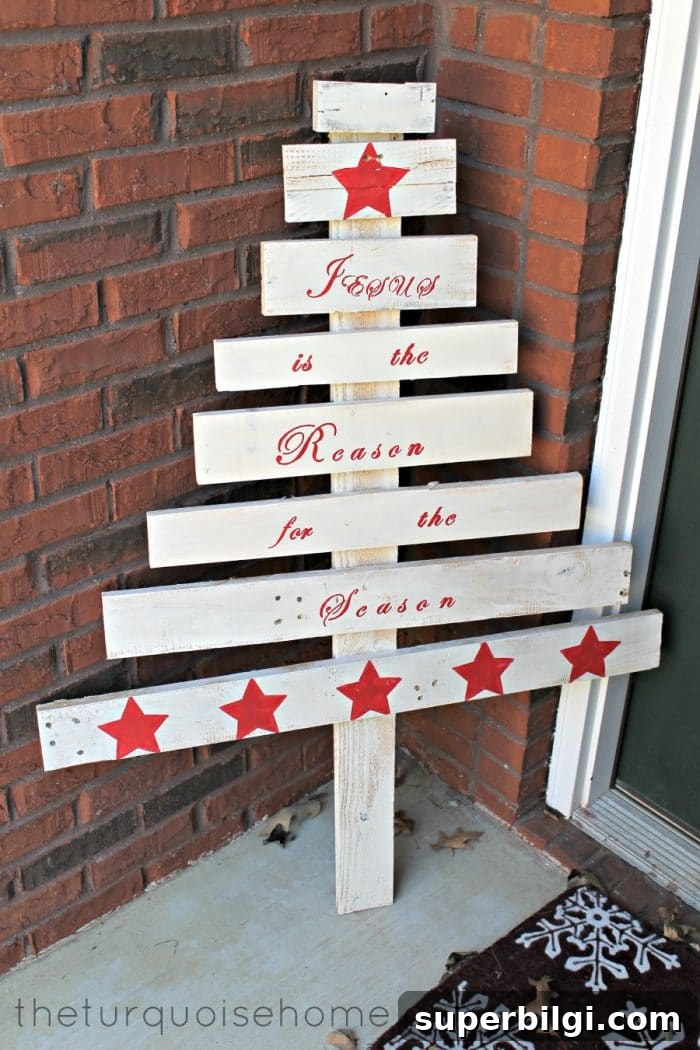
Start by cutting the main back board—the tree trunk or support—to the height you want. Mine was about 4 feet tall. Next, cut the front slats to staggered lengths to form the tree silhouette. For my tree I cut eight front pieces, from roughly 2 feet for the widest slat down to about 6 inches for the top.
Most of the boards I used came from my scrap pile and only a few required trimming. Using reclaimed wood keeps the project affordable and gives it a rustic charm.
2. Sand the Boards
Smooth all edges and remove splinters with an orbital sander or sanding block. Clean, sanded surfaces help paint and stain adhere better and keep the finished piece safe to handle. Wear a dust mask and safety goggles while sanding.
3. Attach the Boards
Arrange the front slats on the back support to form the tree shape. Apply wood glue to each joint, then secure the slats with screws. You can countersink and fill the holes for a cleaner look, or leave visible screw heads for a more rustic appearance. I used a drill with a countersink bit before driving the screws because my nail gun wasn’t cooperating.
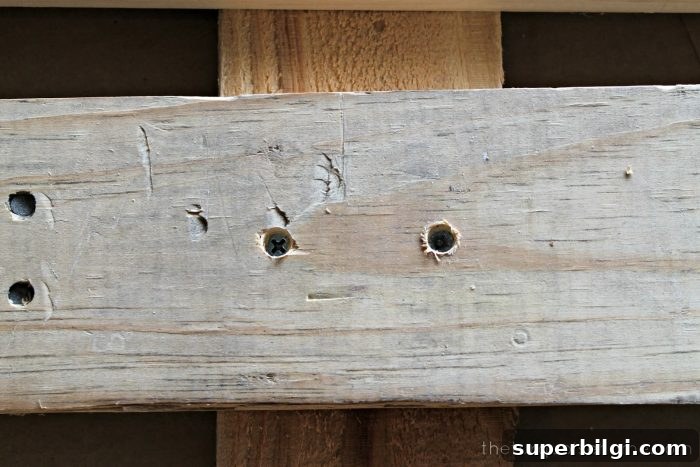
After assembly I filled the screw holes with wood putty and allowed it to dry for a couple of hours before finishing.
4. Paint or Stain the Wood Christmas Tree
Choose paint or stain based on the look you want. I applied a quick, relaxed coat of Antique White (a Sherwin-Williams color I already had)—it took about 10 minutes. A single, loose coat can be enough for a shabby-chic appearance; add a second coat if you want fuller coverage.
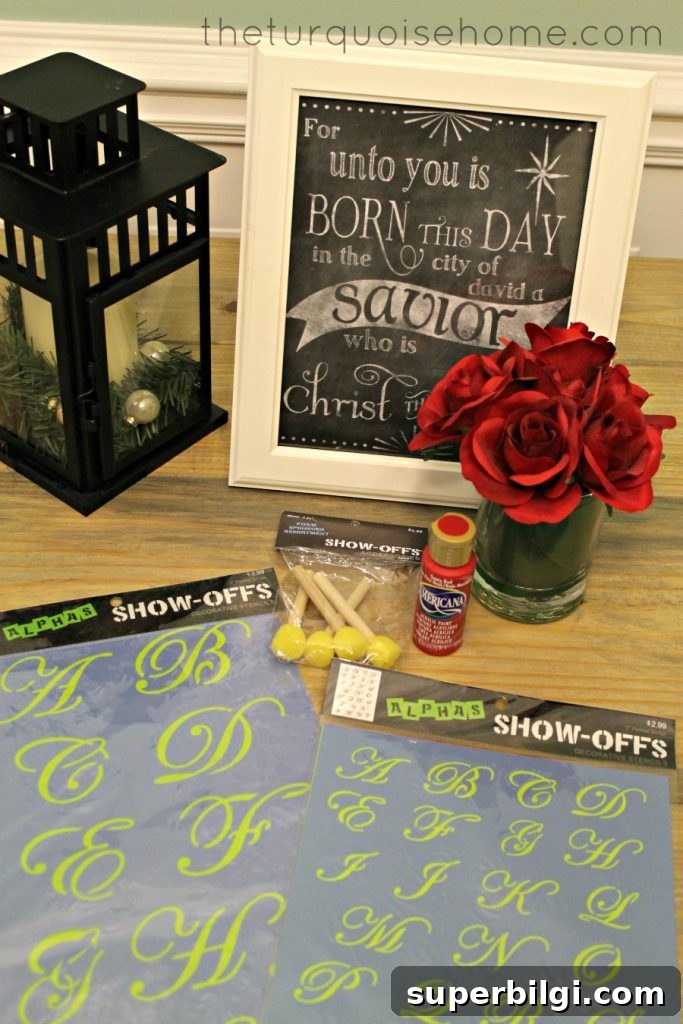
You can stop here if you like a simple, understated tree, or continue to the next step to customize it further.
5. Stencil Decorations or a Holiday Message
Stencil a star, add wording, or create patterns down the planks. I painted a red star at the top and stenciled “Jesus is the Reason for the Season” down the front. I didn’t aim for perfect centering—this relaxed approach looked great and suits the rustic style.
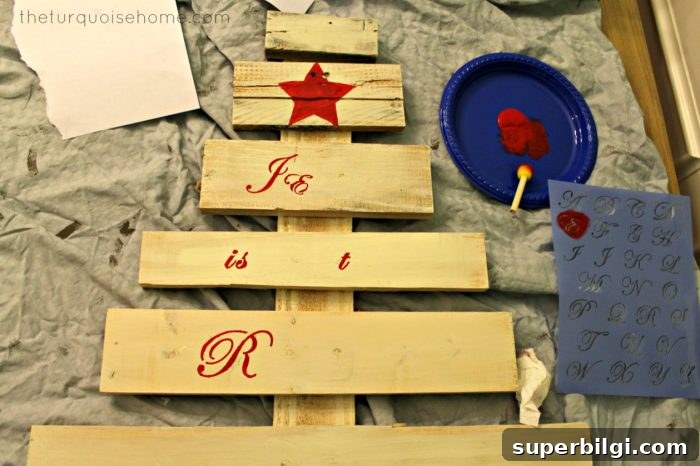
This is the step where you can let your creativity shine: add seasonal quotes, family names, holiday graphics, or child-friendly designs. Use a light touch with stencils and multiple thin layers of paint for crisp edges.
6. Display the Rustic Christmas Tree
Place the finished tree near an entryway, porch, or mantel. I wrapped mine in string lights like garland so it glows after dark and welcomes visitors. If the tree will be outdoors, finish with an appropriate exterior sealer to protect it from moisture and UV exposure.
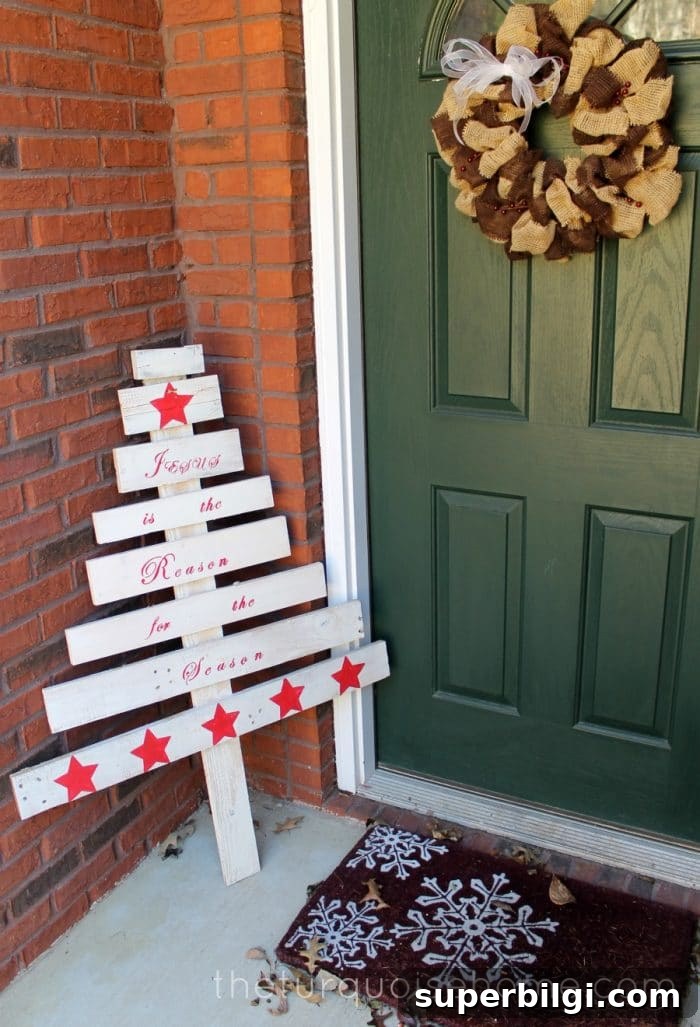
This project is budget-friendly and meaningful. It serves as festive decor and a simple reminder of the season’s meaning—especially if you add a thoughtful message or symbol.
Final Thoughts
I love how this turned out—simple, fast, and charming. The DIY pallet wood Christmas tree can be customized in countless ways: hang lightweight ornaments from the slats, turn it into an advent calendar by attaching clothespins and small notes or treats, or add a decorative topper and outline it with lights. You can paint it boldly, leave it distressed, or stain it for a natural look.
Safety tip: always wear eye and ear protection when cutting and sanding wood. If you use reclaimed pallet wood, inspect it for nails and hazardous residues before working with it.
If you make one, tag me on Instagram @turquoisehome so I can see your version!
More posts you may enjoy:
- DIY Christmas Decorations on a Budget
- Red, White and Gold Christmas Decor
- How To Decorate With Christmas Bells (7+ Must-Try Ideas)
- The Most Beautiful Christmas Tree Decorating Ideas
- 40+ Amazing DIY Christmas Gift Ideas











