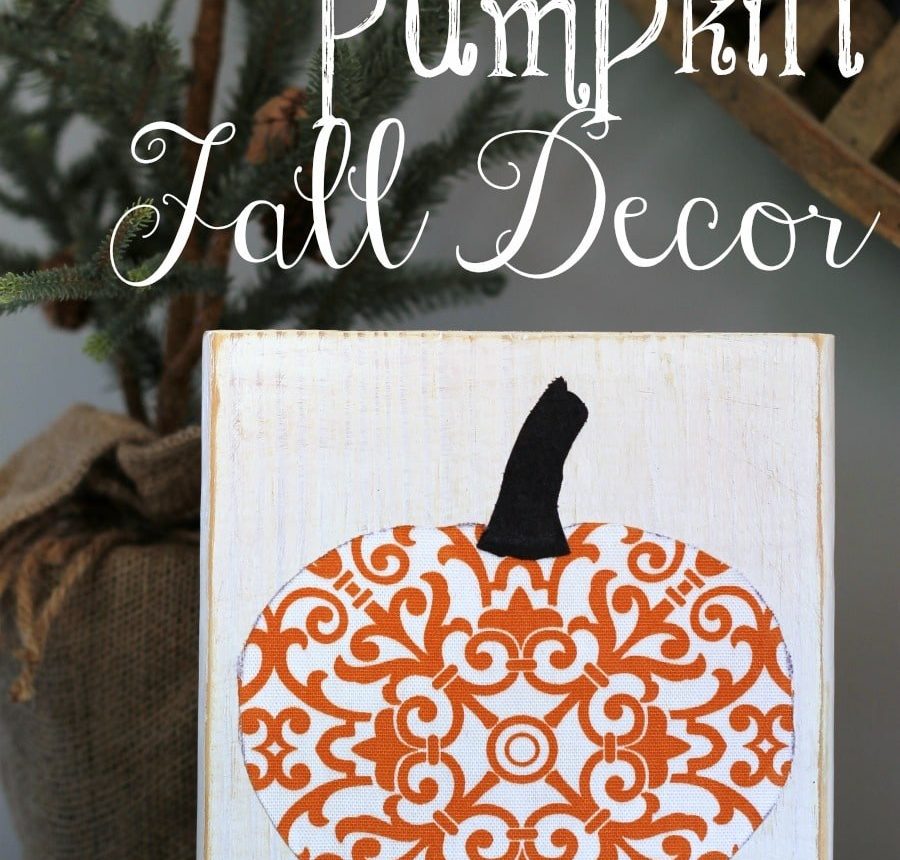
Use scraps of wood and fabric to make this adorable “scrappy” DIY pumpkin decor!
I love turning forgotten odds and ends into something pretty and useful for the home. That’s the heart of DIY—rescuing what’s plain or old and giving it new life. For this project I used a piece of scrap wood and small pieces of fabric I already had on hand to create a sweet little pumpkin accent for fall. It cost me nothing and came together quickly.
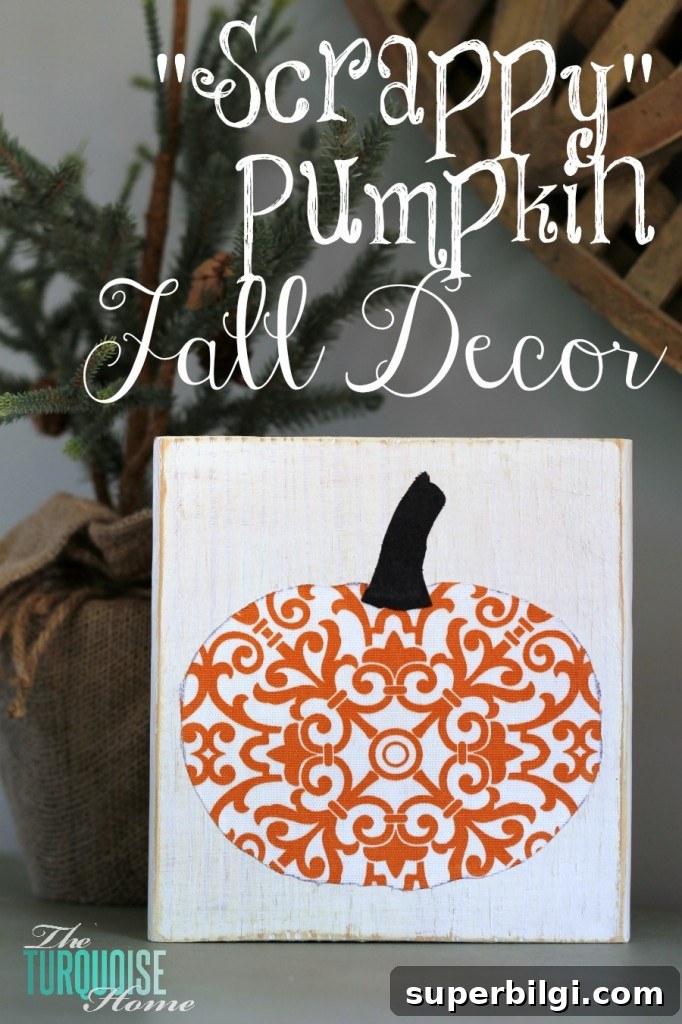
I call it a “scrappy” pumpkin because everything for this project came from my scrap pile: wood offcuts, leftover paint, and fabric remnants. Simple materials like these are perfect for small seasonal decor pieces, and making this little pumpkin got me into the mood for fall decorating—swapping out summer items and refreshing the mantel.
This post contains affiliate links for your convenience. See my full disclosure policy.
What you’ll need to make a Scrappy Pumpkin
- Wood scraps — any small board or plank that’s thick enough to stand or hang.
- Fall-appropriate fabric or patterned paper (or any fabric you love).
- A pumpkin-shaped template or printable outline.
- Paint (a neutral base like antique white works well).
- Mod Podge or another decoupage glue/sealer.
- A miter saw or handsaw (optional, if you need to trim the wood).
- Sandpaper (optional, for smoothing and distressing).
How to Make a Scrappy DIY Pumpkin Decor
This project is straightforward and can be finished in about an hour, not counting paint drying time. Below are the steps I followed to make my board-style fabric pumpkin.
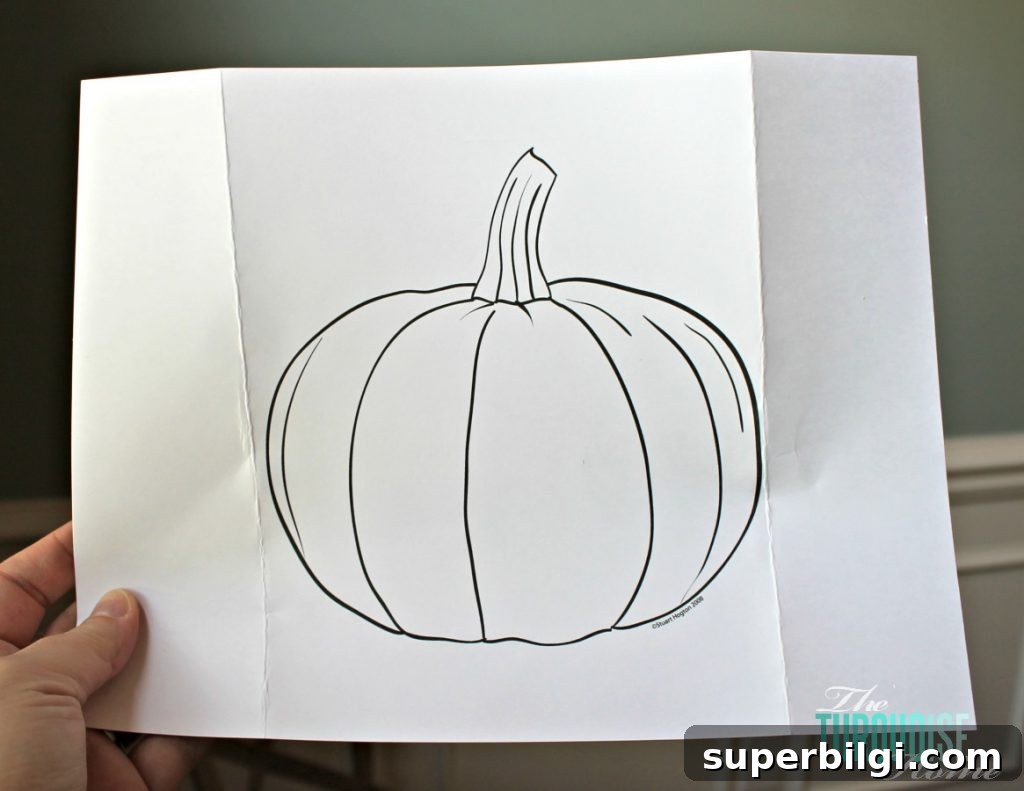
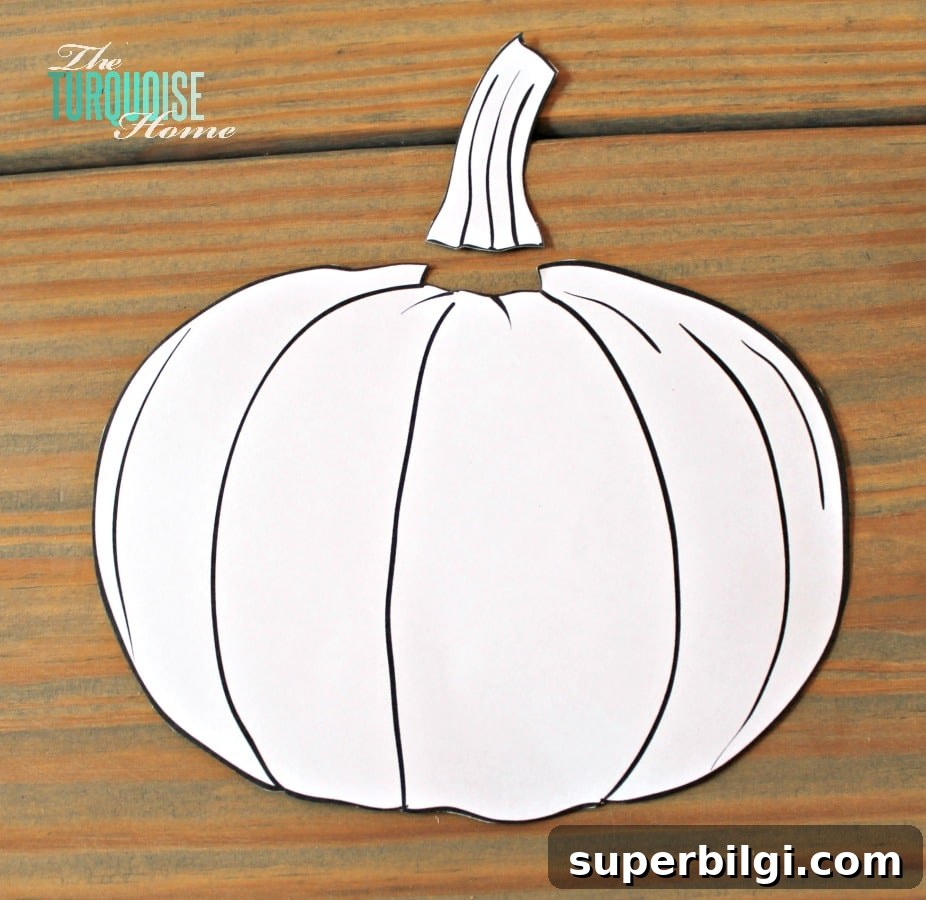
1. Find a pumpkin shape and print it
Pick or draw a pumpkin outline you like and print it at the size you want the finished pumpkin to be. You can use a simple silhouette or a more detailed shape—either will work. The paper template helps you size the wood and fabric pieces accurately.
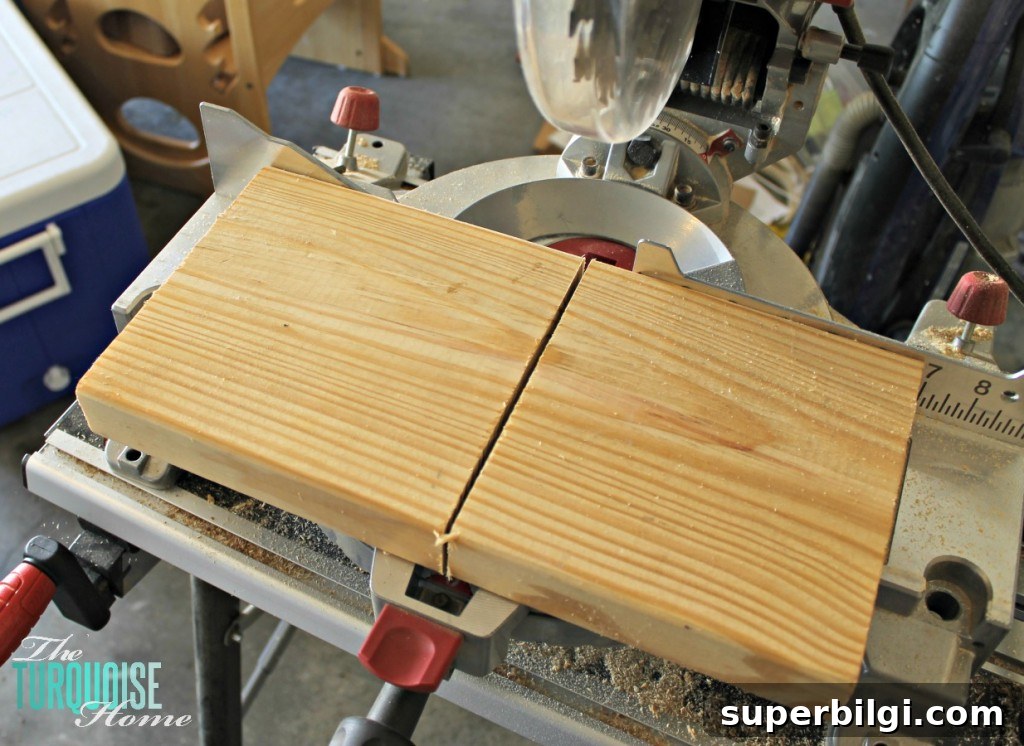
2. Cut a block of wood to fit the pumpkin
Trace the printed template against a board from your scrap pile and cut the wood to size. I trimmed my piece with a miter saw so the template fit comfortably on the face of the board. If you don’t have a power saw, you can use a handsaw and a steady hand—these are small cuts and manageable for most DIYers.
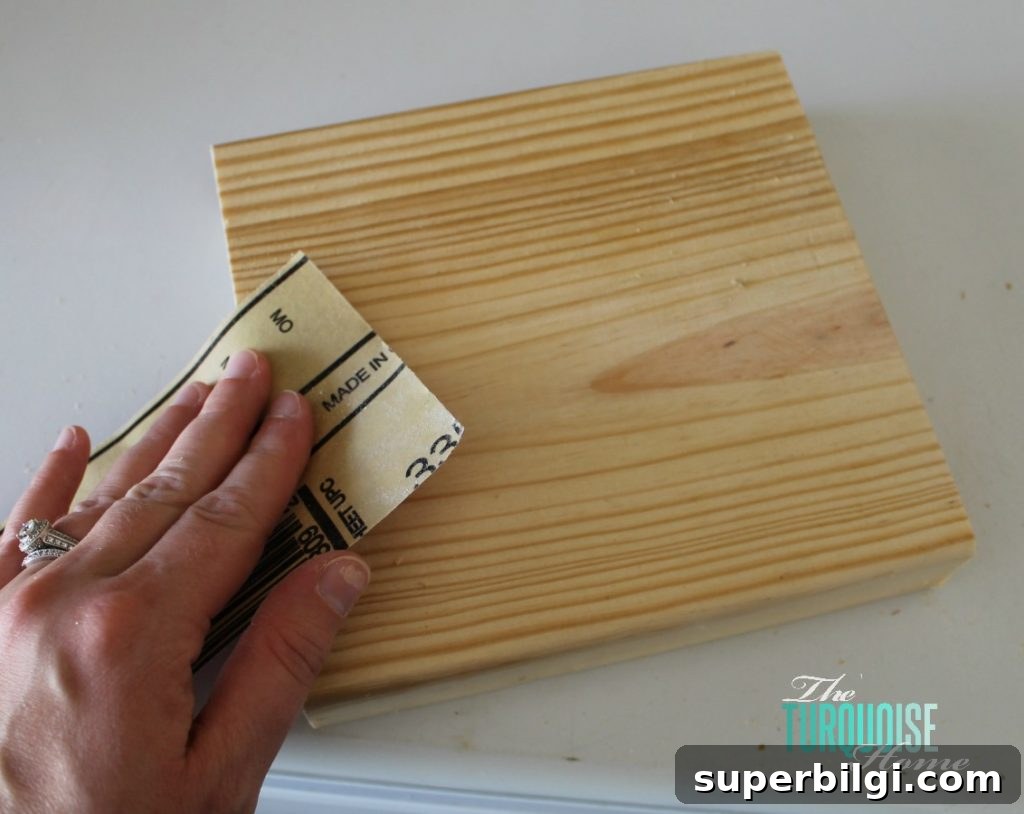
3. Sand the rough edges of the block
Use sandpaper to smooth rough corners and splintered edges. This is quick work and helps the finished piece look tidy and safe to handle—especially if kids will see it on a mantel or shelf.
4. Paint the block
Paint the front—and the back if the piece will stand where both sides might be seen. I used a leftover antique white paint for mine. If you plan to hang the pumpkin instead of freestanding it, painting only the front is fine. Allow paint to dry fully before proceeding.
5. Sand the edges for a rustic look (optional)
Once the paint is dry, you can lightly sand the corners and edges to give the board a distressed, rustic finish. It adds character and helps the piece blend with other vintage or farmhouse-style decor.
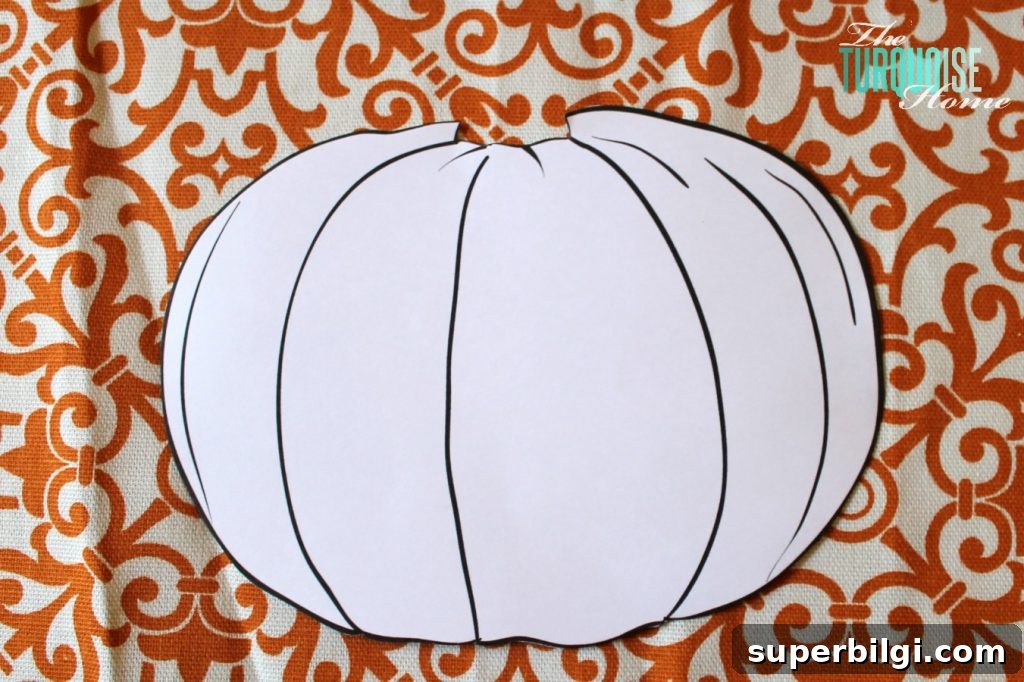
6. Cut out your fabric using the pumpkin shape
Turn the printed template and fabric face down, trace the pumpkin onto the fabric, and cut it out. I cut a separate small piece for the stem so it would contrast nicely. If you have a cutting machine and a fabric blade, that will speed the process, but scissors work perfectly well for scraps. Be sure to iron the fabric flat before cutting if it’s wrinkled.
7. Glue the pumpkin to the wood block
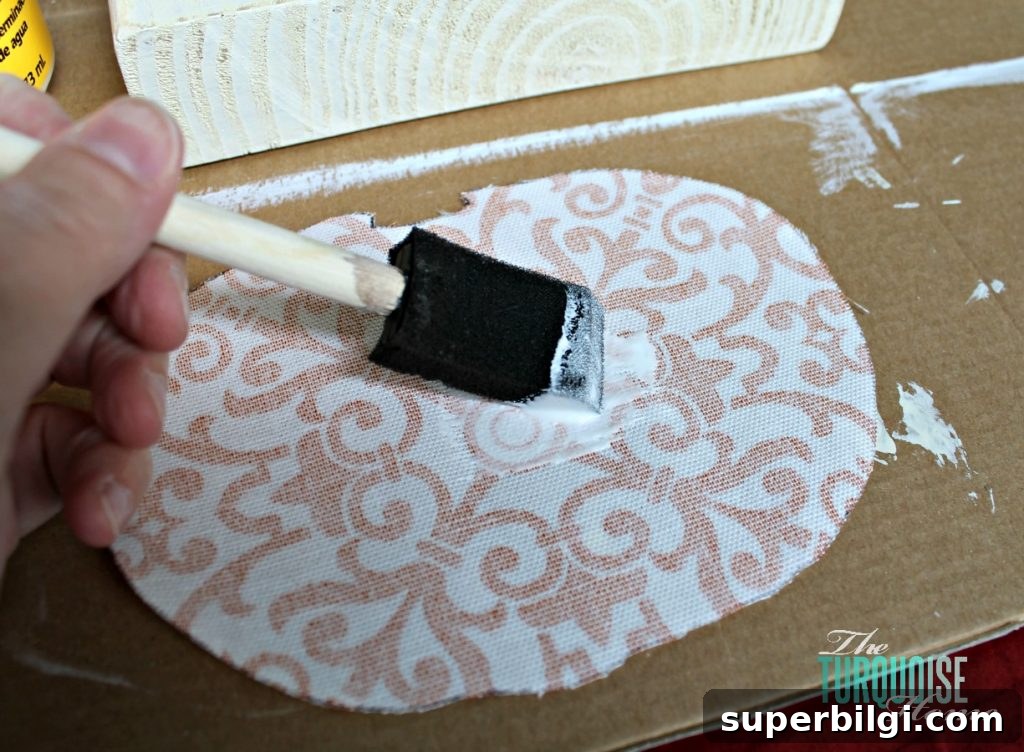
Brush decoupage glue (Mod Podge or a similar product) onto the painted wood, press the fabric pumpkin and stem into place, then paint a sealing layer of glue over the top. This secures the fabric and protects it from fraying—your fabric won’t be going anywhere once it’s sealed.
And that’s it—my free-to-me scrappy pumpkin is finished and ready to sit on the mantel or to be bundled with other seasonal pieces. It’s small, charming, and a great way to use leftover materials.
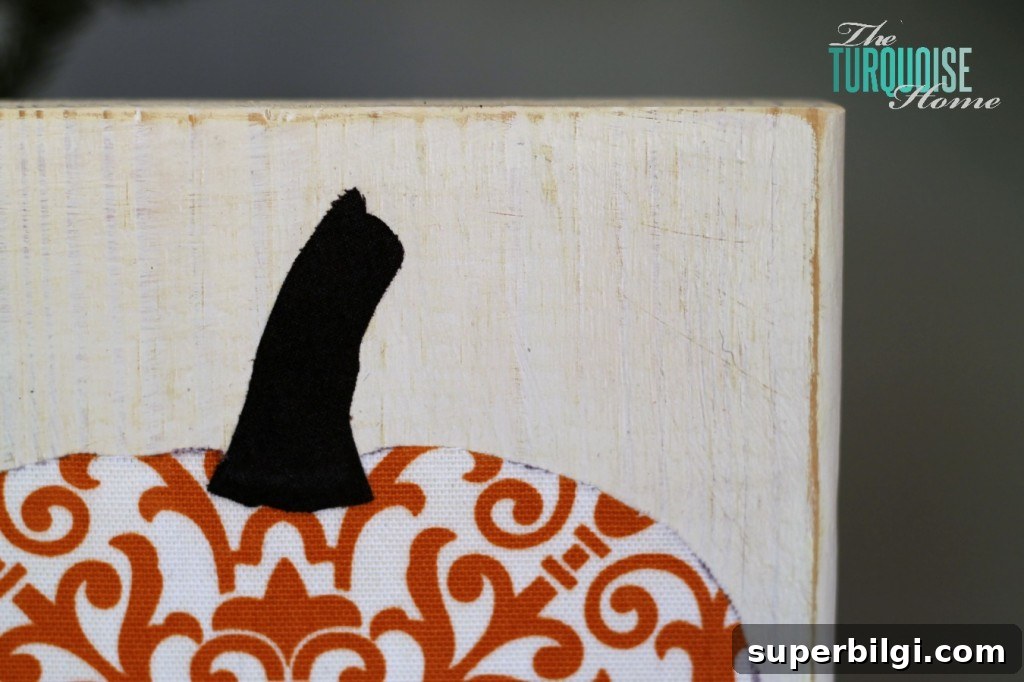
I wasn’t sure what to call this little craft at first—plaque, fabric board, seasonal sign—but “scrappy pumpkin” seemed to fit. The fabric I used is a leftover from last year’s mantel, so I’m happy to give it another life. I might make a few more to sell at a yard sale and turn old decor into a small profit.
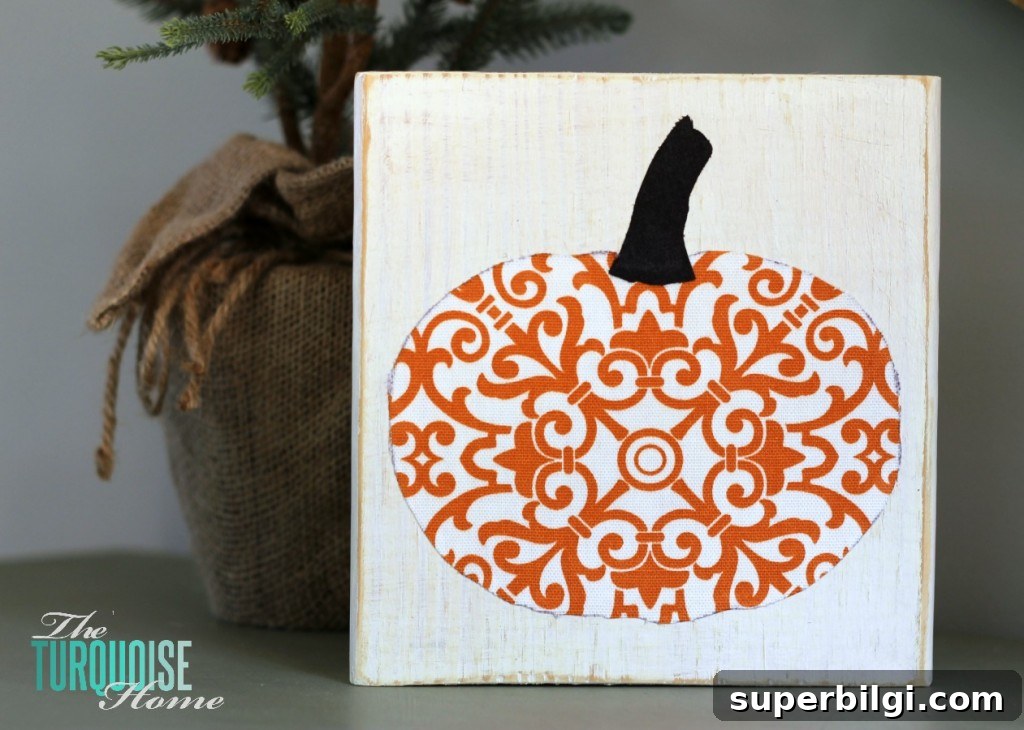
Enjoy making your own scrappy pumpkin—and have a lovely day!
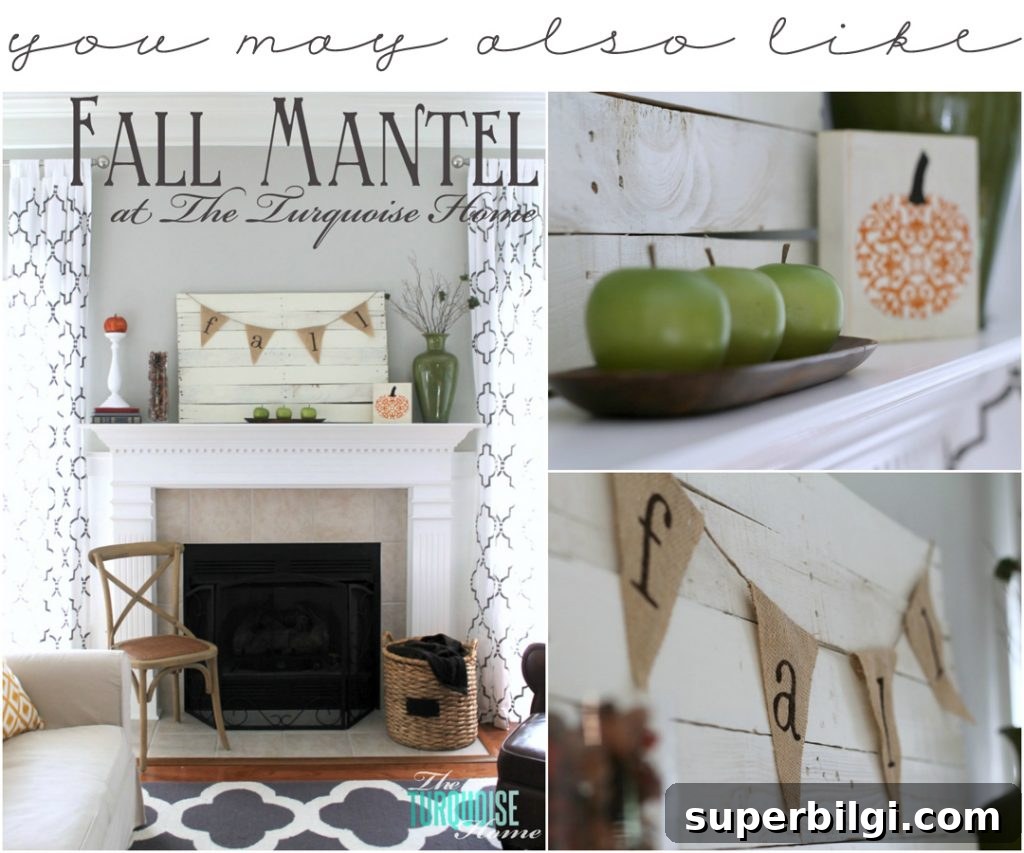
Fall Mantel Reveal
More posts you will love:
- DIY Chinoiserie Pumpkins (with video tutorial)
- The Best Realistic Fake Pumpkins
- 25 Amazing DIY Fall Wreaths
- Fall Kitchen Decor Ideas