Learn how to make a DIY utility sink skirt to hide the messy area beneath your sink while adding convenient hidden storage and a polished look to your laundry room.
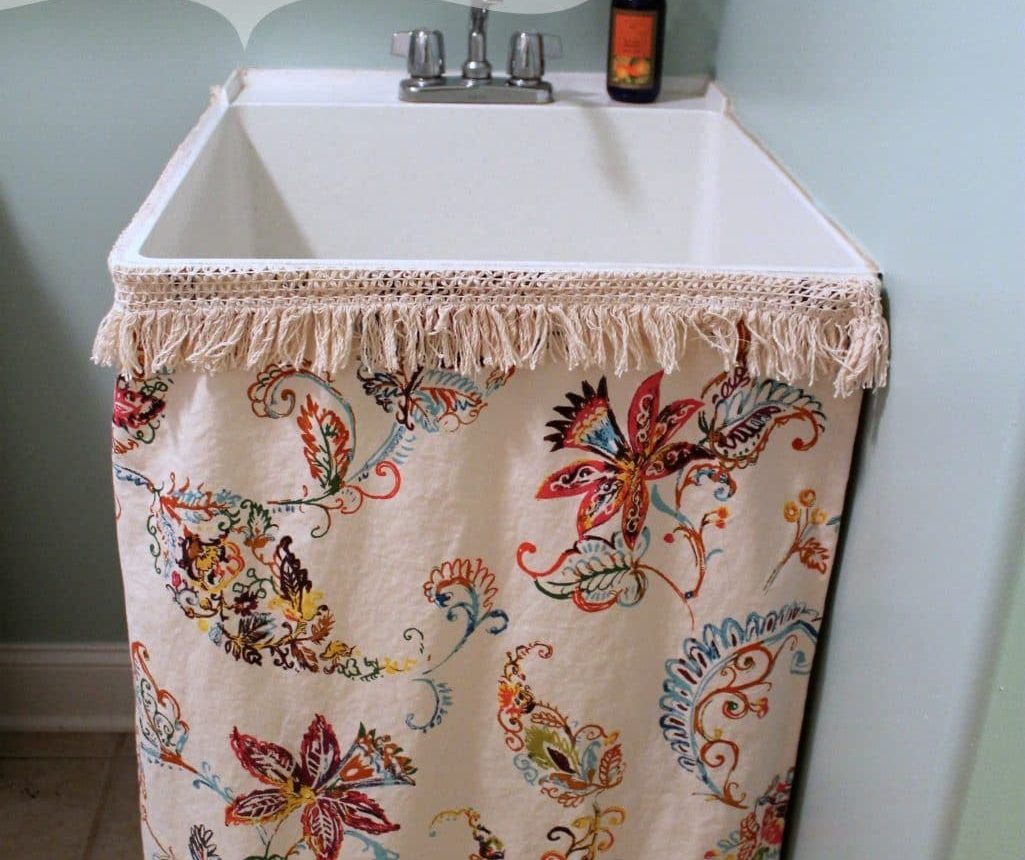
I’ve been slowly updating my laundry room for several months, and one small project I recently finished was a utility sink skirt. I’d never had a sink in a laundry room before this house, and it’s been so useful for rinsing stains and cleaning brushes. The sink was functional, but the space beneath it — paint cans and supplies — looked messy. A fabric skirt not only conceals that area but adds style and a little extra storage.
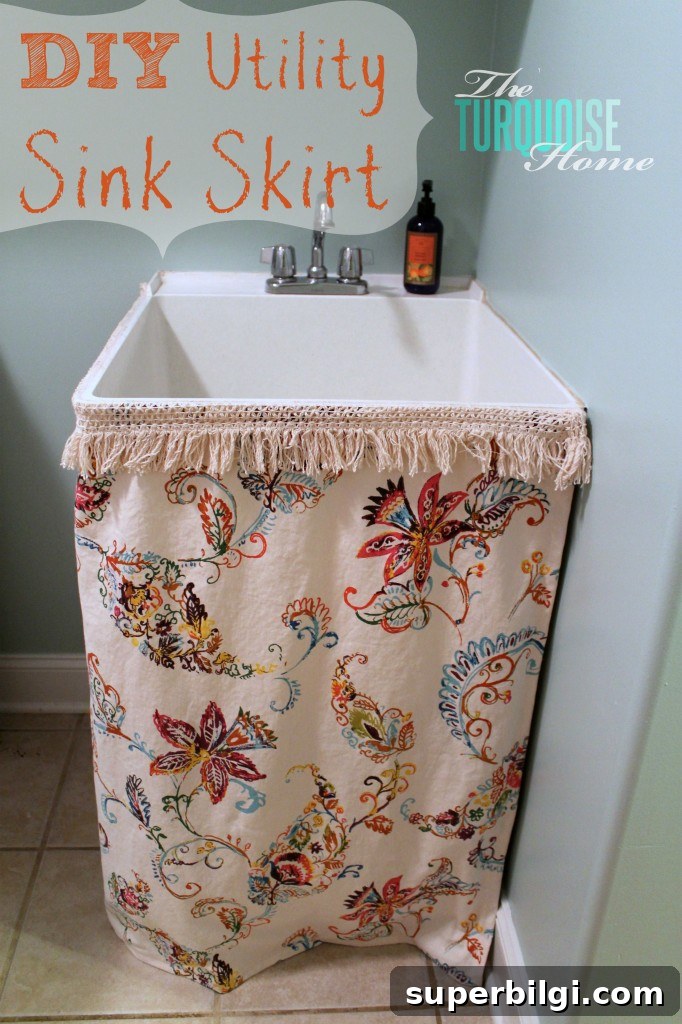
I found inspiration from a project by Traci at Beneath My Heart and knew a skirt would be the perfect finishing touch for my coastal-themed room. I also had a specific fabric in mind. While on a trip for our anniversary, I saw the pattern I wanted in a tablecloth at World Market. The tablecloth gave me the amount of fabric I needed without buying expensive outdoor pillows, and I still had leftovers for future projects like throw pillows.
Tools Needed to Make a Utility Sink Skirt
- Fabric (tablecloth, curtain, or yardage)
- Fabric scissors
- Adhesive Velcro
- Sewing machine or needle and thread
How to Make a DIY Utility Sink Skirt
1. Measure the Sink and Plan Your Fabric
Start by measuring the width and height of the open area under your sink. Decide whether you want a straight skirt, gathered fabric, or pleats. I used half of a tablecloth and kept the decorative fringe at the top, so my measurements focused on cutting away the unnecessary bottom and sides while preserving the fringe and top edge.
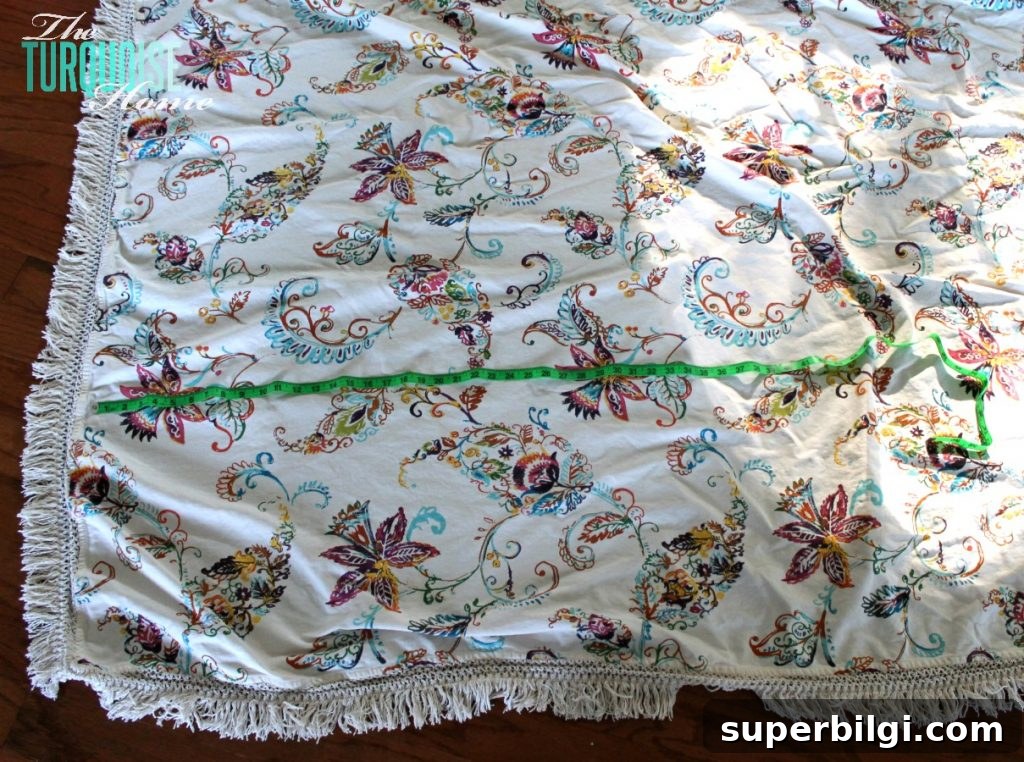
Choosing a fabric you love makes a big difference. A tablecloth or remnant often provides ready-made hems and enough yardage for a tidy skirt without expensive yardage costs.
2. Cut the Skirt Pattern
Lay the fabric flat and cut away the bottom and extra sides, leaving the top fringe or hem intact if that’s part of your design. I trimmed the edges so the piece would fit the sink opening and left extra fabric at the bottom to hem accurately after fitting.
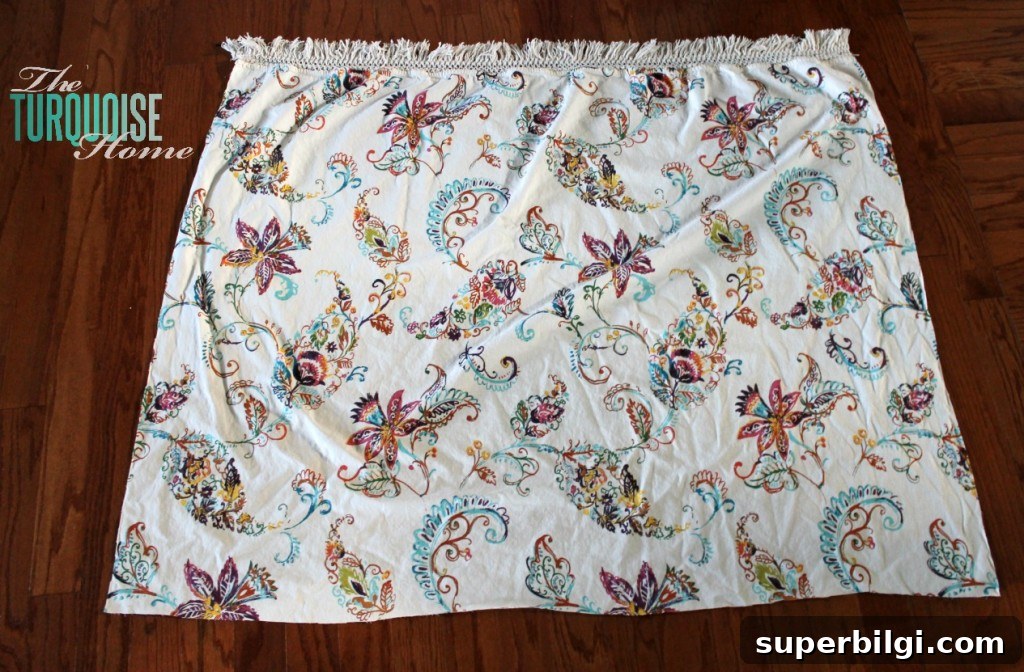
Pressing the fabric before sewing removes wrinkles and makes hemming much easier — even if you don’t consider yourself an expert seamstress. A good iron improves the final look substantially.
3. Hem the Sides
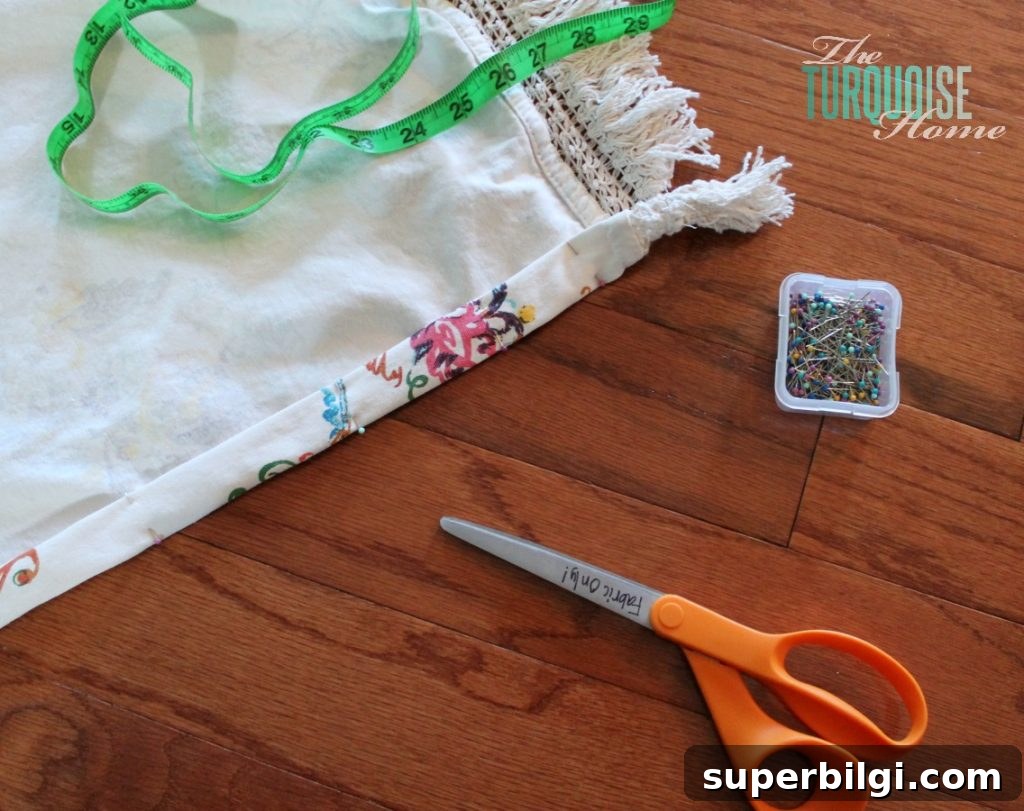
Fold and press the side edges, then sew straight hems on both sides. I hemmed one side, positioned the skirt against the sink, and pinned the other side in place for the best fit. Fitting as you go helps avoid measurement errors and ensures a neat, symmetrical result.
4. Attach Adhesive Velcro to the Sink
Use adhesive Velcro strips to secure the skirt to the countertop or sink surround. I applied the rough side of the Velcro to the underside of the sink where it would stay out of sight. Clean the surface first so the adhesive bonds well. The adhesive Velcro I used has held up nicely in this application.
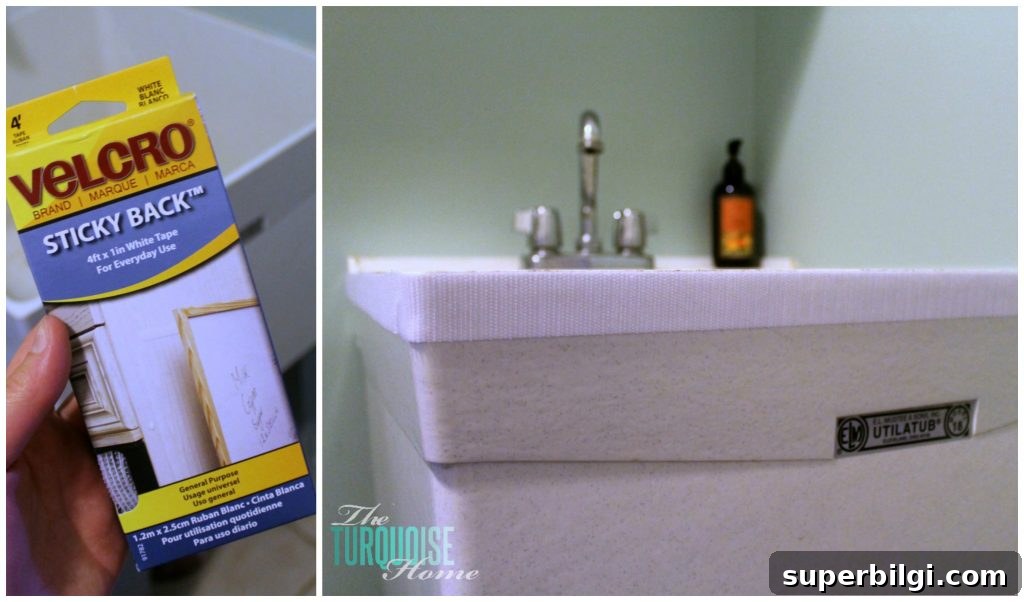
5. Attach Velcro to the Skirt
Stick the corresponding soft side of the Velcro along the top edge of the fabric where it will meet the sink. I attempted to sew the Velcro in place, but the adhesive made sewing tricky. If you plan to remove the skirt for washing, consider sewing a fabric loop or using sew-on Velcro; otherwise, the adhesive-backed Velcro holds well for occasional removal.
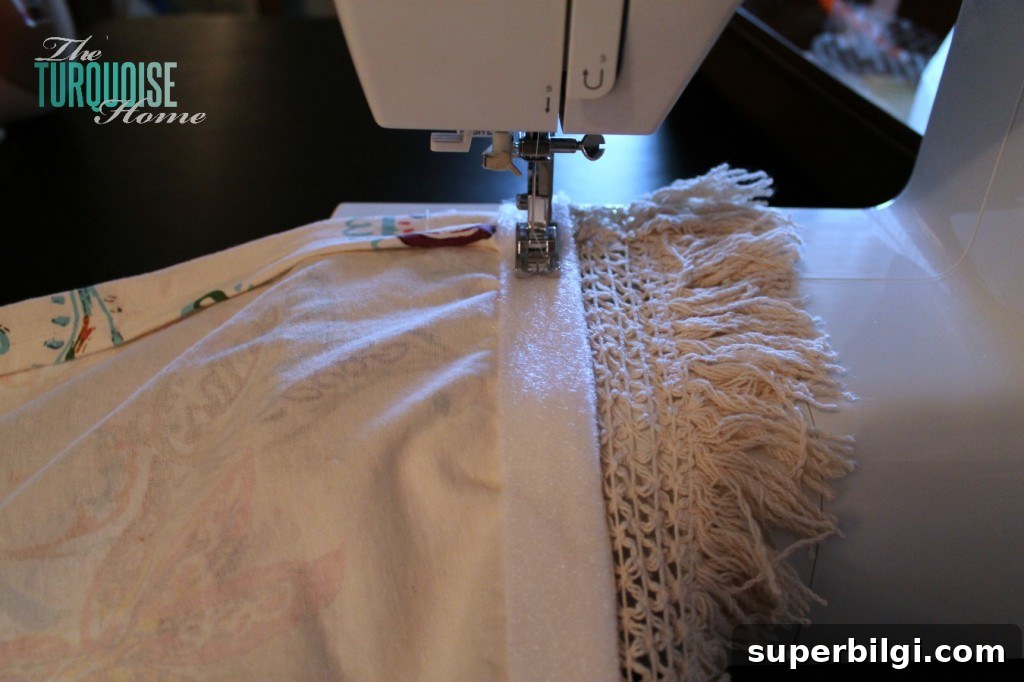
6. Final Hem and Fit
With the Velcro attached, fasten the skirt to the sink and pin the bottom edge to determine the perfect length. Sew the bottom hem while the skirt is in place for an accurate fit. This step ensures the skirt falls evenly and covers the storage area without dragging on the floor.
The finished skirt hides paint cans and supplies, adds a tailored look to the sink, and reinforces the coastal theme in my laundry room. A few hours of work and an inexpensive piece of fabric can transform the space and add functional hidden storage.
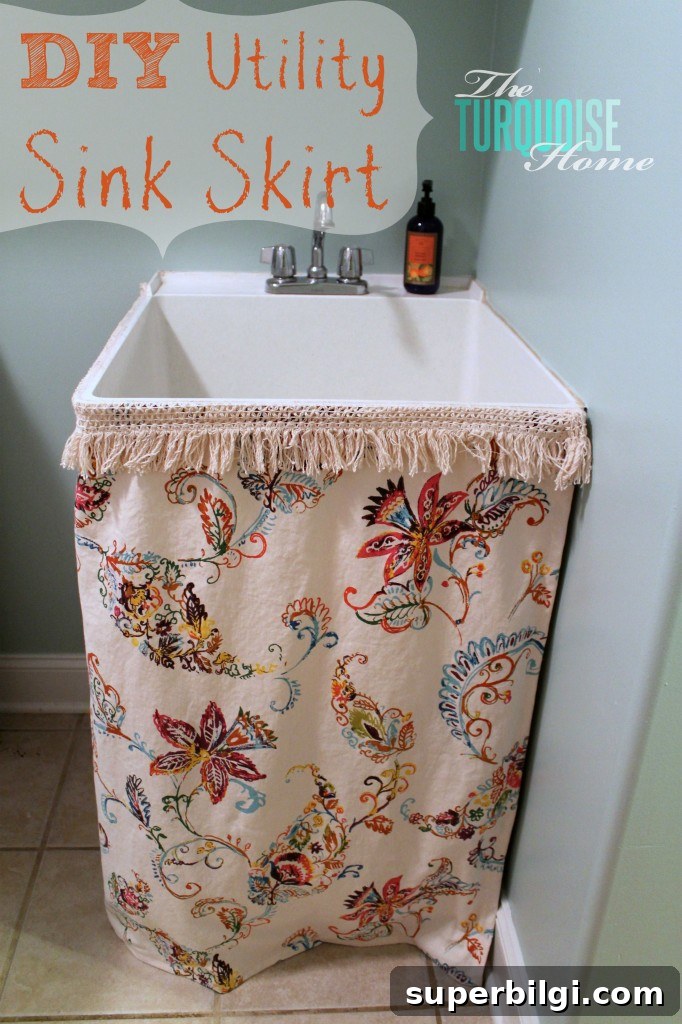
I’m excited to finish the rest of the room, but this small project already makes a big visual impact. Below are some tips and variations to consider:
- Use a lightweight curtain panel or tablecloth for quick projects.
- Add trim, fringe, or ribbon to match your decor style.
- If you need to wash the skirt frequently, sew on sewable Velcro or create removable loops instead of relying solely on adhesive-backed strips.
- For a gathered look, add a simple pocket or rod channel and slide a thin tension rod along the sink’s underside.
Thanks for reading — if this DIY utility sink skirt inspired you, try it in your laundry or mudroom to hide clutter and add personality.
More Posts You Will Love:
- DIY Drop Cloth Curtains
- DIY Chinoiserie Pumpkins (with video tutorial)
- How to Install Peel & Stick Floor Tile
- How to Add Curtain Trim Tape for a Custom Look