
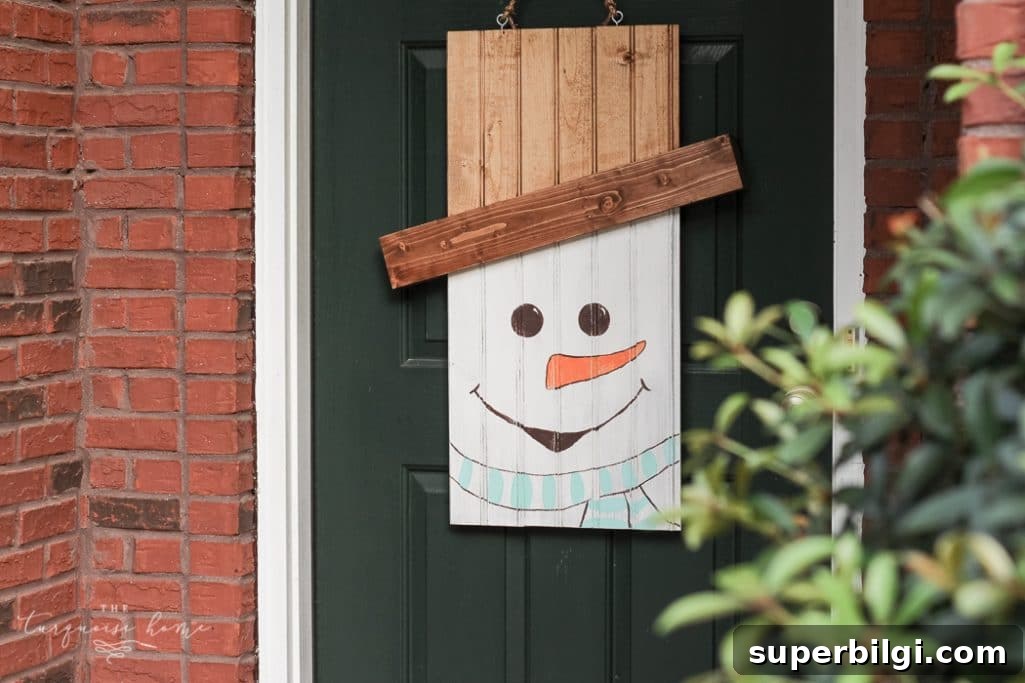
Make an adorable DIY rustic snowman door hanger that adds charm to your entryway all winter long. I love projects that let me use paint and power tools, and this one delivers quick, satisfying results—perfect for a weekend afternoon craft session.
Ready to see how my rustic snowman turned out?
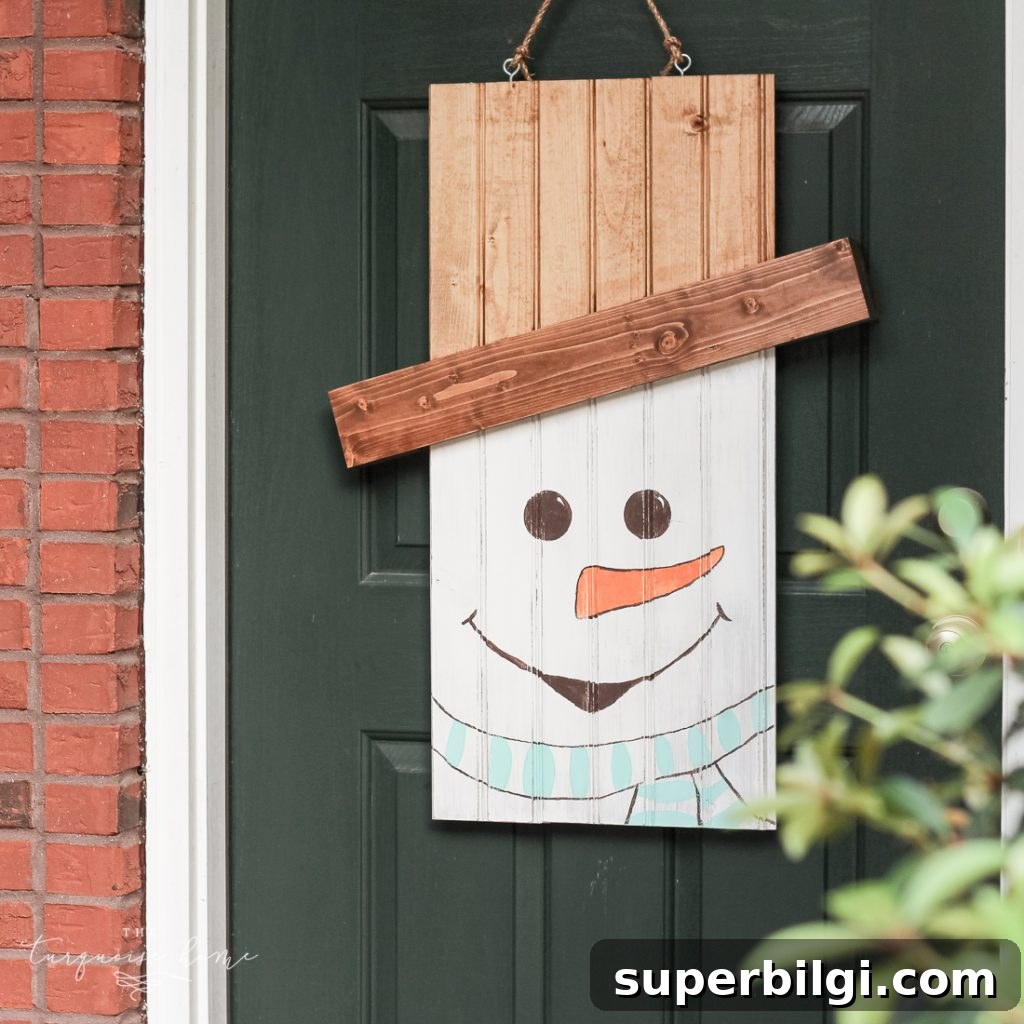
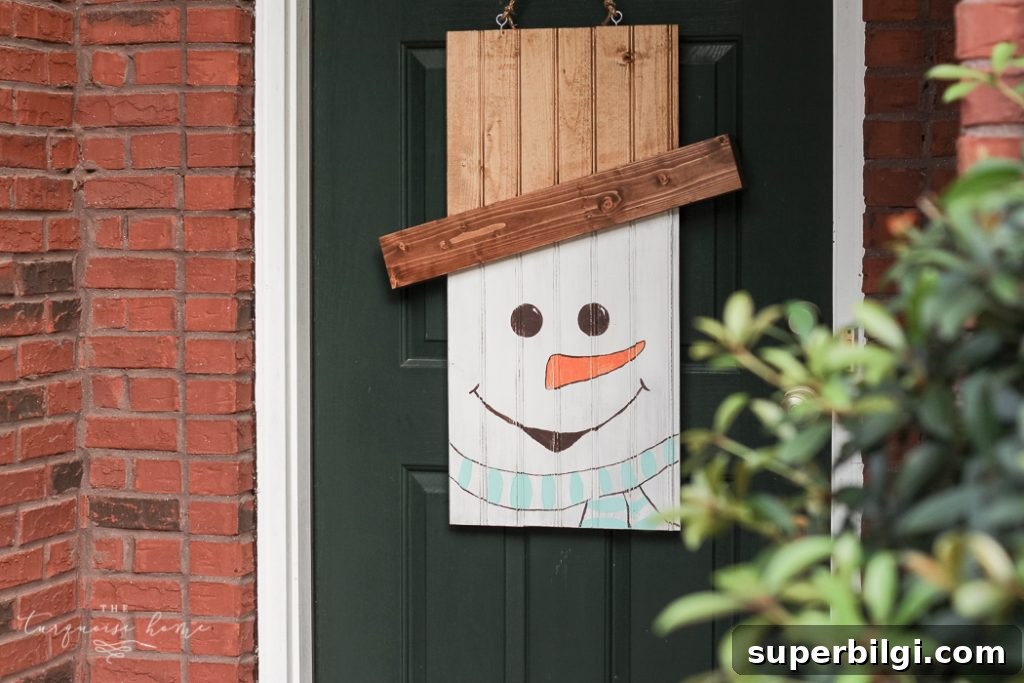
He looks so cheerful standing guard at the door, wrapped in a turquoise-striped scarf. This design balances a classic look with a bit of personality, and it transitions nicely from Christmas into the full winter season.
If you want to make your own, here’s a clear, step-by-step guide along with helpful tips for finishing and personalizing the piece.
Materials and Tools
- Wood boards or pre-cut wooden circles for the snowman’s head and body
- Wood for the hat and brim
- Wood glue and small finishing nails
- Sandpaper (medium and fine grit)
- Wood stain in two shades (one darker, one lighter) and white chalk-style paint
- Paintbrushes, a foam brush, and a rag for wiping stain
- Twine or ribbon for a scarf; acrylic paint for stripes
- Black paint or wood-burned details for the eyes and mouth; orange paint for the carrot nose
- Hanging hardware (sawtooth hanger or sturdy loop)
- Optional: distressing tools (sanding block or steel wool)
Step-by-Step Instructions
1. Cut and prepare the wood: Start by cutting the pieces for the snowman’s body and head. If you prefer, use pre-cut wooden rounds to speed things up. Cut the hat from a contrasting piece of wood and add a separate brim piece.
2. Sand and assemble: Sand all edges and surfaces smooth with medium then fine grit sandpaper. Arrange and glue the pieces together—head atop body, hat pieces attached—and reinforce with small finishing nails if needed. Allow glue to dry thoroughly.
3. Stain the hat and brim: For a rustic effect, stain the hat in one shade and the brim in a slightly darker or contrasting tone. Apply stain with a rag or brush, then wipe off the excess to let the grain show through. Let each coat dry before deciding on additional layers.
4. Stain and paint the face: Apply a light coat of stain to the face area, then paint over it with white chalk-style paint. Once dry, gently distress the painted surface with sandpaper so the warm stain tones peek through—this gives the snowman a weathered, transitional look that is cozy and timeless.
5. Add facial details and scarf: Paint or wood-burn the eyes and mouth with black paint or a wood-burning tool for a rustic touch. Use bright orange paint for the carrot nose. For the scarf, either paint a striped pattern directly on wood or tie a fabric or twine scarf around the neck and paint accent stripes in turquoise or your chosen color.
6. Seal and add hardware: Protect your piece with a clear matte sealer if you plan to hang it outdoors or in an exposed entryway. Attach a sawtooth hanger, heavy-duty loop, or sturdy ribbon to the back for hanging.
Finishing Tips and Variations
– Distressing: Light sanding across raised areas mimics natural wear and enhances the rustic appearance. Focus on edges and the face to bring out underlying stain colors.
– Color choices: Choose warm stain tones for a classic rustic feel and add a pop of color with the scarf. Turquoise stripes, deep reds, or navy blues work especially well against a white face.
– Seasonal use: This snowman was designed to bridge holidays and winter décor. Keep it on the door from late November through February for extended enjoyment.
– Protection: If your door faces the elements, use an exterior-grade clear coat to protect paint and stain from moisture and sunlight.
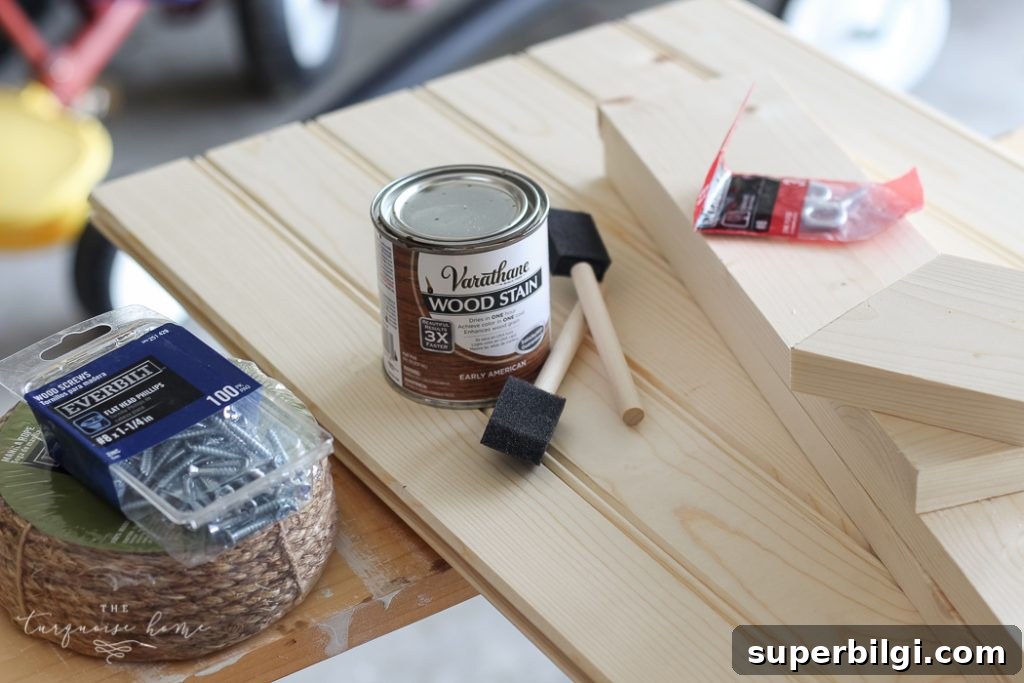
I was given basic instructions for this door hanger but customized the finishes to match my style. Choosing a transitional snowman design means it works beautifully for both holiday and winter decor, making it a versatile addition to the home.
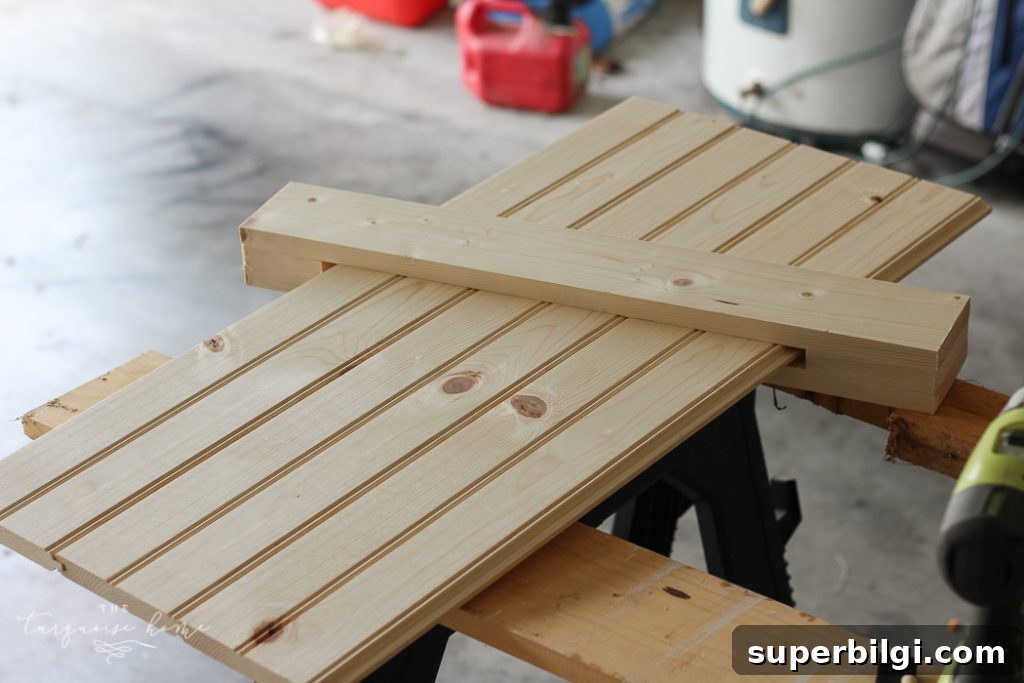
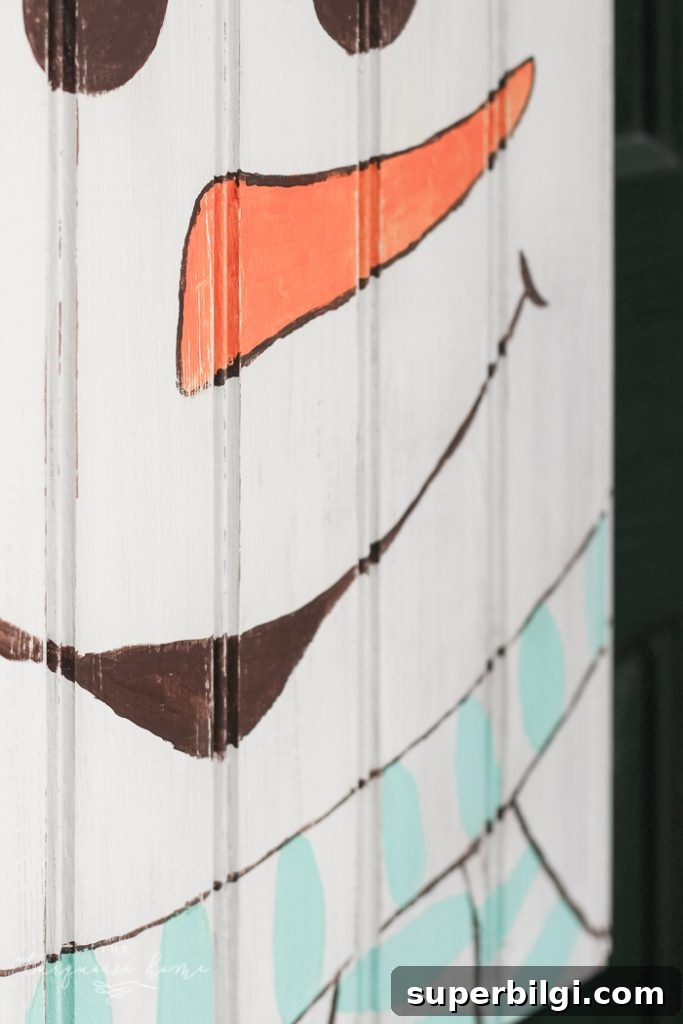
I chose to stain parts of the hat in two complementary shades, stained the face and layered white paint on top, then distressed it so the wood grain and stain peek through. The turquoise striped scarf adds a cheerful contrast and personality to the snowman’s face.
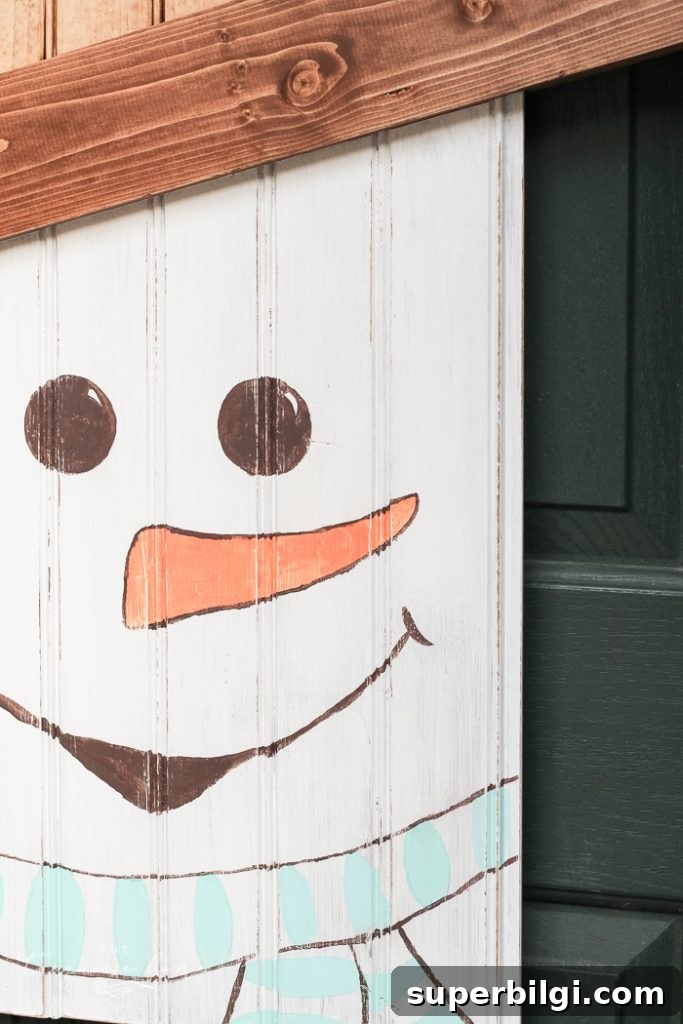
If you prefer a non-traditional color palette, experiment with muted pastels or farmhouse neutrals. The basic construction stays the same, and small adjustments in paint and stain can dramatically change the finished look.
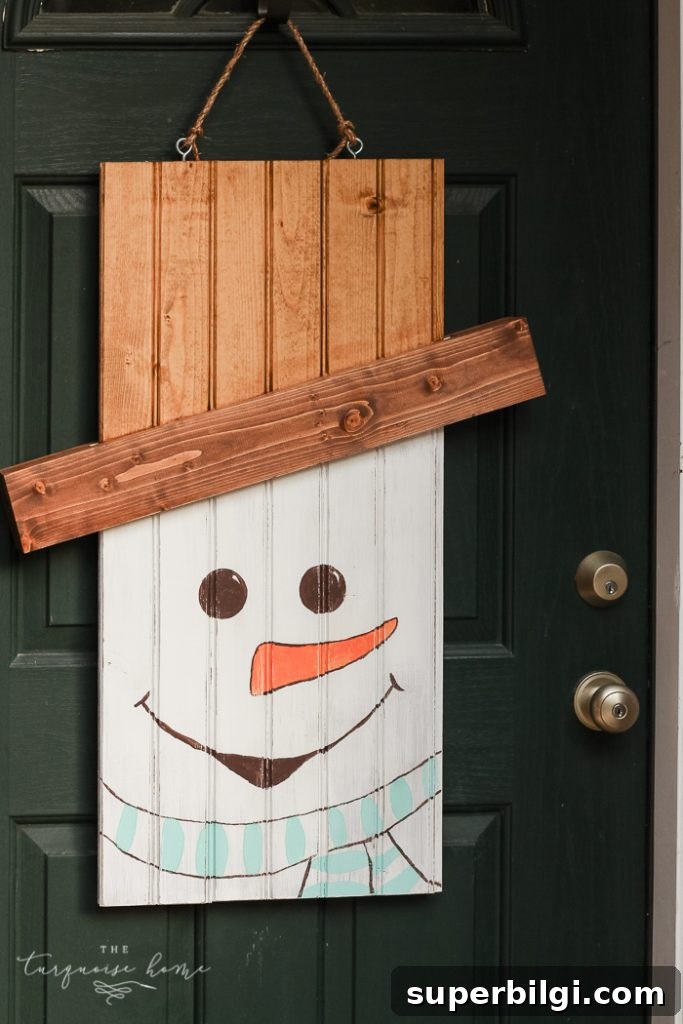
Isn’t he cute? This simple DIY makes a charming, handmade statement at your door and is a fun project to personalize for your home.
Related Project
DIY Lighted Pumpkin Candy Holder — a seasonal project that pairs well with handmade decor for front porches and entryways.
More projects you might enjoy:
- String Art Christmas Stocking Holders
- 25 Amazing DIY Christmas Gifts
- 10+ Handmade Christmas Gift Ideas
- How to Display Kitchen Cabinet Wreaths
- How to Decorate with Christmas Bells (7+ ideas)











