
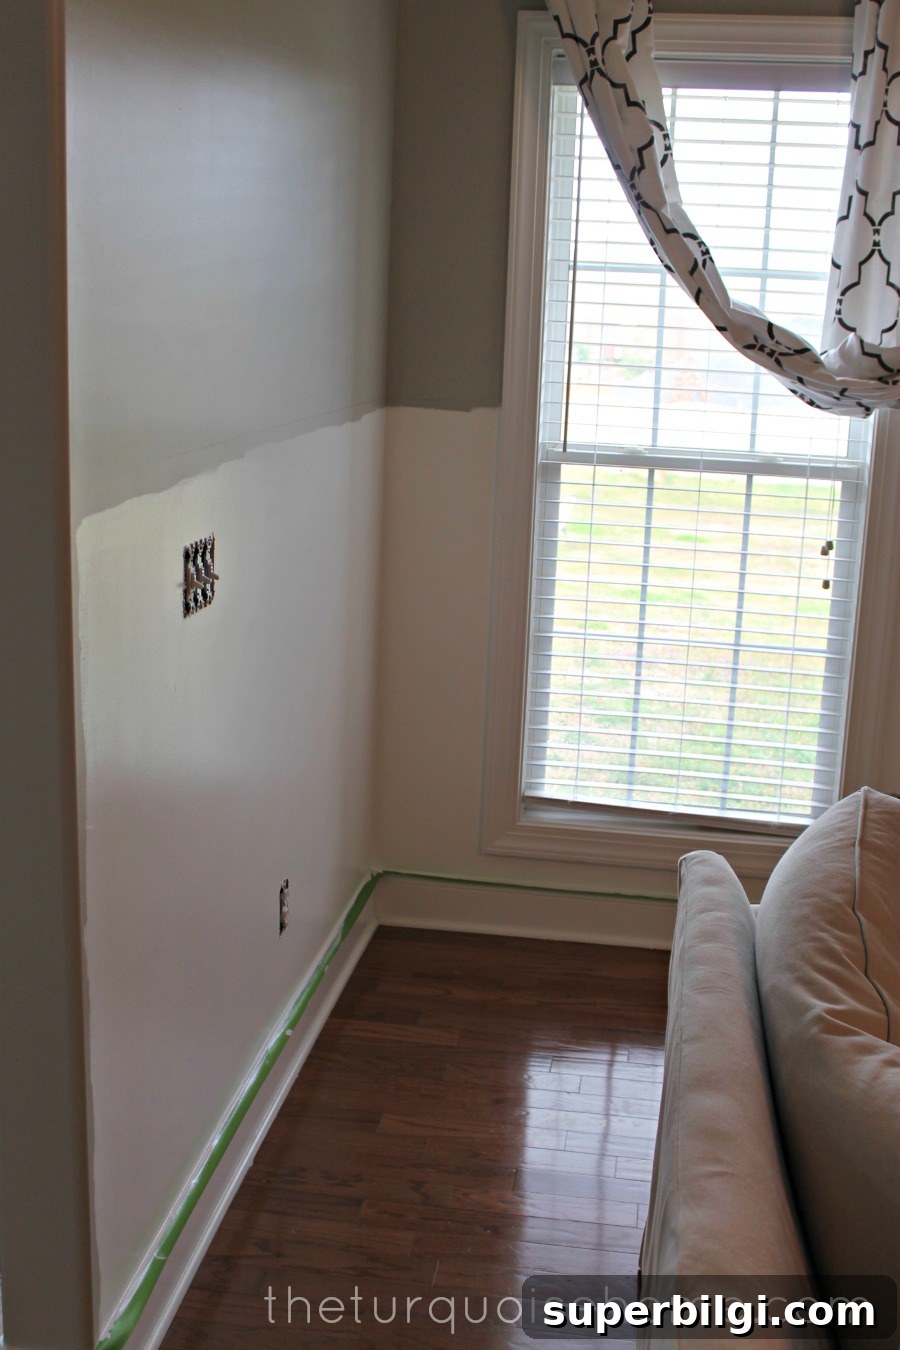
I had hoped to finish nailing all of the MDF boards up on the walls this past weekend, but like most home projects, progress moved a bit slower than I expected. Still, I made a lot of forward motion and learned a few things along the way that helped the process feel smoother.
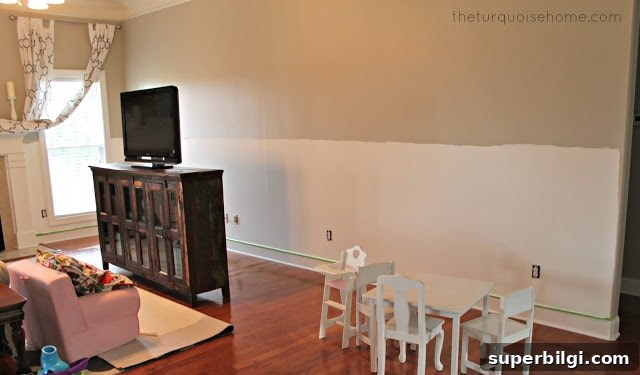
I applied two coats of white paint to the lower portion of the walls. The first color I brought home was an off-the-shelf white that ended up being far too bright and felt almost neon under the room lighting. I returned it to Lowe’s and had the paint color-matched to Benjamin Moore’s Simply White, which instantly looked more natural and warm in the space. If you’re painting interior trim or boards, it’s worth taking a sample home and testing it under the actual lighting so you don’t end up with a too-cold or too-bright finish.
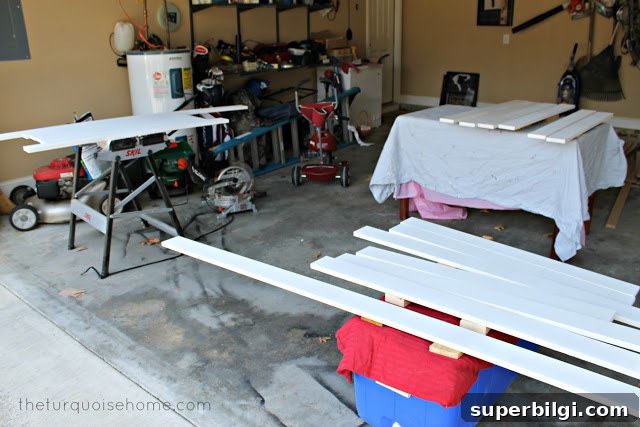
Outside, I started priming and painting the MDF boards in batches. MDF soaks up paint differently than solid wood, so I’m applying a full coat of primer first, followed by a coat of paint before hanging the boards. Doing as much painting as possible before installation helps reduce the amount of touch-up work later, but it does create a temporary storage challenge: you need room to lay out and stack the boards while they dry. I’ve been painting them in shifts, working on as many panels as I can fit, letting them dry, then swapping them out for the next batch.
Late last night I managed to start nailing a few boards into place. I’ll share more photos once they’re all up, but my strategy is to hang them after two coats are dry, then caulk the seams and fill nail holes with wood filler. After the filler and caulk cure, a final skim coat of paint tidies everything up so the boards look seamless and professionally finished. That approach—prime, paint once, install, caulk and fill, then finish with a final coat—saves time and gives a cleaner result than trying to paint everything after installation.
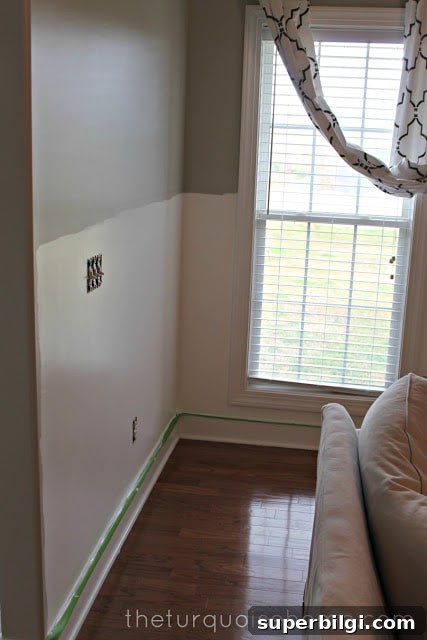
One of the goals for this phase was to eliminate the beige that previously showed through and make sure my chosen gray reads as gray and not as a pale blue. After the new coats and a little color tweaking, the gray finally looks like the intended neutral gray—muted and modern rather than chilly.
This week I don’t expect to make dramatic progress because I’ll have house guests and it’s also my birthday—party on Wednesday—so I’ll likely chip away at the project in small pockets of time. When you’re juggling kids, guests, and a DIY renovation, realistic pacing is key. Small, steady steps move the project forward without overwhelming the household schedule.
If you’re tackling a similar project solo with little ones at home, here are a few practical tips that helped me:
- Prime MDF before painting to prevent blotchy absorption and to get a uniform finish.
- Test paint samples on the wall at different times of day to confirm how the color reads in natural and artificial light.
- Paint boards in batches outside or in a ventilated area, then store them flat to dry to avoid warping.
- Hang boards after they have one full coat of paint and the primer is dry; caulk seams and fill nail holes, then apply a final coat for a seamless result.
- Set realistic timelines—projects often take longer when you’re balancing family and life responsibilities.
Big thanks to my husband, who took our daughter out most of the weekend so I could focus on painting and prepping. They went for a bike ride, visited the park, and spent time outside while I worked—his help made a huge difference and let me accomplish more than I would have on my own. I’ll post another update with progress photos once the boards are fully installed and the finishing coat is on. Until then, I’m happy to have the beige gone and to finally see the gray reading the way I imagined.
More Posts You Will Love:
- How to Install Board and Batten
- Christmas Decorating in the Living Room
- Revere Pewter {The Best Home Decor Paint Colors}











