

Painting trim is one of the simplest updates that creates a dramatic difference in any room. A fresh coat of trim paint sharpens edges, brightens a space, and makes a room feel finished.
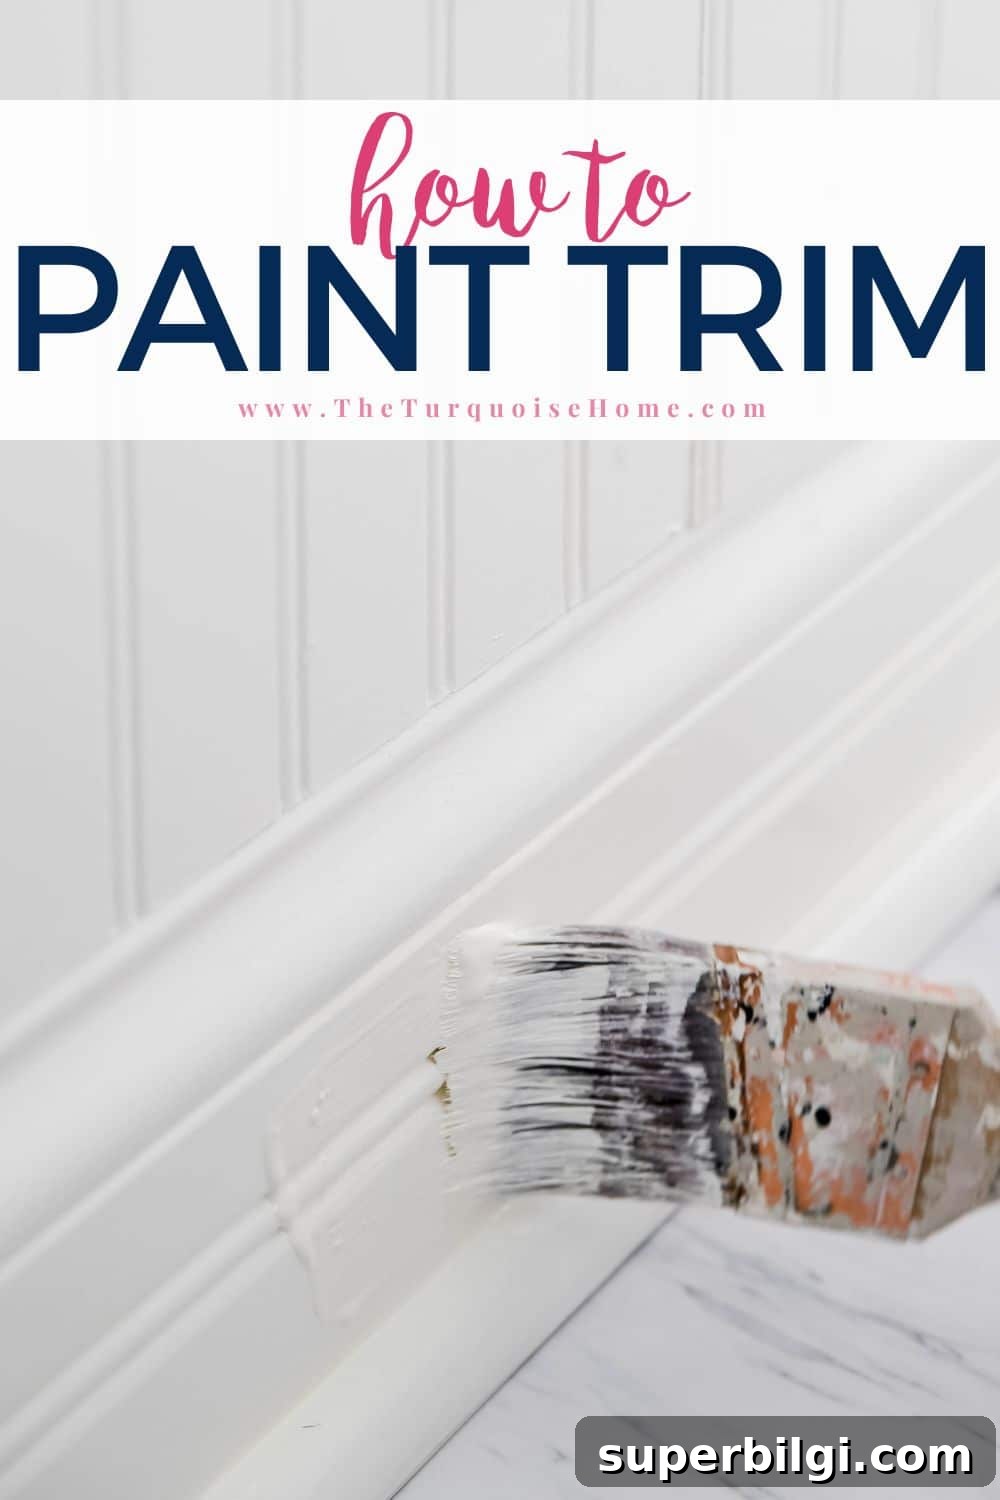
I often write about paint colors, favorite painting tools, and step-by-step wall painting techniques, but for maximum impact on a room refresh, start with the trim. Paint the trim first when possible — it sets a clean frame for your walls and makes subsequent wall painting easier. Below you’ll find practical advice on selecting trim colors, a concise list of well-loved whites, and an easy, step-by-step guide to painting trim like a pro.
Trim is frequently overlooked during updates, yet the right trim color elevates the entire space. Fresh trim paint instantly renews a room, improving perceived size and light. Whether you’re updating a single room or an entire house, treating the trim as a design element pays off.
Choosing the Right Paint Color for Your Trim
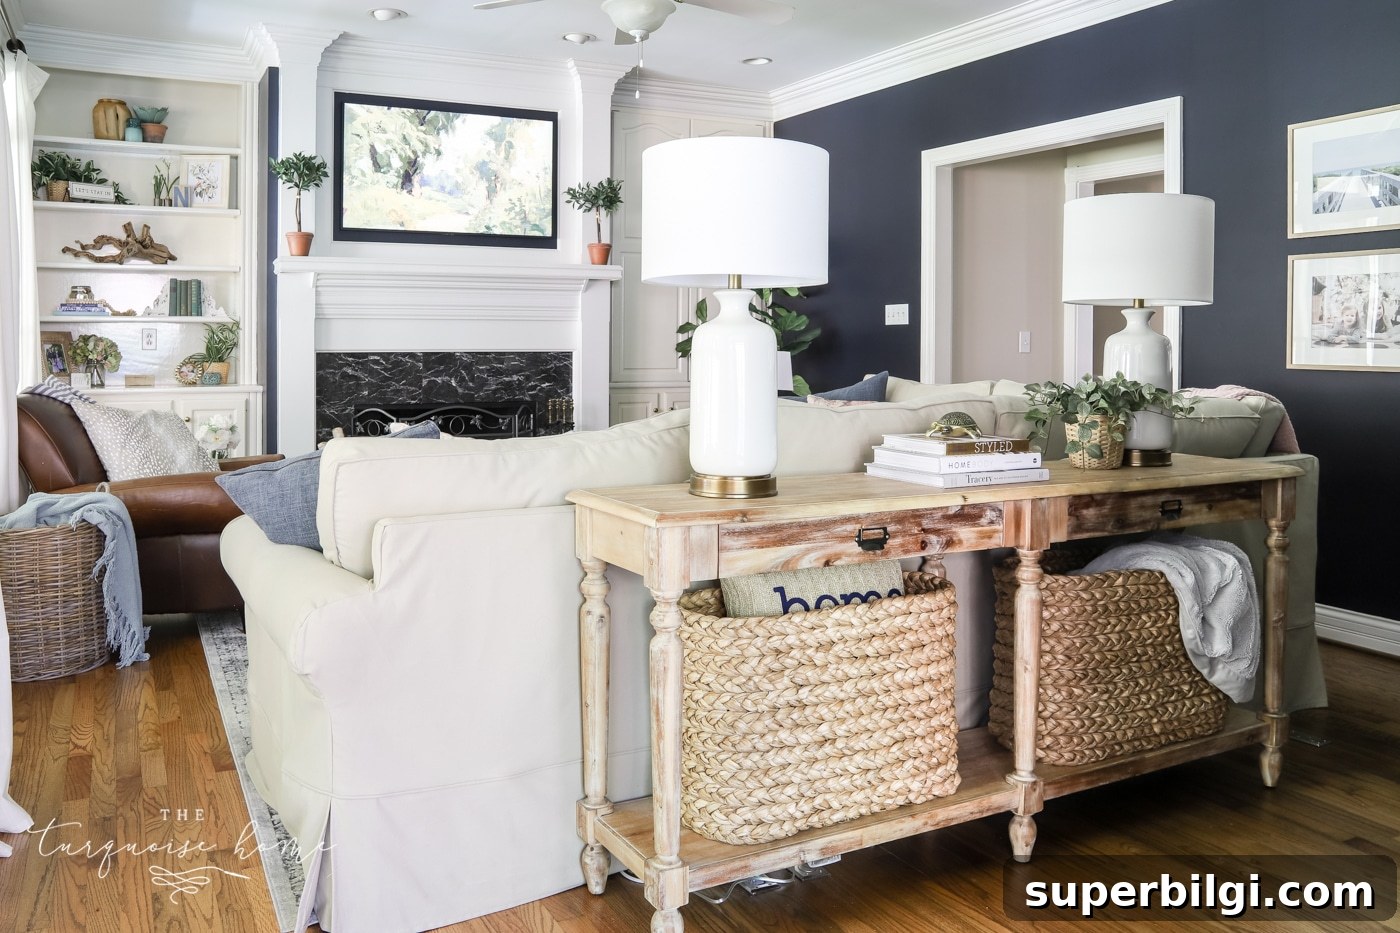
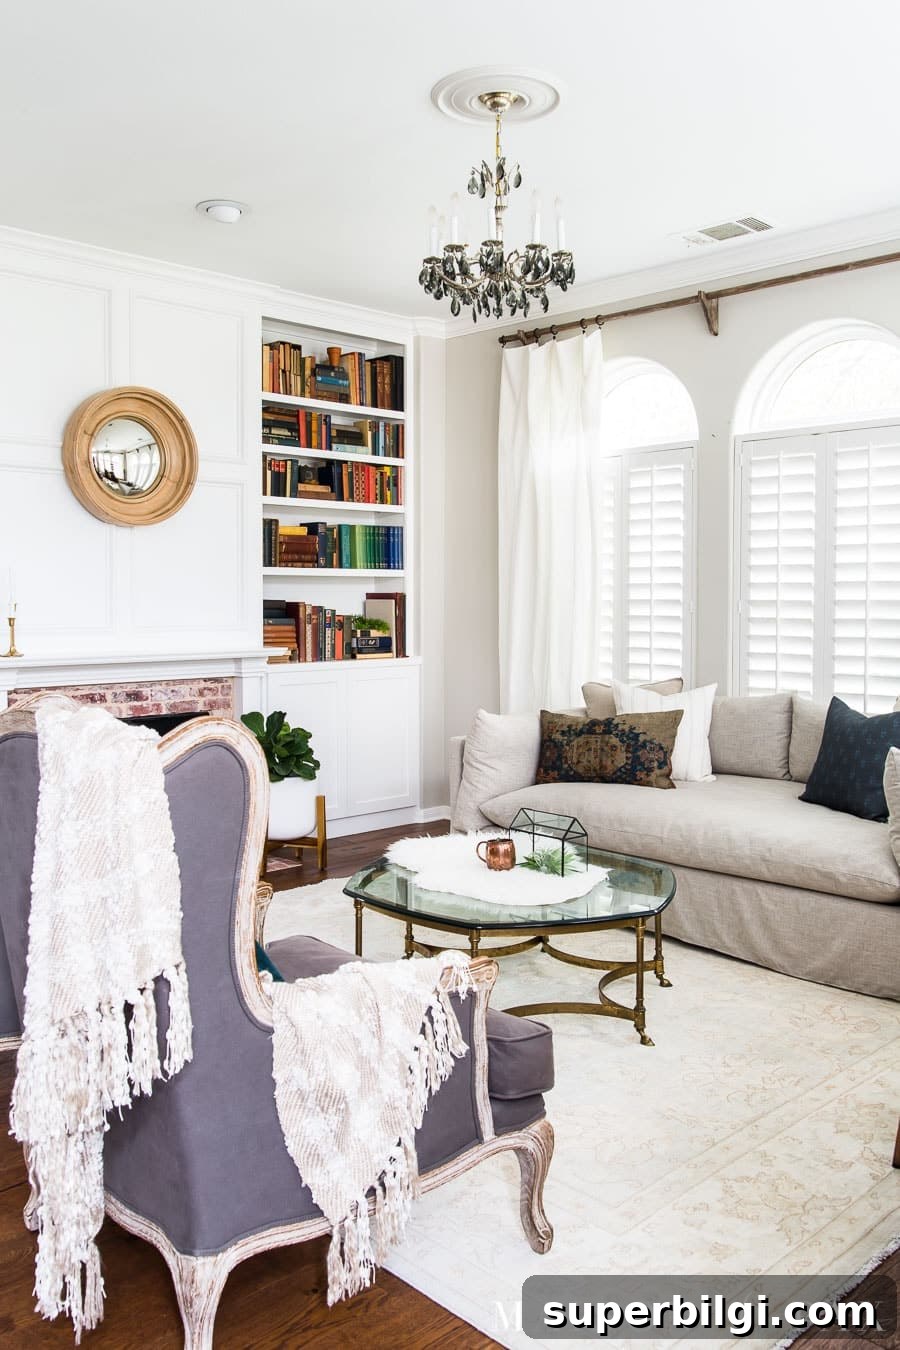
Choosing the right trim color is essential to a polished look. While greiges and other tones can work, the most versatile and reliable choice is a white or off-white. White trim visually expands rooms and blends smoothly with almost any wall color. That said, whites come in warm and cool undertones — pick warm whites for a cozy, inviting atmosphere and cool whites for a crisp, contemporary feel.
Below are commonly recommended whites that perform well as trim colors. Use them as a starting point, then test samples in your space under different lighting to see how they read against your walls and furnishings.
Warm White Paint Colors for Trim
Warm whites create a welcoming backdrop and coordinate with a wide variety of wall colors. Popular warm whites include:
- Benjamin Moore Simply White: A slightly warm white that’s frequently used for cabinets and trim. It reads soft and fresh without appearing stark.
- Benjamin Moore White Dove: A soft, creamy white that lends a subtle warmth and pairs nicely with traditional and transitional palettes.
- Sherwin Williams Alabaster: A gentle, creamy white that adds depth and a comfortable glow.
- Sherwin Williams Pure White: Slightly warm and bright, it lifts spaces without feeling clinical.
Cool White Paint Colors for Trim
Cool whites give a clean, modern appearance and can make rooms feel brighter and more spacious. Here are a few reliable cool whites for trim:
- Benjamin Moore Chantilly Lace: A crisp, bright white often used for ceilings and trim where a clean, consistent look is desired.
- Sherwin Williams Extra White: A pure, clean white that enhances natural light and works well with both warm and cool wall tones.
- Benjamin Moore Decorator’s White: A white with a hint of cool gray, excellent with cool blues, grays, and greens.
Step-by-Step Guide to Painting Trim
1. Prep the trim
Start by cleaning the trim with a damp cloth or sponge to remove dust, grease, and grime. Inspect for dents and cracks and fill them with spackling compound; once dry, sand patched areas smooth with 120-grit sandpaper. If the existing finish is glossy, a light sanding across the entire trim will help the new paint adhere. The surface should be clean and matte, not slick.
2. Protect the surrounding areas
Use drop cloths to protect floors and furniture. Painter’s tape can protect walls, floors, and adjacent surfaces if you want crisp edges. For baseboards, many pros tape the floor and freehand the wall edge with an angled brush. If you’ll be painting the walls afterward, perfect wall-edge lines are less critical — but tape where you want absolute precision.
3. Prime the trim
Apply a high-quality primer if the trim is bare wood, stained, or you’re making a dramatic color change. Let the primer dry fully — longer drying time reduces problems with adhesion and texture. If the primer shows brush marks or drips, lightly sand and remove dust before painting.
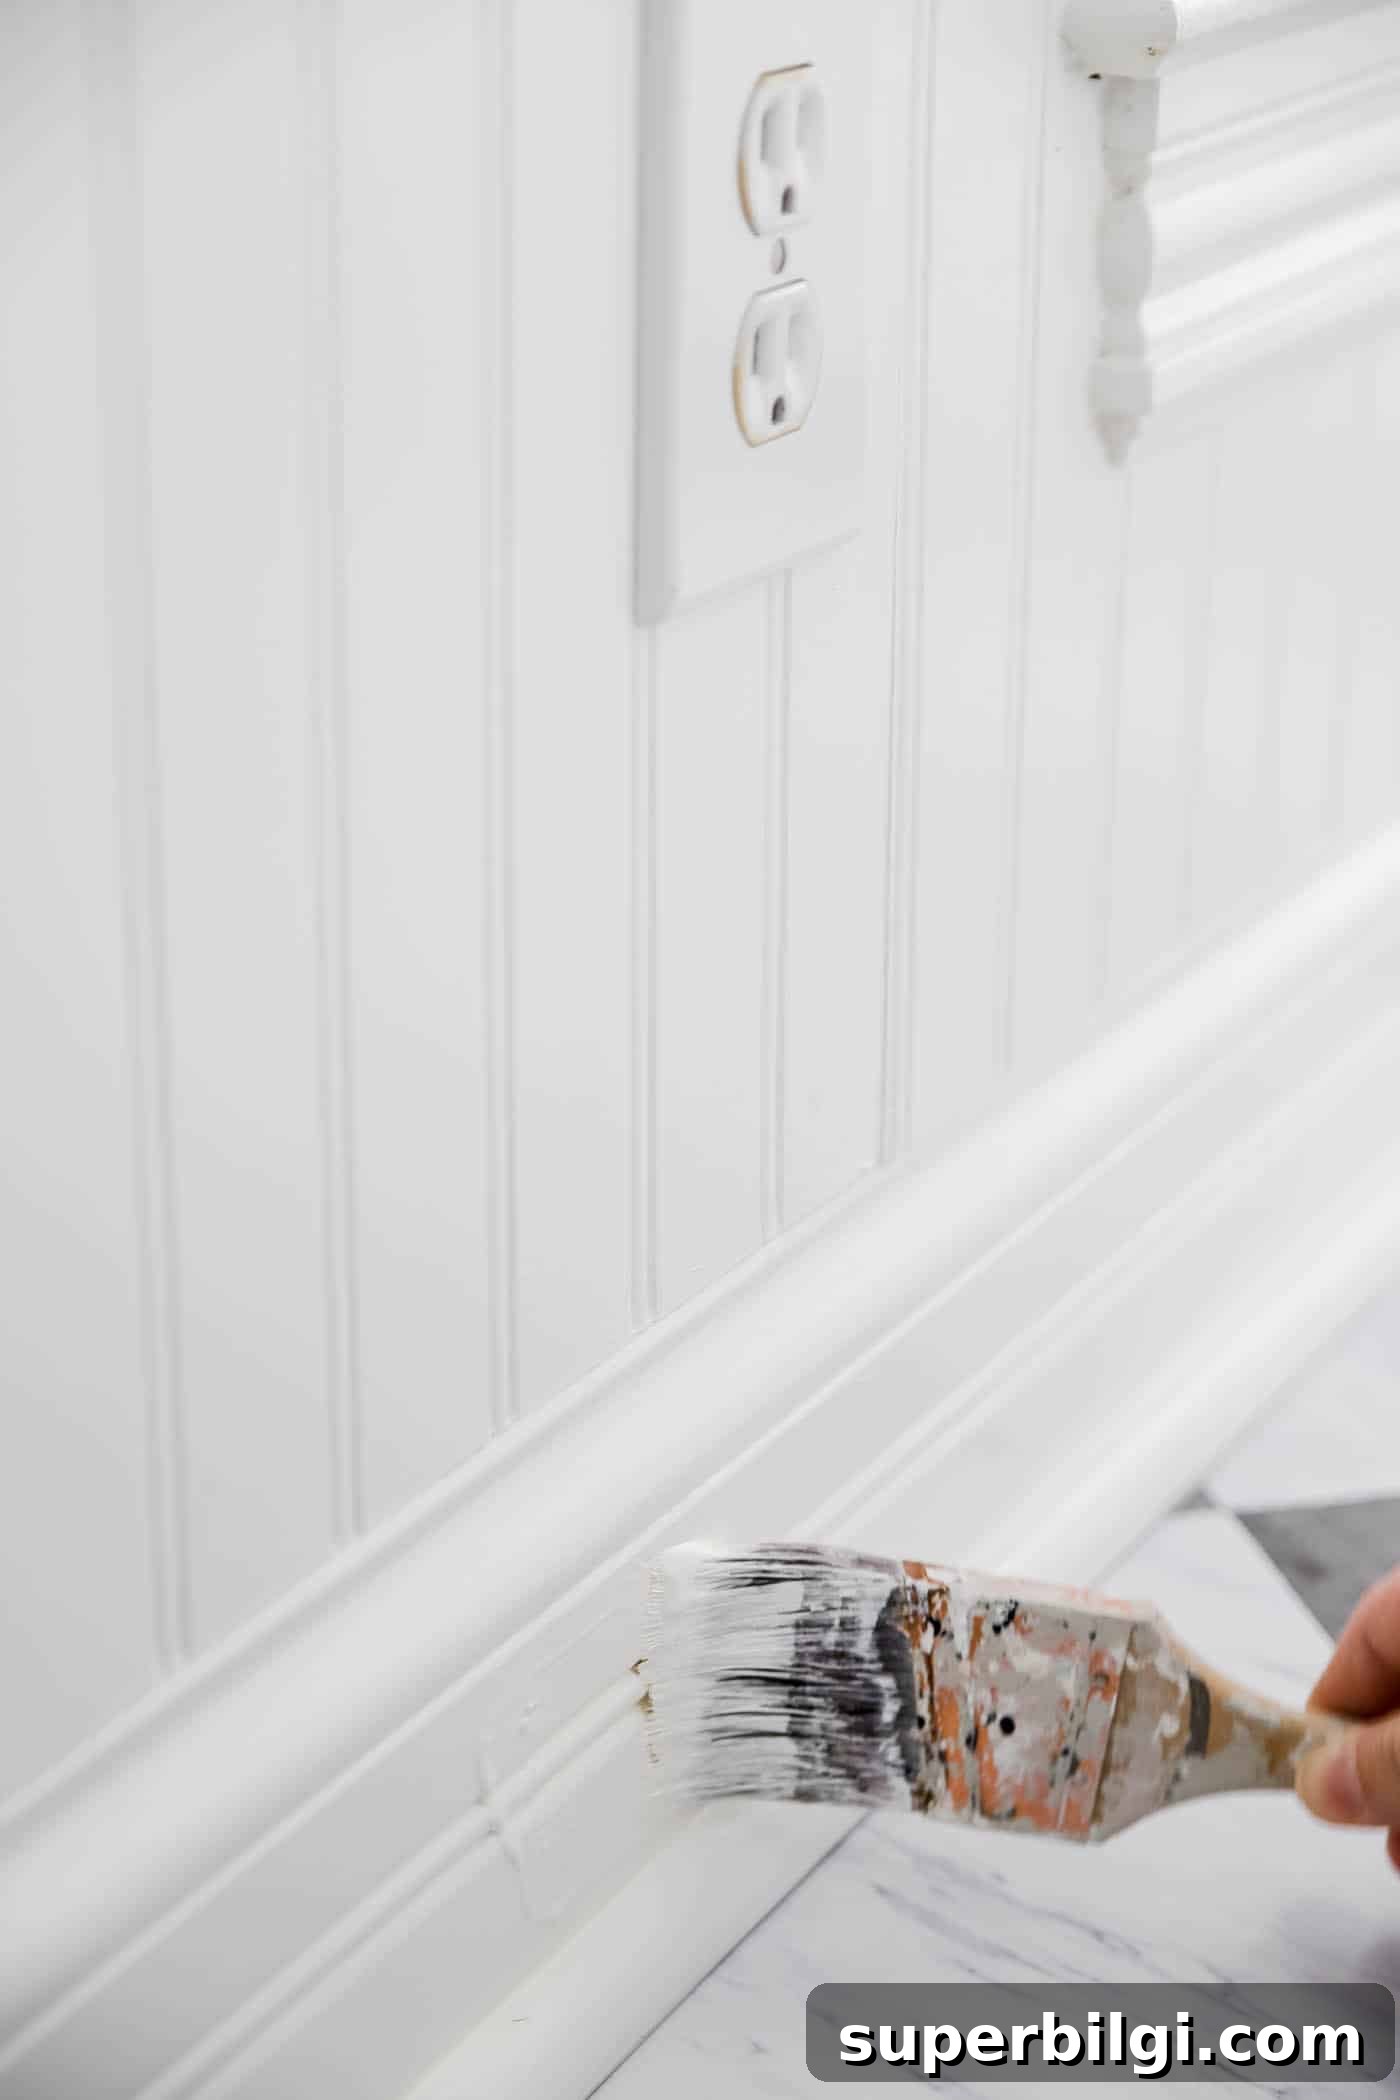
4. Paint the baseboards
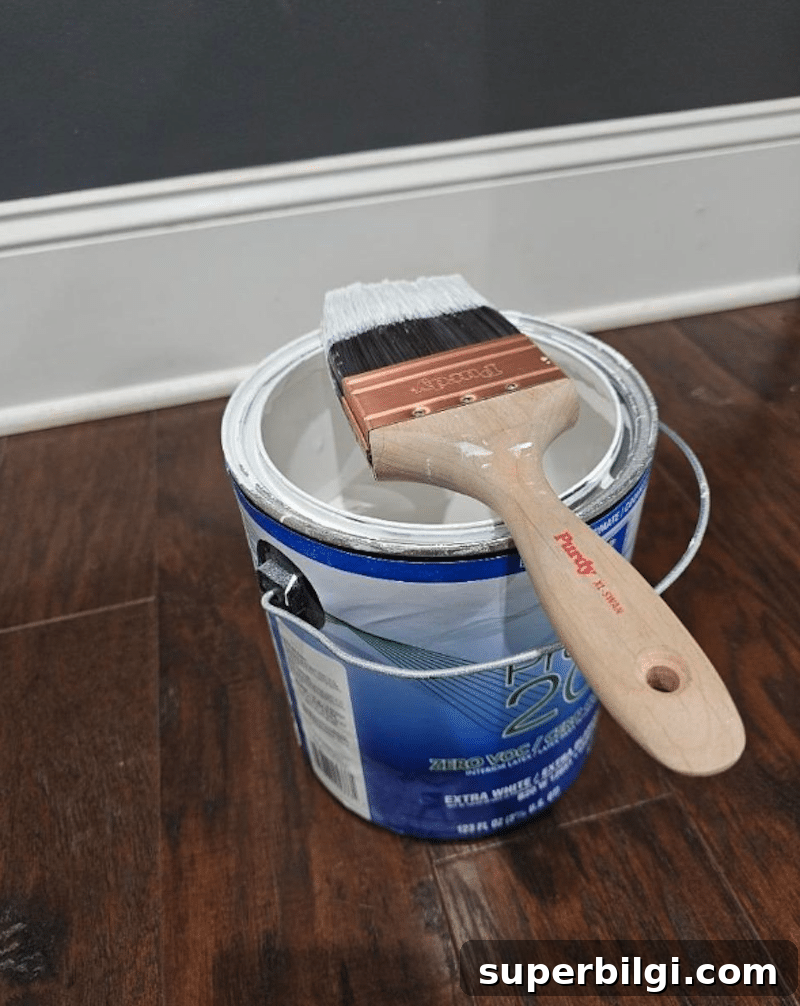
Begin with an angled brush and use short, even strokes along the trim’s profile. Without reloading the brush, drag a long stroke to smooth the paint and reduce brush marks. For a very smooth finish, lightly roll a mini-roller along the length of the trim while the paint is still wet to blend strokes.
5. Paint the door and window frames
Tape the wall edge if you need a sharp line, and paint from the top down. Work in short strokes to load paint evenly, then finish with a long stroke to smooth the surface. A small roller can help level out brush marks on flat sections.
6. Paint the crown molding (if present)
For crown molding, tape both the ceiling and the wall for the cleanest results unless you will paint the ceiling or walls right after. Work in small sections and keep a wet edge to minimize lap marks. Steady, controlled brushwork yields the best lines on detailed profiles.
7. Allow the paint to dry
Drying time varies by paint type and conditions. Oil-based paints generally need up to 24 hours to dry before recoating; many water-based (latex) trims will be dry to the touch in six to eight hours. Wait until the trim is fully dry before applying a second coat or removing tape to avoid smudging or lifting the paint.
More Helpful Info
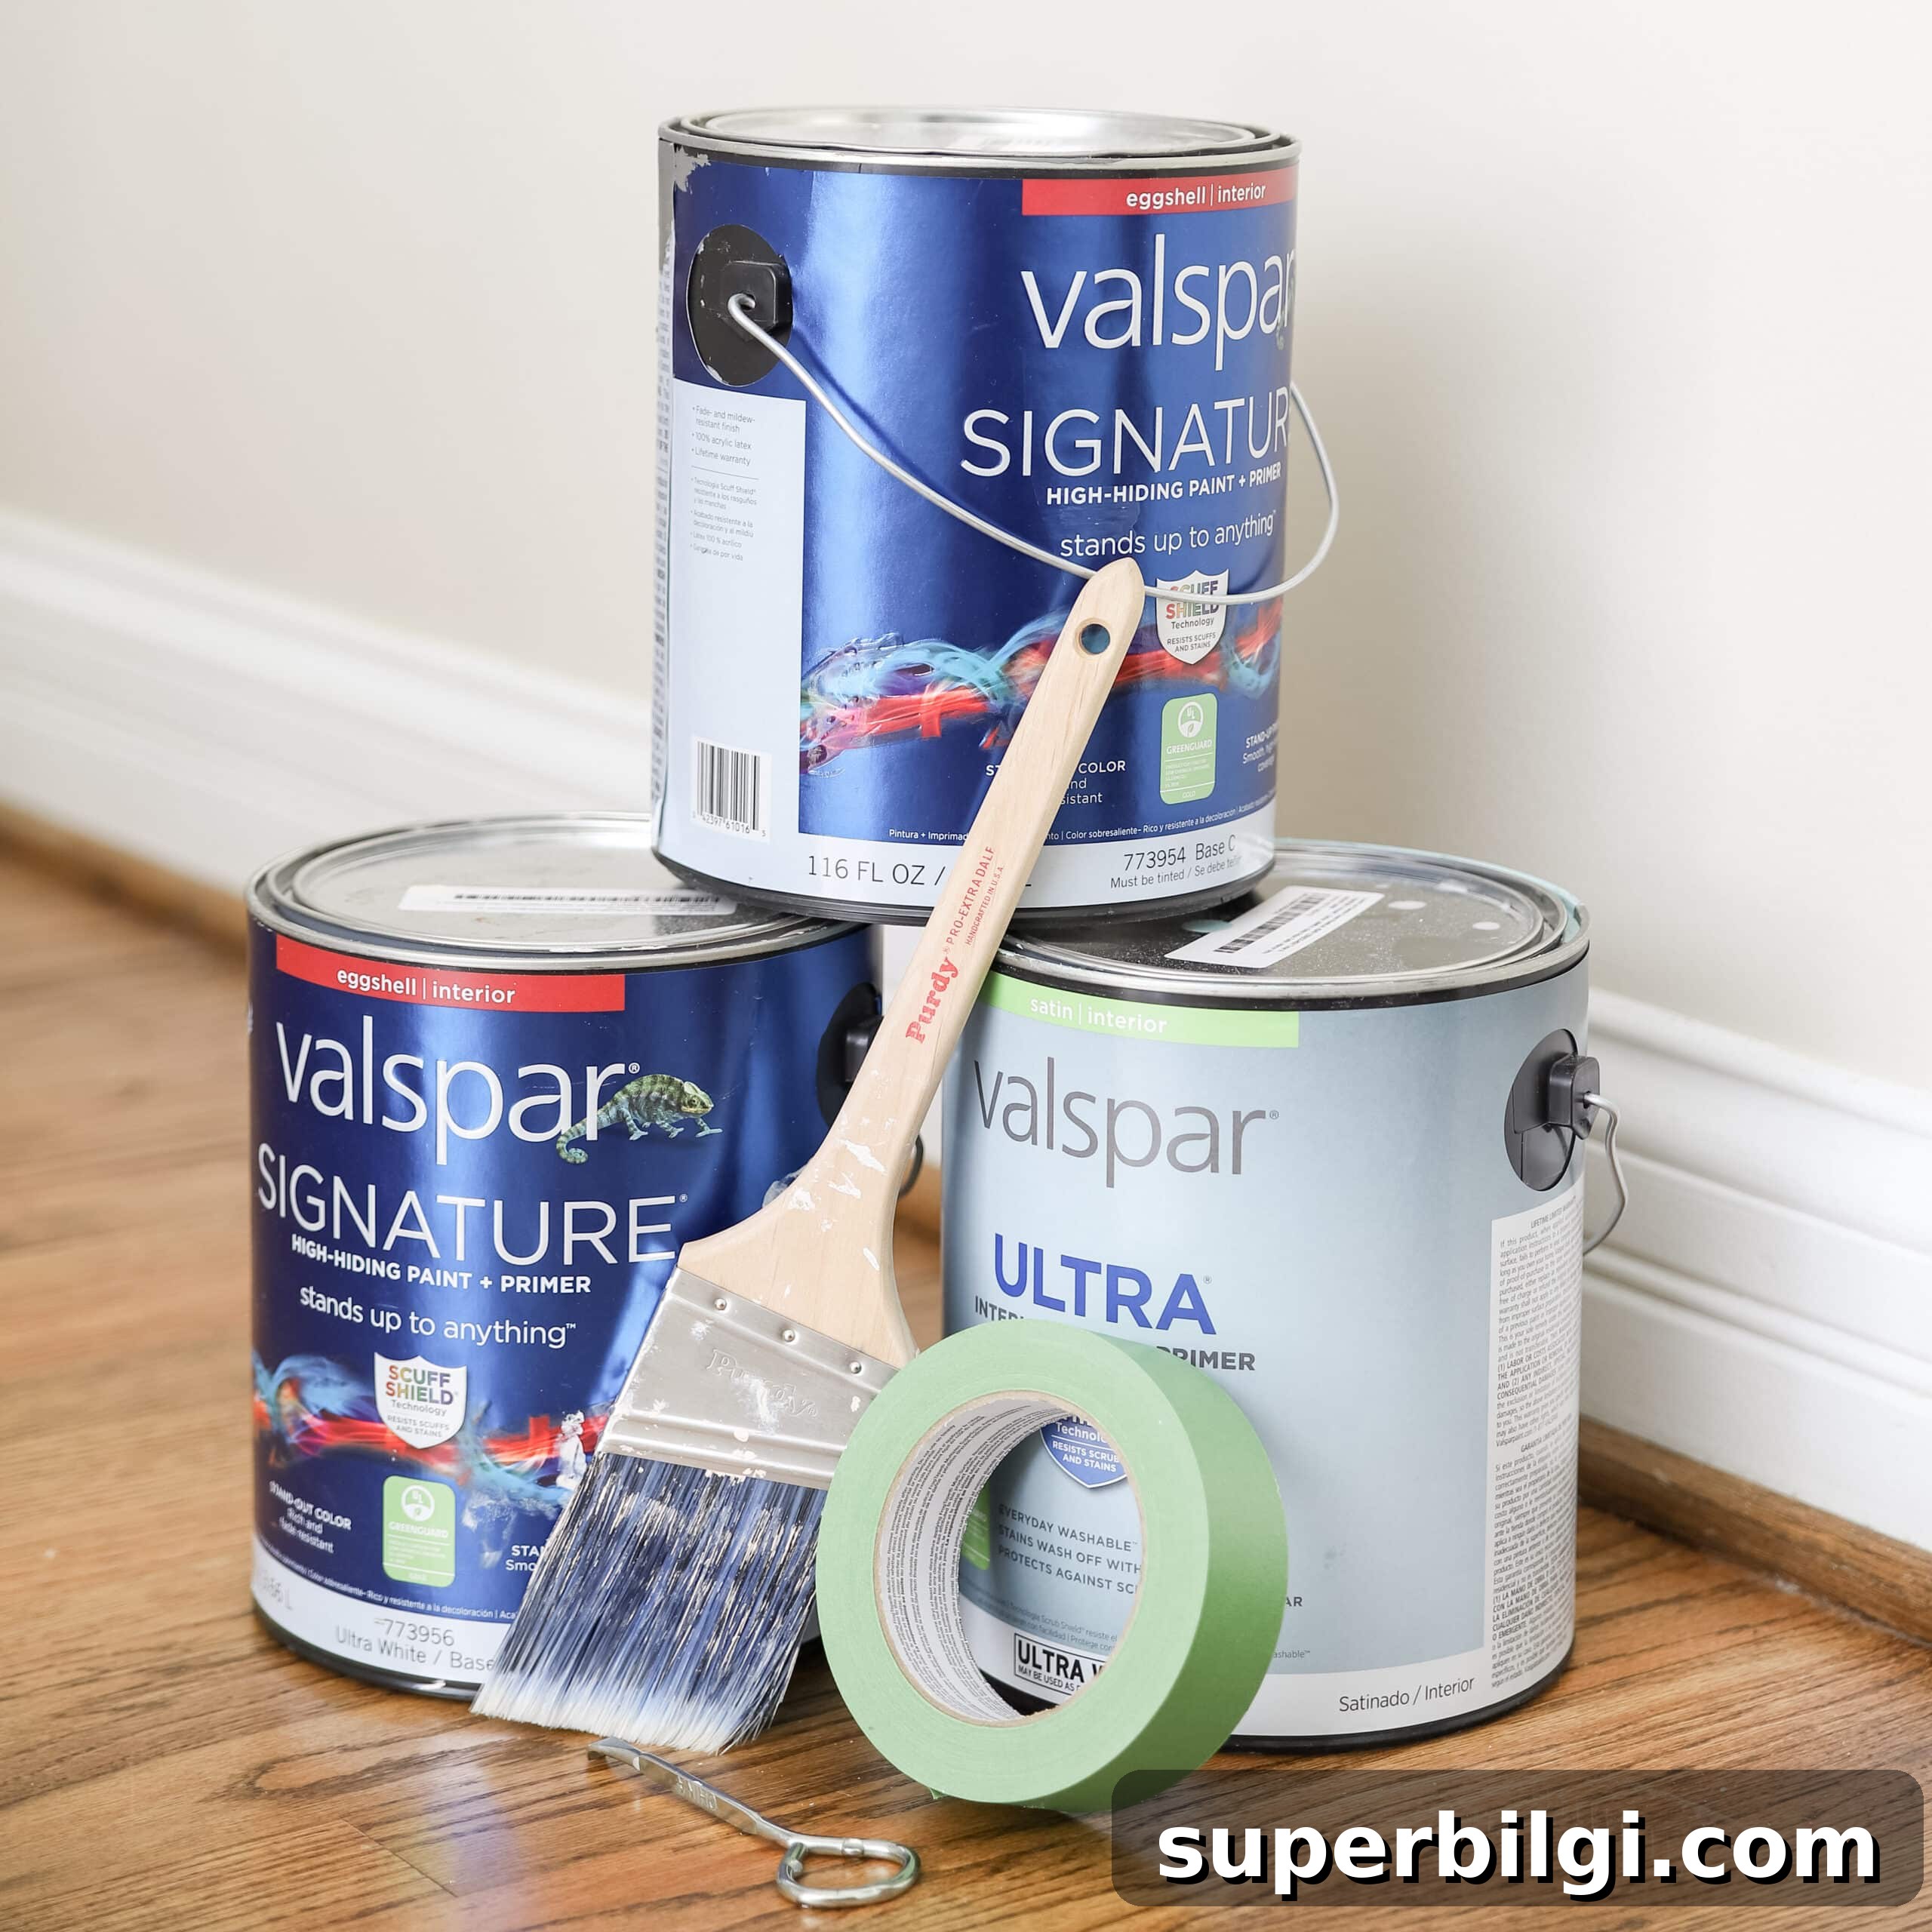
If you want to expand the project, consider guides on paint finishes, recommended tools, and painting an entire room. Choosing the right finish for trim — typically satin or semi-gloss — will make it easier to clean and give a subtle sheen that highlights architectural details. Test paint swatches in your room before committing, and always use quality brushes and rollers for the best finish.
- Painting tools and tips: Invest in quality angled brushes, a small foam roller, and reliable painter’s tape for crisp edges.
- Paint a room efficiently: When painting both walls and trim, plan the sequence to minimize re-taping and touch-ups.
- Color selection: Test trim samples in different light and alongside your wall color before finalizing.
- Trim finishes: Satin and semi-gloss finishes are common for durability and easy cleaning.











