

You can transform a room with a single $40 can of paint—here’s an easy, step-by-step guide.
Some people think I’m odd for loving to paint rooms, but there’s nothing like the instant change that comes from a fresh coat of paint. Painting furniture or small crafts is fun, but changing an entire room with an inexpensive gallon of paint delivers the biggest impact for the least money.
Recently I painted my office/guest bedroom—the last builder beige room in the house. After four years of staring at flat beige, I finally gave it a color I actually enjoy.

This time I did something I hadn’t done before: I painted the room white. It’s my first white room (and it won’t be my last), and I love the clean, bright backdrop—especially useful when photographing small projects for the blog.
PRO Tip
Always test the real paint color in your home before committing. Peel-and-stick paint samples made from actual paint are a great no-mess way to try colors on your walls at different times of the day. Move them around the room and keep them for reference so you’re sure about the final choice.
Tools You Need for Painting a Room
- Paint — choose the right formula and finish for your space.
- Roller covers — pick the nap length suited to your wall texture.
- Extendable roller frame — helps reach high areas without standing on tiptoe.
- Angled paint brush — perfect for cutting in along trim, windows, and ceilings.
- Handy paint pail — a small pail that fits on your hand makes trimming and small touch-ups much easier; liners simplify cleanup.
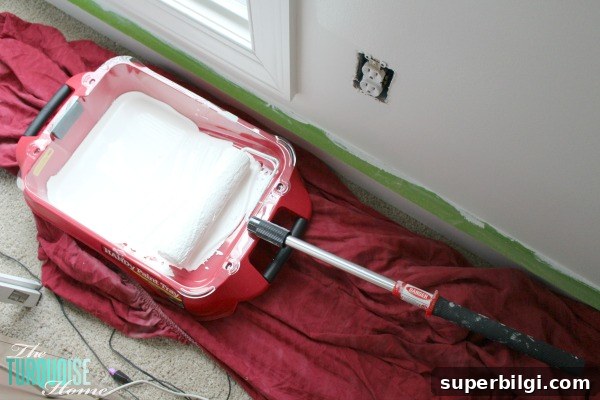
- Handy roller tray — a stable tray with a textured area to remove excess paint from the roller.
- Press’n Seal or plastic wrap — wrap brushes and trays between sessions to keep paint from drying out.
- Good painter’s tape — a high-quality tape seals edges and prevents bleed-through.
- Spackling compound — to patch holes and imperfections before painting.
Steps for Painting a Room
Step 1 – Prep
Start by preparing the room and the walls—don’t just grab a roller and go. Wipe down walls and baseboards to remove dust, fingerprints, and greasy spots. A damp rag works well for baseboards, and a dusting mitt or Swiffer cloth is handy for walls. Remove or cover furniture and lay down drop cloths or protected sheets for the floor.
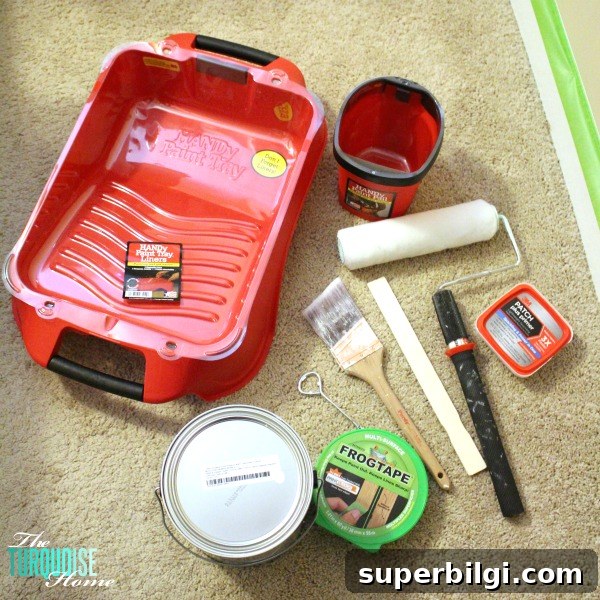
Gather your supplies and place them where you can reach them easily as you work.
Step 2 – Patch Any Holes
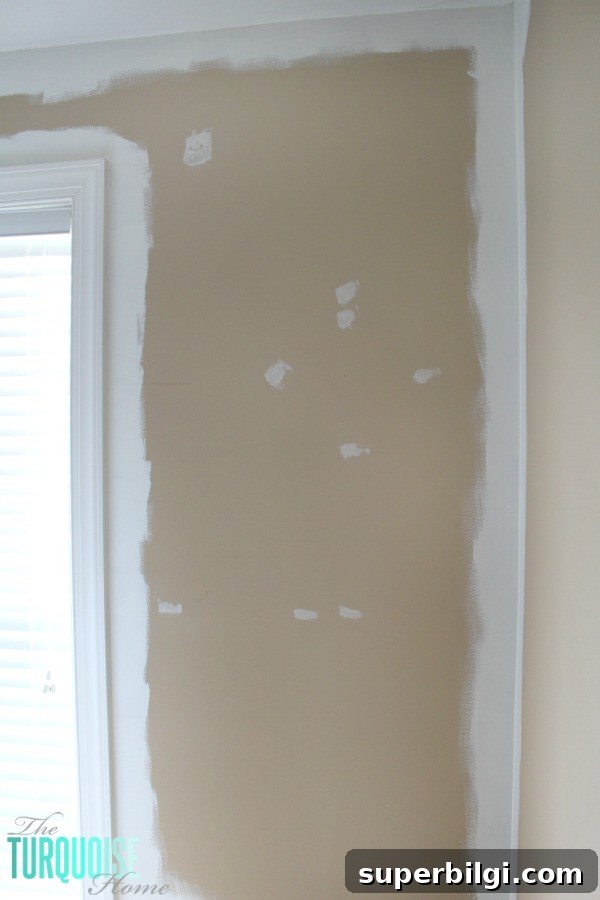
Fill nail holes and other blemishes with spackling compound. If you plan to reuse a nail or anchor, you can leave it, but otherwise patch and smooth the area with a small putty knife. In a pinch, your fingertip can work for tiny spots. After filling, allow the spackling to dry and lightly sand any high spots for a smooth surface.
Tip: If you’re painting over flat paint, sanding is usually unnecessary. For glossy or semi-gloss finishes, a light sanding with medium-grit paper helps the new paint adhere better—follow that with a damp wipe down to remove dust.
Step 3 – Tape the Baseboards
Apply painter’s tape to baseboards and any flooring edges you want to protect. Taping baseboards prevents roller splatter and protects flooring from accidental drips. I don’t always tape ceilings, door frames, or window trim—see the next step for an alternative method.
Step 4 – Trim or Cut In
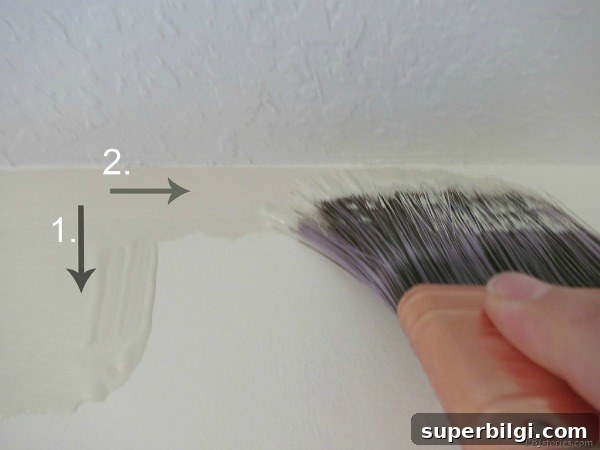
Instead of taping every edge, many painters prefer to “cut in” with an angled brush. This uses a steady hand to paint a clean line where the wall meets the ceiling, windows, and doors. Start with a downstroke in the corner, then keep the brush horizontal as you drag it along the ceiling edge for a smooth line.
Patience and a steady wrist pay off with this method. It’s often faster and cleaner than taping and prevents the ragged edges that sometimes occur when tape pulls up paint.
Paint Like a Pro Tip: If you need to pause for a short break, cover your paint pail with plastic wrap and wrap your brush in plastic to keep it from drying. For a few hours, that’s usually enough. If you’ll be gone longer, placing the brush in the refrigerator short-term, or the freezer for an overnight pause, will preserve the bristles for easy cleaning and continued use.
Step 5 – Roll the Wall
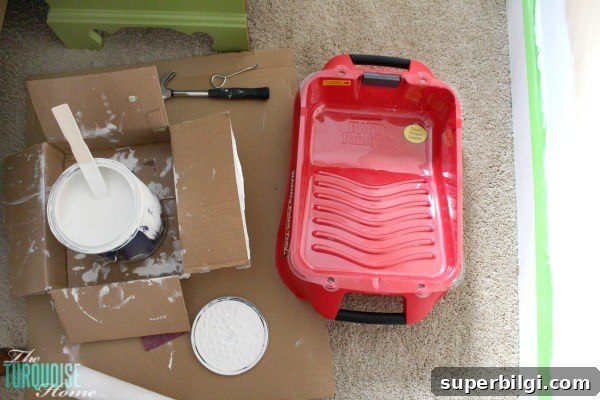
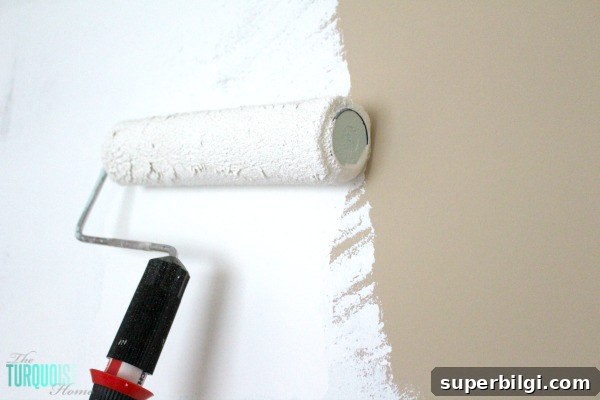
Load your roller and roll using overlapping strokes in different directions—vertical and horizontal—to ensure even coverage. Use the textured part of the tray to roll off excess paint so the roller isn’t dripping. Roll with steady pressure and watch for runs or drips; smooth any drips with a light pass of the roller.
Repeat Steps 4 and 5, as Needed
Some walls need only one coat, but two coats is common for a solid, even finish—sometimes three for difficult color changes. Coverage depends on paint quality, the new color, and the color underneath. Dark shades generally require more coats when covering with a lighter color; in those cases a tinted primer helps drastically.
In my experience, a higher-quality paint with primer combined often covers most walls in two coats, saving time and reducing the need for extra touch-up.
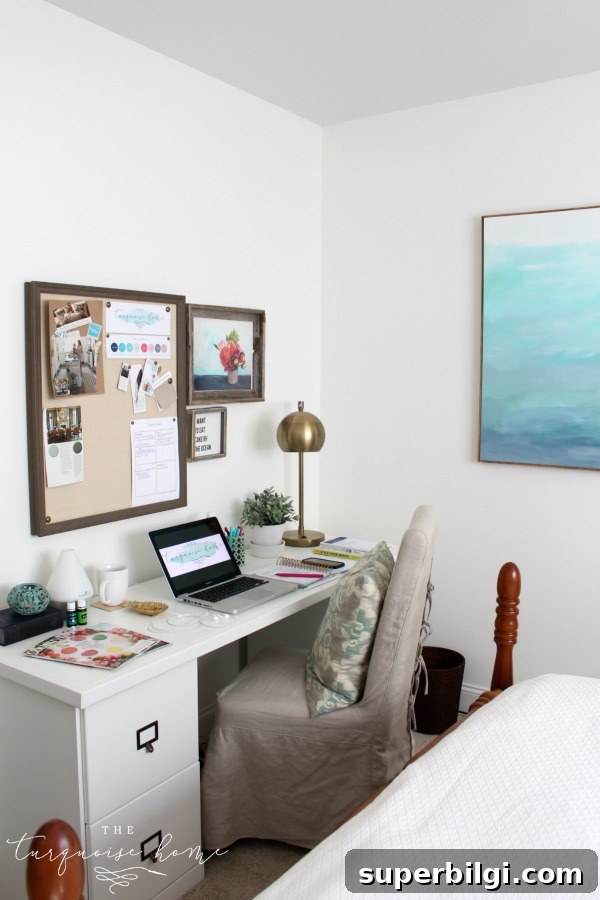
Bonus: a peek at my new office corner after painting—simple changes can make a big difference.
When I can work straight through, I usually finish a typical 12×12 room with one window and one or two doors in a single day. Larger rooms or many windows and doors can take two days. With kids or interruptions, the project can stretch to a week—so plan around your schedule.
Are you planning to paint your own rooms or hire a pro? Which room will you tackle first? For a more custom touch, consider painting outlet covers and switch plates to match the walls.
More posts you might enjoy:
- How to Paint Trim: A Step-by-Step Guide
- 20 Best Nursery Paint Colors and Accent Wall Ideas
- The Best 17 Sage Green Paint Colors for Your Home
- How to Paint Countertops to Look Like Marble
- The Best Bedroom Paint Colors