
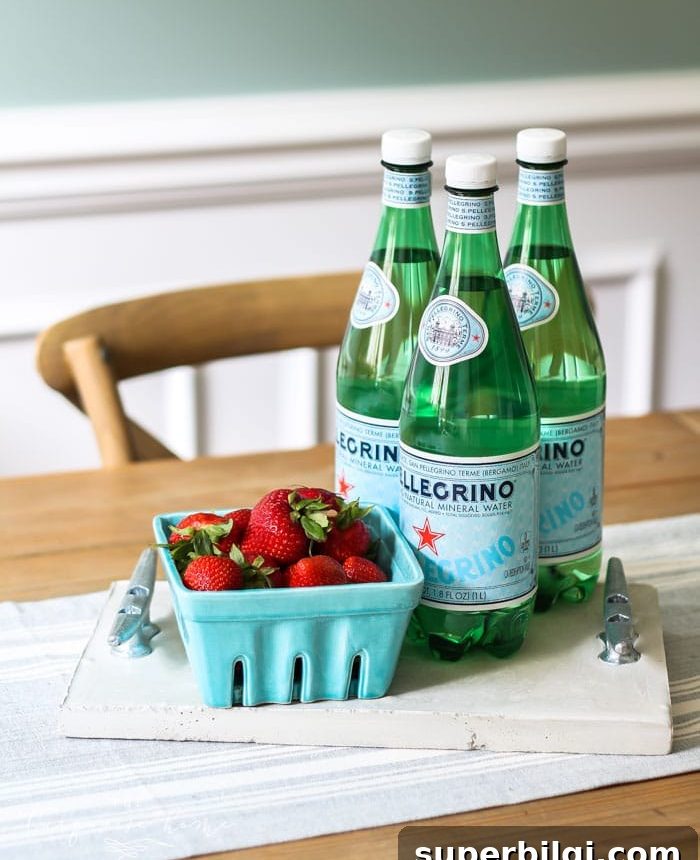
Make a coastal concrete serving tray with dock cleats and an easy-to-make mold. This DIY concrete tray is perfect for summer hosting and outdoor parties!
I love projects that are both functional and attractive. Small, simple DIYs that only require a few items from the hardware store can give your home a fresh, personalized touch without breaking the bank.
Recently I’ve made a jewelry organizer, a handy chalk and eraser holder for a chalkboard, and farmhouse-style shelves for my kitchen. Those quick builds prove you don’t need a long project to get great results—this concrete tray follows the same idea: straightforward, useful, and stylish.
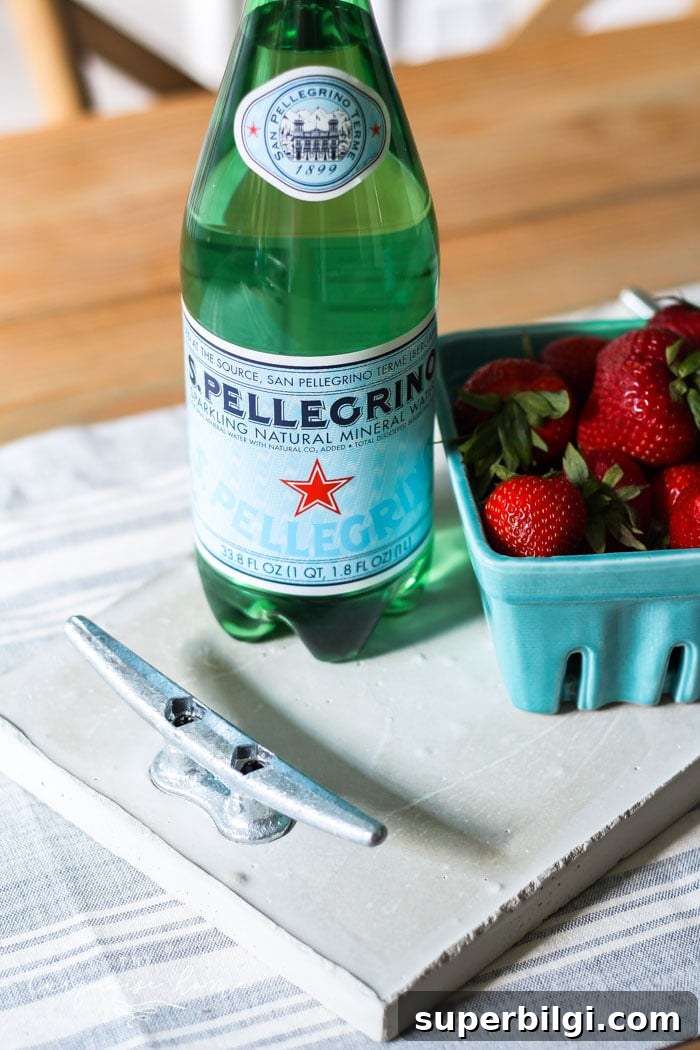
How to Make a Concrete Tray with Cleat Handles
I’m sharing my latest project: a DIY concrete tray fitted with dock cleat handles for a relaxed, coastal look.
I was a little nervous trying concrete for the first time, but once I followed the instructions it was surprisingly easy. I kept the build simple and added the dock cleat handles for a subtle summery vibe. The final tray is a bit weighty—which is normal for concrete—so it’s ideal as a tabletop accent or for serving fruit and snacks at gatherings.
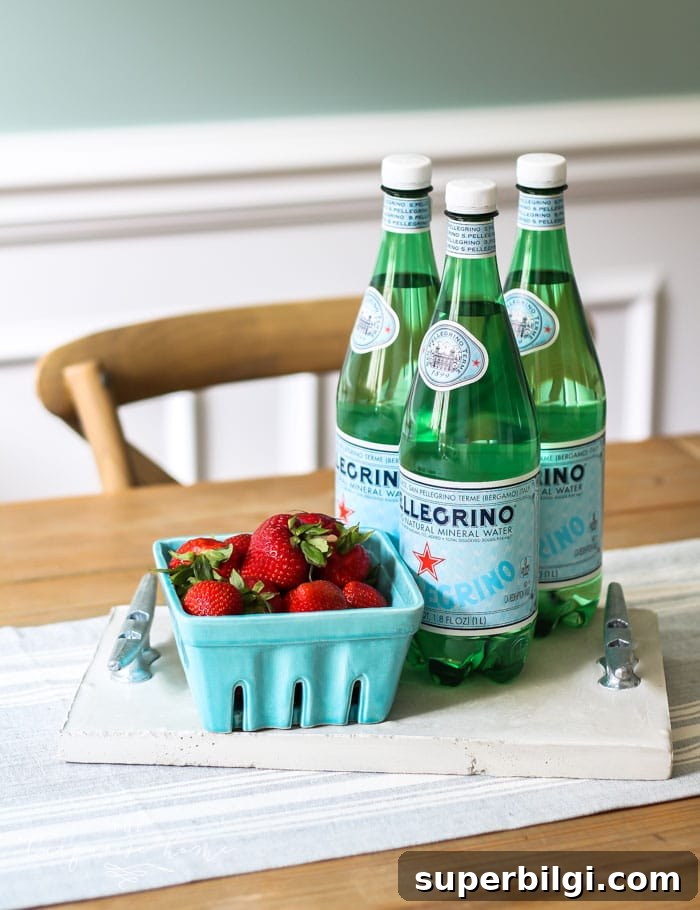
I love the dock cleats as handles—they bring a simple coastal touch that works well for summer decor and outdoor entertaining.
Supplies Needed for a DIY Concrete Tray
Tools:
- Drill
- Circular saw
- Small mixing bucket
- Measuring cup
- Paint stirrer or mixing paddle
- Sandpaper
- Painter’s tape
- Measuring tape
- Pencil
- Trowel
Materials:
- 1/2-inch plywood sheet
- 1 x 4 x 6 common board
- Multi-purpose concrete mix
- 2 dock cleats for handles
- 1 1/2-inch wood screws
DIY Concrete Tray Step-by-Step Instructions
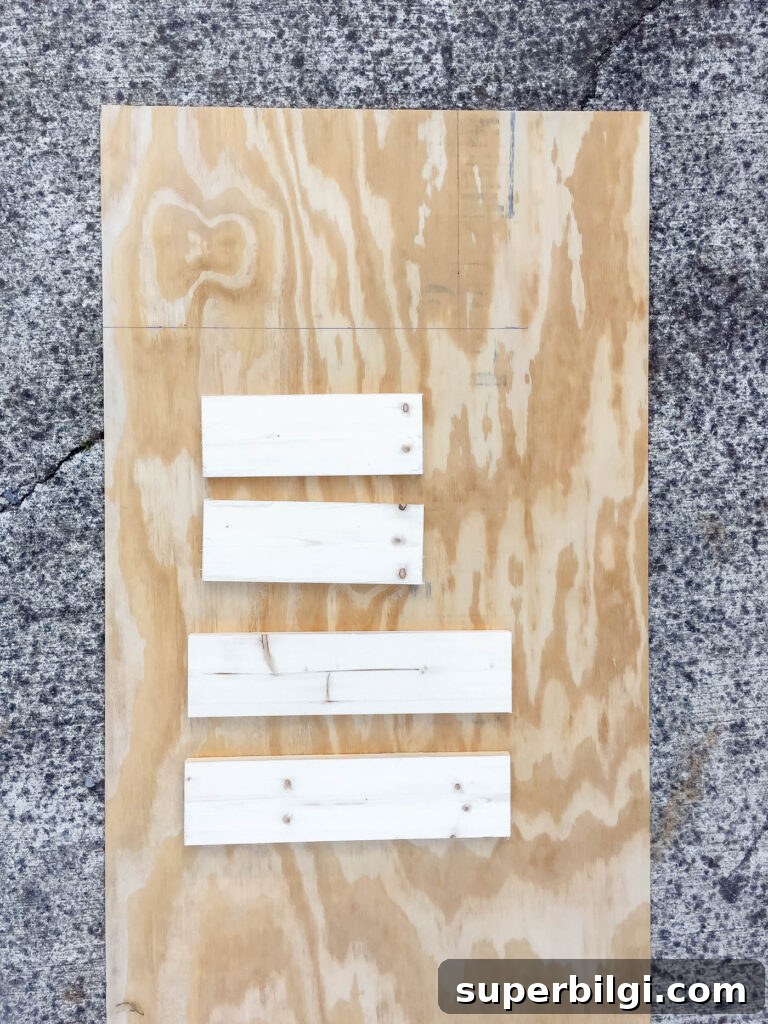
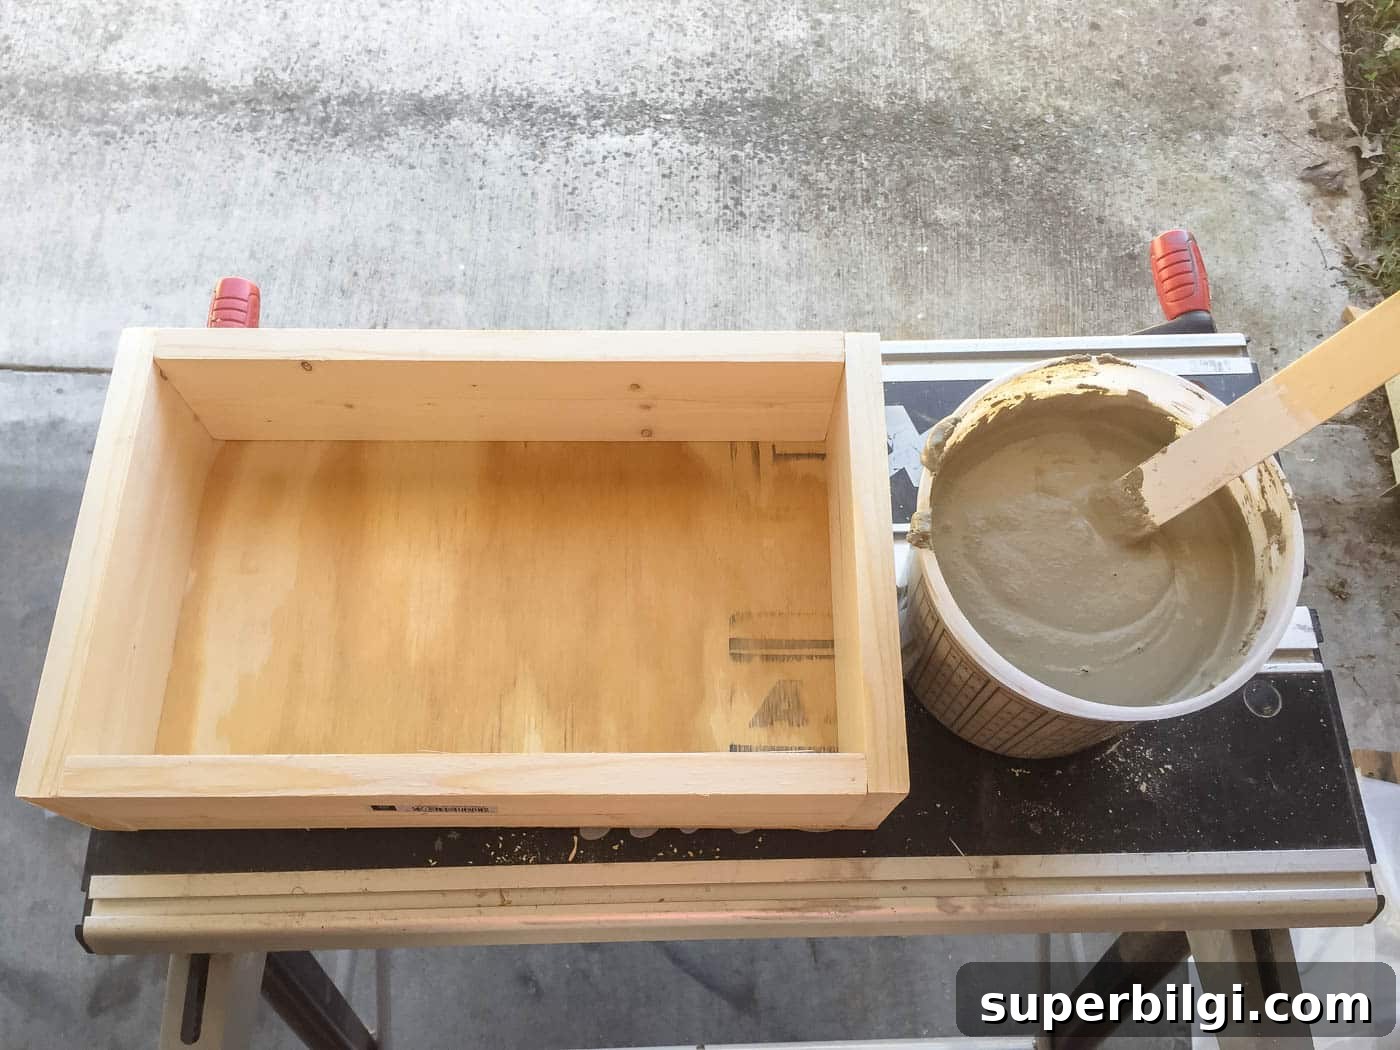
1. Cut the Pieces for the Tray Mold
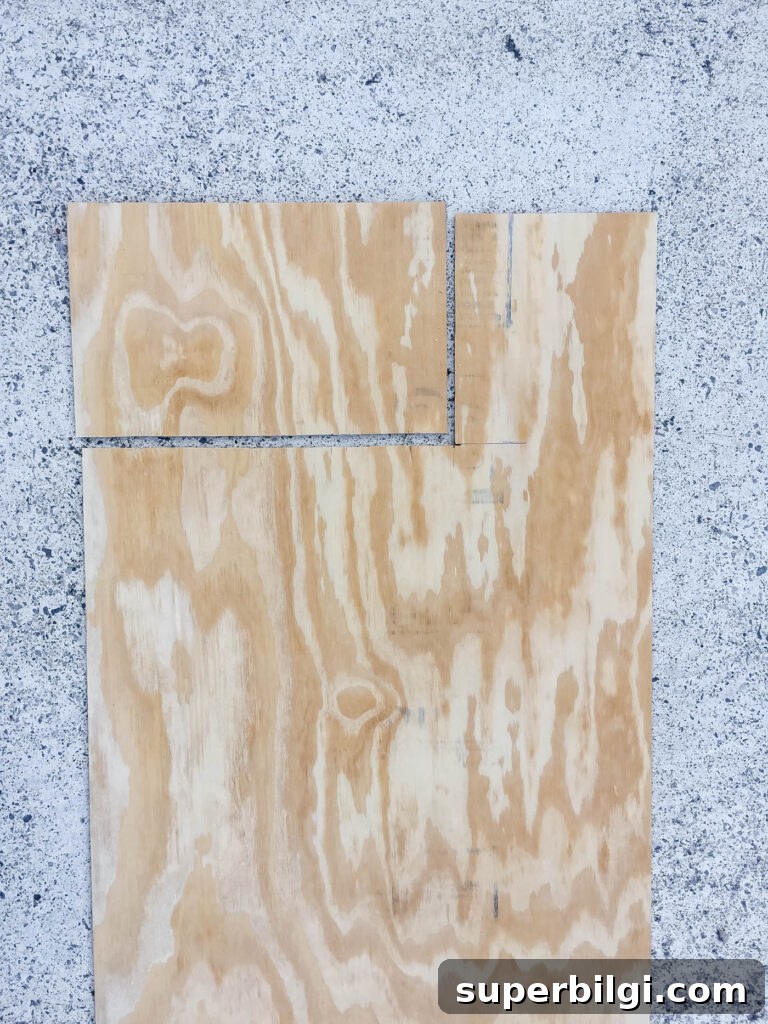
Cut the wood pieces for the form and the plywood base:
- Two 1 x 4 pieces at 14 inches (long sides)
- Two 1 x 4 pieces at 9½ inches (short sides)
- One plywood piece at 15½ x 9½ inches for the base
2. Assemble the Box Frame
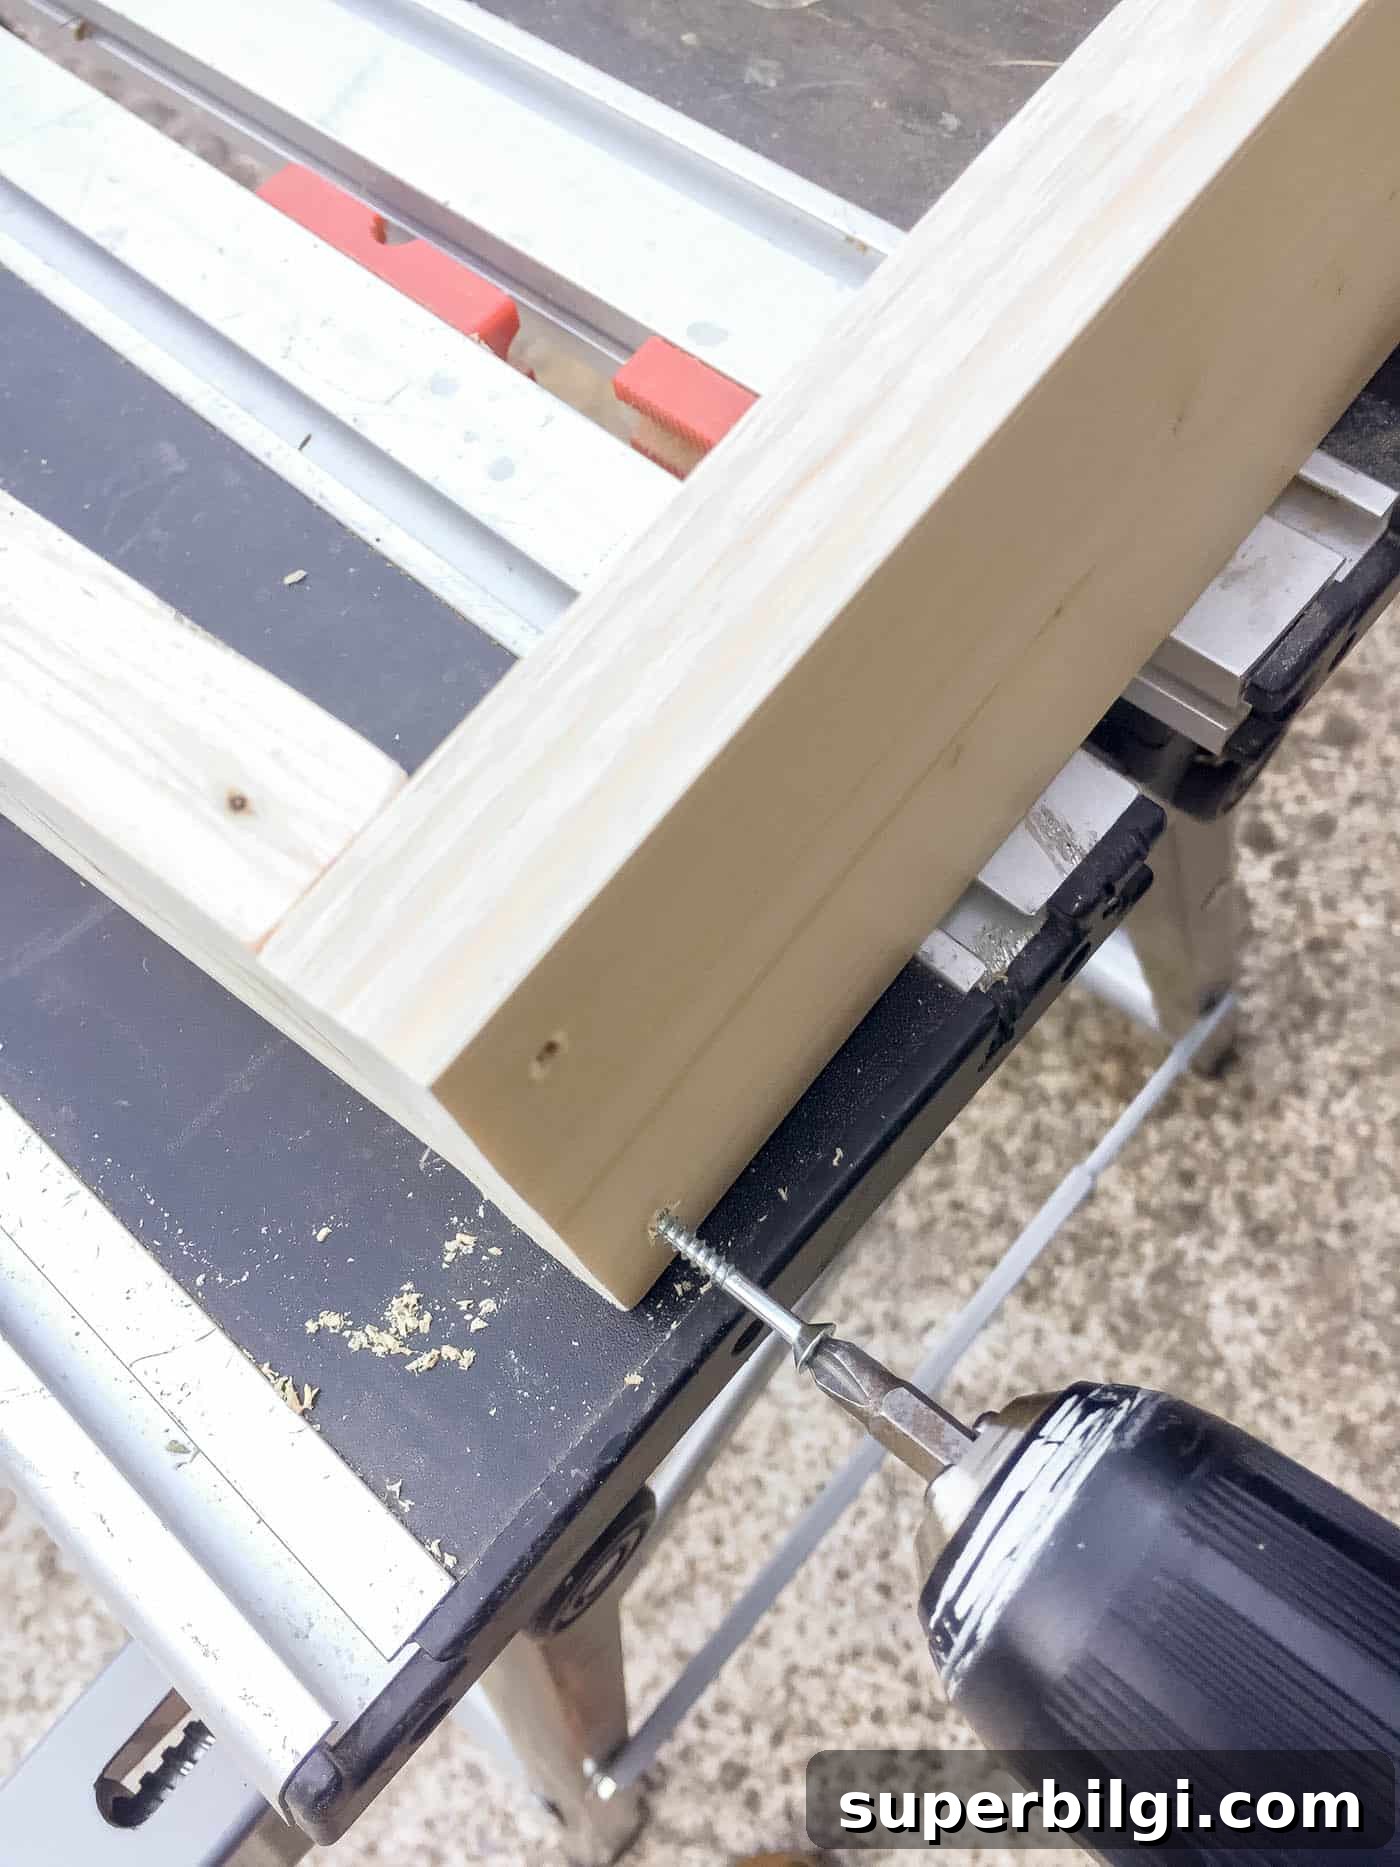
Join the long and short 1 x 4 pieces to form a rectangular frame. Use 1 1/2-inch wood screws to fasten the corners securely so the form remains square and tight during the pour.
3. Attach the Plywood Base
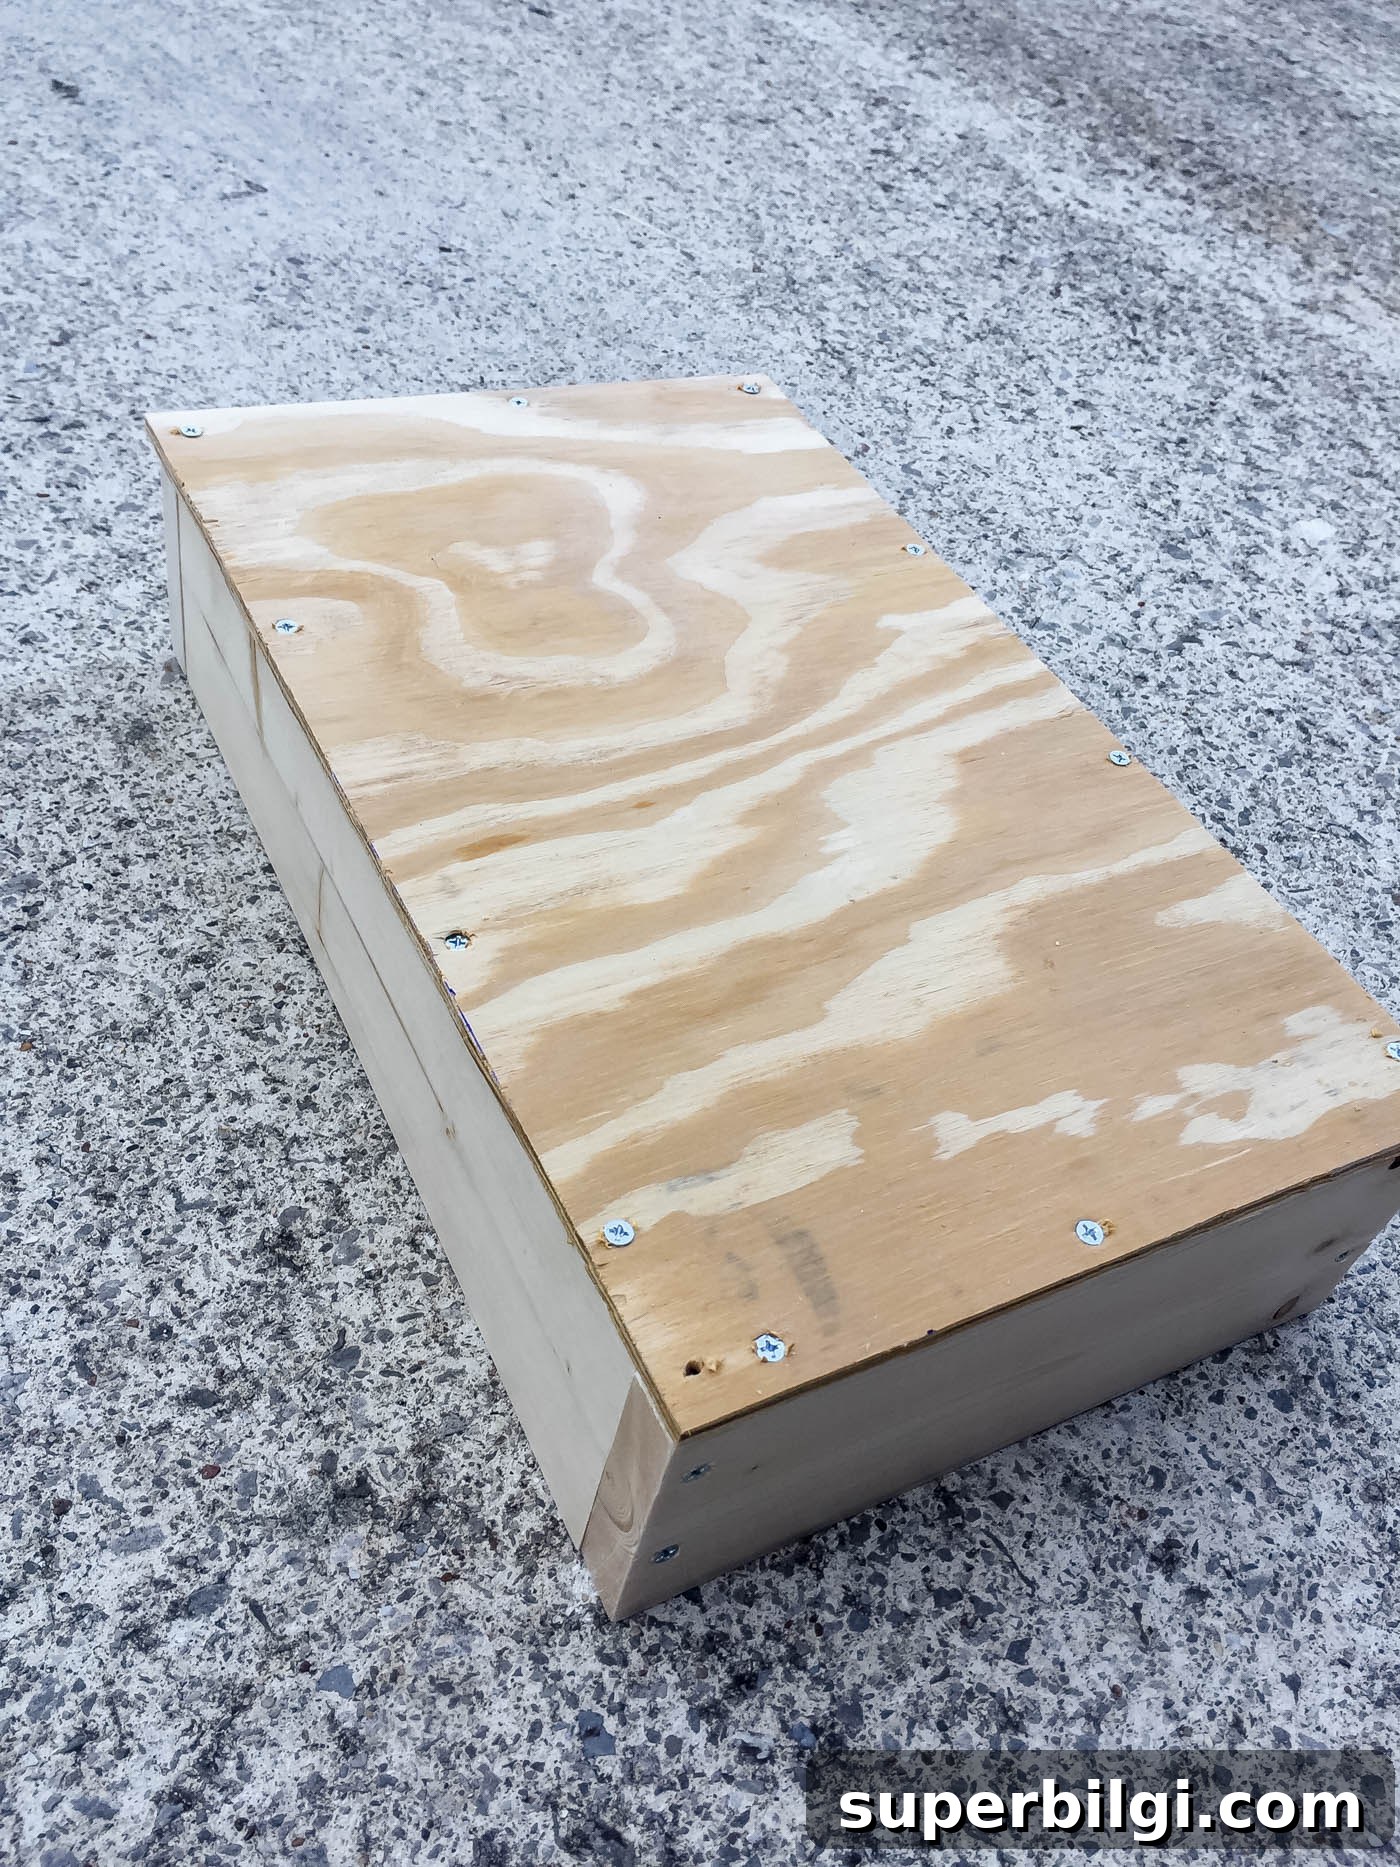
Secure the plywood to the bottom of the frame with wood screws. Ensure the base is tight against the frame to prevent concrete from leaking out.
4. Secure Screws to the Dock Cleats
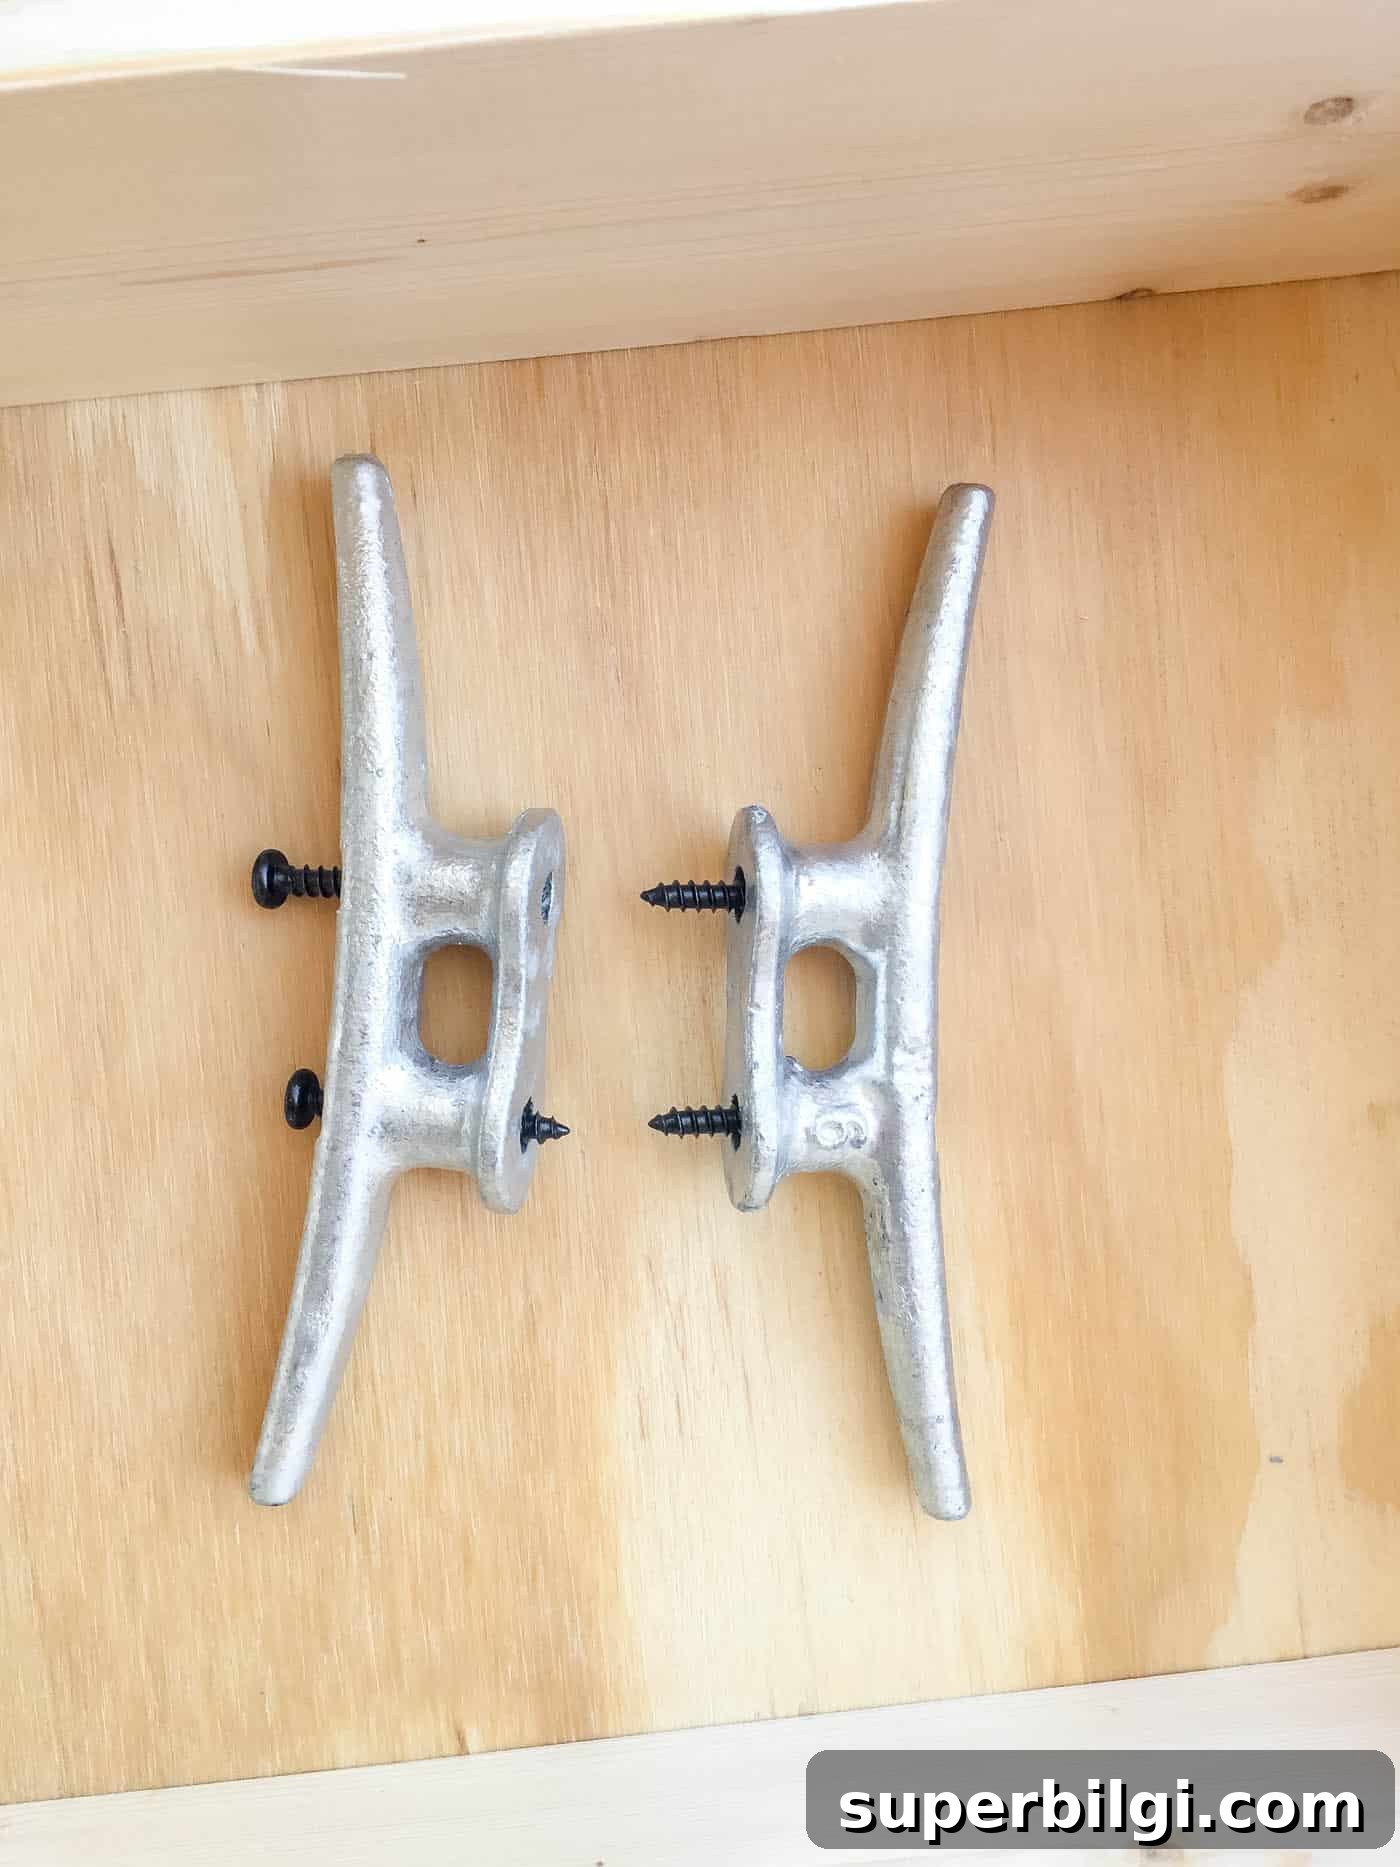
Thread the small screws that come with the dock cleats into the mounting holes so the screws are set into the concrete when you install the handles. This helps anchor the cleats securely once the concrete cures.
5. Mix the Concrete
Prepare the concrete according to the manufacturer’s instructions. Mix only what you will pour right away. Have the mold and all tools ready before you begin so you can work quickly.
6. Pour the Concrete into the Mold
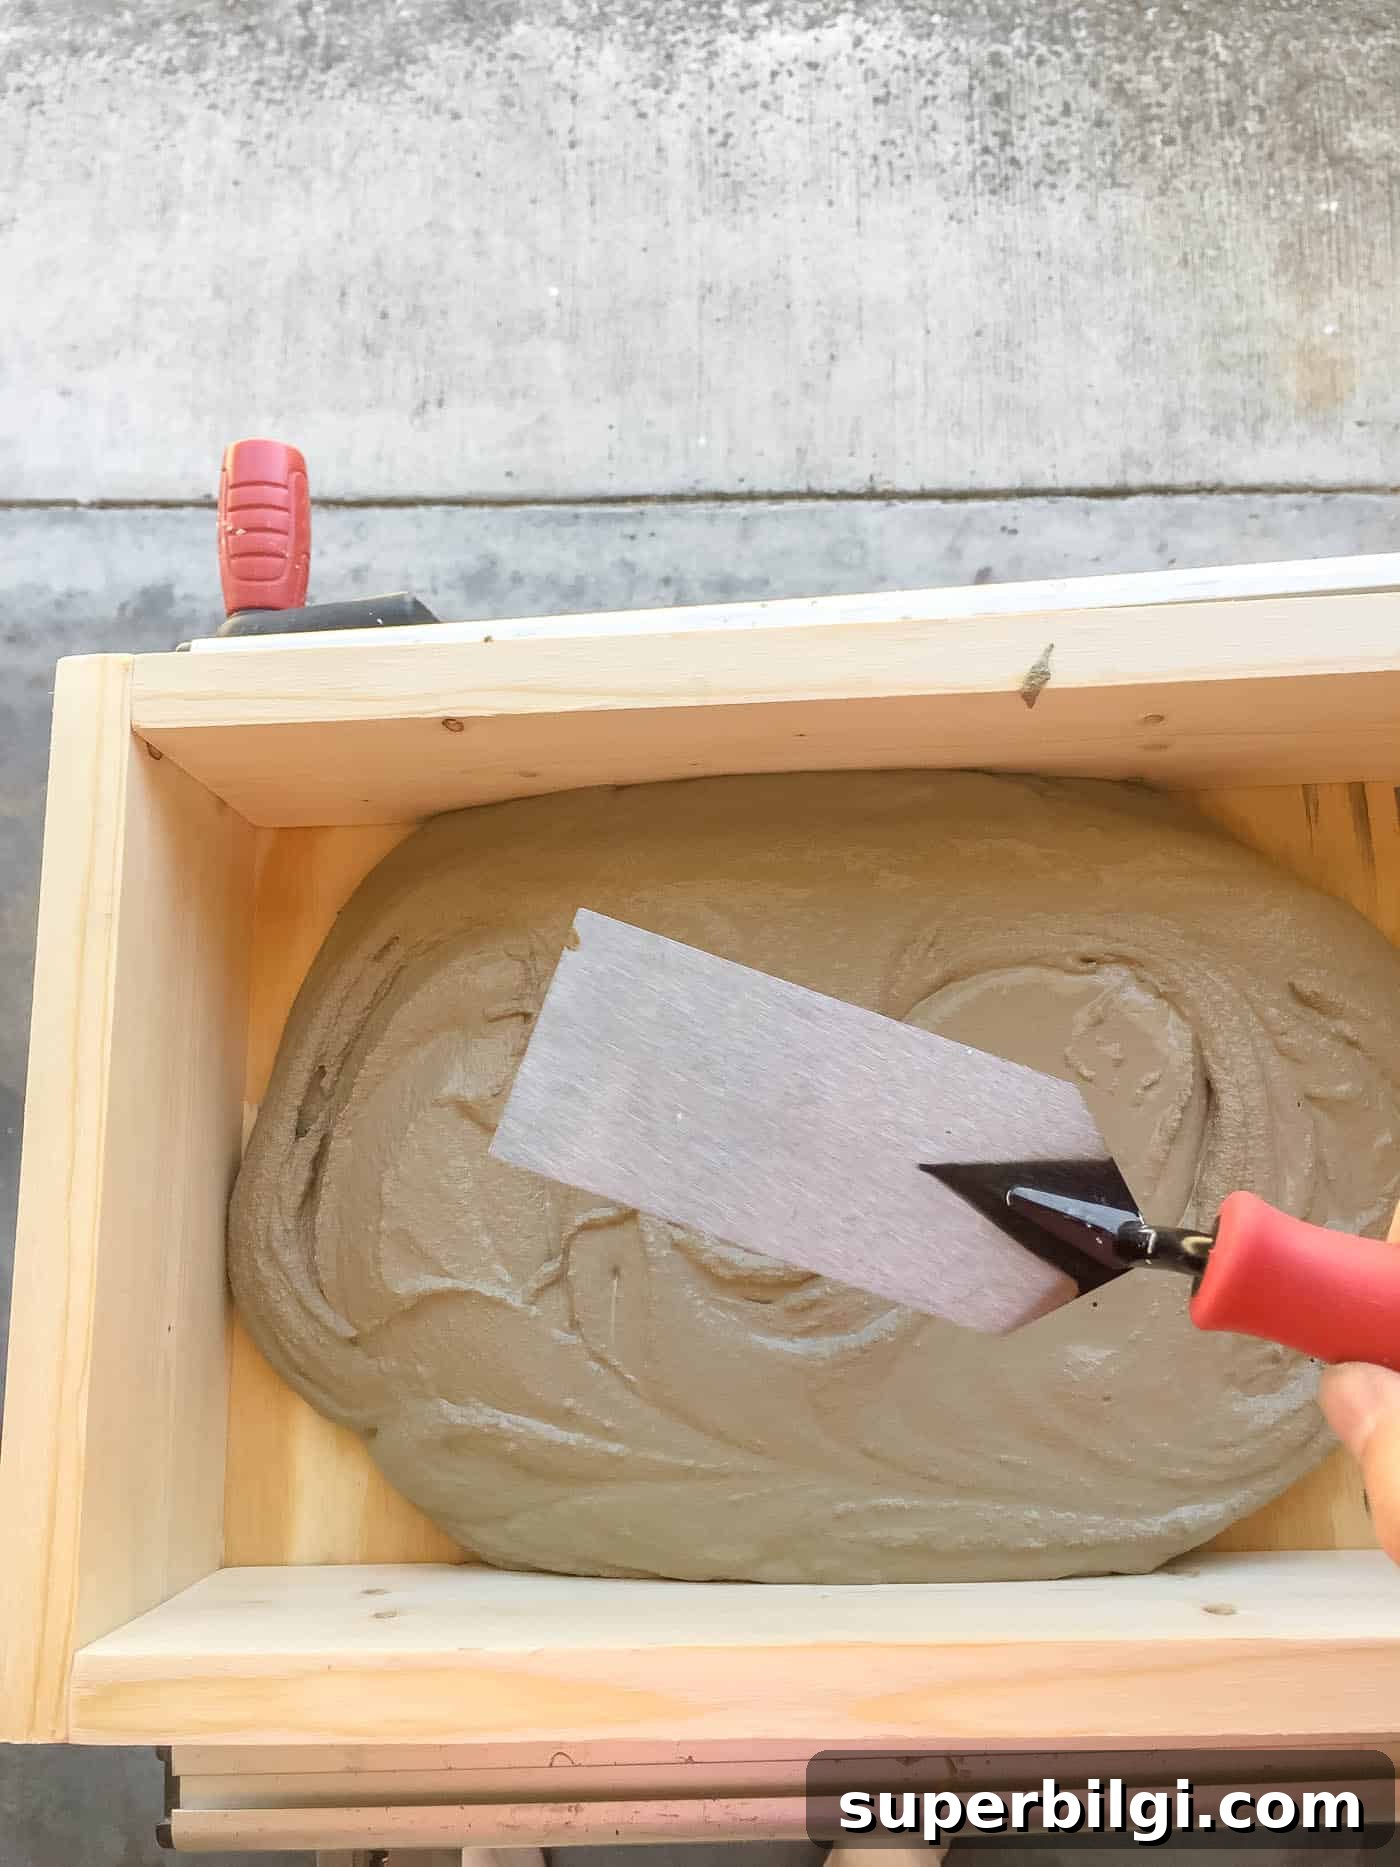
Pour the mixed concrete into the mold to a depth of about 2–3 inches. Use a trowel to level and smooth the surface. Gently shake or rock the mold to encourage air bubbles to rise and escape.
7. Wrap Cleats with Painter’s Tape and Set after a Few Minutes
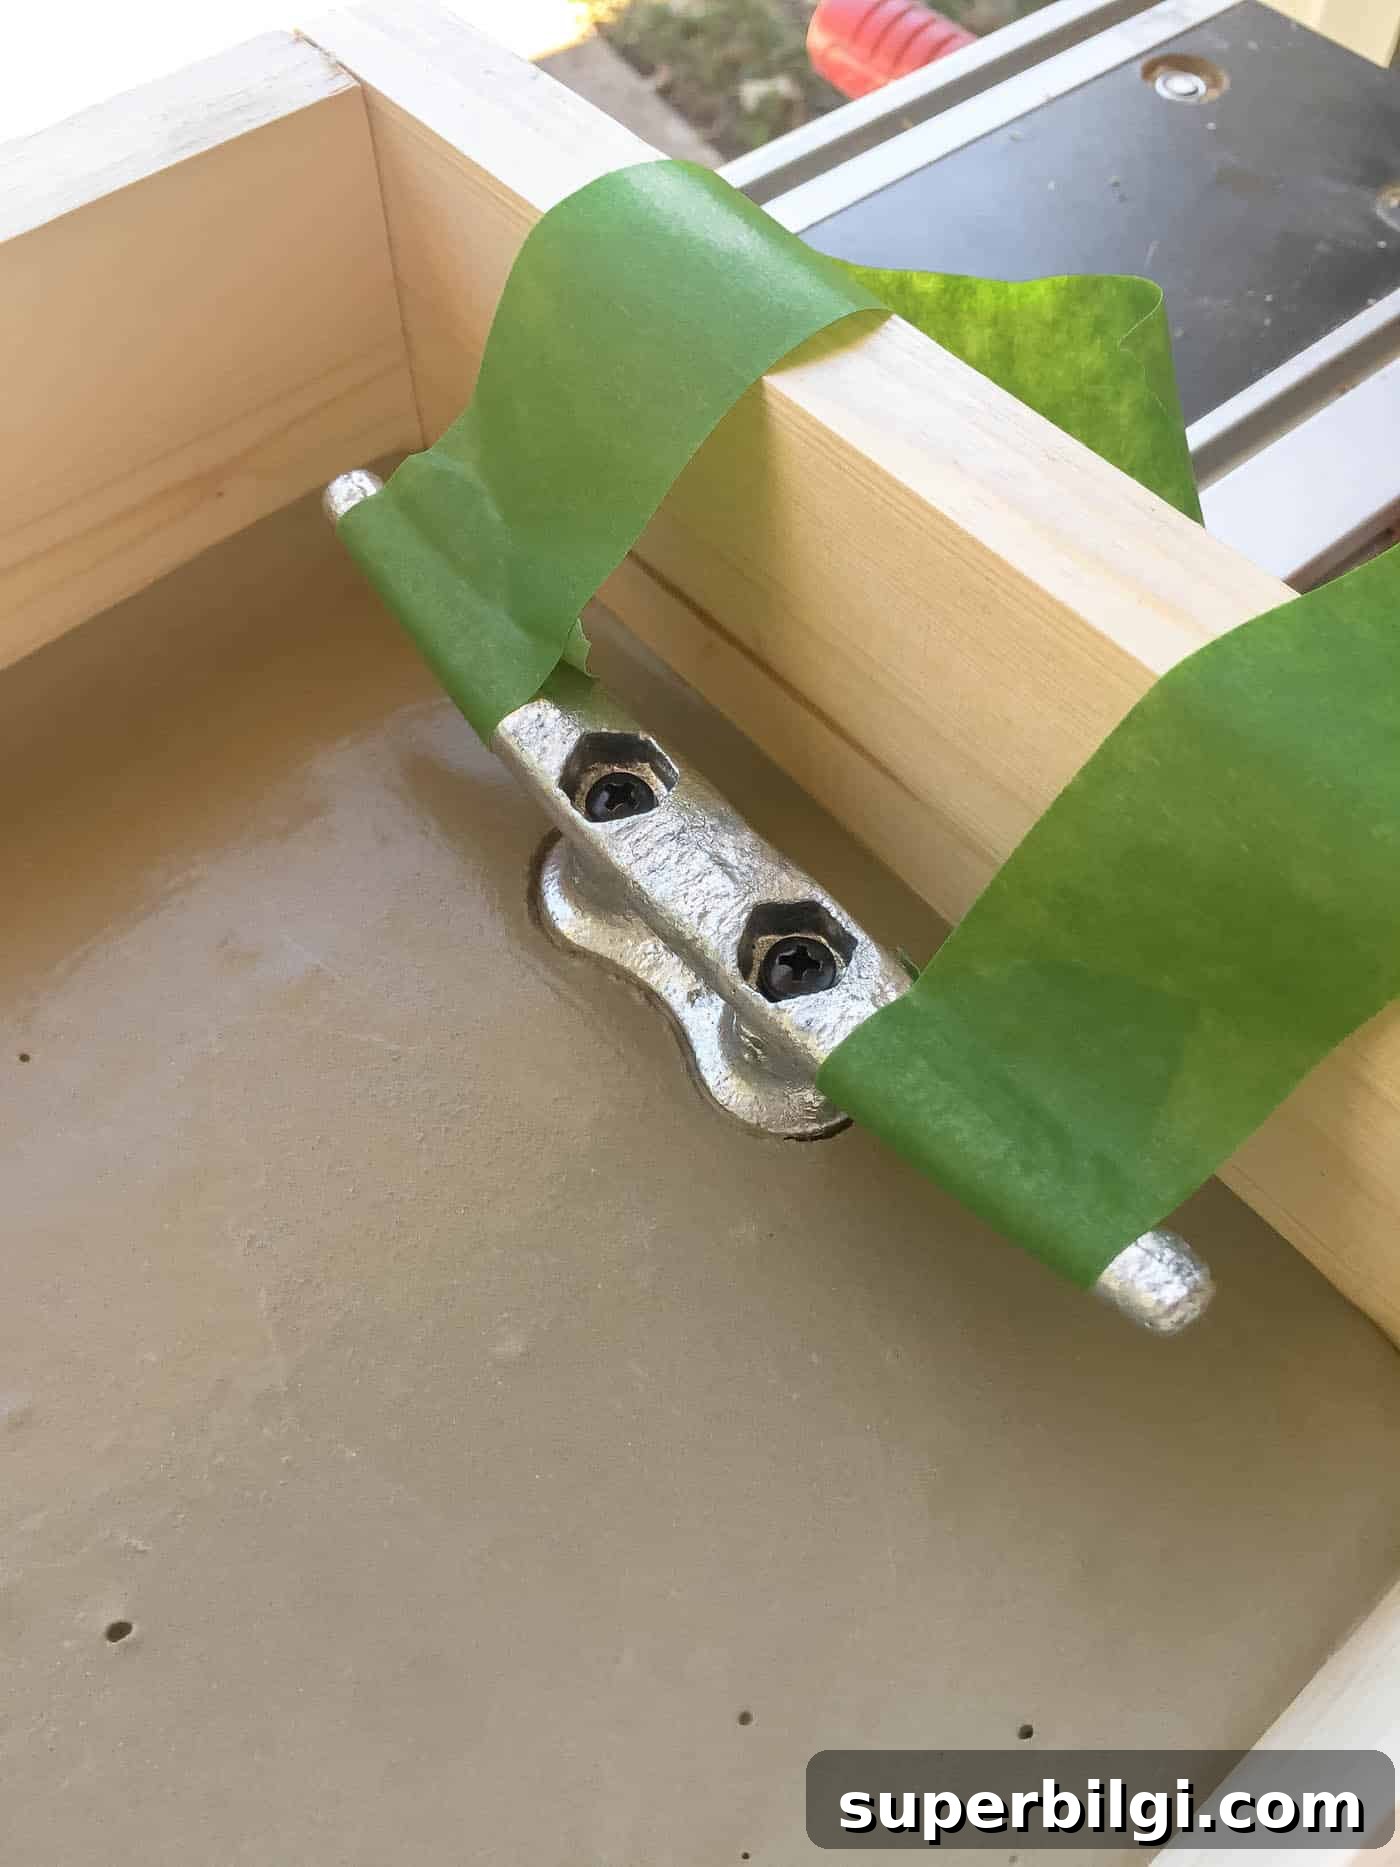
Wait about five minutes after pouring before installing the handles. If you insert them too soon they may sink. While the concrete firms slightly, wrap the cleats with painter’s tape so they remain clean and hold their shape during setup.
After the wait, carefully press each cleat into the concrete and use tape to secure the cleats upright against the form sides until the concrete holds them in place.
8. Let the Tray Cure
Allow the concrete to cure fully according to the product directions. Proper curing is important for strength and durability, so be patient and avoid moving the form until the recommended time has passed.
9. Carefully Remove the Form
When the concrete is fully cured, unscrew and remove the frame pieces. Gently pry the form away from the tray to reveal the finished shape.
10. Sand and Finish the Edges
Sand any rough edges or surface imperfections to achieve a smooth finish. If you plan to serve food directly on the tray, apply a food-safe concrete sealer to protect the surface and make cleaning simpler.
This tray is a delightful, low-cost project that looks great on a table or porch during summer gatherings. It’s sturdy, stylish, and easy to personalize—swap cleat styles, paint the wood form edges before pouring, or add decorative inlays to the concrete for different finishes.
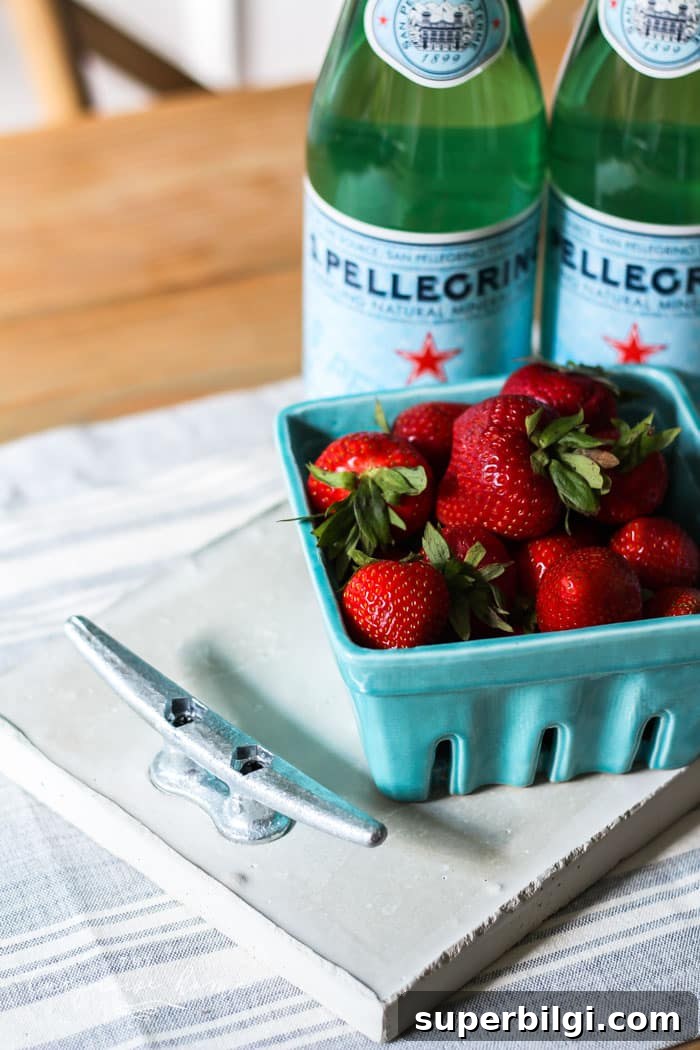
It’s a fun, rewarding project that makes a great hostess gift or a unique addition to your own entertaining collection.
More Posts You Will Love:
- DIY Wood Bead Garland with Tassels
- Furnishing a Teen Girl’s Bedroom: 10+ Tips and Tricks
- 10+ Stylish Dog Crate Furniture Ideas
- DIY Window Cornice Board with Fabric
- DIY No-Sew Monogrammed Burlap Garden Flag











