
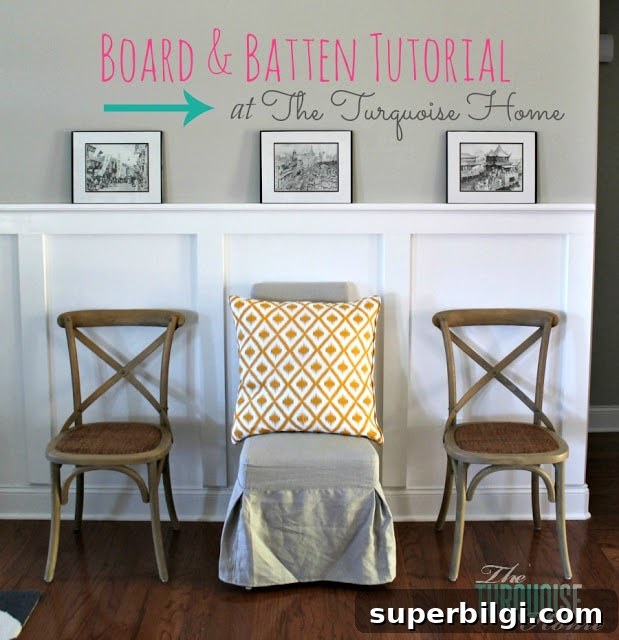
Use this straightforward DIY board and batten wainscoting tutorial to add character to your home without breaking the bank.
Board and batten is a popular wall treatment for a reason: it brings architectural interest and definition to large, open rooms. After moving into our house, I spent a long time researching how to add it to our living room. Below I share the exact steps I followed—so you can learn from what worked and from the mistakes I made along the way.
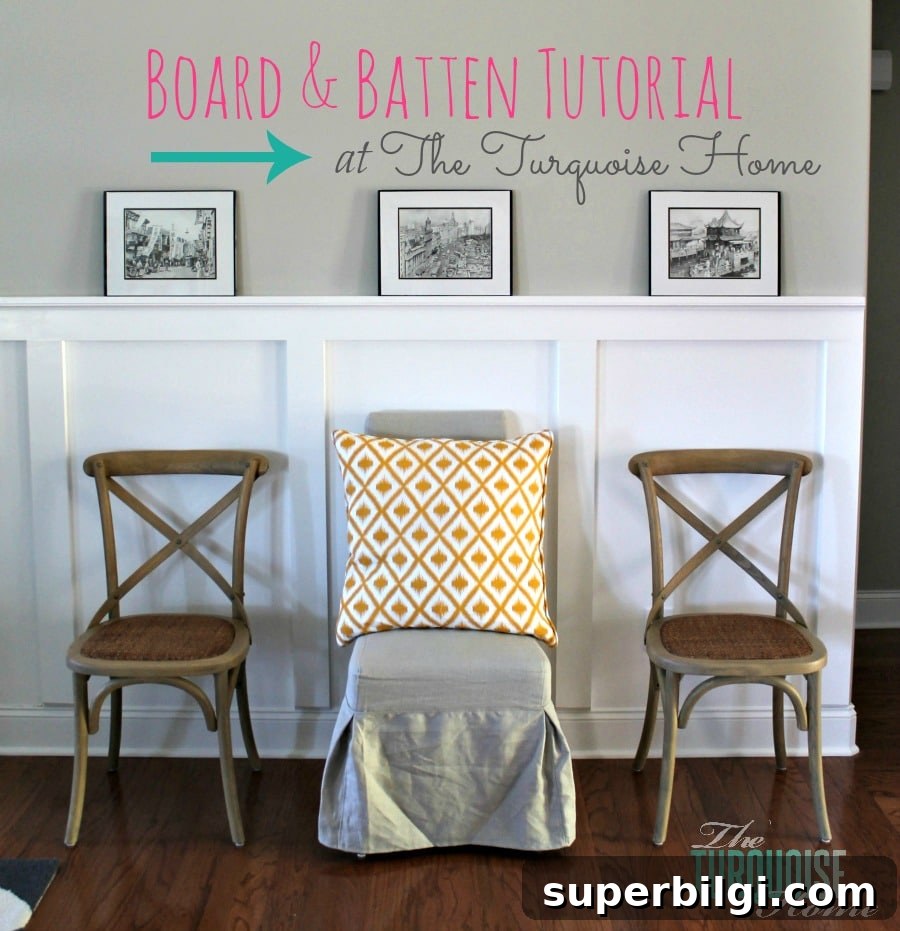
I installed board and batten in the living room to give the large, open space more structure. With tall ceilings and an open floor plan, the room needed visual division, and the trim treatment helped define the area without closing it in.
Before-and-after photos show the transformation best—there’s something satisfying about seeing a room go from plain to polished. I’ve included the process below so you can follow along on your own project.
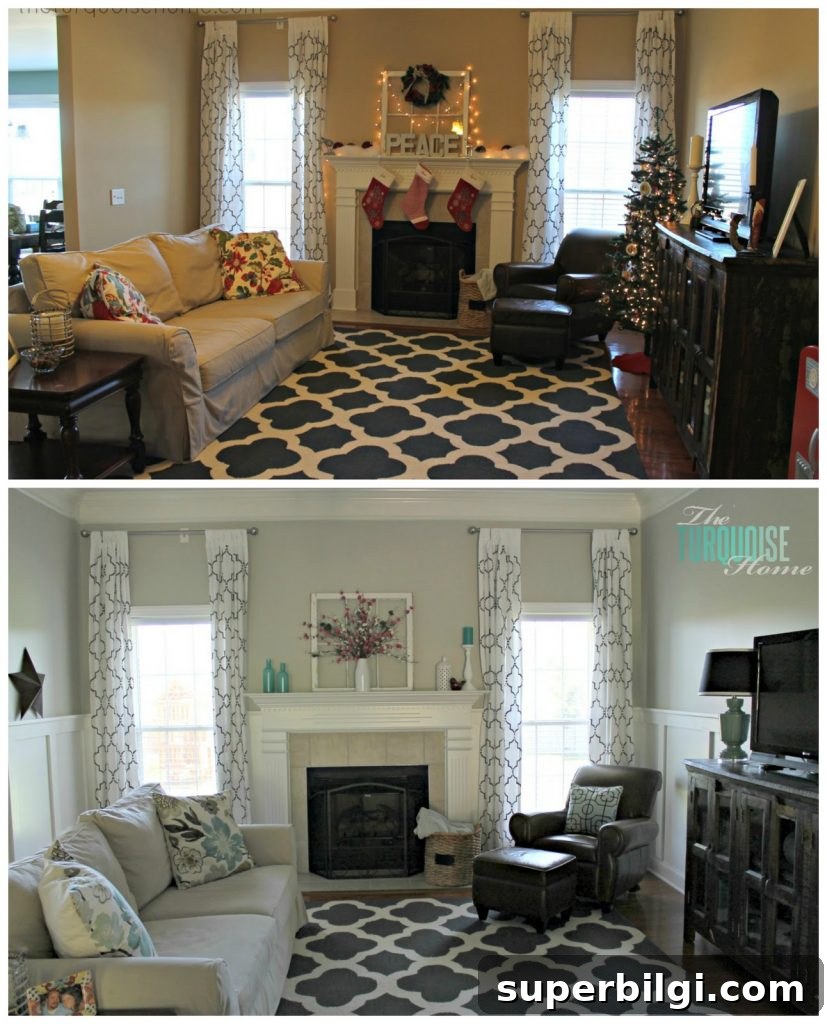
Here’s an earlier photo from right after we moved in—this place needed personality, and board and batten did the job.
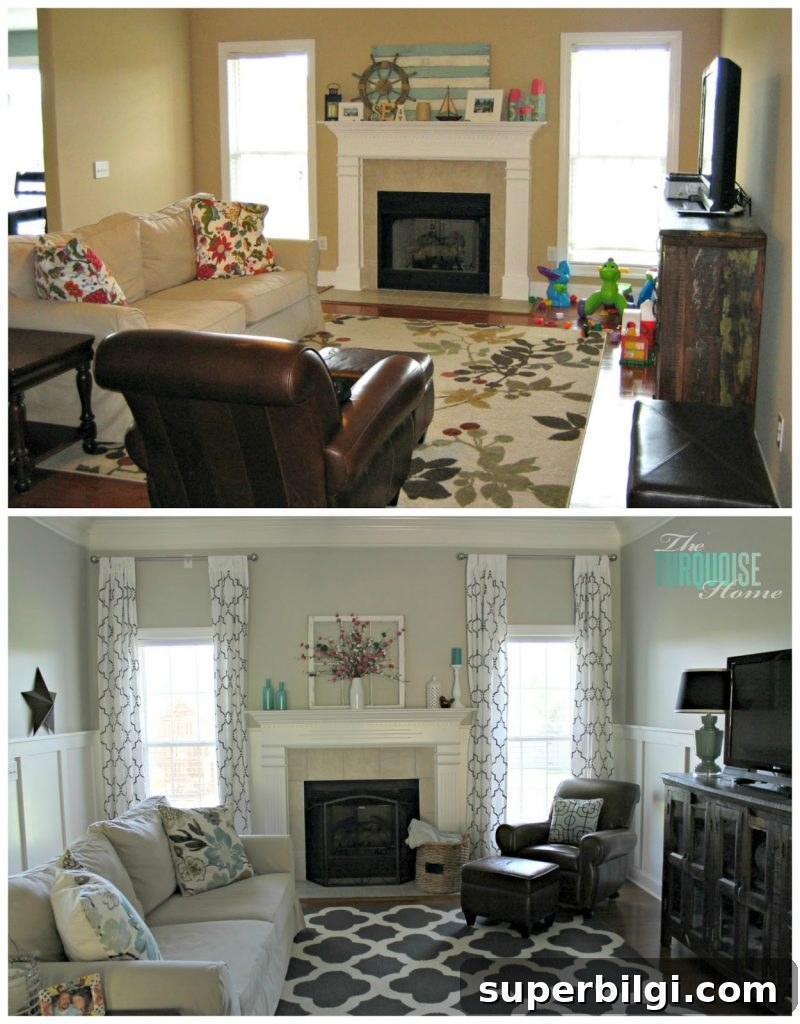
The finished look exceeded my expectations. The project took longer than I originally thought—partly because my room is large, and partly because I had to work around a two-year-old. If you have small children, plan for a helper who can watch them while you use power tools; noisy nail guns and sleeping children don’t mix well.
How to Install Board and Batten
1. Decide the Height of the Top Board
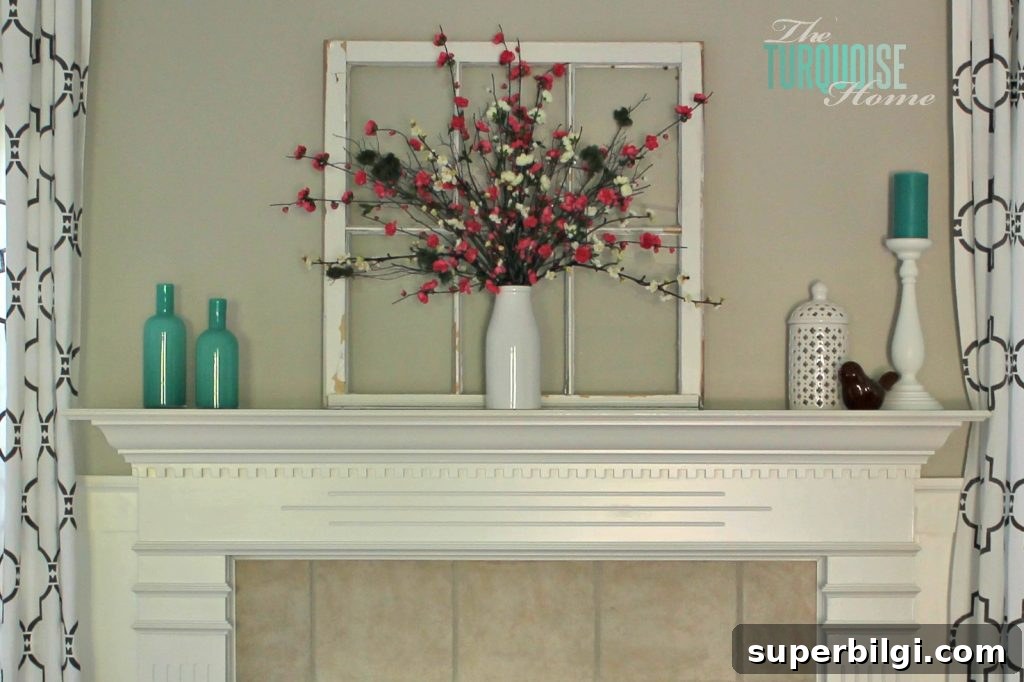
Choose the horizontal line where the top trim will sit. Consider existing architectural elements such as a fireplace mantel. I initially planned to place the top board above the fireplace but adjusted it to sit just below the mantel ledge. That placement preserved the fireplace’s architecture and created a more visually pleasing composition, following the rule of thirds rather than cutting the wall in half.
2. Draw a Level Line Around the Room Where the Top Board Will Go
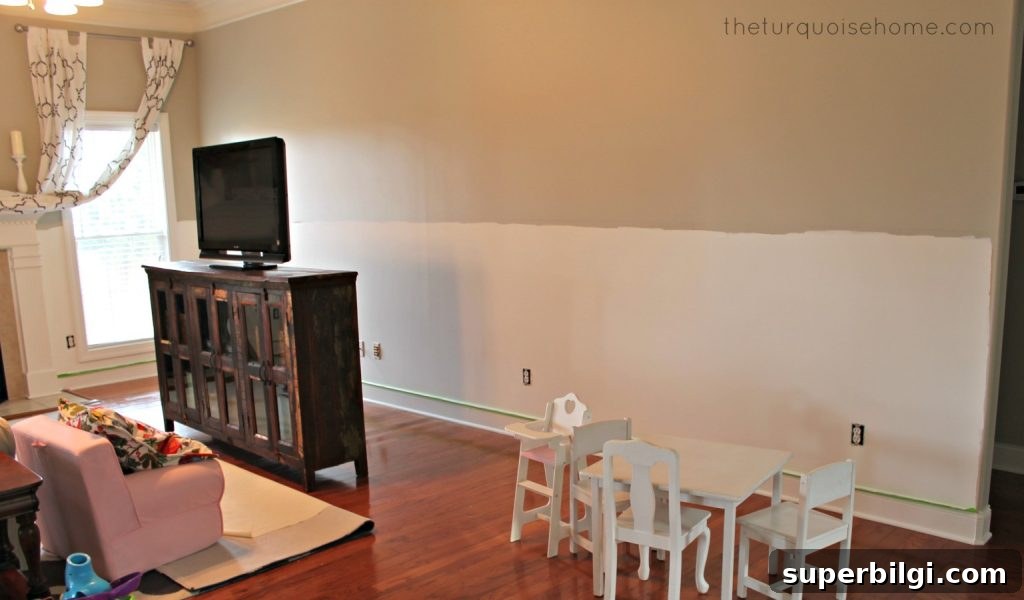
Use a laser level to mark a continuous, level line where the top boards will sit. I painted the wall above the line gray and the area below white before installing trim. Painting first saves time and avoids awkward hand-painting after the boards are installed.
3. Buy Your Boards
Decide which material to use: furring strips, pine, or MDF. Furring strips are inexpensive but often not perfectly straight. Pine looks great but can be costly for large rooms. MDF is budget-friendly and paints well. I used MDF and had the store rip sheets into strips for me—double-check their cutting capabilities, because mine struggled to rip full-length strips and I ended up with shorter pieces that required extra filling and patching.
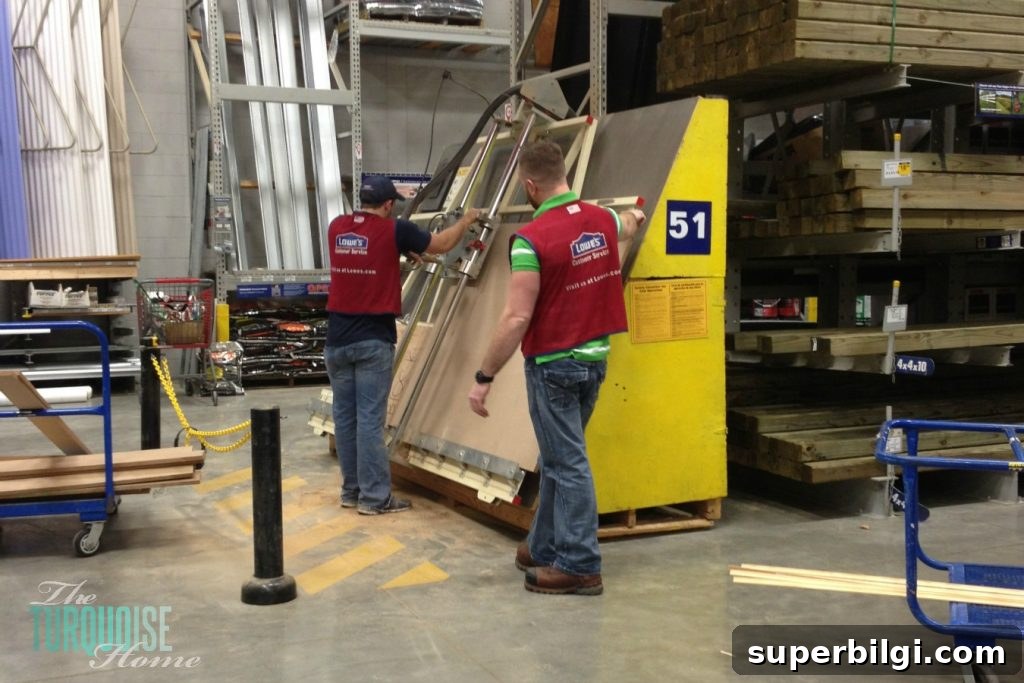
If the store has trouble cutting to length, ask them to start over with a new sheet rather than trying to salvage a bad cut. Mistakes here will add extra caulking, spackling, and sanding later.
4. Cut the Bottoms of the Horizontal Boards at a 45 Degree Angle
To avoid removing baseboards, bevel the bottom edge of your vertical boards at a 45-degree angle so they appear to sit on top of the baseboard rather than overlap it. Cut these edges before painting to save time and avoid repainting after cutting.
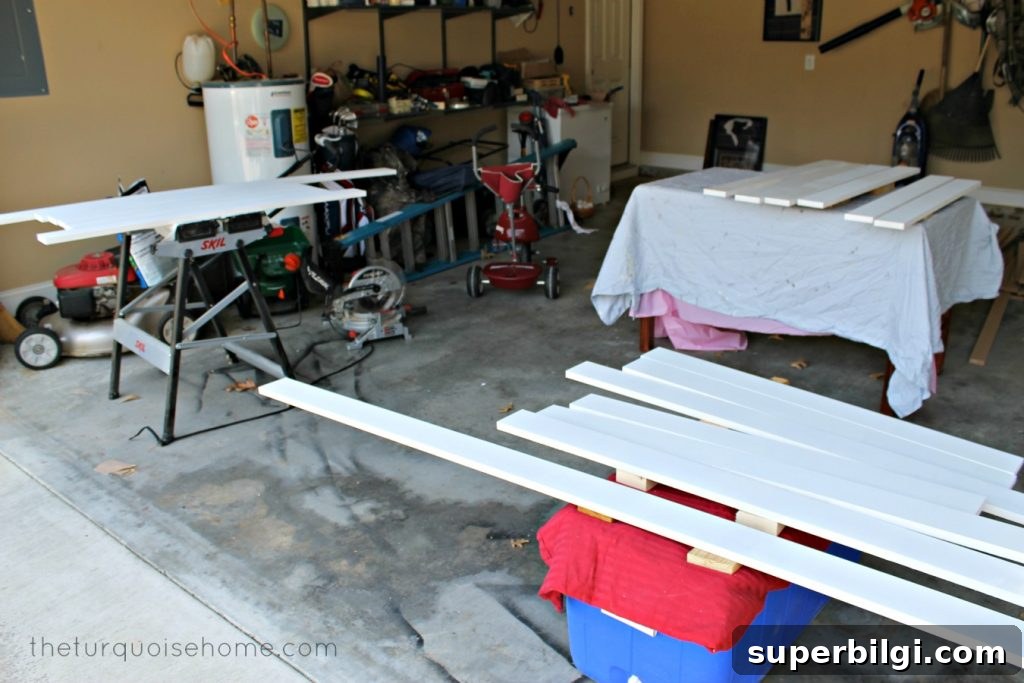
5. Prime and Paint Boards
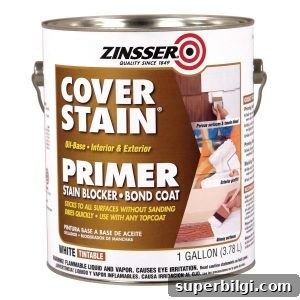
Prime MDF with a quality primer like Zinsser Cover Stain, then apply at least one coat of paint before installation. I used a paint color that matched my trim—color matching to a swatch helped avoid a stark fluorescent white that clashed with existing trim. If space is tight, you can also paint after installation, but priming before helps seal the edges.
6. Install Horizontal Boards
Install the horizontal top boards first, using a level to ensure they are perfectly straight. It can help to have an extra pair of hands to hold boards while you secure them with a nail gun. Don’t rely on the baseboard as your leveling reference; many baseboards are not level.
7. Install the Vertical Boards
Attach vertical boards next, spacing them evenly across the wall. For my long wall I used 25-inch spacing; on shorter walls I centered the boards so the layout looked balanced. Check each board with a level as you go to avoid any skewed lines.
8. Fill in the Gaps
Expect to spend time caulking, spackling, and sanding. If boards were cut slightly short at the store, you may need to add small filler pieces and smooth seams. Ensure nail heads are driven flush before spackling; otherwise you’ll need to re-nail, re-spackle, and sand again.
9. Install Rail Cap Pieces
Add a rail cap on top for a finished look. I used a 1×2 pine board for the top rail and secured it with a nail gun. To finish the top edge, I applied cove molding underneath the rail using construction adhesive and tape to hold it while the adhesive set—this avoided additional nail holes in the thin molding.
10. Final Coat of Paint
Once all gaps were filled, sanded smooth, and dust-free, I applied a final coat of paint to the entire installation. Seeing the finished wall made the long hours and detailed work worth it—the result added depth and polish to the room and felt like a completely new space.
The project was time-consuming and required patience, but the transformation was dramatic and rewarding. With careful planning, the right materials, and attention to detail, board and batten is an achievable DIY upgrade that elevates any room.
More Posts You Will Love:
- 5 Must Have Tools for the DIYer
- Large DIY Wall Decor Ideas
- How to Decorate a Living Room











