
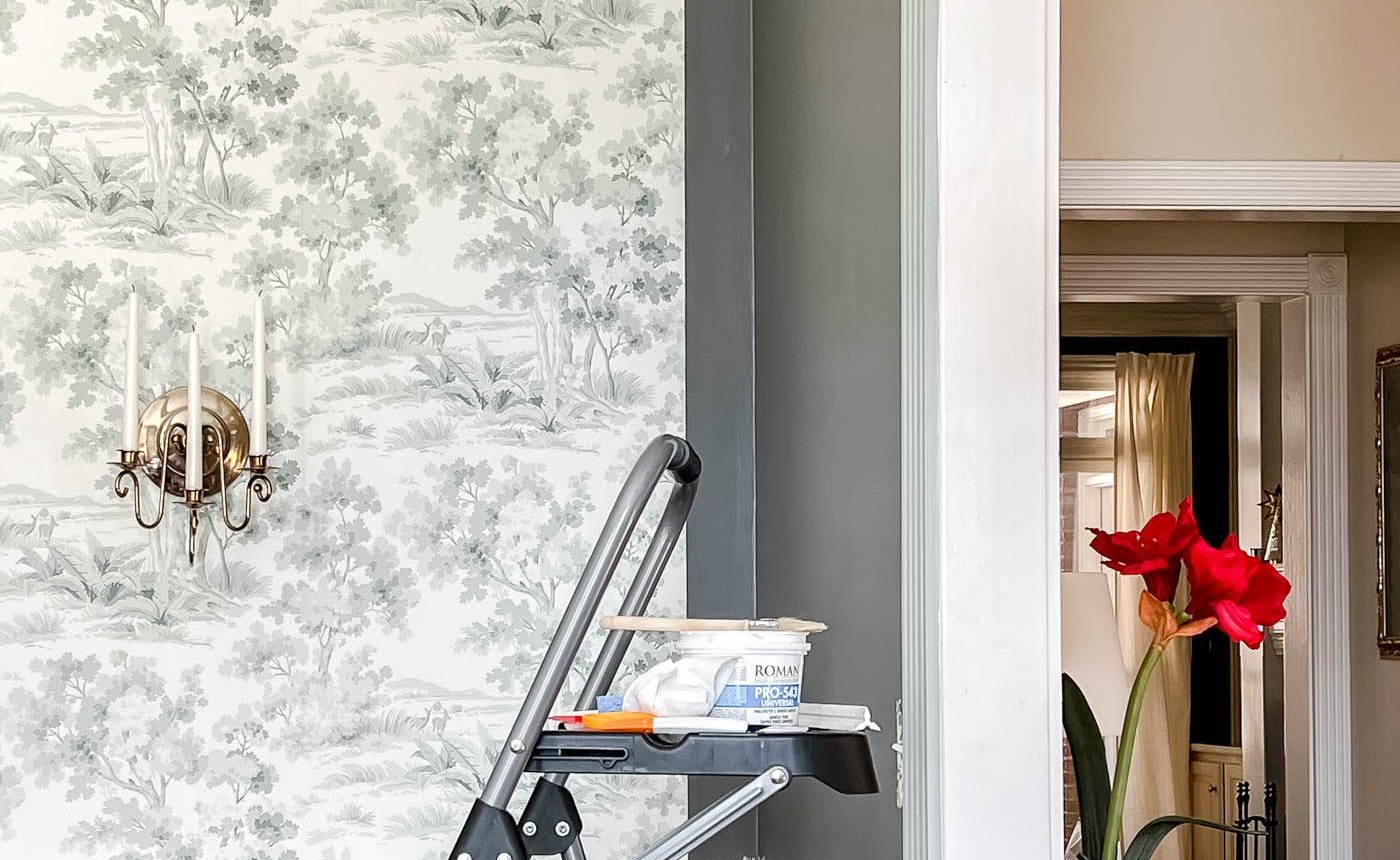
Learn how to install wallpaper yourself with this clear, step-by-step guide. Get practical tips and tricks for hanging wallpaper from a home DIYer who’s completed multiple projects in her own house.
I recently started using wallpaper throughout my home and I’m hooked. I’ve shared guidance on how to choose wallpaper elsewhere, and this guide focuses on how to install paste-on-the-wall wallpaper—my preferred method.
I just finished a large wallpaper project in my dining room, which was the biggest room I’ve tackled so far. If you’re considering wallpaper, this tutorial will walk you through the process in an approachable, realistic way.
This post contains affiliate links for your convenience. See my full disclosure policy.
Supplies & Materials You Will Need to Install Wallpaper
- Wallpaper — choose a pattern and repeat that suit your space and skill level.
- Chalk line or pencil
- Level
- Wallpaper smoother tool
- Brush or paint roller for paste
- Wallpaper adhesive (paste)
- Straight edge
- Tape measure
- Utility or craft knife with extra blades
- Sponge
- Wallpaper seam roller
- Scissors
A few practical notes: I prefer a widely available wallpaper adhesive that washes off easily while still allowing you to shift the paper. A sharp craft knife with easily replaceable blades is essential; I replace blades often to avoid tearing the paper. Many of the smaller tools are also bundled in wallpaper kits, which are handy for a first project.
How to Install Paste-on-the-Wall Wallpaper
This tutorial covers wallpaper that arrives unpasted and requires you to apply paste to the wall before hanging each strip—commonly called “paste-the-wall” wallpaper. I find this method straightforward and beginner-friendly.
Other common types are pre-pasted wallpaper (which you activate with water) and paste-the-paper wallpaper (where you apply paste to the paper itself). The techniques are similar but the handling differs slightly.
Wallpapering can look intimidating at first, but the process is manageable if you go step by step. If it’s your first time, try a small area or a single accent wall before committing to an entire room.
Before you begin, clear the walls of pictures, outlet and switch covers, and anything else that could get in the way. Patch any holes and make sure the surface is smooth and clean.
1. Decide where to start and end the wallpaper
If wallpaper will wrap around the entire room, pick the least noticeable place to begin and end the pattern—often above the most-used doorway. The pattern almost always won’t meet perfectly where it completes the loop, so choose a discreet junction point.
2. Mark a level vertical line for the first strip
Start with a perfectly level vertical reference line where the first strip will hang. Keeping the paper plumb from the start ensures the entire installation remains straight. Re-check level frequently as you work, especially when navigating corners, doors, or windows.
3. Cut the wallpaper leaving extra at top and bottom
Cut each strip at least 2 inches longer than the wall height. Those extra inches give room to trim cleanly at the ceiling and baseboard, producing a straight, finished edge.
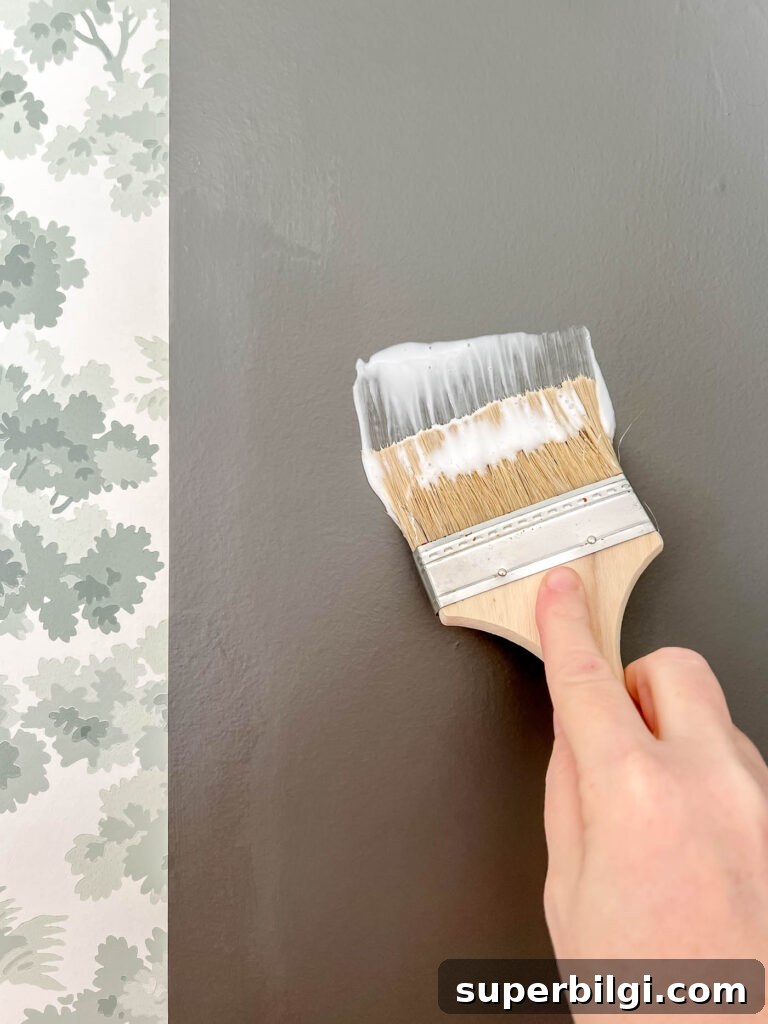
4. Apply adhesive to the wall
Using a brush or roller, apply wallpaper paste to the wall area where the strip will go. Cover the section evenly—aim for plenty of paste so the paper will adhere, but avoid drips. If a piece needs repositioning, it’s fine to add more paste rather than working with a dry or insufficient coat.
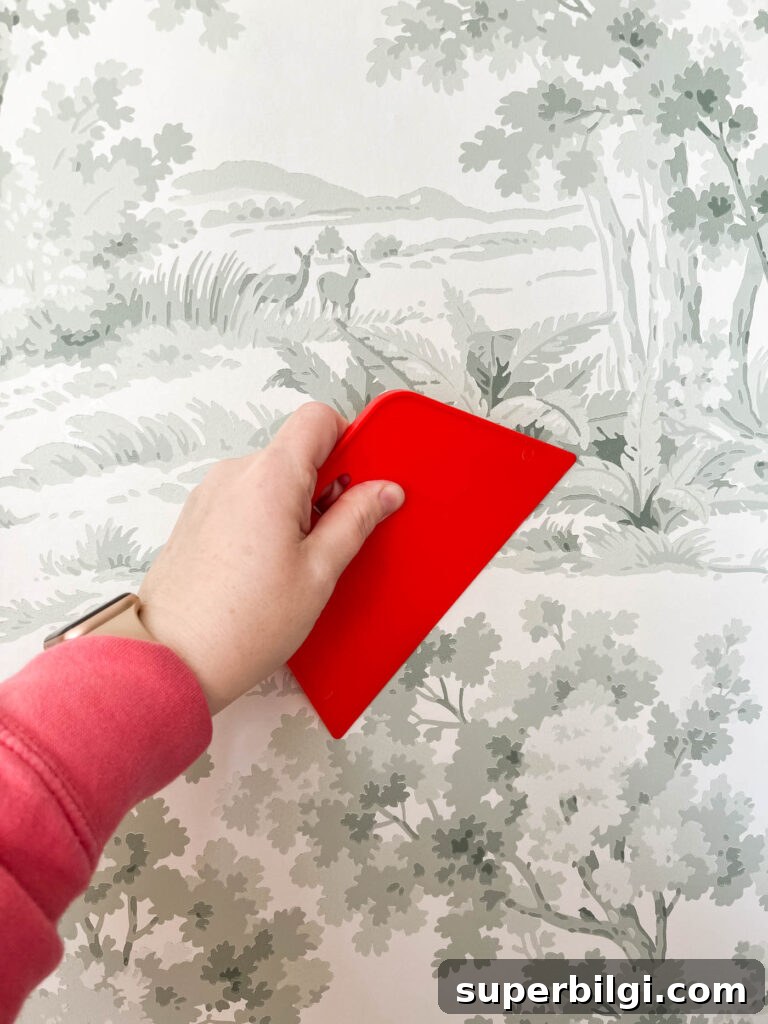
5. Smooth out bubbles with a wallpaper smoother
Once the strip is in place, use your smoother to push air and paste toward the edges. Work from the center outward and double-check with your hand to feel for any remaining bubbles. This step helps the paper lay flat and look professional.
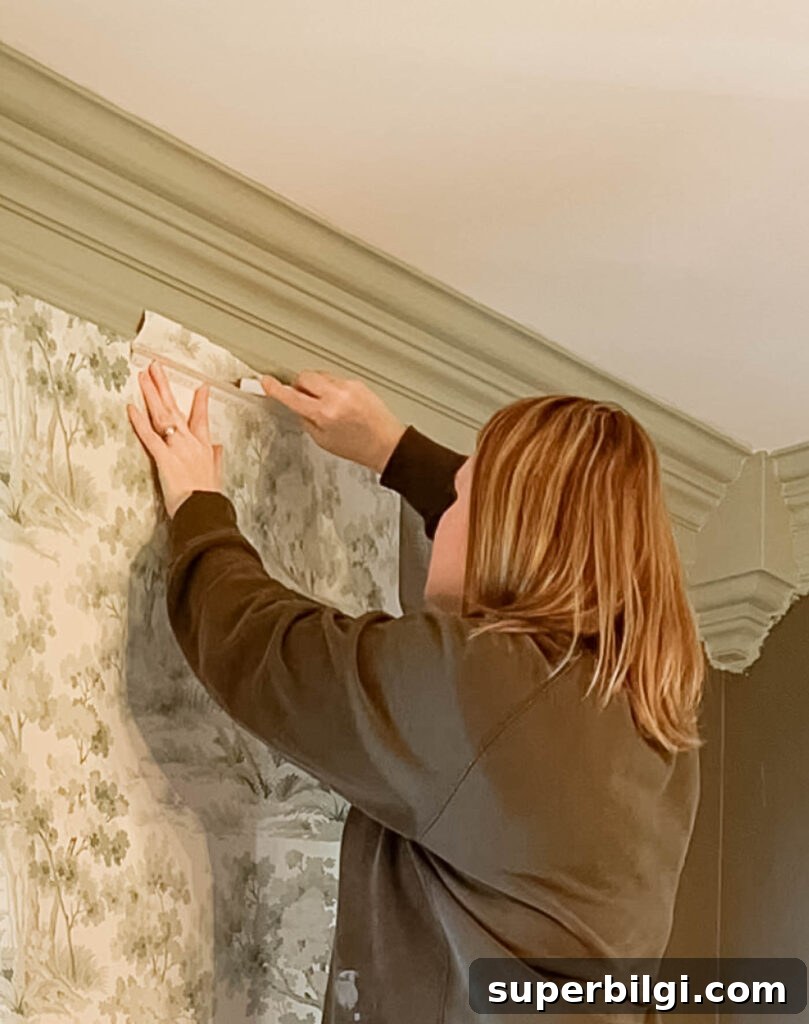
6. Trim excess paper at top and bottom
After smoothing the top half of the strip, use a straight edge and a sharp utility or craft knife to trim the excess at the ceiling and baseboard. A straight edge keeps the cut clean and prevents torn or uneven edges.
7. Roll along seams to keep them smooth
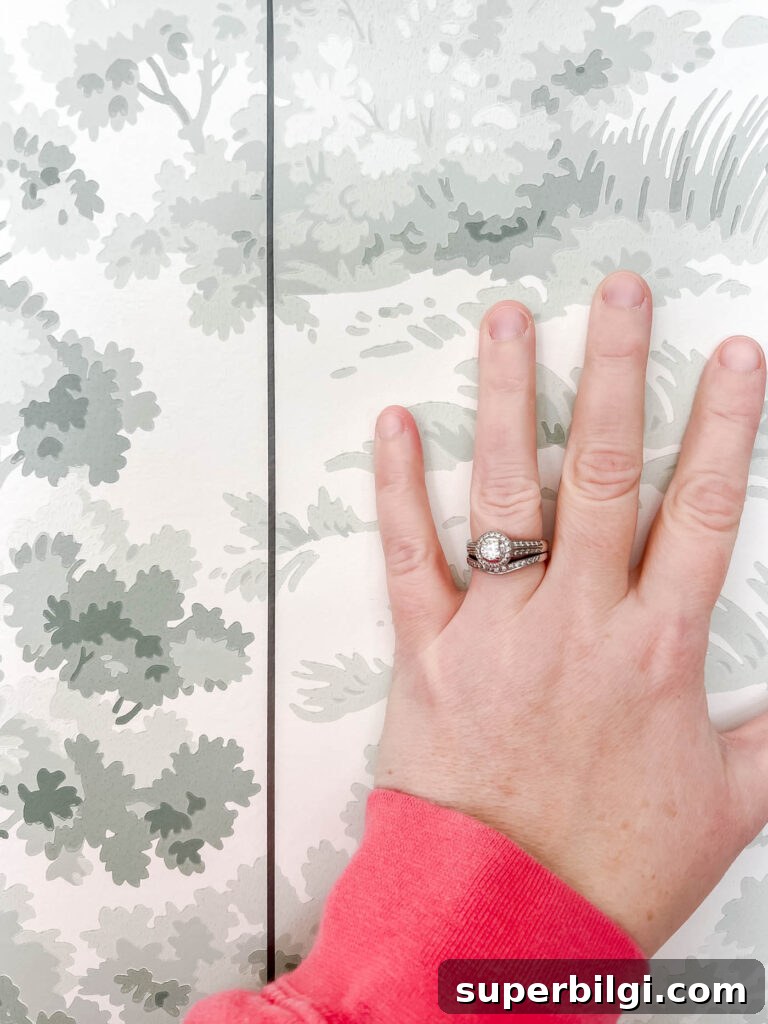
Use a seam roller or your smoother to press the seams so the edges meet tightly without overlapping. Proper seam treatment prevents peeling and helps the pattern read correctly across strips.
8. Remove excess adhesive with a damp sponge
Wipe off any paste from the wallpaper surface while it’s still wet. It’s much easier to clean fresh paste than to wait for it to dry and stain the paper.
9. Match the pattern and continue
Hold the next roll up alongside the installed strip and align the pattern before cutting. Leave 2–3 inches extra at the top, then repeat the paste, position, smoothing, trimming, and seam-rolling steps. Continue this process around the room until finished.
Tips for a Better Wallpaper Installation
Here are key lessons I learned from multiple wallpaper projects that will save you time and frustration.
Keep the paper level and be precise when matching the pattern—these are the two most important elements for a professional-looking finish. Corners, doors, and windows require patience and small relief cuts to help the paper sit properly.
Tip #1: End on a level vertical line when wrapping corners
When wrapping around corners, especially where crown moulding or trim interrupts the wall, work slowly and use temporary tape to hold the paper while you find a level finishing line. Ending on a true vertical line prevents the next wall from appearing crooked.
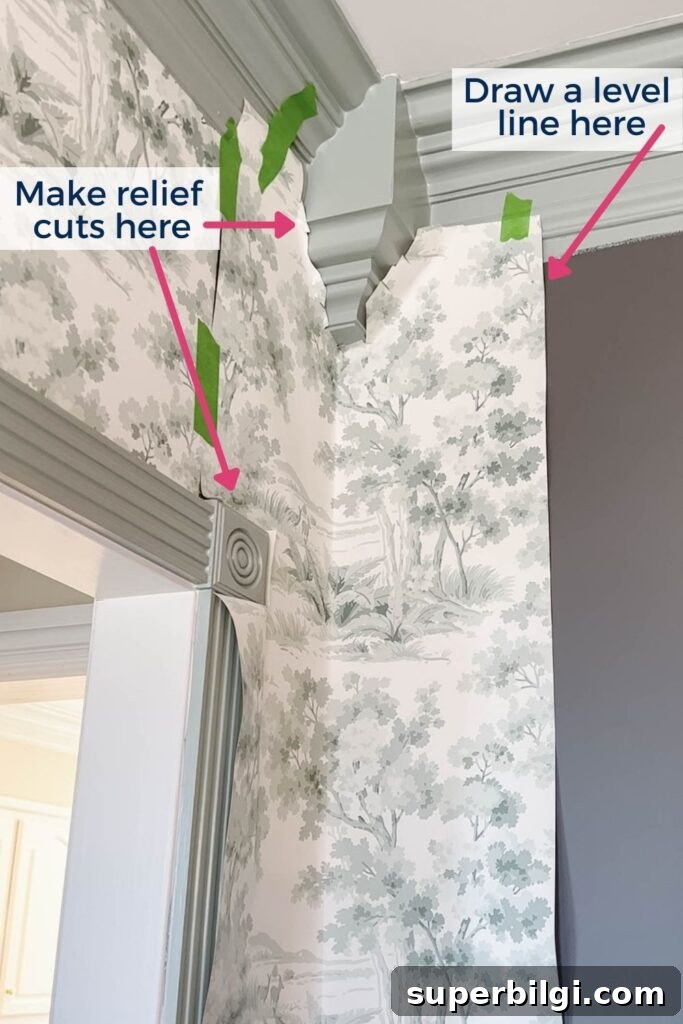
Tip #2: Make relief cuts around obstacles
Use small relief cuts with scissors when working around windows, doors, and intricate moulding. These cuts let the paper conform without bunching, and you can trim away the excess for a clean fit.
Tip #3: Go slow
Take your time, especially with tricky corners. Rushed cuts or hurried placement often lead to wasted paper and extra cost. Allow plenty of time for the most complex sections.
Tip #4: Order extra wallpaper
Order more than the calculated minimum. Pattern repeats and matching across seams require extra length, and batch variations can make it difficult to match colors if you reorder later. A reliable wallpaper calculator will give a good starting estimate, but never skimp on extra rolls.
Frequently Asked Questions about Installing Wallpaper
How do you apply wallpaper paste to the wall?
Use a brush or roller to apply paste evenly over the wall section where each strip will be placed. A good wallpaper brush provides control and helps you reach edges and corners.
What is the best paste to use?
Select a high-quality wallpaper adhesive suited to your paper type. Look for a paste that washes off easily during installation but dries to a secure bond.
Do I have to paint the wall before wallpapering?
You don’t necessarily need a fresh coat of paint if the wall is already smooth and in good condition. If the wall is new or porous, prime it first. A dedicated wall primer or wallpaper primer can improve adhesion and make future removal easier.
Should wallpaper seams overlap?
No. Seams should be butted tightly together with the pattern matched—do not overlap. Overlapping creates visible ridges and an uneven surface.
I hope this tutorial makes wallpapering feel more approachable. If you have questions or want to share your results, leave a comment. I’d love to hear how your wallpaper project turns out.
More Posts You Will Love
- How to Select Wallpaper {Decorating 101}
- How to Hang Pre-Pasted Wallpaper (beginner tutorial)
- Traditional Dining Room Design Plans
- The Best Dining Chairs on a Budget
- Butler’s Pantry Ideas: 10+ Beautiful and Functional Designs











