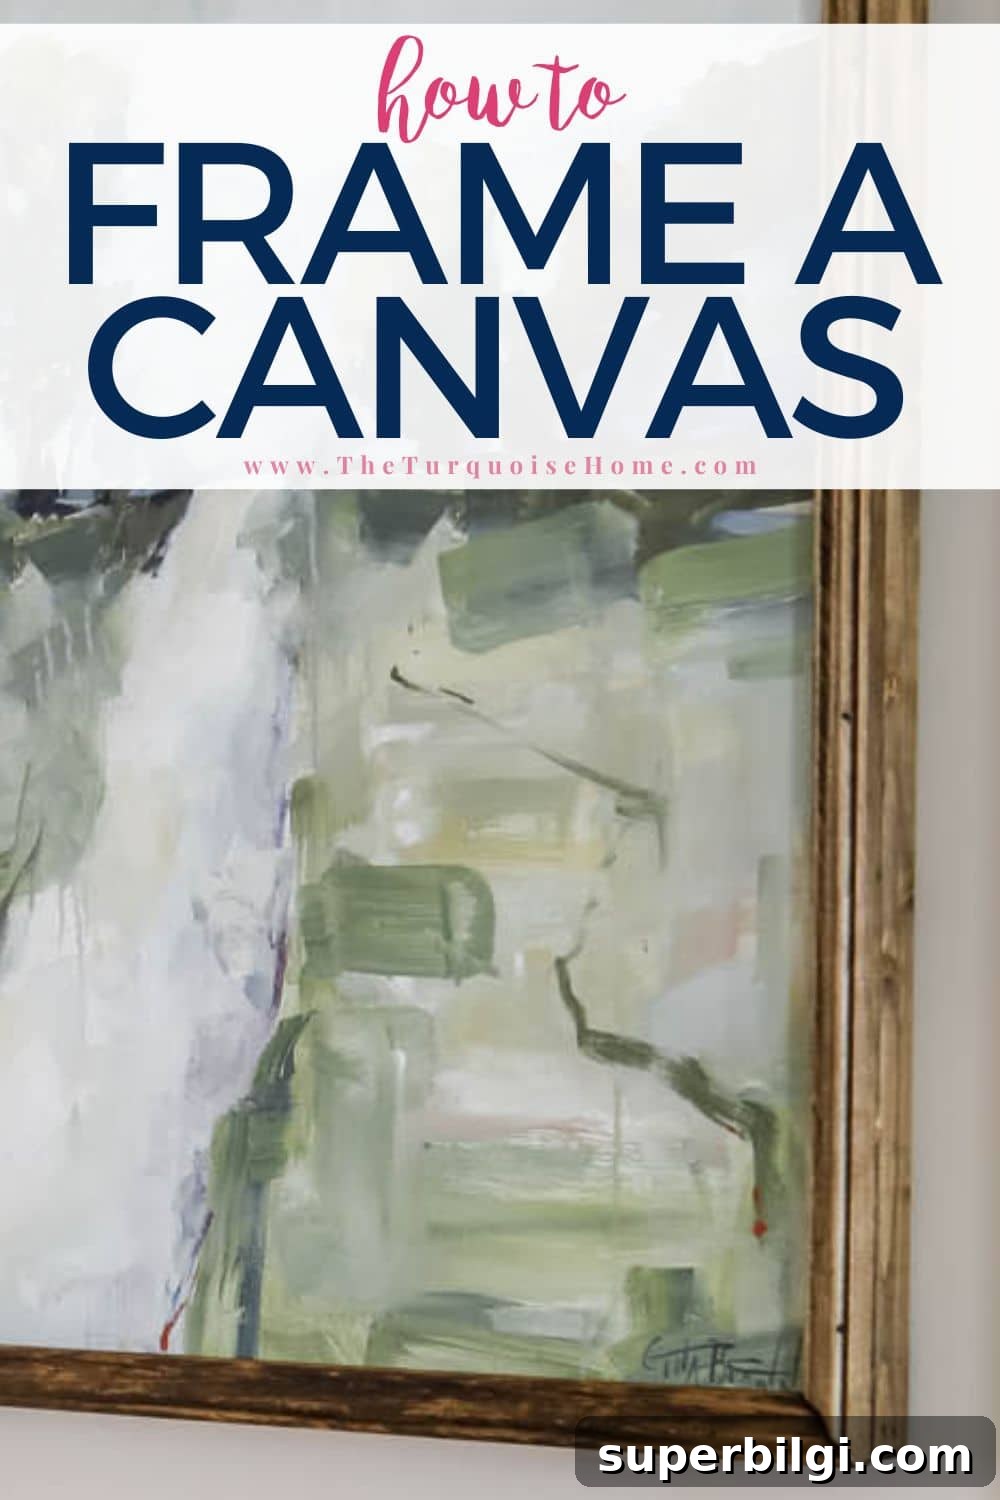
This simple DIY guide will teach you how to frame a canvas on a budget, making any unframed artwork look polished and complete. With basic household tools, this is an easy weekend project for beginners.
If you’ve bought unframed art or painted on stretched canvas and it looks unfinished, framing it yourself is an affordable way to give your piece a finished look. Most of the supplies are inexpensive and the project can be completed in a few hours.
This post contains affiliate links for convenience. See full disclosure policy.
My First Canvas Framing Experience
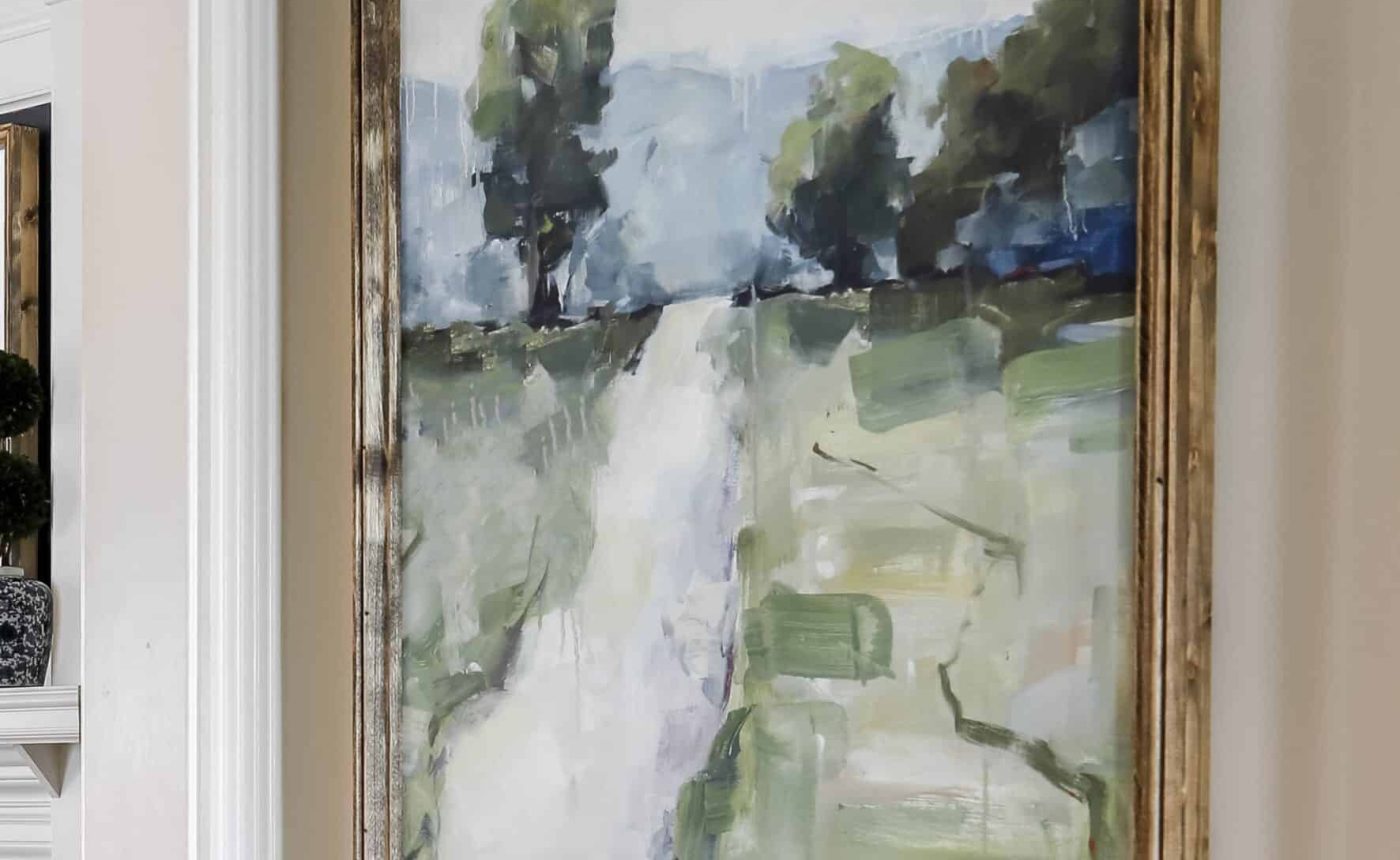
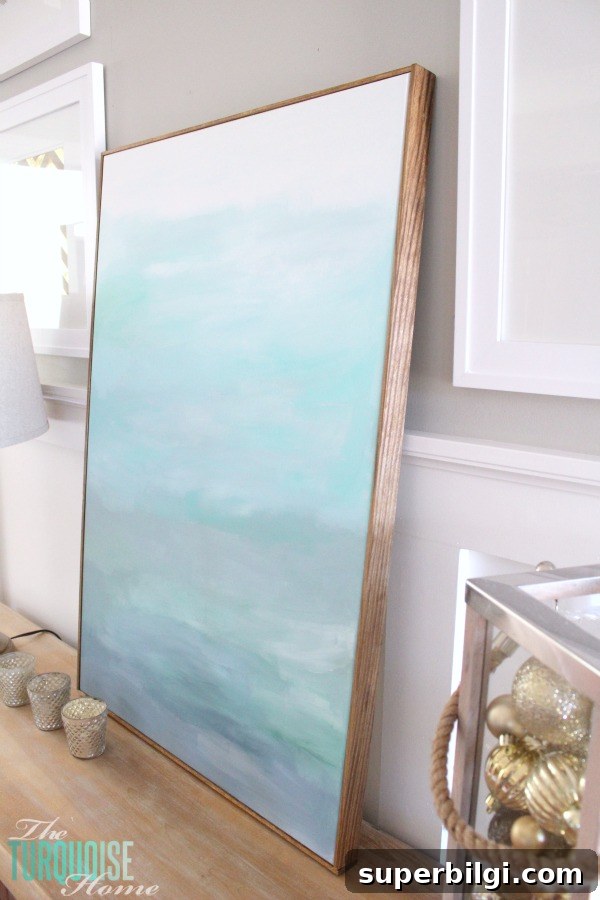
My DIY framing journey began when I made an abstract canvas for under $22 and framed it with stained wood lattice from a previous project. It was quick, cheap, and dramatically improved the final look.
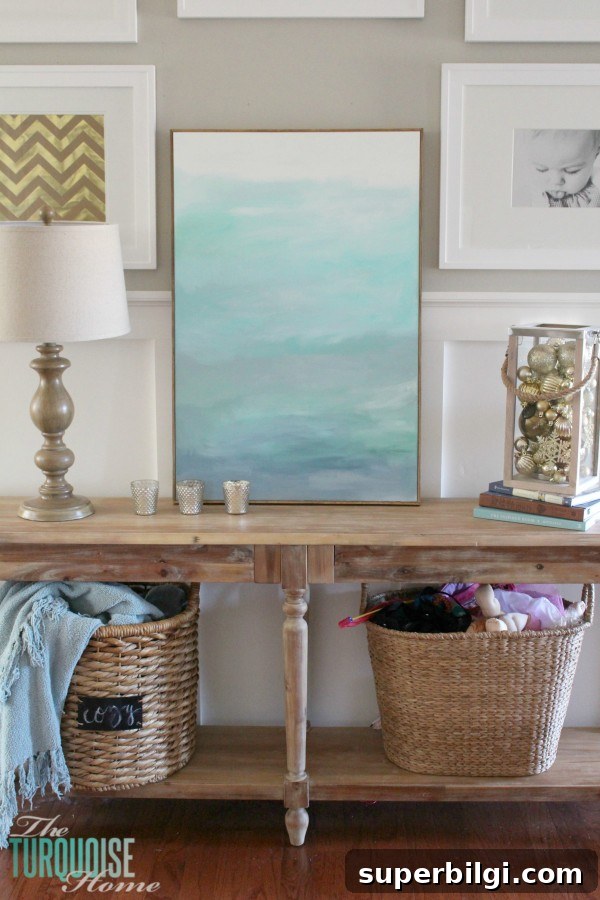
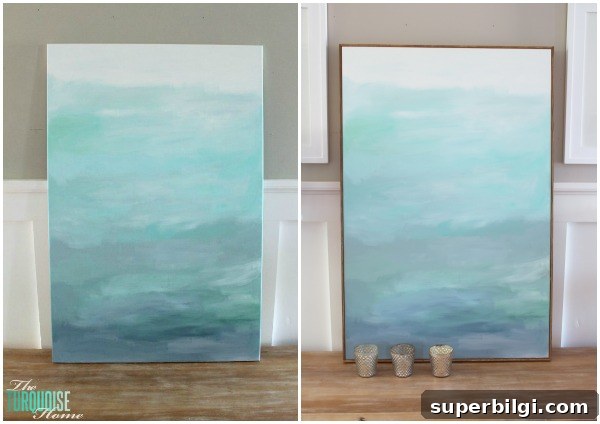
At first I considered leaving the canvas unframed, but it quickly felt incomplete. Adding a simple wood border made the artwork look intentional and framed, even on a tight budget.
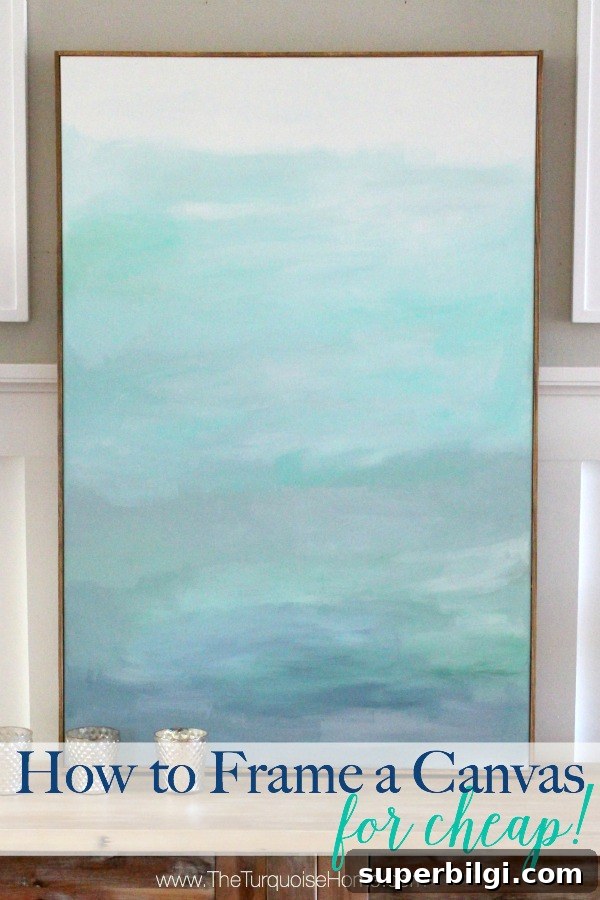
For that project I cut and glued stained lattice pieces to the canvas stretcher frame. It’s one of the least expensive ways to frame a canvas and gives a defined border that elevates the piece.
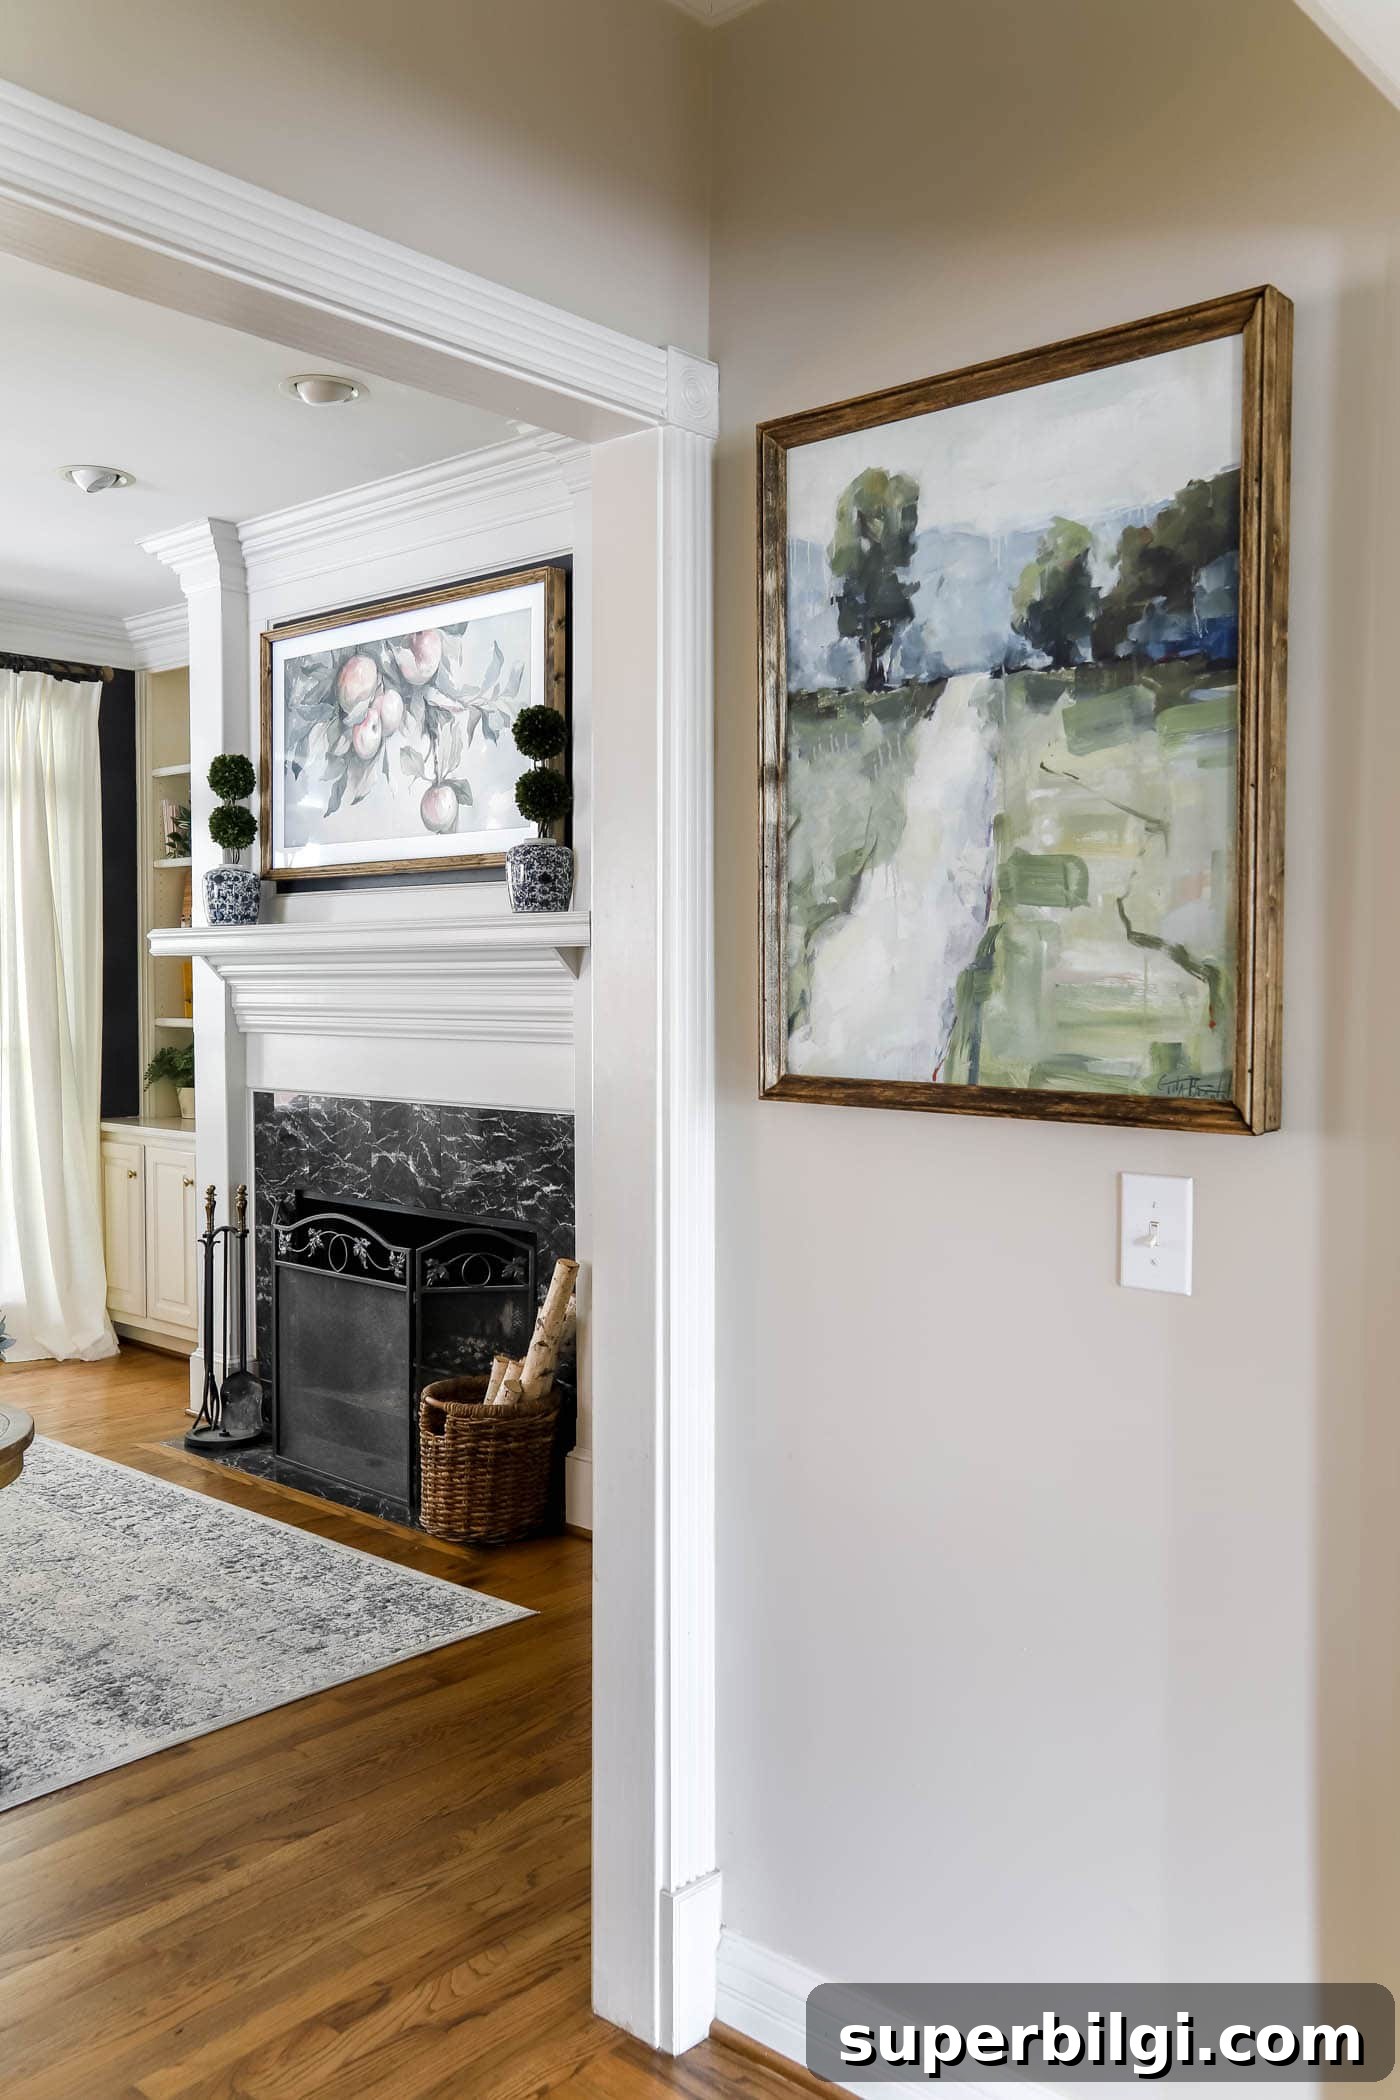
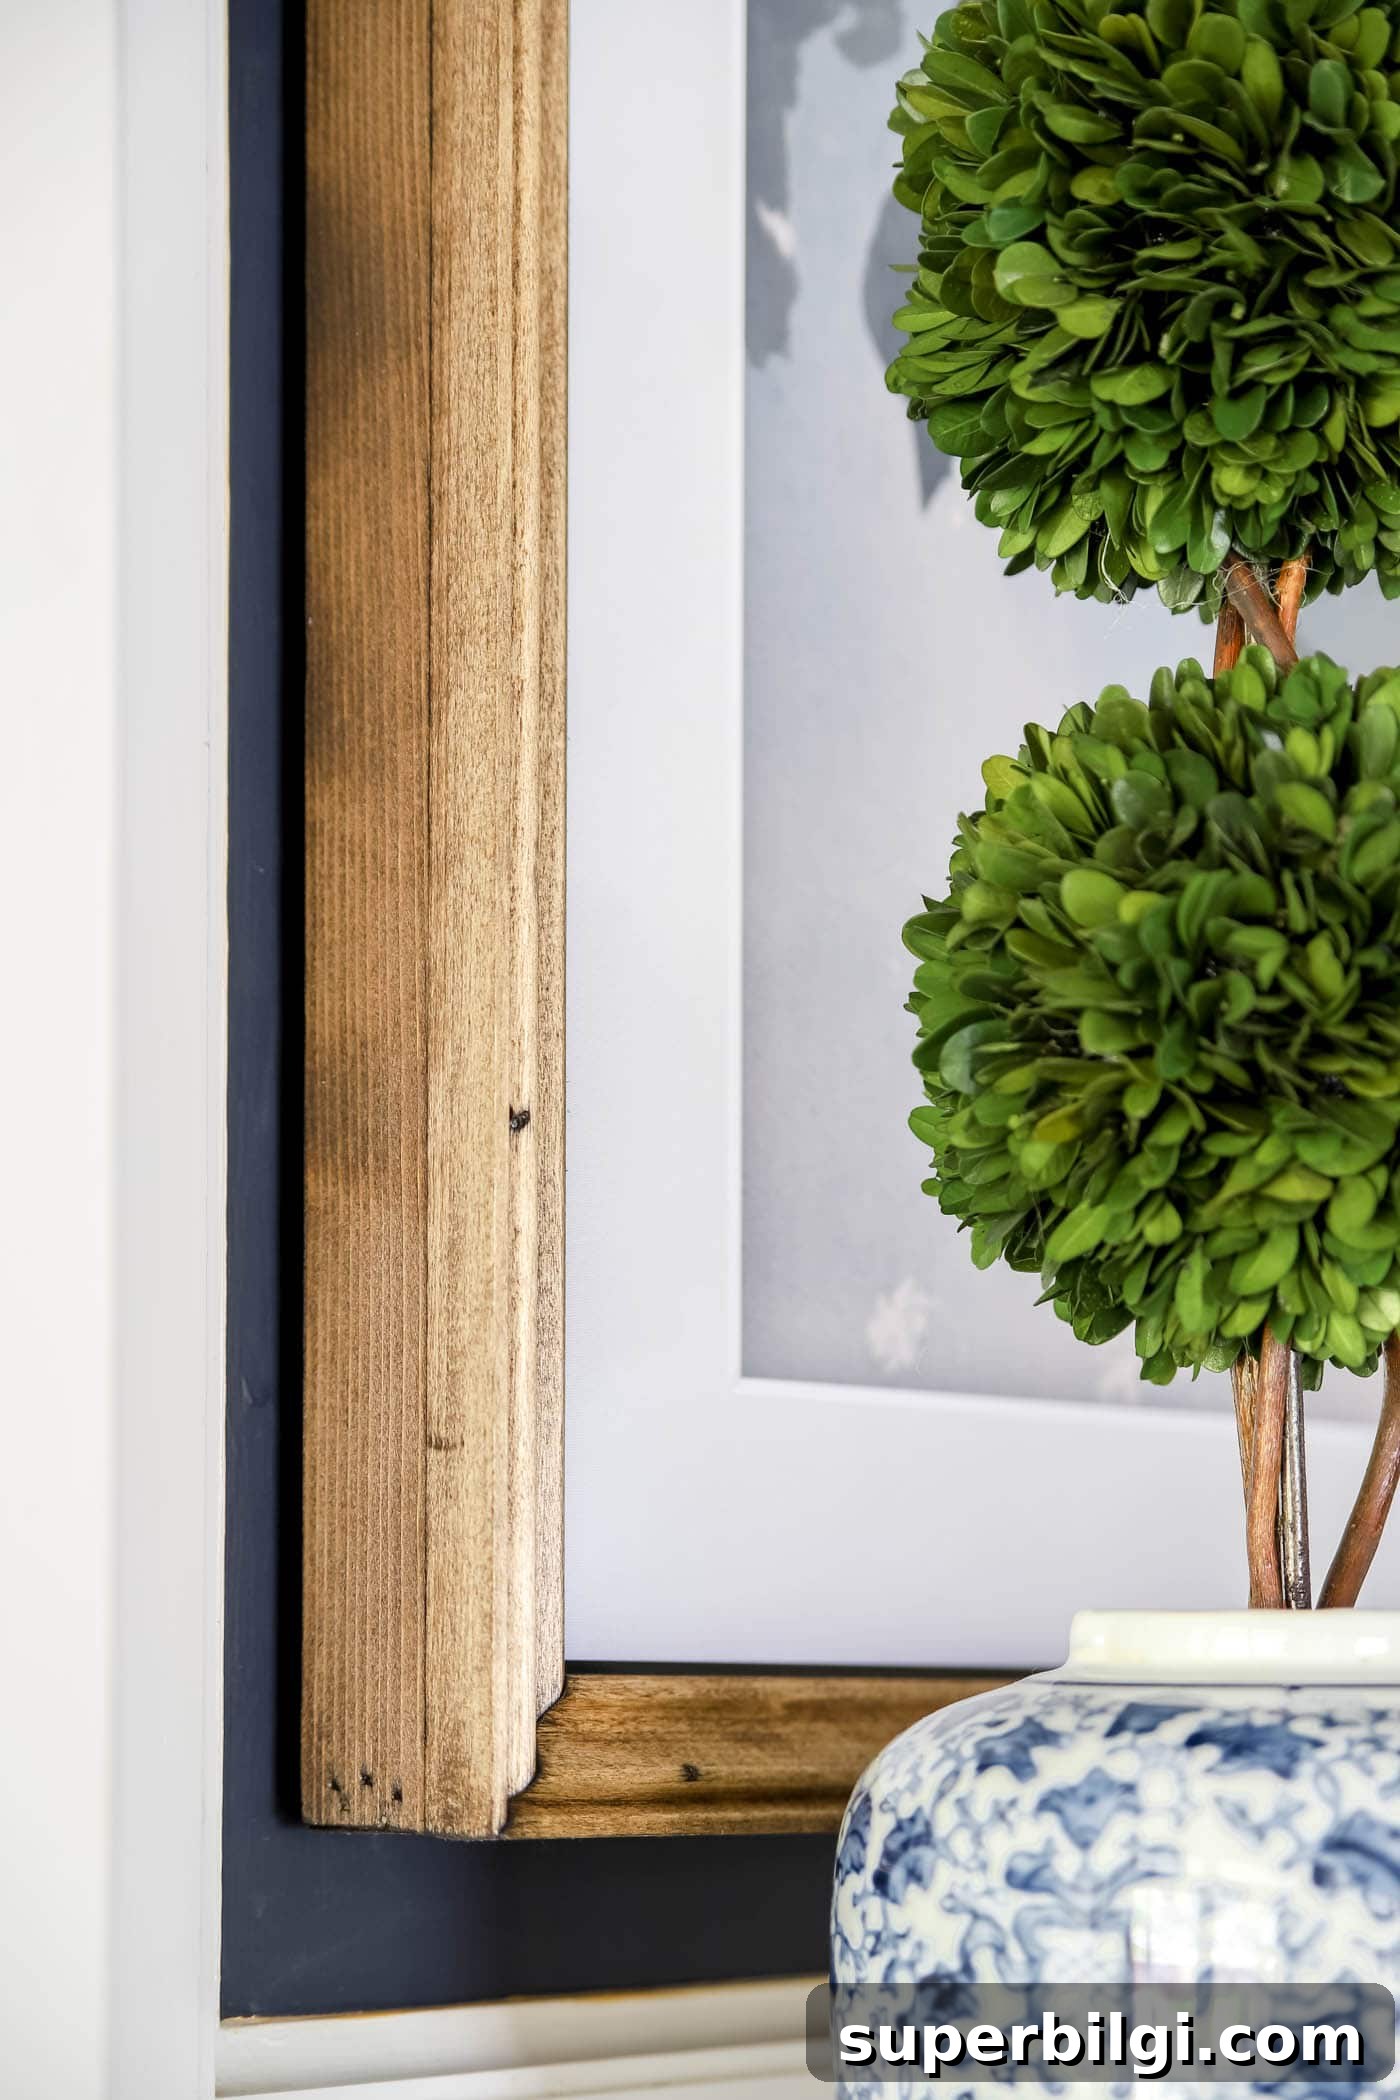
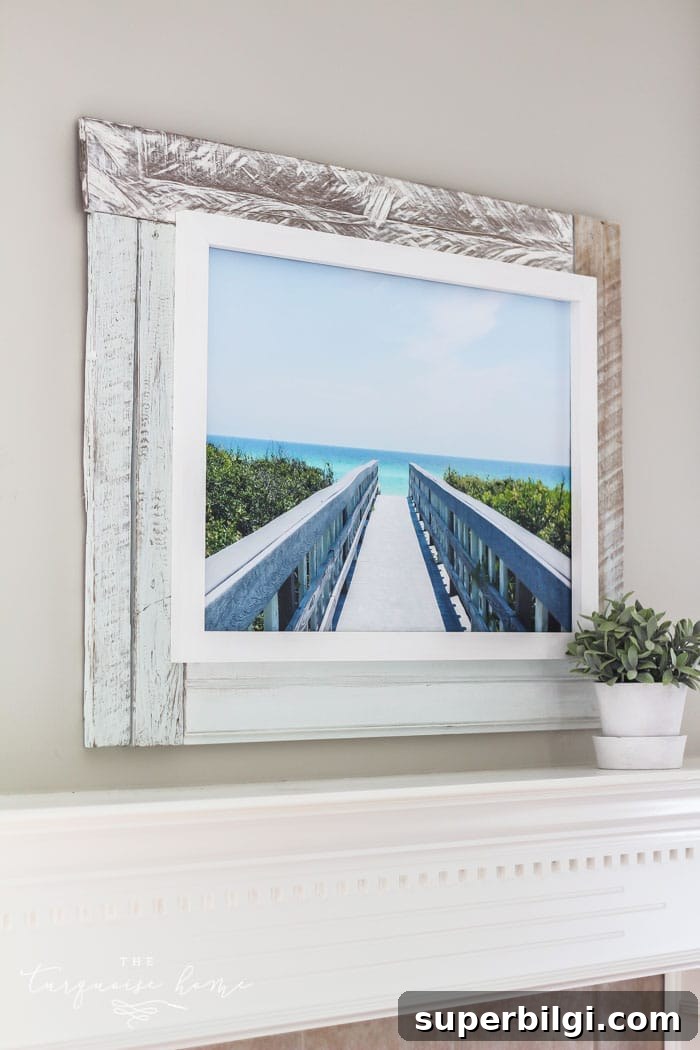
Since then I’ve experimented with chunkier, more refined frames using reclaimed wood and decorative molding, and I’ve even built a frame for a TV. Making your own frames lets you choose the style, finish, and scale to match your home.
Materials Needed to Frame a Canvas
- Wood trim of your choice:
- Simple/modern: lattice strips, 1×2, or 1×3 boards cut to the perimeter of your canvas.
- Traditional/elaborate: a 1×2 or 1×3 base combined with a decorative molding trim piece.
- Wood glue
- 1.5-inch finishing nails
- Sandpaper
- Paint or stain in the finish you prefer
- Polyurethane or polycrylic for sealing (optional but recommended)
- Wood filler (optional, for filling nail holes)
- Sawtooth hangers or D-rings for hanging
Tools Needed to Frame a Canvas
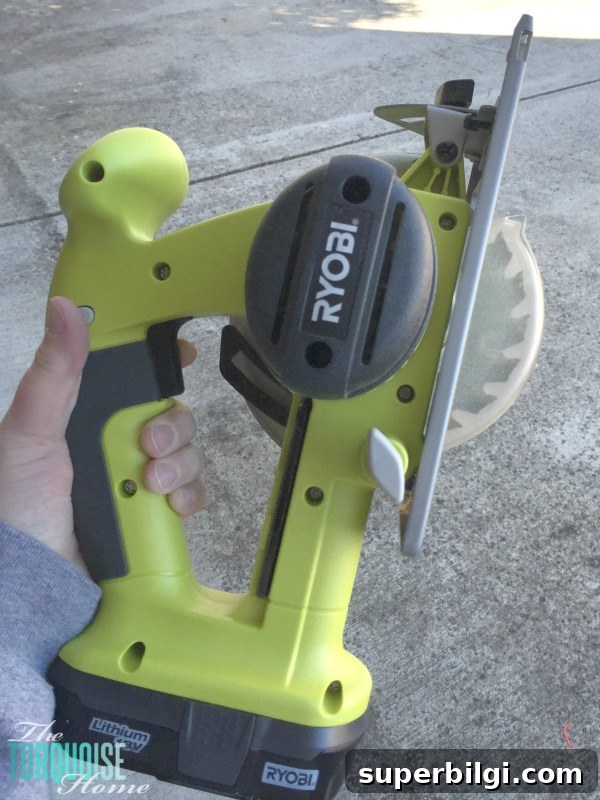
- Miter saw — ideal for precise 45° cuts. If you don’t have one, miter shears or a hand saw with a miter box will work for simple frames. For butt joints, a circular saw or handsaw is sufficient.
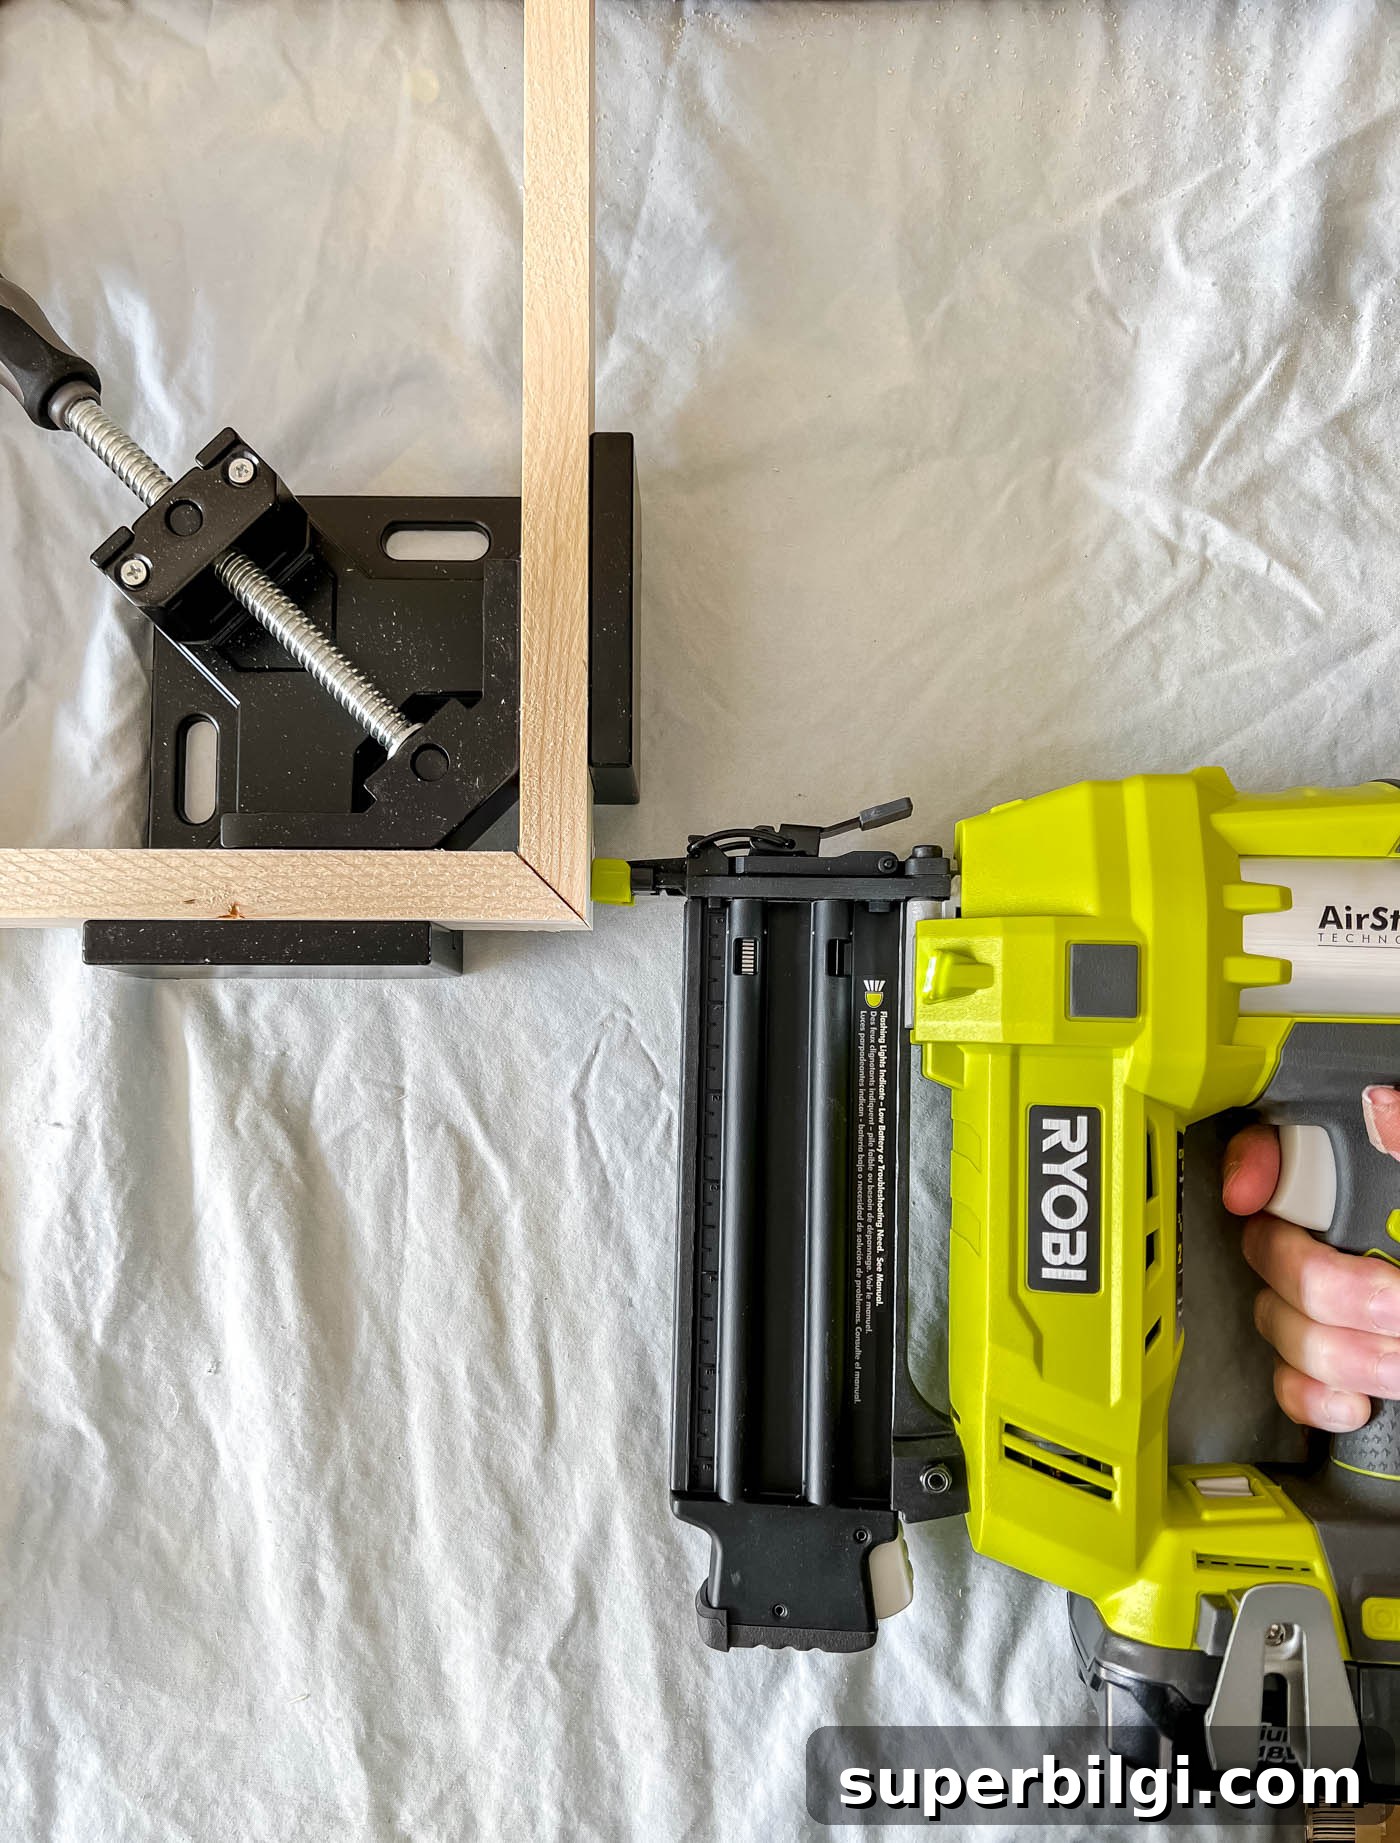
- Brad nailer or finishing nailer — optional but speeds assembly and holds pieces while glue dries.
- Pencil and tape measure
- Clamps or corner clamps — helpful for holding mitered corners while glue sets.
- Rag or foam brush for applying stain or sealer
How to Frame a Canvas — Step-by-Step Instructions
Follow these steps to transform an unframed canvas into a finished, framed piece of art.
1. Choose Your Corner Joint
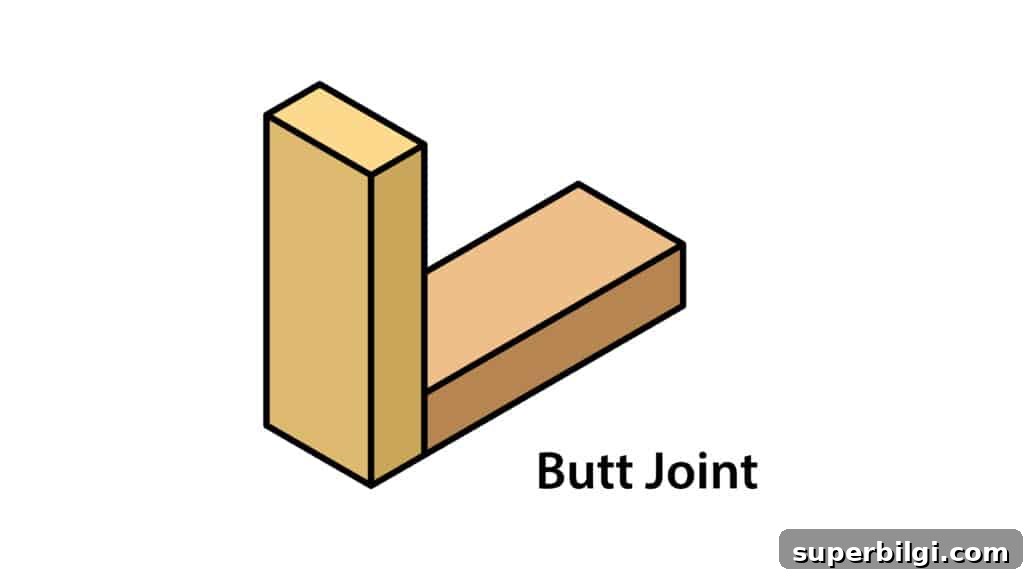
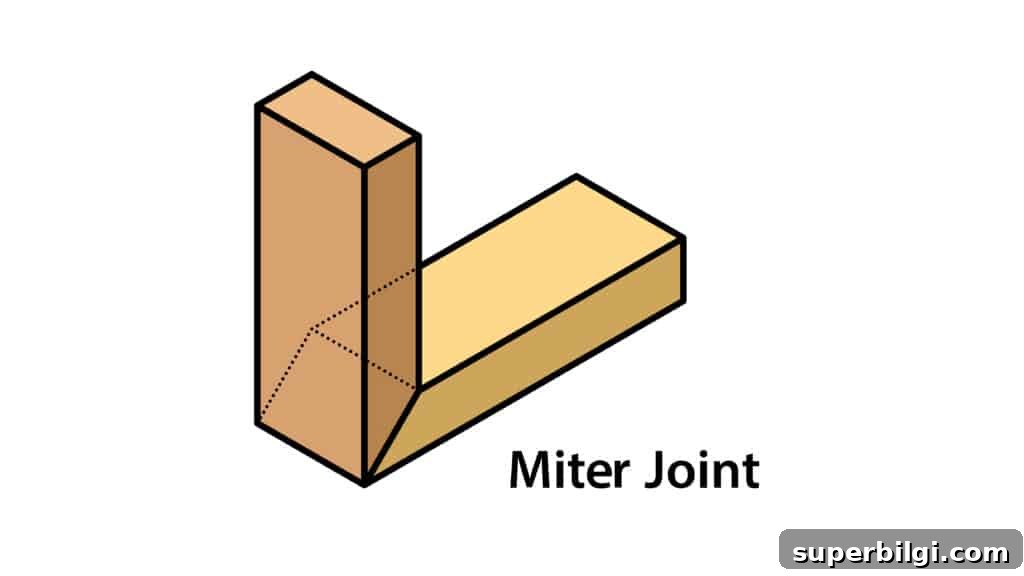
Decide between two easy corner styles: a miter joint or a square butt joint. Both are straightforward and effective for framing canvases.
The Miter Joint
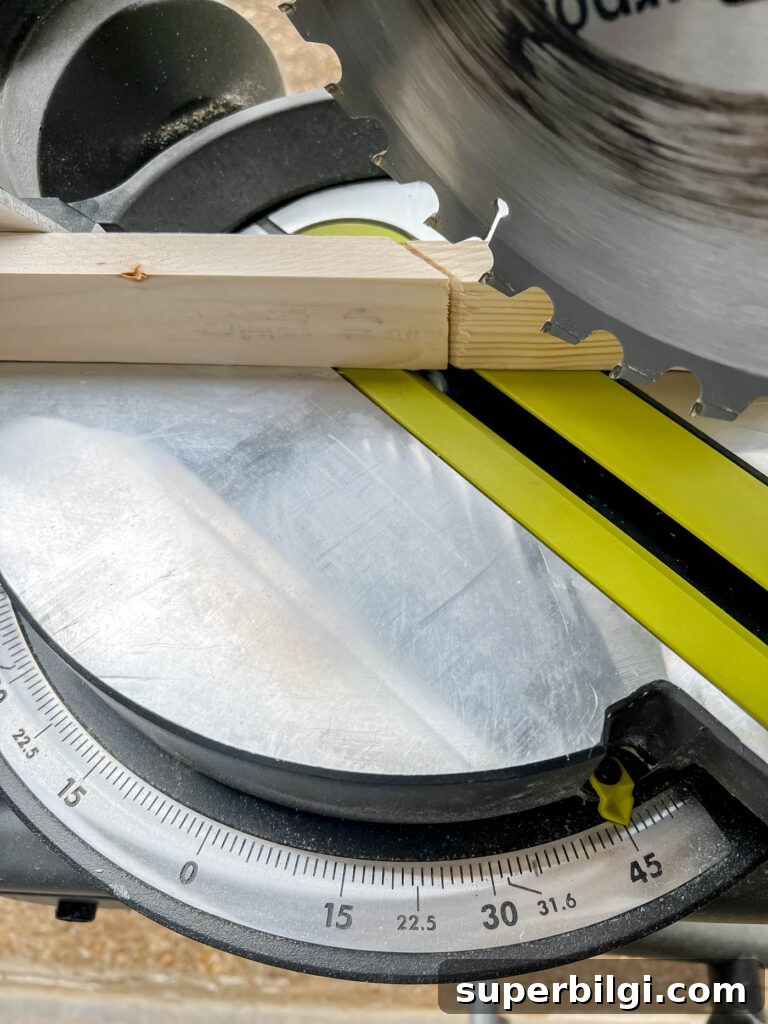
A miter joint is made by cutting each end of the trim at 45° so the pieces meet cleanly at the corner. Glue the joints, clamp them until the glue dries, and use a brad nail for extra strength. This gives a classic, seamless frame corner.
The Butt Joint
A butt joint overlaps one board over the end of another and is glued or nailed in place. This method is simpler and works well with thin strips like lattice. It creates a clean, straightforward edge and is very beginner-friendly.
2. Determine & Gather Supplies
Measure your canvas to calculate the perimeter. Add a little extra length if you’re using mitered corners, since the mitered ends extend past the corner. Plan to buy full-length boards that let you cut each side without splicing pieces together.
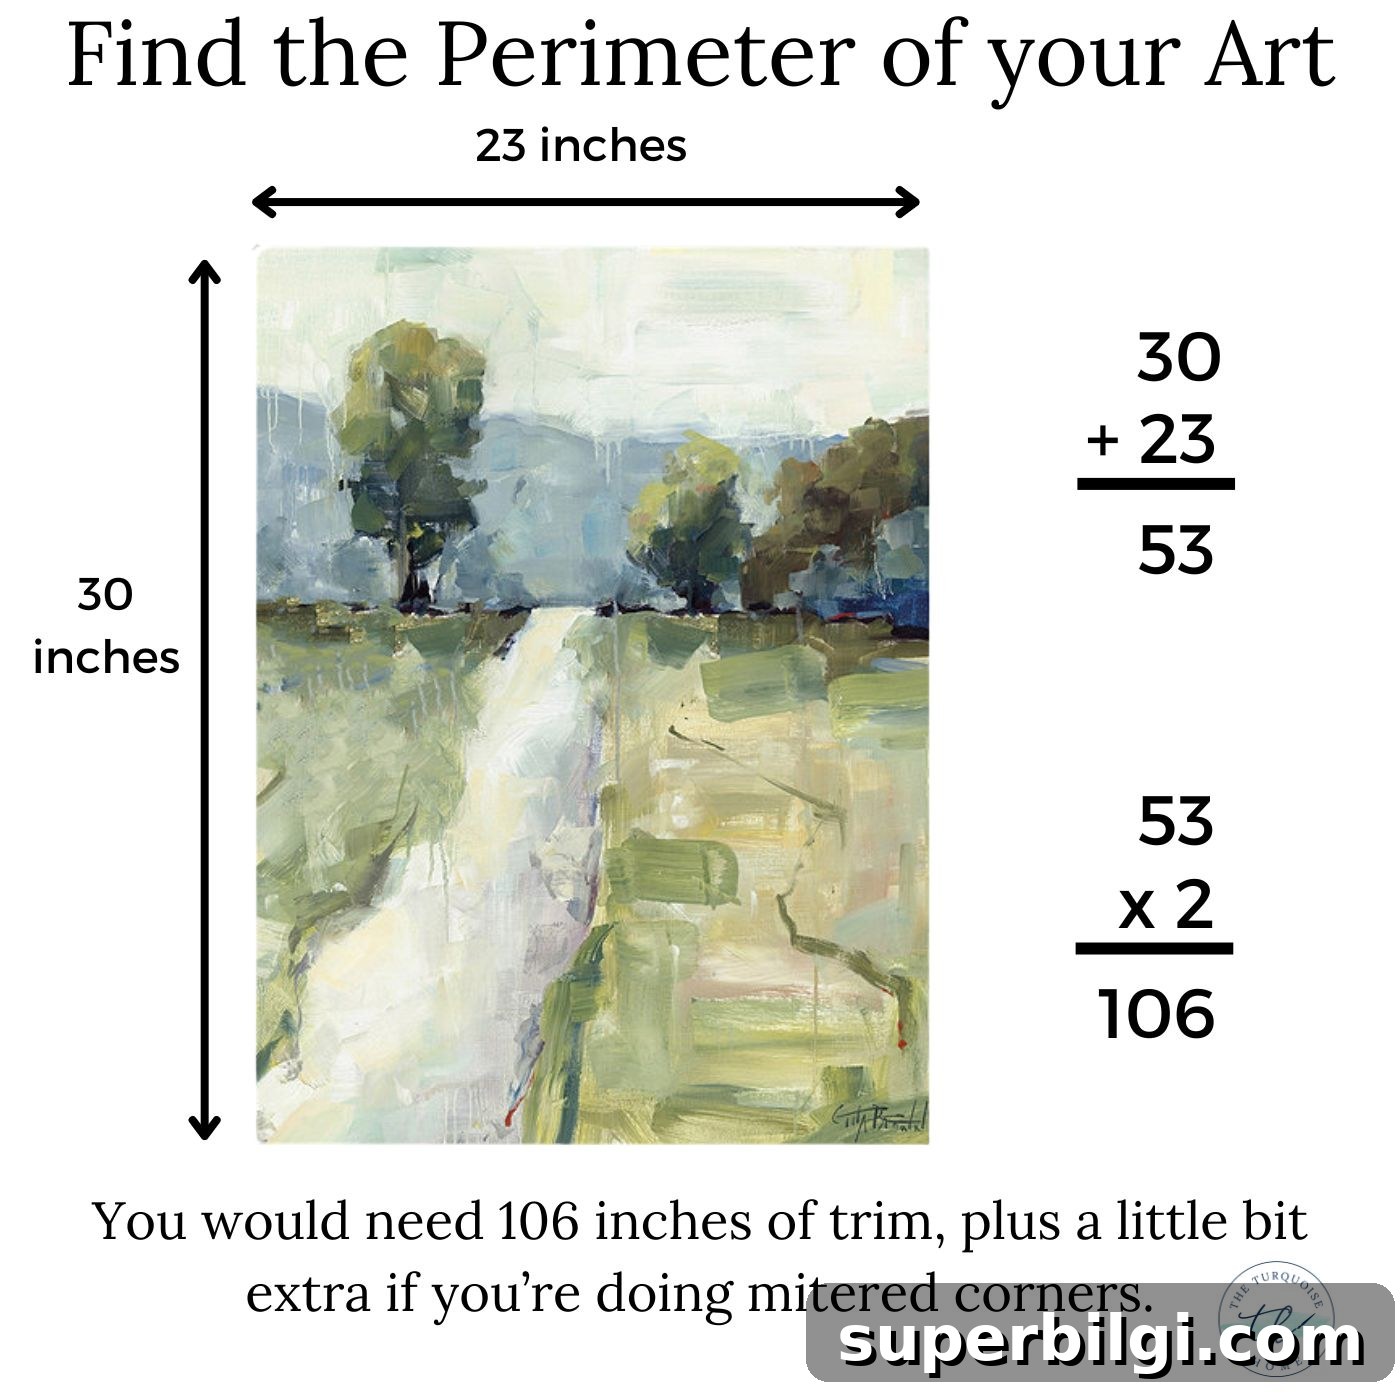
With measurements in hand, purchase the wood and other materials from the list above. Choosing slightly longer boards avoids awkward joints and makes cutting easier.
3. Measure and Cut the Frame Pieces
You can paint or stain before cutting, but I prefer to cut first so I can sand rough edges and finish after assembly. For mitered frames, cut each end at 45° so corners fit together. If using decorative molding, cut both the base and the molding so they align at corners.
4. Assemble the Frame
Dry-fit the pieces first to ensure correct lengths. Apply wood glue to each corner, clamp, and reinforce with brad nails or finishing nails. If you added decorative trim, glue and nail it to the base frame once the corners are secure.
5. Paint or Stain the Wood
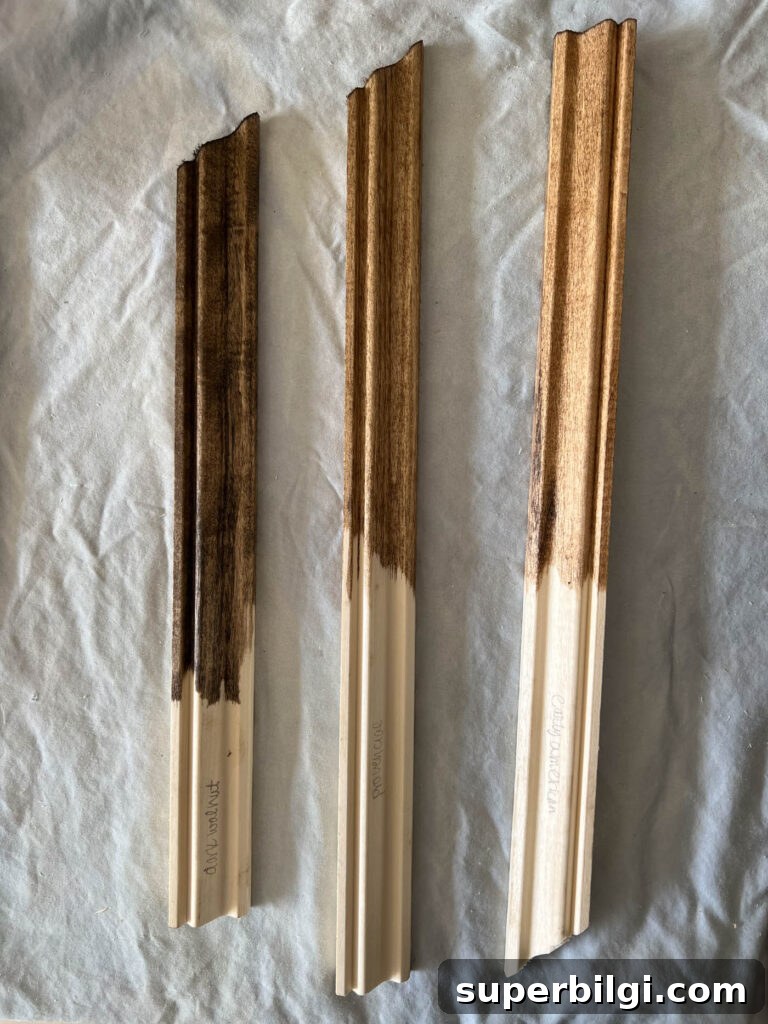
Sand smooth, fill any nail holes with wood filler, and apply your chosen stain or paint. Test stains on scrap wood to choose the right tone. Finish with a sealer like polycrylic or polyurethane to protect the frame and give it a lasting finish.
6. Attach the Frame to the Canvas
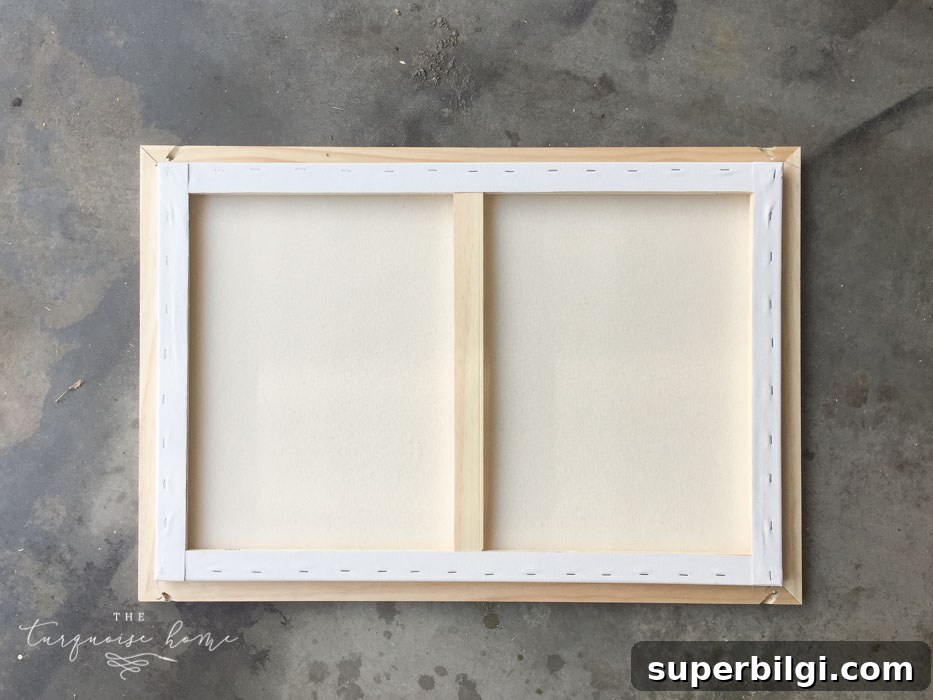
Place the finished frame around the canvas. You can glue the stretcher bars to the frame or simply rest the canvas inside a snug frame. If you choose to nail, put fasteners toward the back of the frame so they are less visible.
7. Hang the Frame on the Wall
Attach sawtooth hangers or D-rings to the back of the frame and hang it securely. Adjust placement and alignment so your artwork sits straight and centered.
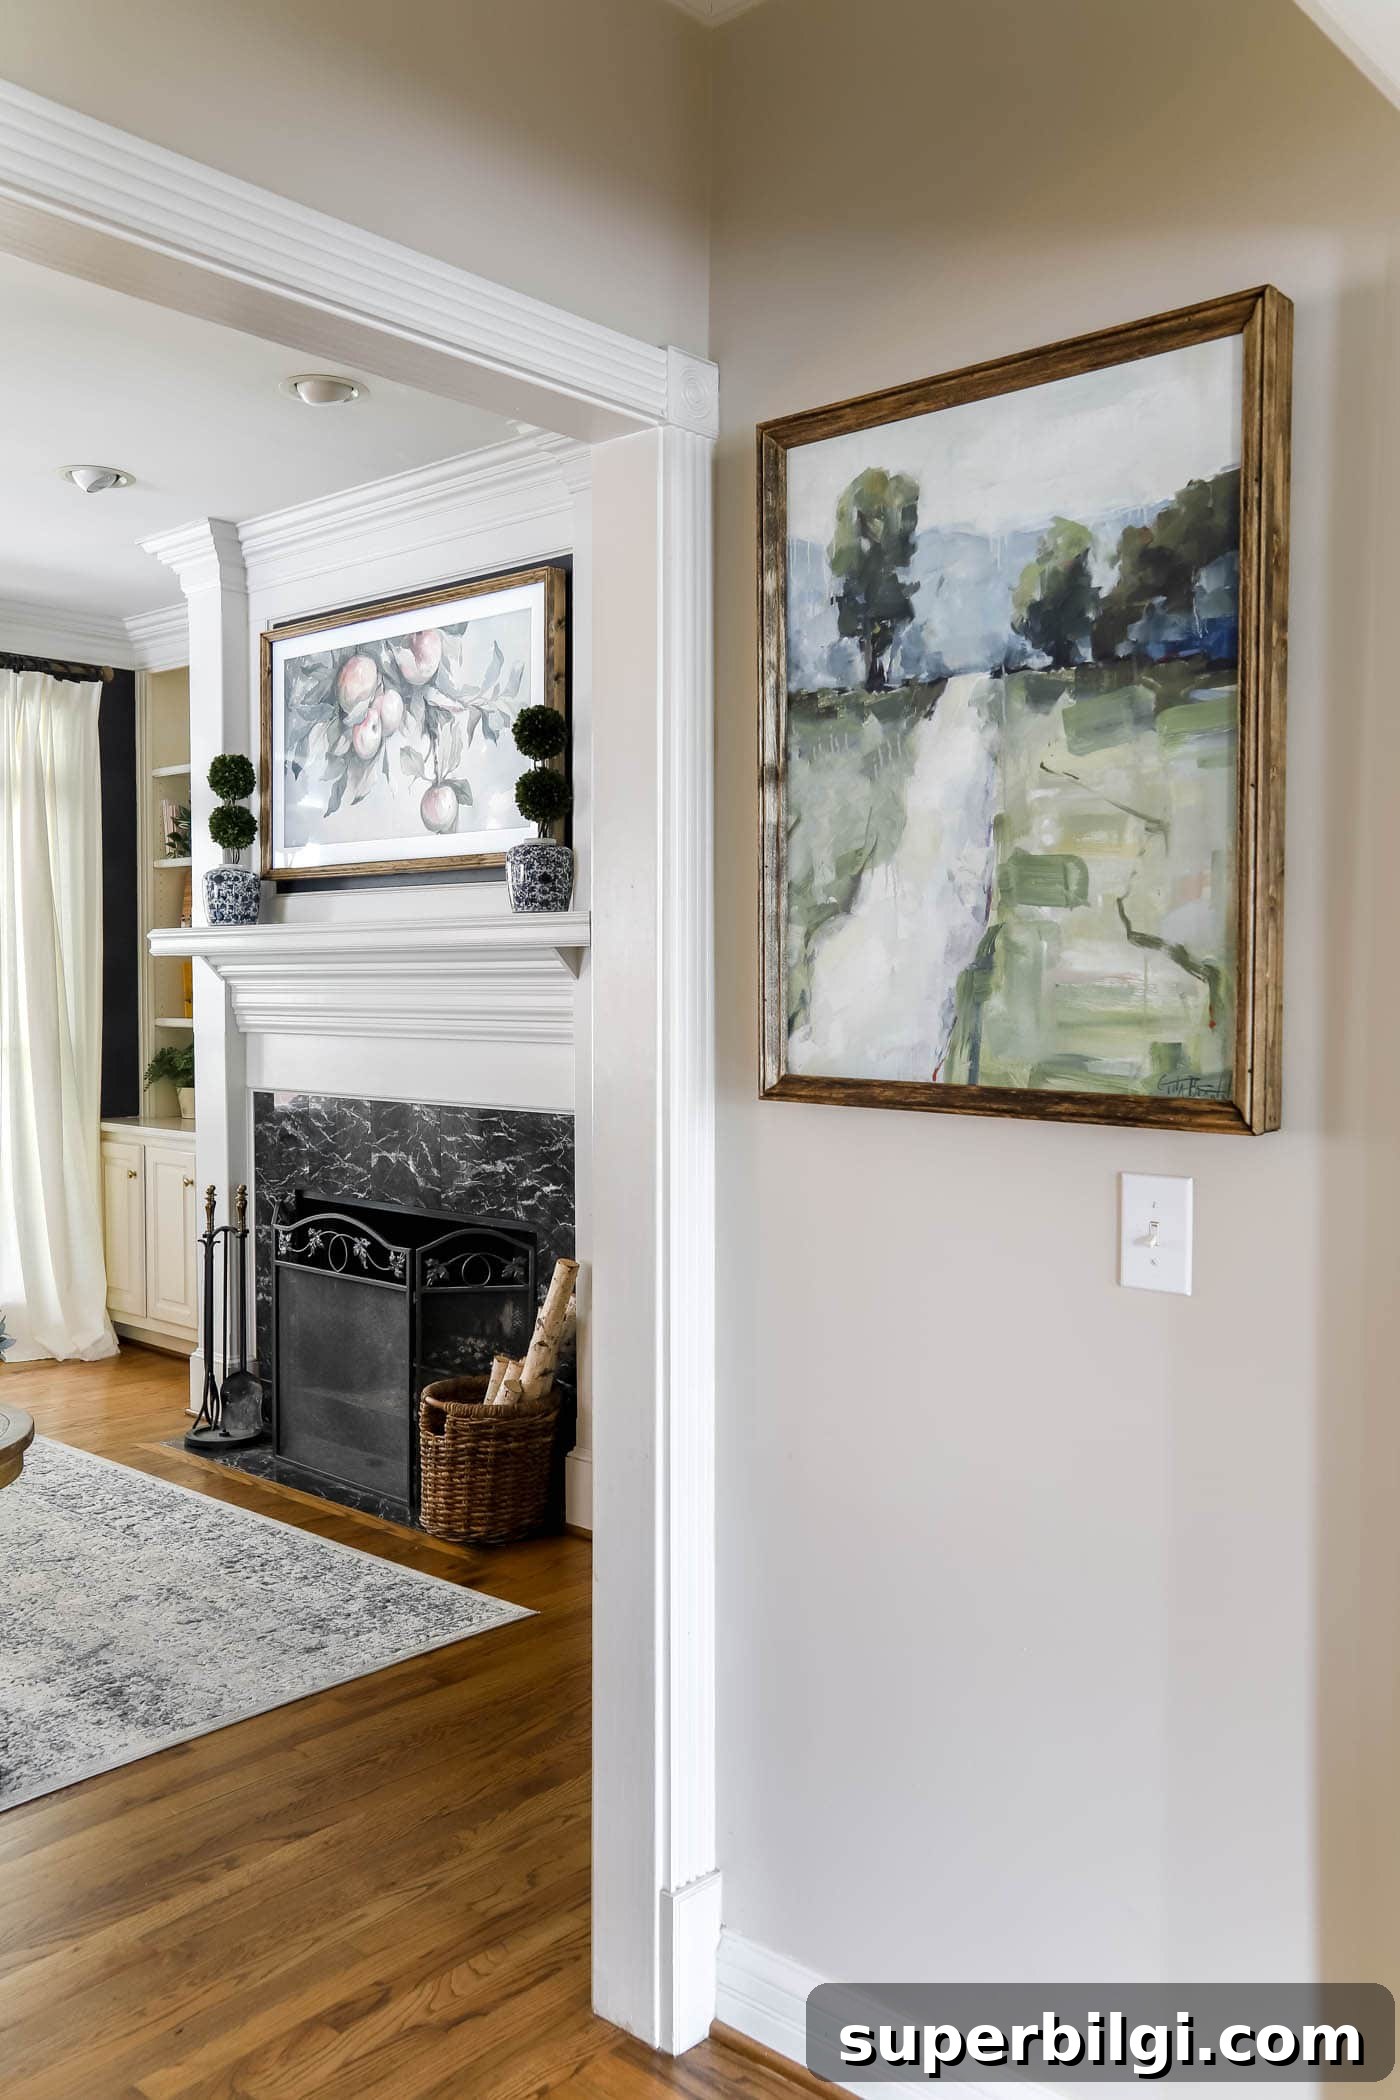
Framing your own canvas is a rewarding, cost-effective way to make art look finished and professional. With a few basic tools, the right materials, and this step-by-step approach, you can create frames that suit any style and last for years.
More project ideas you might like:
- DIY frame for a TV
- How to make picture frame molding
- Review and tips for decorative wall displays
- DIY window cornice board with fabric
- How to frame a builder-grade mirror