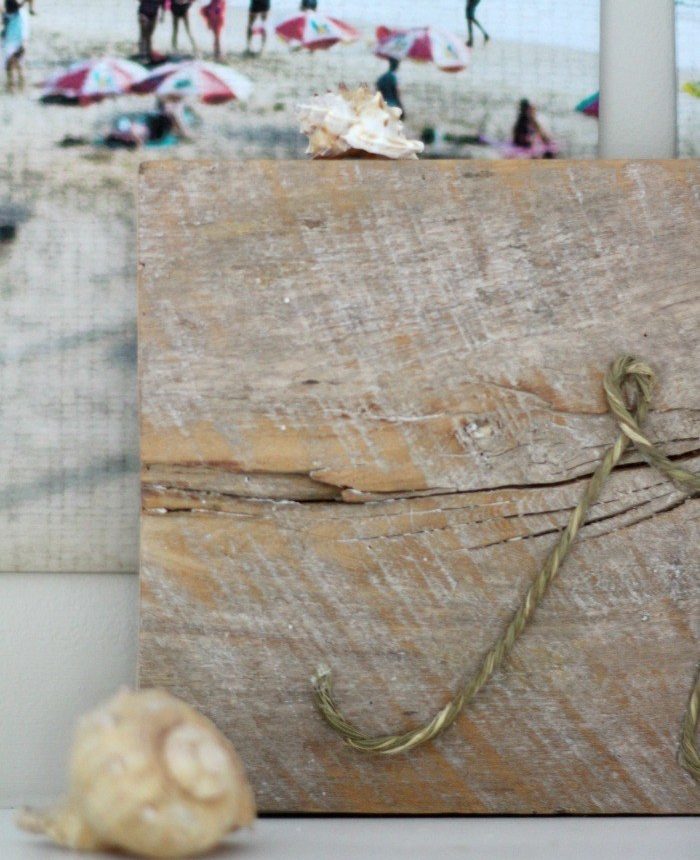
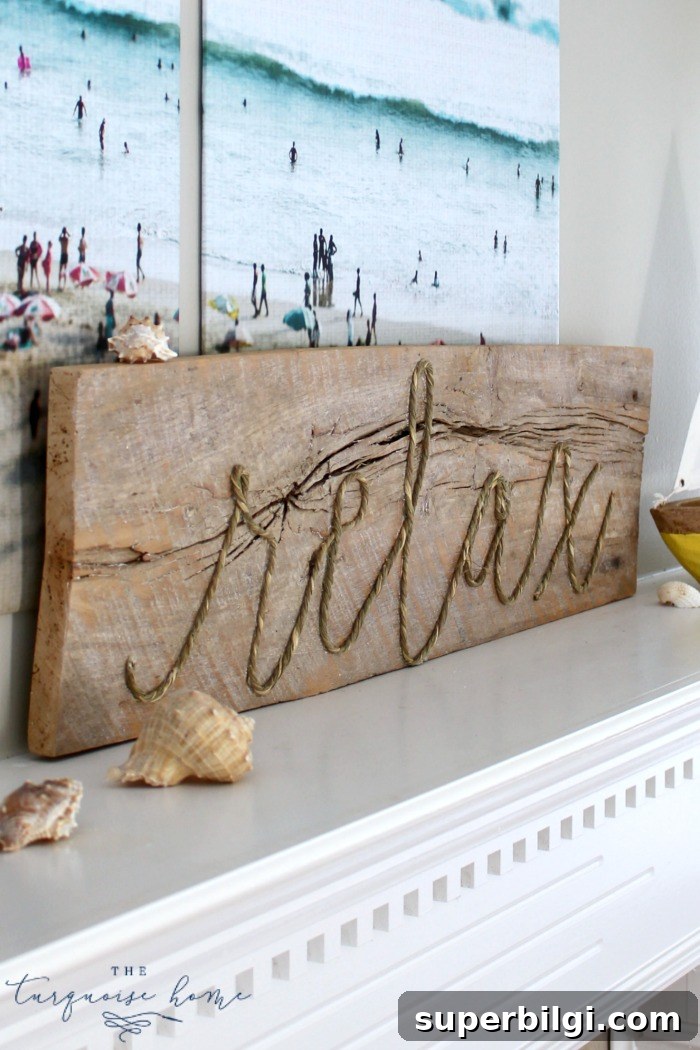
This DIY Driftwood Finish is an easy way to create the whitewashed look of real driftwood. It makes a beautiful, beachy backdrop for a weathered sign on a summer mantel.
I’m excited to share a simple tutorial for achieving a driftwood finish using basic materials you likely already have. I wanted a weathered, coastal appearance for a rope-and-wood sign I was making, and rather than buying driftwood, I transformed an old scrap of barn wood into the perfect, whitewashed surface.
Because I don’t live near the ocean, I couldn’t rely on real driftwood, and large, flat pieces are rarely found in nature anyway. Instead, I scavenged my workshop for a suitable piece of wood. An old board from a barn pile had the right character: plenty of grain and surface texture. It was free, already weathered, and perfect for this project.
My goal was a lighter, beachy driftwood appearance rather than the darker barnwood patina. To get that bleached, worn effect I used a simple white wax technique that highlights the grain and gives the wood a soft, coastal look.
Tools You’ll Need to Create a Driftwood Finish
- Piece of wood with visible grain (old barn wood works great)
- White or very light paint
- Finishing wax (clear or neutral paste wax)
- Clean cloth or rag
- Wire brush (optional, for adding or enhancing grain)
- Wood stain (optional, if you want to adjust the base tone)
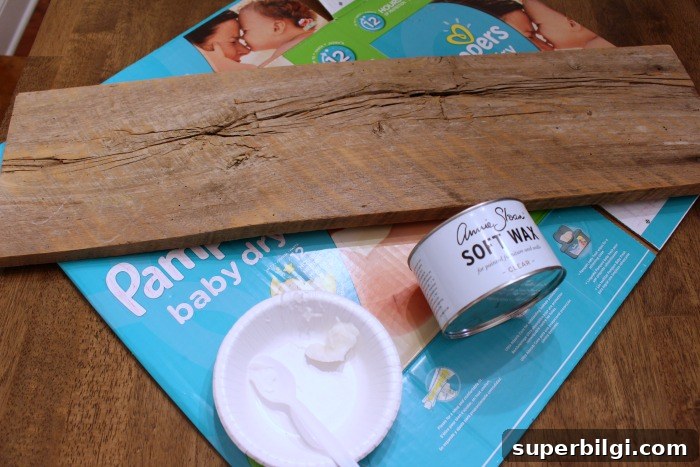
How to Create a Driftwood Finish
Start with a board that has visible grain. If your wood is very dirty or has loose splinters, lightly sand it to remove debris, but don’t sand away the texture and grain you want to emphasize. The goal is to preserve grooves and roughness that mimic naturally weathered wood.
If you’re starting with a new, smooth board and want to add texture, you can create grain yourself. Lightly mist the wood with water from a spray bottle until slightly damp. Using a wire brush, stroke along the grain to create shallow grooves and texture. Allow the wood to dry completely before moving on.
If the board’s color is too dark for your desired look, apply a light gray or weathered oak stain to establish a muted base. I chose to keep my barnwood’s natural tone and work with that, but a quick stain can help you achieve a cooler, driftwood-like foundation.
(Note: the step photos were taken at night with warm lighting, so some images look yellow. The technique still applies the same during daytime.)
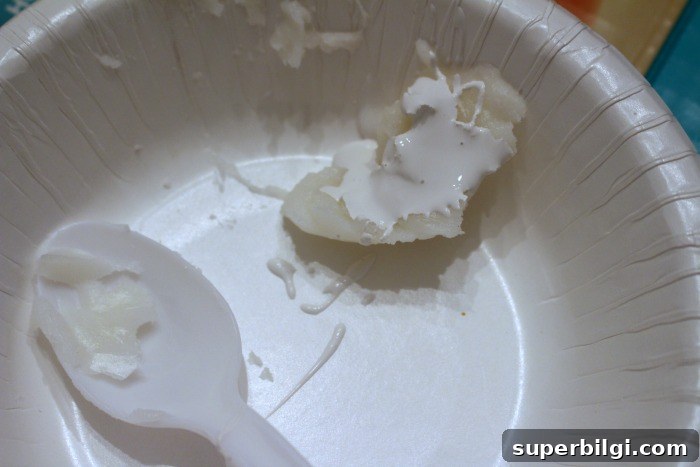
For the whitewashed effect, mix a small amount of white or very light paint into a neutral finishing wax until you achieve a spreadable, butter-like consistency. The amount of paint is small—just enough to tint the wax so it will soften and lighten the wood without covering the grain. Pre-mixed white wax is available commercially, but blending your own gives you more control over color and opacity.
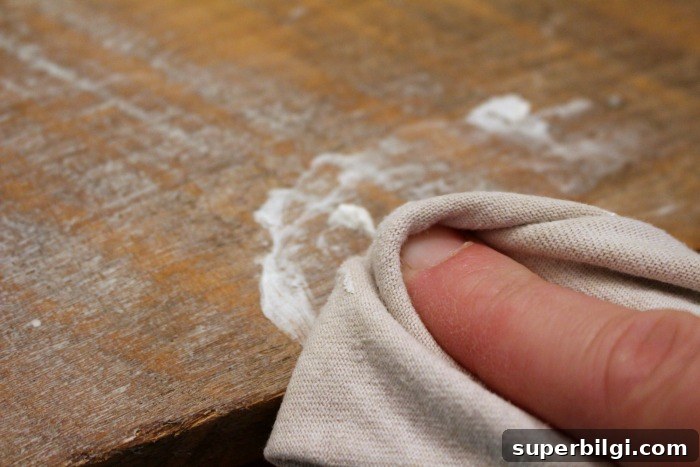
Apply a small amount of the white-tinted wax to the wood with your fingers or a rag, working it into the grooves and textured areas. The idea is to accentuate the grain by allowing pigment to settle into the recesses while wiping the surface clean so the finish remains subtle and natural. Wipe away excess with a clean cloth until the board looks gently lightened rather than painted.
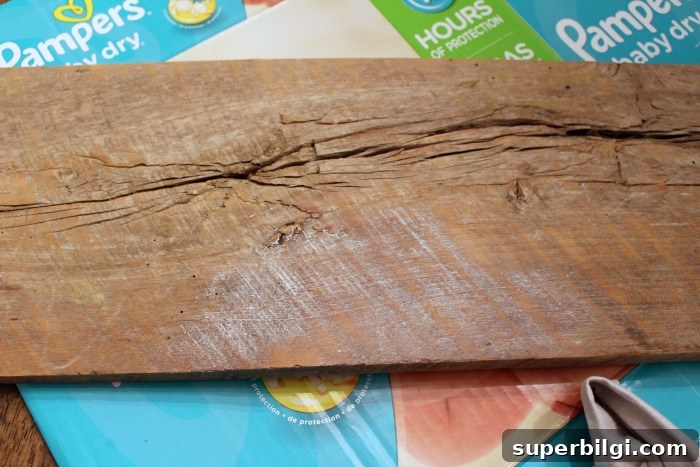
Work in sections and step back occasionally to check the overall balance. If some areas look too stark, blend with a dry cloth. If you want more contrast, add a touch more wax or a darker stain first to deepen the grain then reapply the white wax for a layered, weathered look.
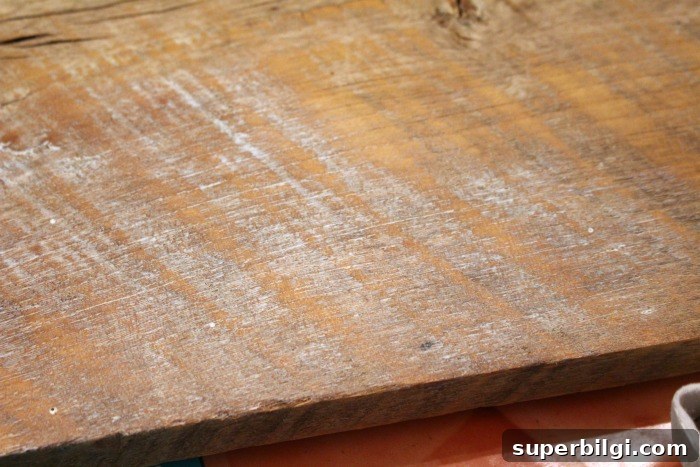
Once the wax is applied and wiped to your liking, buff the surface lightly to remove residue and to even out the sheen. The result is a soft, whitewashed finish that highlights the wood’s texture and creates an authentic driftwood appearance.
This transformed board provided the perfect backdrop for my rope-and-wood sign. The pale, weathered surface complements coastal décor and adds a handmade, relaxed vibe to any mantel or wall.
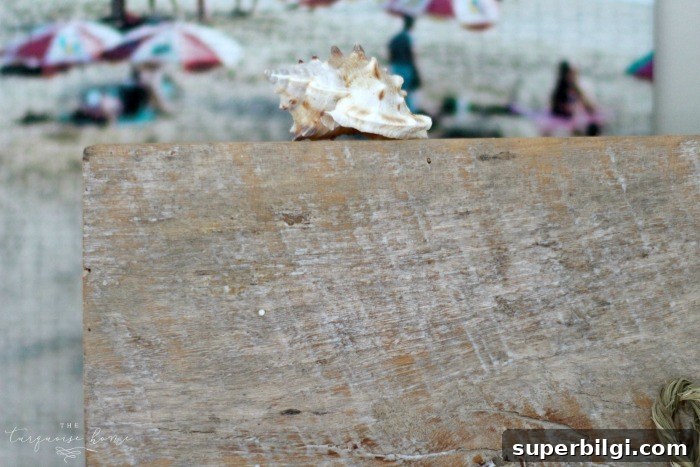
I love how the finished sign reads as beachy and worn without looking contrived. Tomorrow I’ll share how I made the rope “relax” detail for the sign — another easy, creative step that pairs perfectly with this driftwood finish.
More Posts You Will Love:
- The Best Summer Decorating Ideas
- Beach-Inspired DIY Framed Canvas Art
- Color Engineer Prints: DIY Large Art on a Budget!