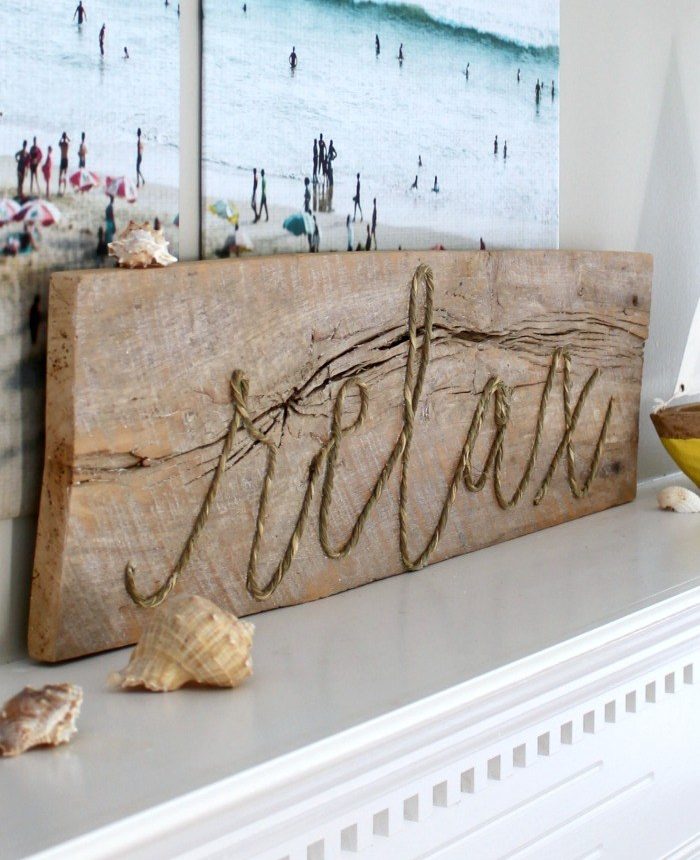
Create this DIY weathered rope sign with just three simple supplies and a little time. It’s an easy project that brings relaxed, coastal-inspired texture to summer decor and serves as a gentle reminder to unwind.
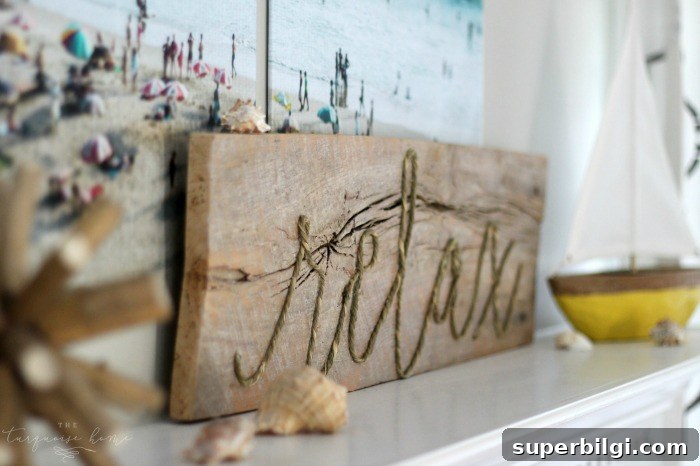
I previously shared how to create a DIY driftwood finish that I used on this weathered “relax” rope sign. My goal was to recreate the soft, worn look of a rope-accented accessory I loved, so I started by finding the right piece of wood and giving it a driftwood treatment. With the board prepared, the rest of the project came together quickly—just a few simple steps and I had a coastal-style sign perfect for my summer mantel. This tutorial walks you through the materials, technique, and a few tips to customize the finished piece for your home.
Tools You’ll Need to Make a DIY Weathered Rope Sign
- Piece of wood cut to your preferred size (reclaimed barn wood, pallet board, or a smooth board will all work)
- Rope, jute, or garden cord (choose thickness based on the scale of your sign)
- Hot glue gun and glue sticks
- Chalk or a light pencil for sketching the word
- Optional: sandpaper, stain or gray wash for a weathered finish, and a clear matte sealer
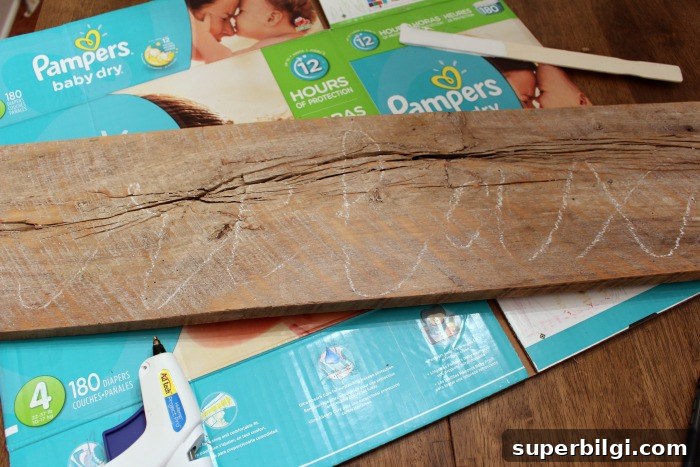
Choose a board that matches the aesthetic you want. I used an old, worn piece of barn wood that already had character; if your board is too new, you can quickly age it with sanding, staining, or a simple DIY driftwood finish using diluted gray paint and dry-brushing techniques. The weathered surface gives the rope sign an authentic, seaside look and helps the rope lettering stand out.
Pick a script-style font you like to use as a visual reference. I used a flowing script and printed the word “relax” to guide my lettering. If you prefer, trace a printed word directly onto the board using graphite transfer paper, or freehand the design with chalk. Chalk is forgiving and easy to erase, so it’s a great choice while you refine your layout.
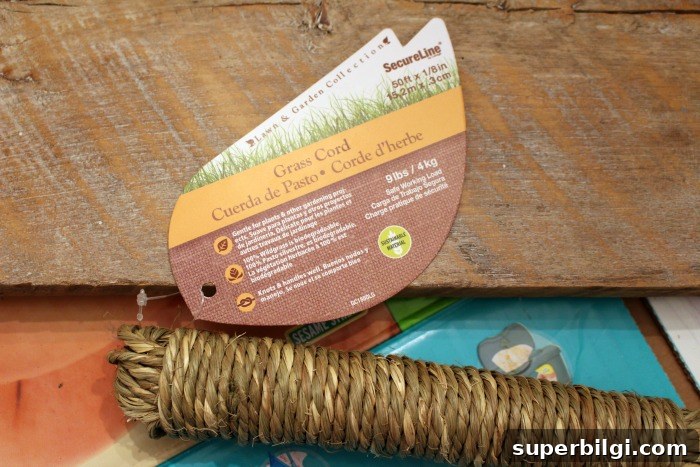
Once your guide is in place, heat up the hot glue gun and prepare your rope. Unroll enough rope to follow the entire word and lay it out next to the chalk line so you can see how it will flow. Work in short sections: apply a narrow bead of hot glue along the chalk line, press a short length of rope into the glue, then continue to the next section. Using short segments helps you control curves and keeps the rope flush against the board.
If your rope is thick, trim the ends of each glued section carefully and tuck them slightly under adjacent pieces so the joins are inconspicuous. For tighter curves in letters like “r” and “a,” snip small, shallow notches on the inner curve of the rope to allow it to bend without bulking up. Keep a damp cloth nearby to wipe any excess glue while it’s still warm; dried glue can usually be pulled up gently with a craft knife if needed.
Work deliberately but steadily—the process moves quickly once the glue is flowing. I didn’t photograph every step because I moved fast, but the method is straightforward: chalk guide, glue, press rope, adjust as needed. When you reach the end, secure the rope tip with an extra dab of glue and hide the very end under the last loop or along the board edge for a clean finish.
After the rope is glued, step back and check for gaps or loose spots. Add small glue dots behind any sections that need extra hold. If you want to further weather the piece for a cohesive look, lightly sand the rope in places to soften the fibers or apply a diluted white or gray wash over the board and rope to blend them. Finish with a clear matte sealer if the sign will be displayed outdoors or in a humid area.
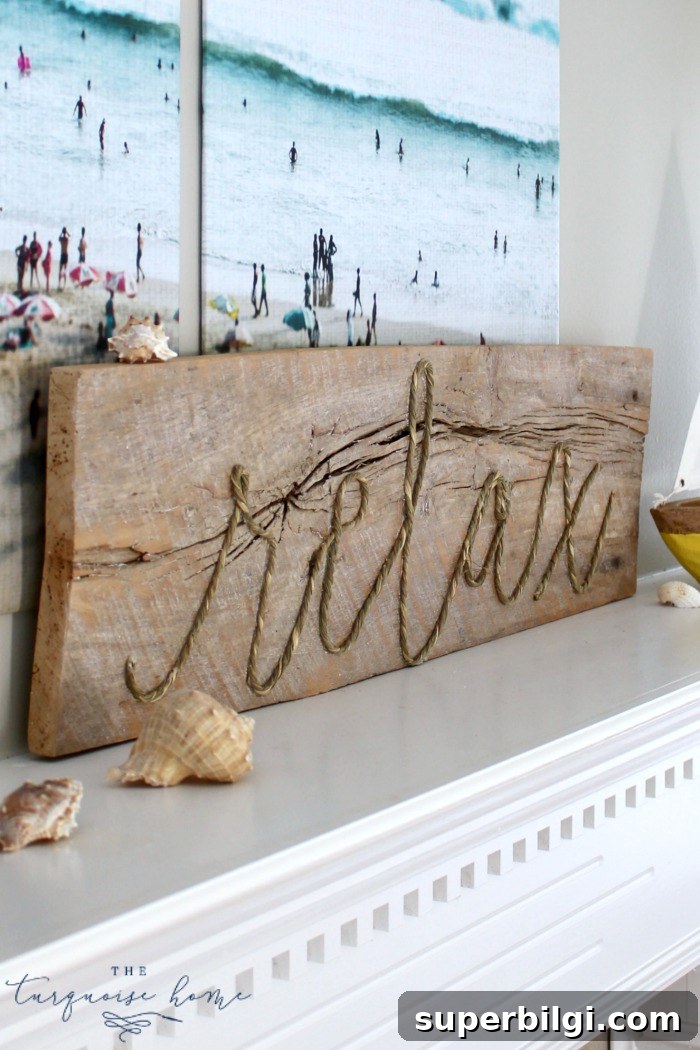
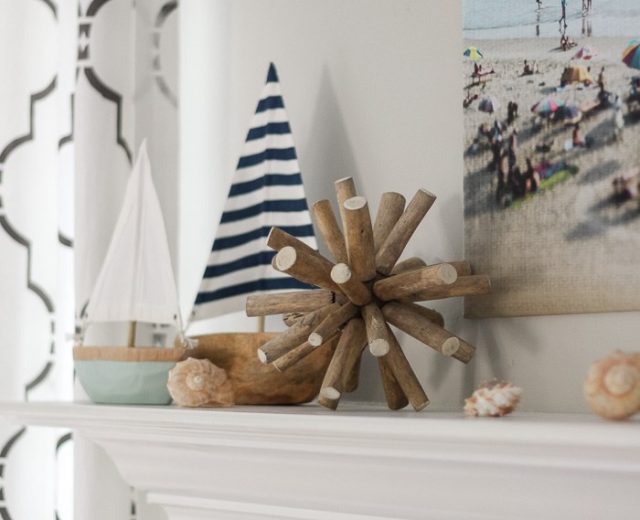
The finished sign adds texture and a relaxed vibe to my summer mantel. You can scale this idea up for a large wall piece or down for a tabletop sign. Try different words—breathe, beach, welcome—or mix rope with painted accents for contrast. This project is inexpensive, customizable, and a fun way to bring handmade charm to seasonal decor.
Tips and Variations
- Use different rope thicknesses to match the size of your board and the style of font.
- For a neater look, wrap ends with a tiny wire or dab of fabric glue before securing them behind a loop.
- Try staining the board a warm gray or bleaching it slightly to create a brighter coastal palette.
- Combine rope letters with simple painted shapes—starfish, waves, or arrows—to create a themed sign.
More Posts You Will Love: