
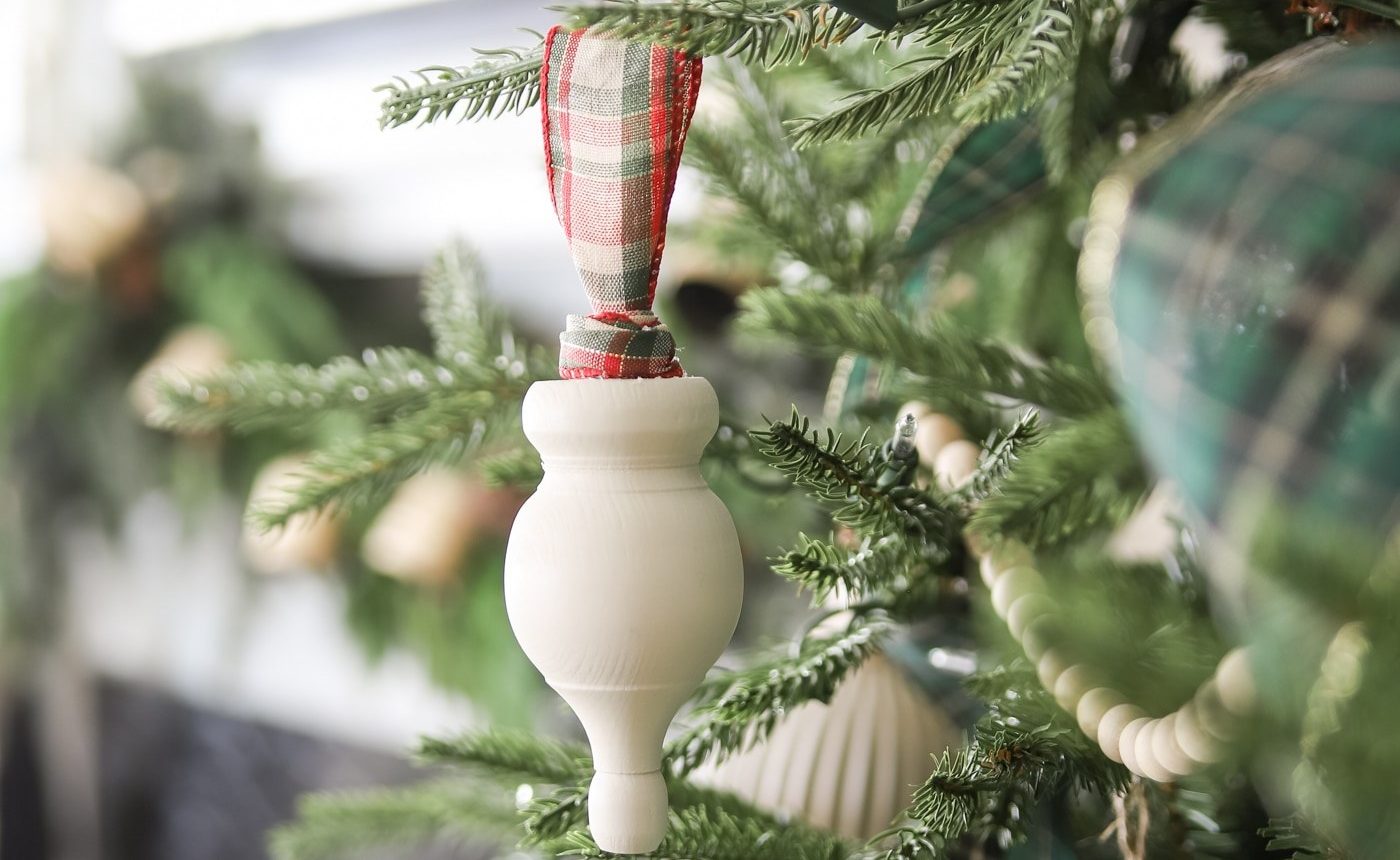
This quick and easy DIY wooden finial ornament is fully customizable and uses just a few common supplies. With four basic items you probably already own, you can make a beautiful ornament in minutes.
Over the years I’ve made many DIY ornaments, some elaborate and time-consuming, but this wooden finial ornament is one of the simplest. It’s perfect when you need a few neutral, light-colored ornaments to fill gaps on your tree without spending much.
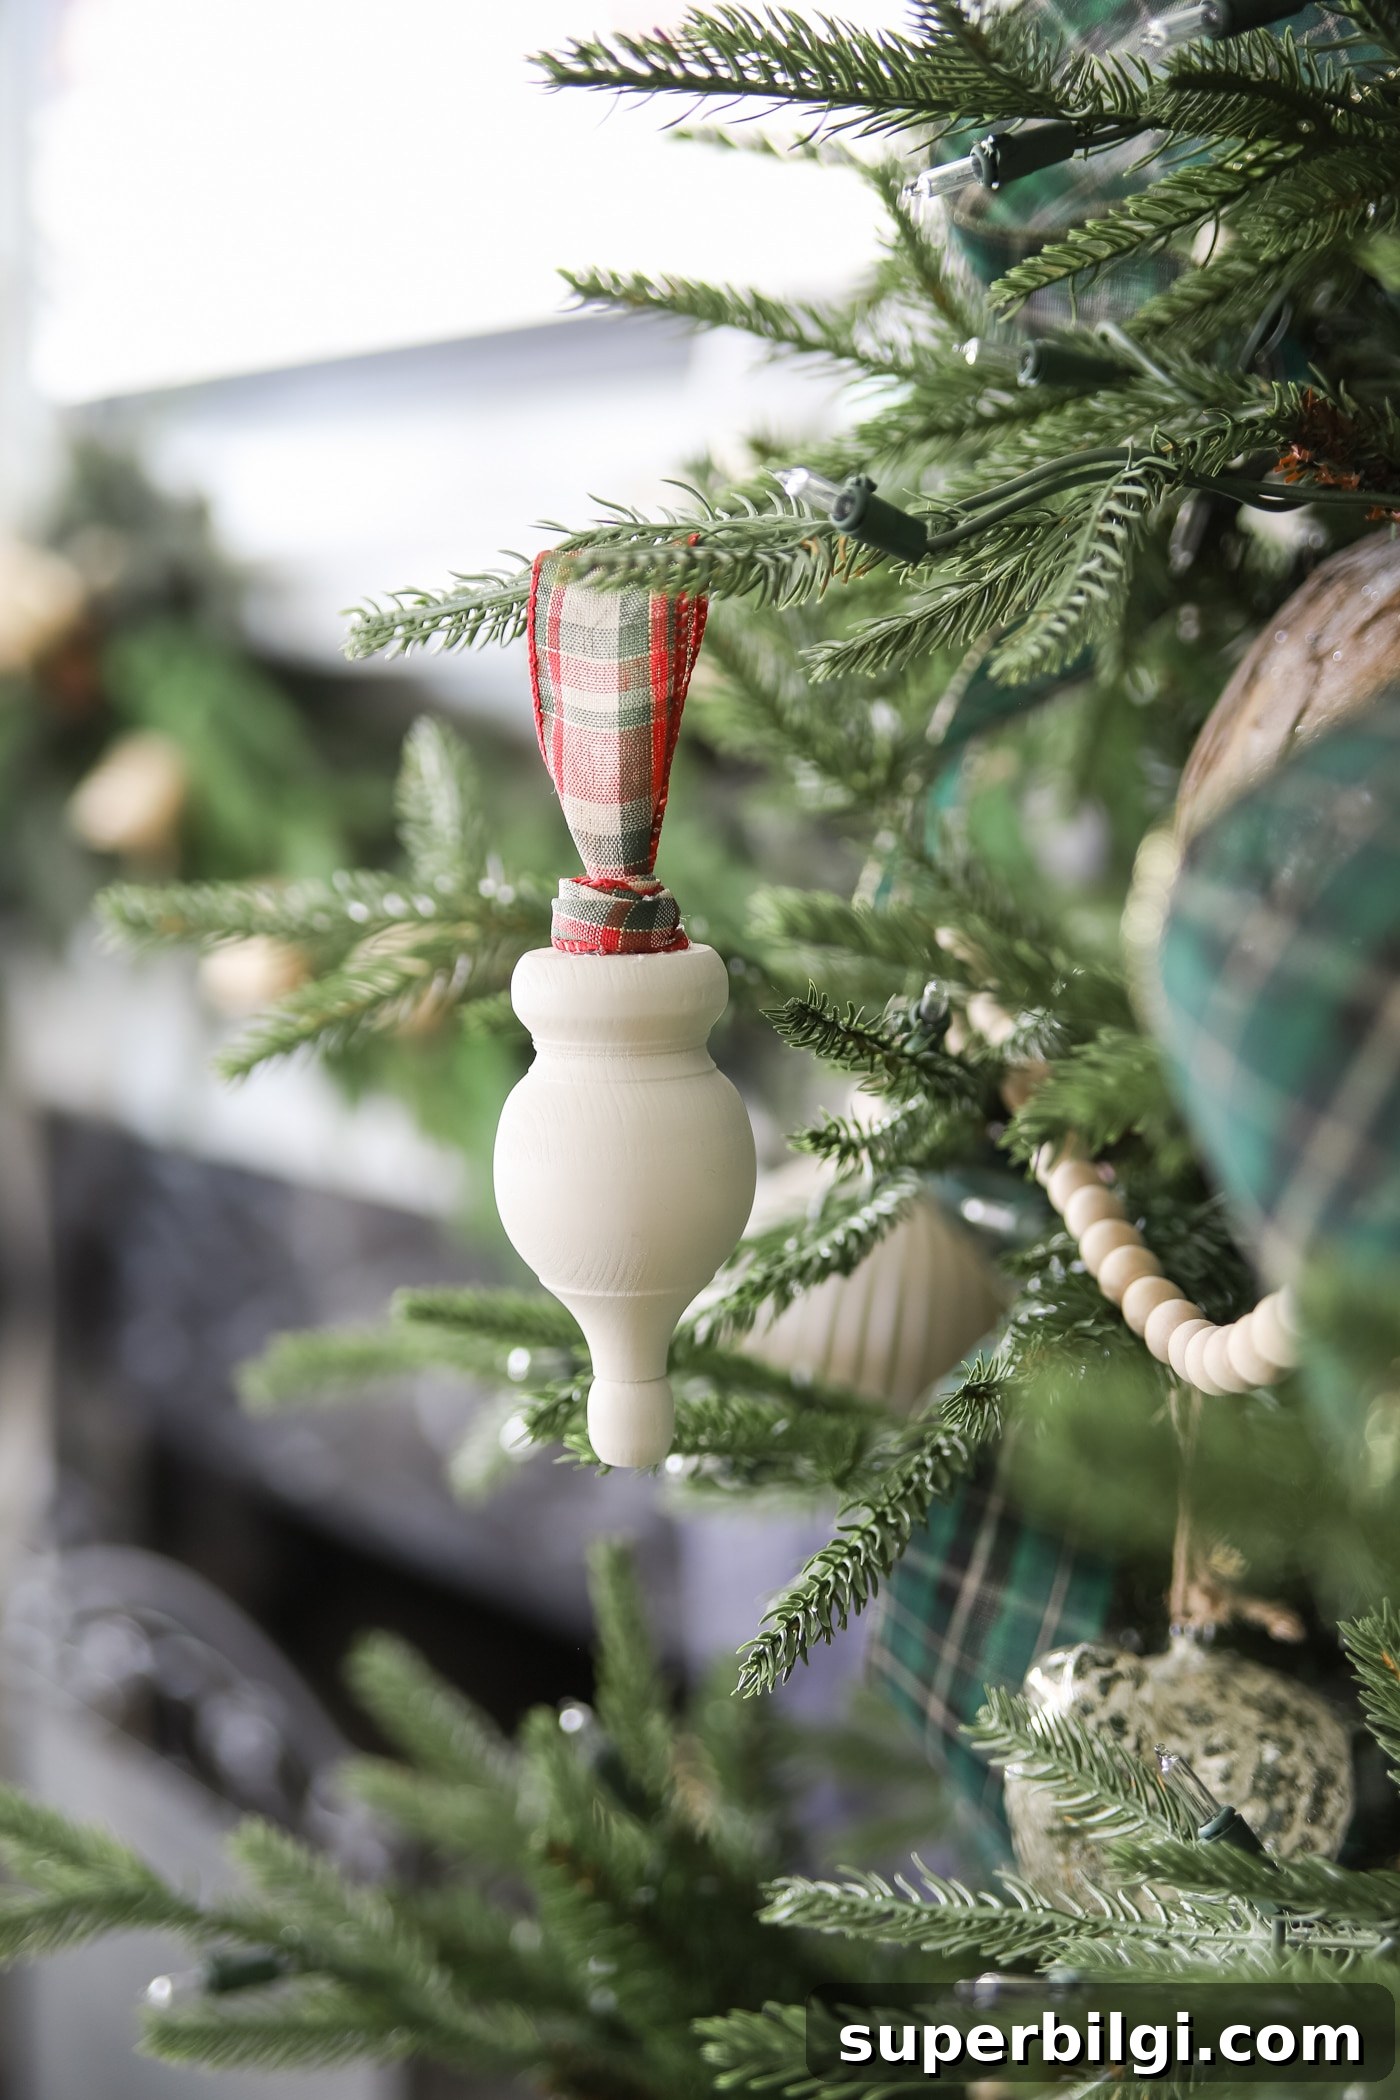
I kept returning to the classic look of wooden finial-style ornaments and realized I could make beautiful versions for a fraction of the price using items I already had at home. The result is a lightweight, elegant ornament that blends well with farmhouse, coastal, or traditional tree themes.
Supplies you will need to make a Wood Finial Ornament:
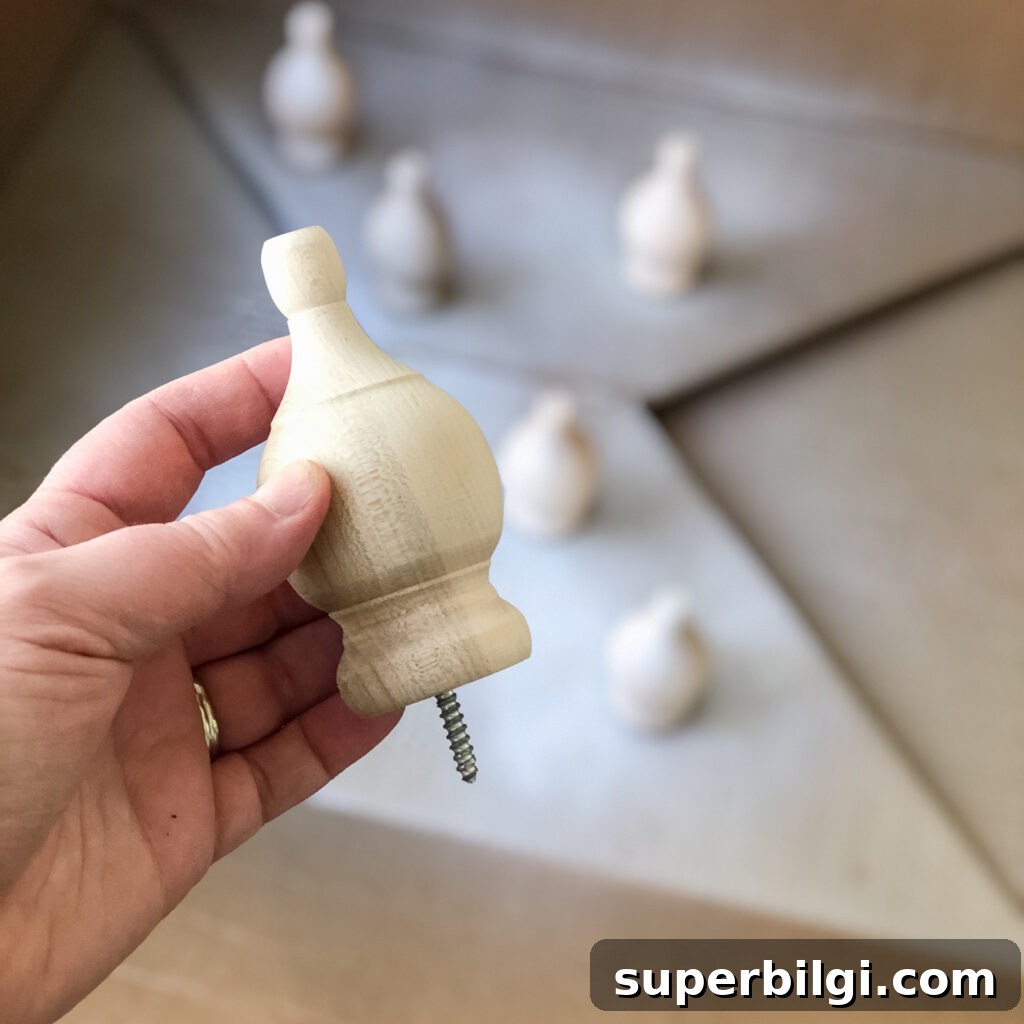
- Wood finials – these are small turned-wood pieces typically sold in the hardware or craft store. They’re inexpensive and come in a variety of shapes and sizes.
- Paint – chalk-style spray paint or acrylic paint in the color of your choice. Whites, ivories, and creams work well if you want a light, neutral look.
- Ribbon – any ribbon will do. I used 1.5 inch wired ribbon and removed the wire for a softer finish.
- Hot glue gun and hot glue – for attaching the ribbon hanger securely to the finial.
How to Make a Simple DIY Finial Ornament
Step 1. Choose your finial and pick the paint color.
You can leave the finial natural or paint it. For my tree I wanted light ornaments, so I chose a soft, matte cream. If you use spray paint, select a paint formulated for wood and opt for multiple light coats to avoid drips.
Chalked or matte finishes give a soft, modern look, while glossy or metallic paints create a more glamorous feel. Choose a finish that matches your overall tree decor.
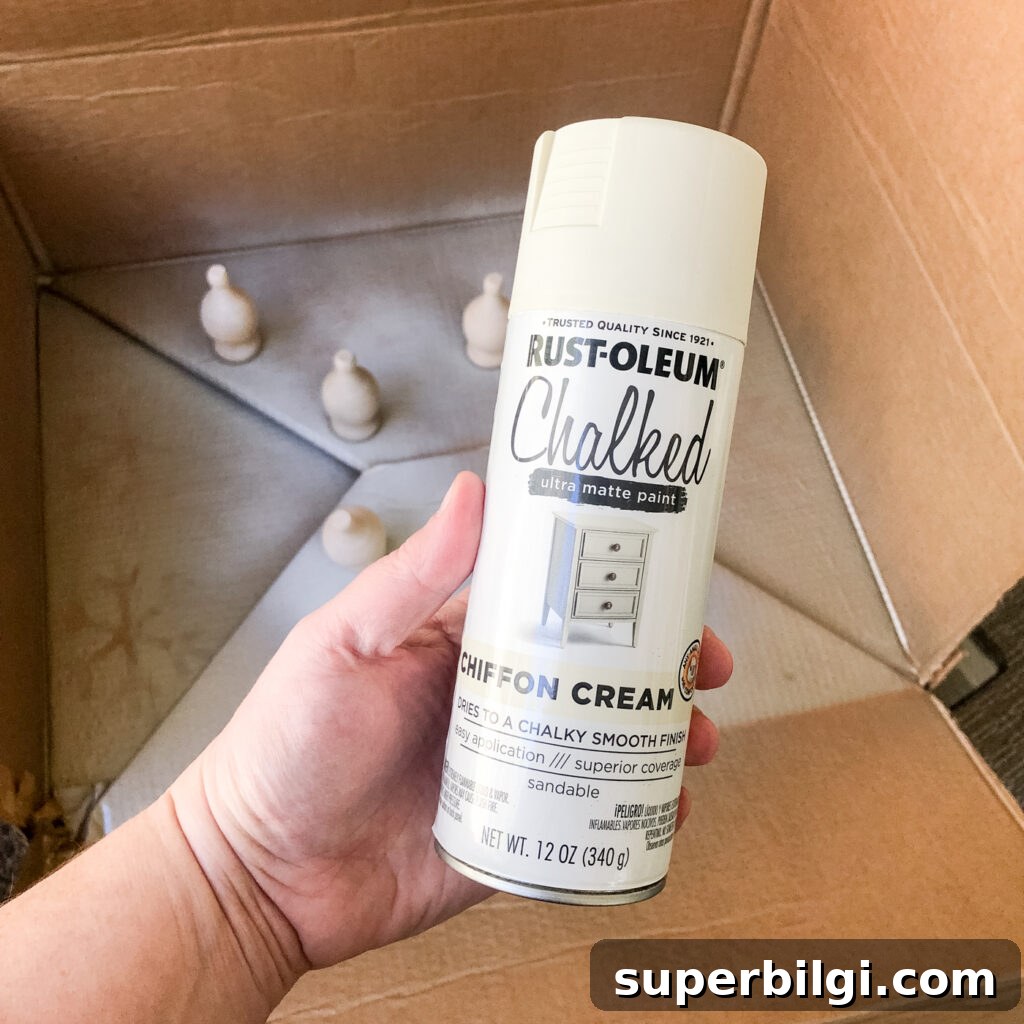
Step 2. Paint the finials.
If using spray paint, place the finials upside down by inserting their screw tops or bases into a piece of cardboard. This keeps the painted areas elevated and protected while you spray. Apply several thin coats from a distance, letting each coat dry before adding the next. Thin coats reduce drips and produce a smoother finish.
Step 3. Attach the ribbon hanger with hot glue.
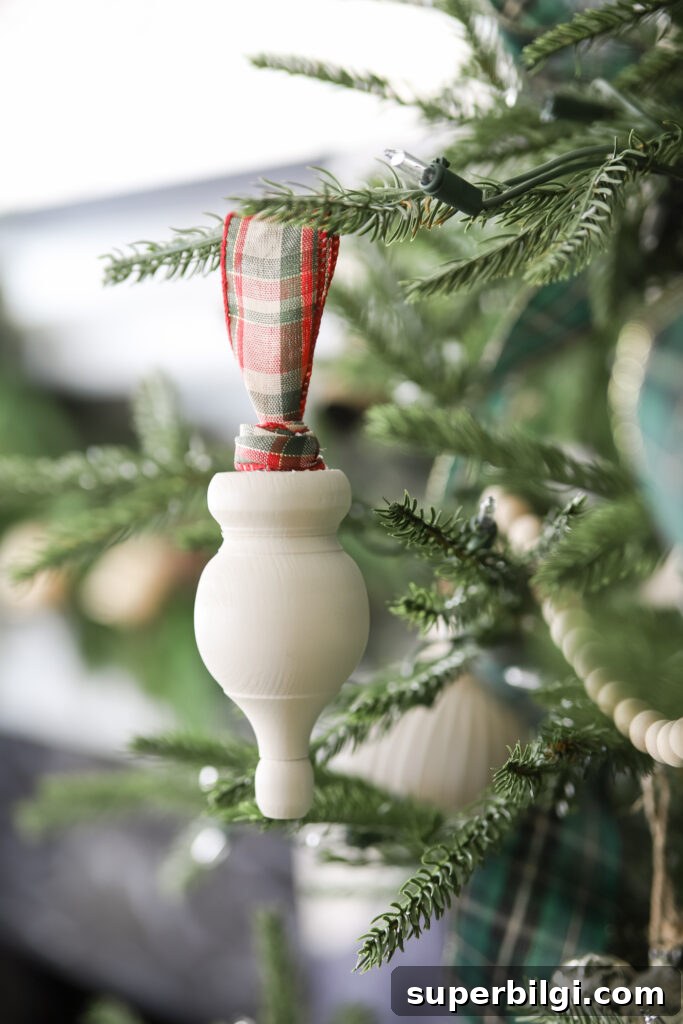
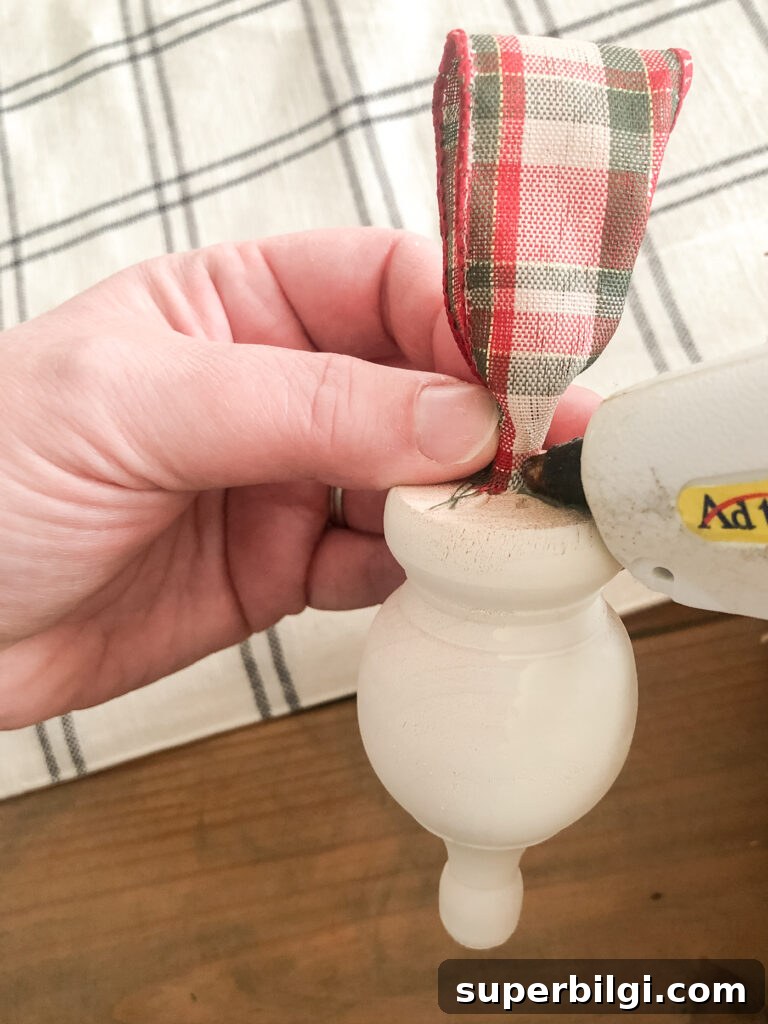
Cut a small length of ribbon to form the hanger loop. Remove any wire from wired ribbon for a more flexible, soft ribbon. Apply a small dab of hot glue to the top center of the finial and press the ribbon loop into the glue until it sets. For a polished look, hot glue a small ribbon tab directly to the very top and then wrap a matching or contrasting piece of ribbon around the base of that tab to hide the glue mark.
You can further embellish the ornament with a small bow, a dab of metallic paint on the edges, or a light glaze to add depth. Be careful not to add heavy decorations that could change how the ornament hangs or stress the ribbon attachment.
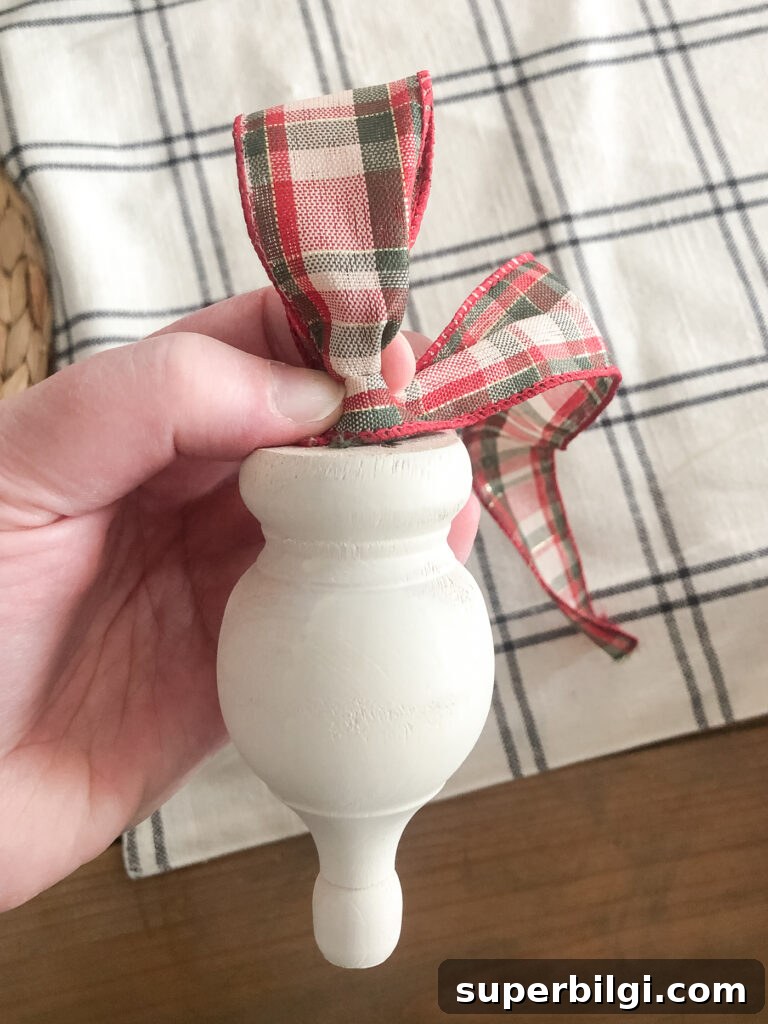
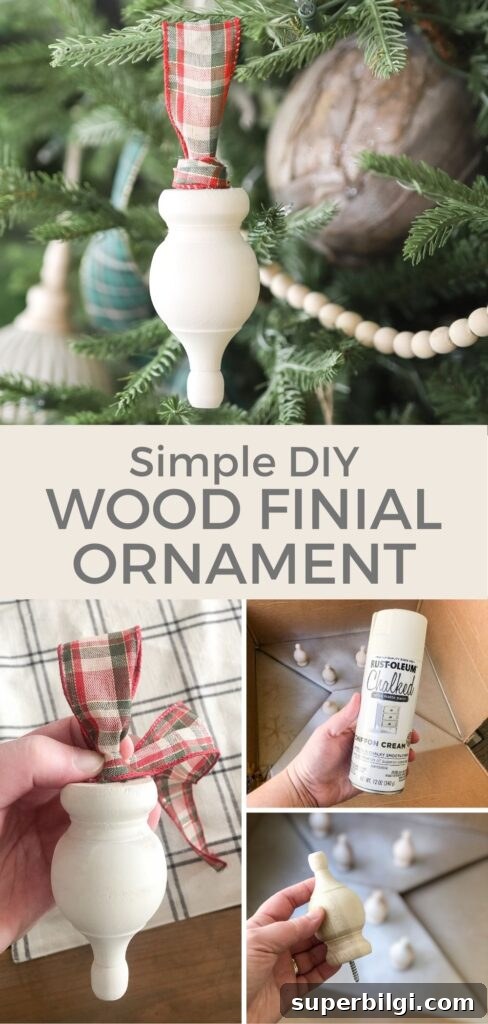
Once the glue is fully set and any additional decorations are dry, your ornament is ready to hang. These finial ornaments are lightweight and durable, making them ideal for filling in small gaps or balancing heavier decorations on a branch.
Tips and variations
- Use different paint finishes—matte for a modern look, metallic for sparkle, or distressed paint for a vintage vibe.
- Try natural twine, leather cord, or beaded string instead of ribbon for a rustic look.
- Cluster several finials of different sizes together on a single branch for visual interest.
- Seal painted finials with a clear matte sealer if you expect heavy handling from children or pets.
- These also make great gift toppers when tied to wrapped presents.
That’s all there is to it—an almost-too-easy DIY that produces lovely, custom ornaments. If you try this project, I’d love to hear about your color choices or see a photo of the finished ornaments on your tree.
More DIY Christmas Ornament ideas
- Mini wooden sign ornaments
- Twig Christmas tree ornaments
- Mason jar snow globe ornaments
- Paper-covered ornaments
- Bath bomb ornaments (with printable tags)
- Chalkboard wood slice ornaments











