
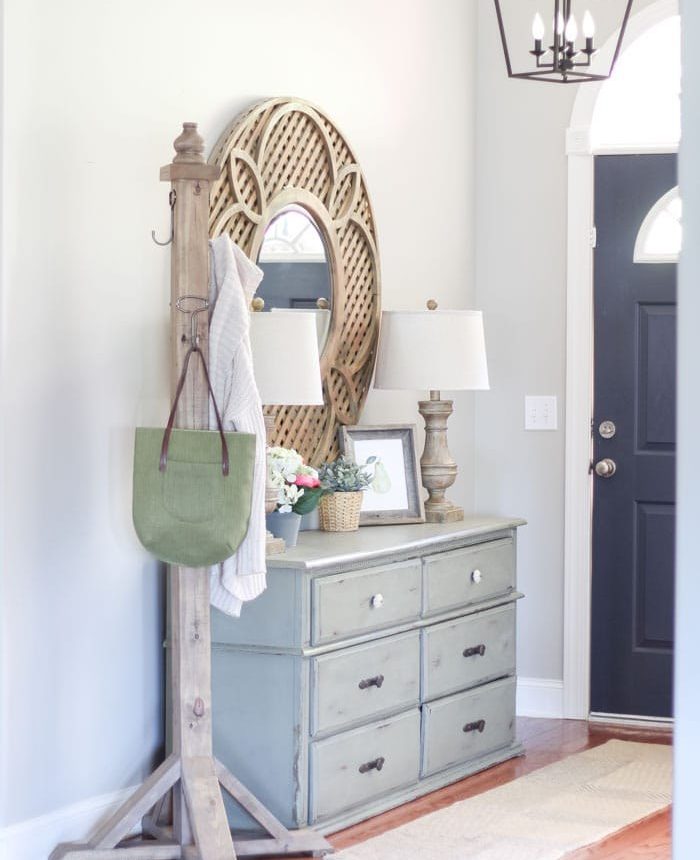
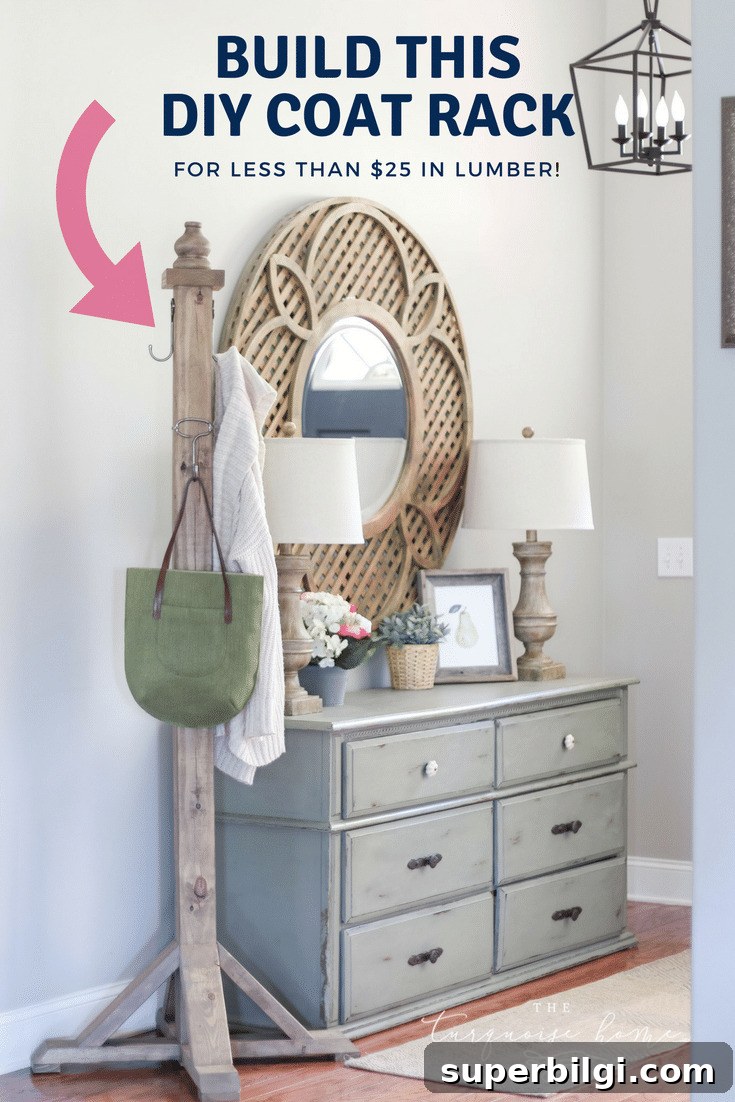
This wooden DIY coat rack is built from simple pine boards you can buy at a local home improvement store for under $25 in lumber. It’s an easy project that creates generous hanging storage in your entryway for coats, bags, hats, and scarves.
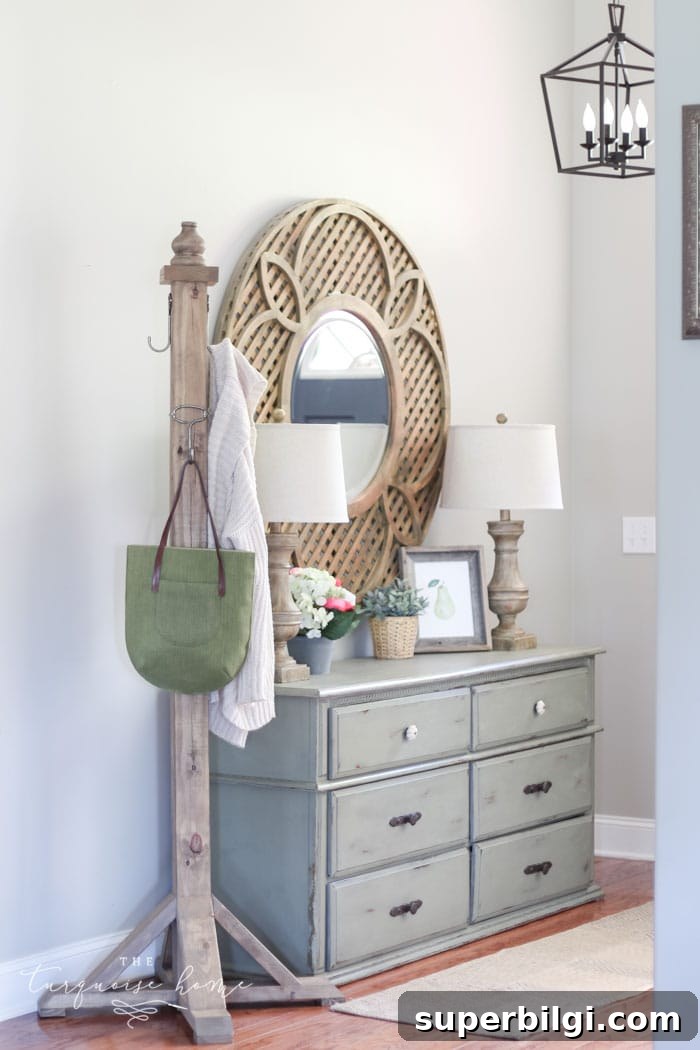
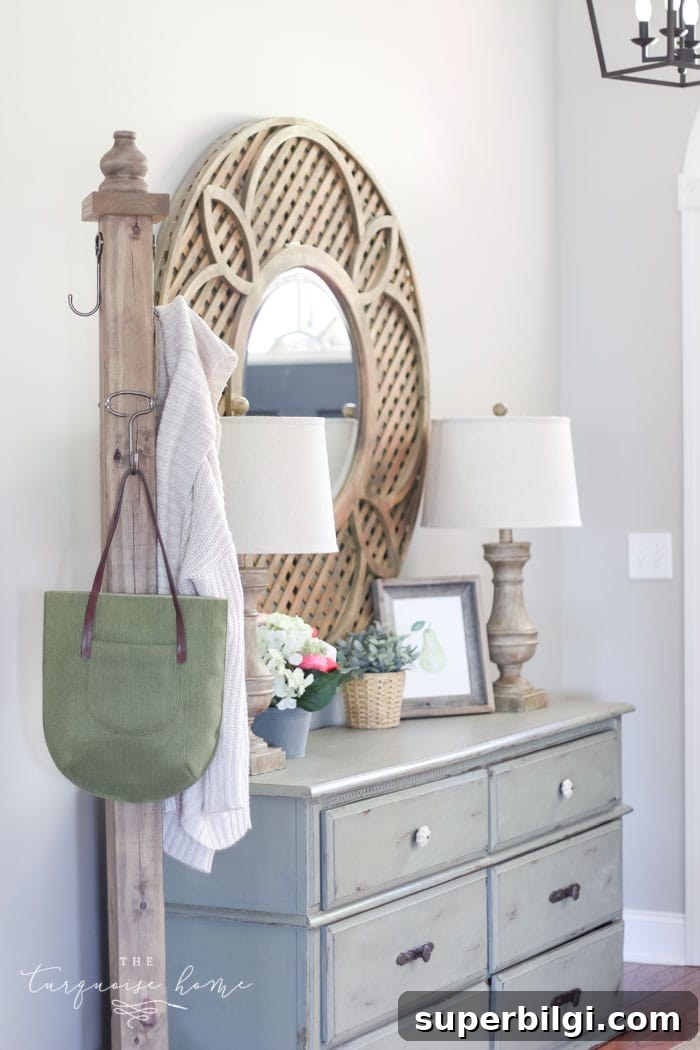
As someone who cares about hospitality, I finally made a simple, attractive spot for guests to hang their coats and bags. After realizing my entryway lacked a proper hanging area, I built this standing coat rack one morning while my daughter was at preschool. I followed a straightforward plan and ended up with a sturdy, functional piece that looks great in our home. This is a perfect first furniture project for anyone new to woodworking.
I used a 12-inch sliding miter saw for the larger cuts, which made slicing through a 4×4 post quick and precise. If you have a sliding miter saw, the longer blade and sliding action simplify cutting thick posts and making angled cuts. I also used a rolling miter saw stand to set the saw up easily in the garage—this made the whole process faster and safer.
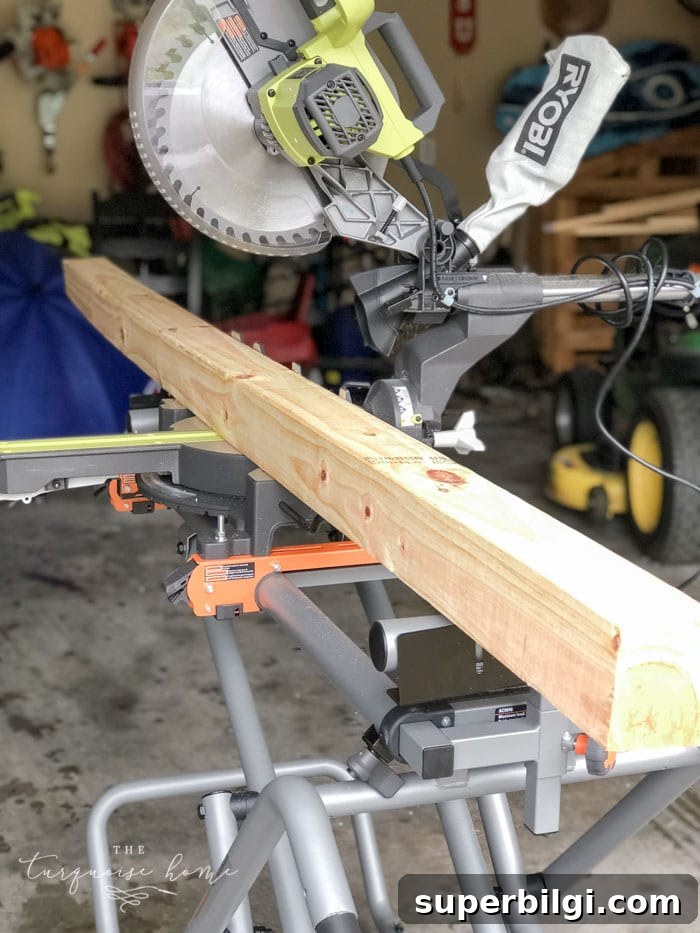
There’s a small learning curve with any new tool, but once I familiarized myself with the saw and the stand, cuts were clean and consistent. Below are the supplies, tools, and step-by-step instructions to build your own standing coat rack.
Supplies & Tools You’ll Need
- 1 — 4 x 4 x 8-foot board (for the post)
- 1 — 2 x 4 x 10-foot board (for legs and braces)
- 1 furniture foot or decorative finial for the top
- 1 scrap piece of 2 x 6 (about 5.5 inches wide) for the top cap
- 1 scrap piece of 1 x 3 (approx. 16 inches total) cut into four small feet pieces
- 4 decorative hooks for hanging coats and bags
- Miter saw (sliding miter saw recommended)
- Drill and drill bits
- Sander and sandpaper (fine grit)
- Kreg jig and 2.5-inch pocket screws (optional but helpful)
- Brad nailer (or clamps and finishing nails)
- Wood glue
- 2-inch wood screws
- Stain or paint and brushes or rags
Steps to Build a DIY Coat Rack
Step 1. Cut the 4 x 4 post to 6 feet.
Buy a straight 4×4 post and cut it to a comfortable height—6 feet works well for most households. If your post has a slightly bowed end, trim it off so the piece stands straight. Light sanding will remove any rough spots.
Step 2. Cut four 2 x 4 legs at 13.5 inches.
Cut four pieces of 2 x 4 at 13.5 inches long. One end of each leg will be straight and the other end will be cut at a 45-degree angle. The 13.5-inch measurement is taken from the long point (the angled end) to the straight end. These become the three or four legs that support the rack.
Step 3. Cut four small feet from the 1 x 3.
Measure the width of your 2 x 4 legs (nominally about 3.5 inches) and cut the 1 x 3 into four pieces at that length. These small boards attach to the angled ends of the legs to form feet and provide a wider base for stability.
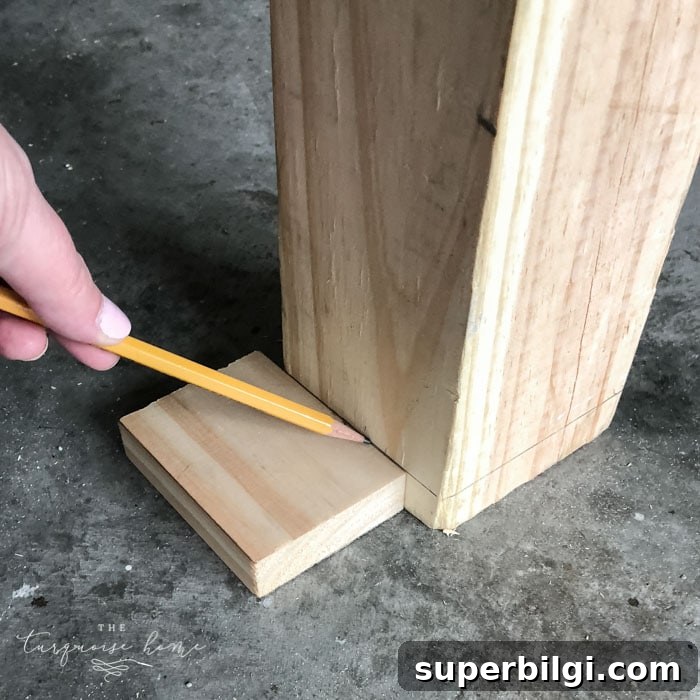
Step 4. Mark the attachment line on the post.
Use one of the 1 x 3 foot pieces to mark where the legs will attach to the bottom of the 4 x 4 post. Draw a reference line all the way around. Tip: attach the legs slightly below your marked line so the post doesn’t end up taller than the legs once assembled.
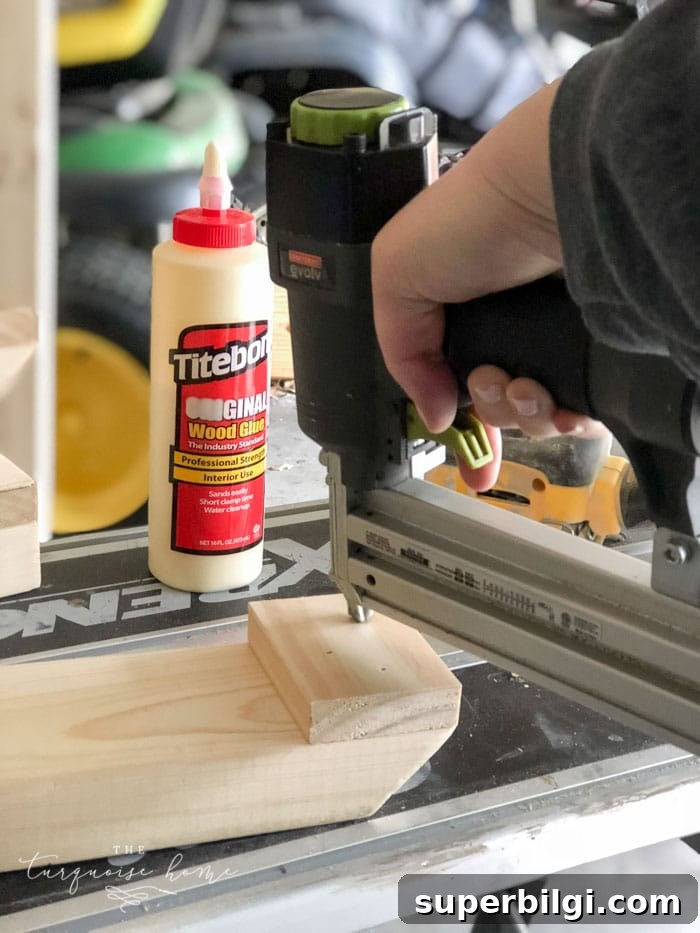
Step 5. Attach the 1 x 3 feet to each 2 x 4 leg.
Glue the small 1 x 3 pieces flush to the angled end of each leg, then secure with brad nails or screws. Ensure they are square and flush with the long point of the angle so they sit flat on the floor.
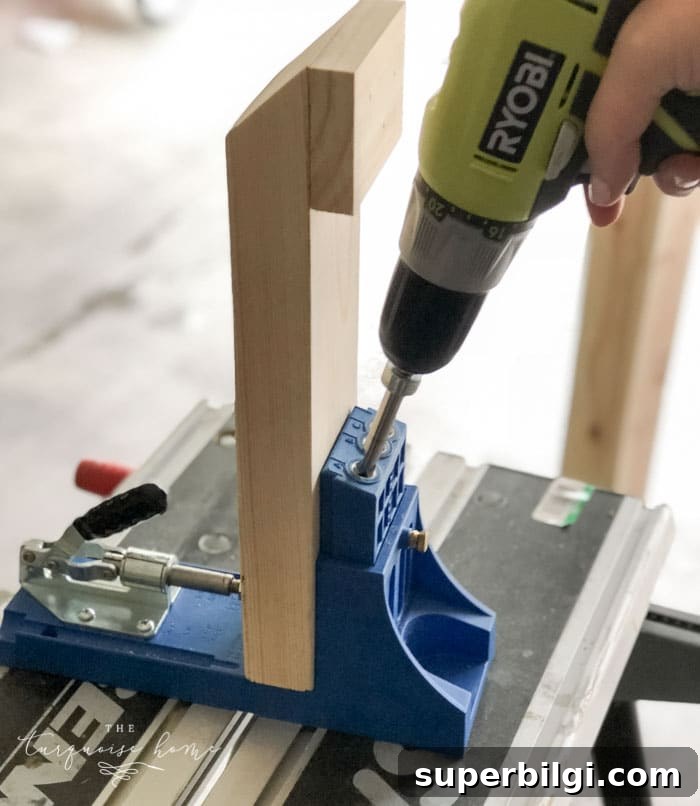
Step 6. Add pocket screw holes to the straight ends of the legs.
Use a Kreg jig or drill to add two 1.5-inch pocket holes to the underside of each straight leg end. These pocket holes will make it easy to attach the legs to the post securely.
Step 7. Attach the legs to the 4 x 4 post.
Position the legs along the line you marked, slightly below the reference line. Apply wood glue, then fasten each leg with 2.5-inch Kreg screws or wood screws through the pocket holes. Confirm the post sits level on the legs and adjust if necessary.
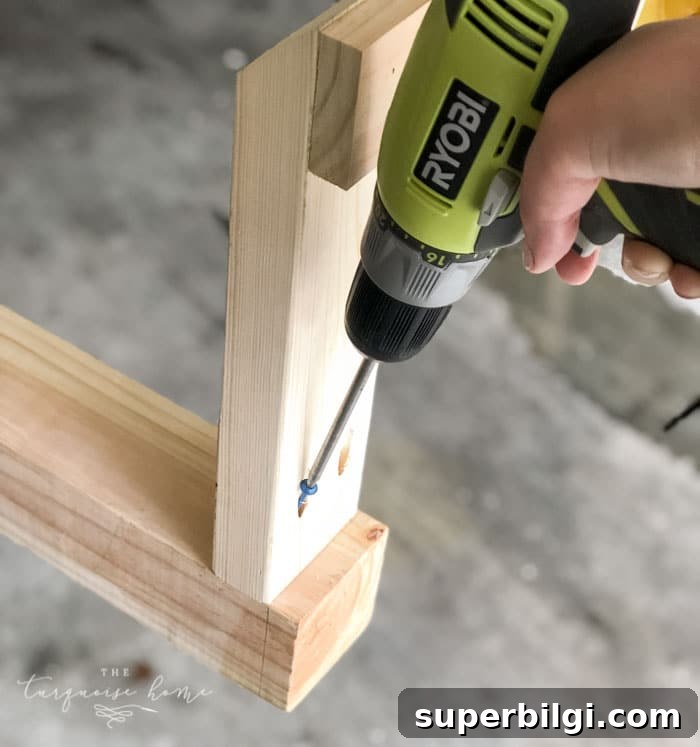
Step 8. Cut and attach braces between post and legs.
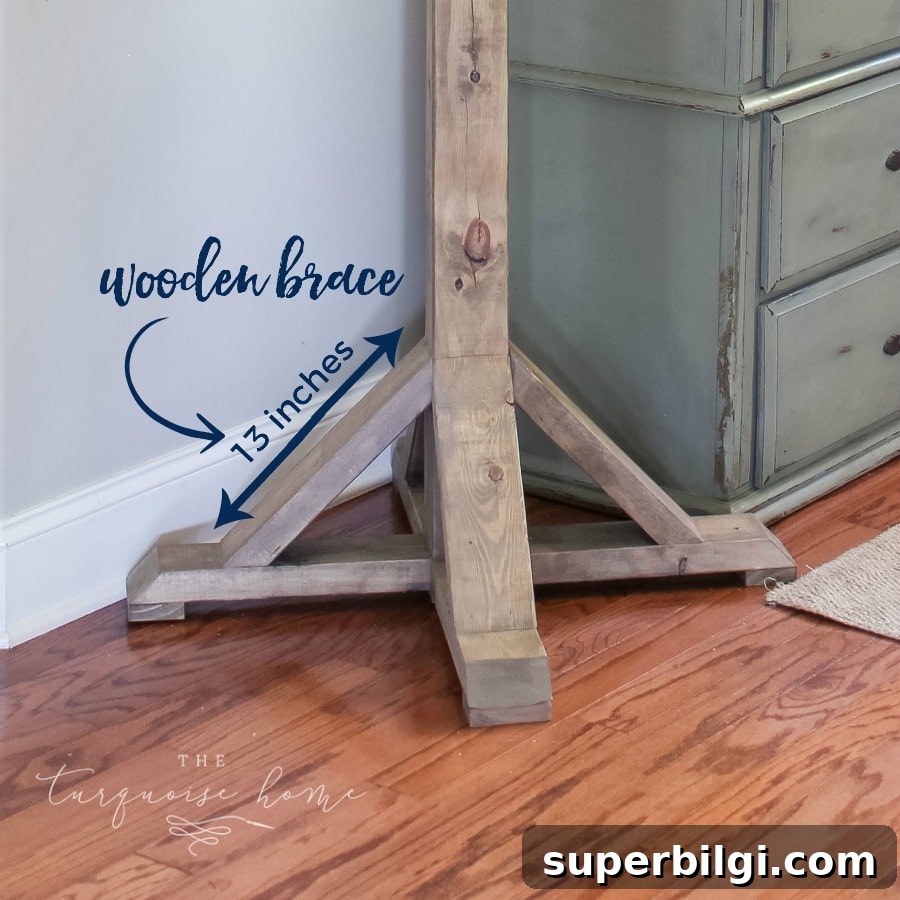
Cut four 2 x 4 pieces at 13 inches with 45-degree angles on both ends (angled cuts should be perpendicular for a triangular brace). Glue and nail these braces between the legs and the post to stabilize the base.
Step 9. Cut and attach the decorative top cap.
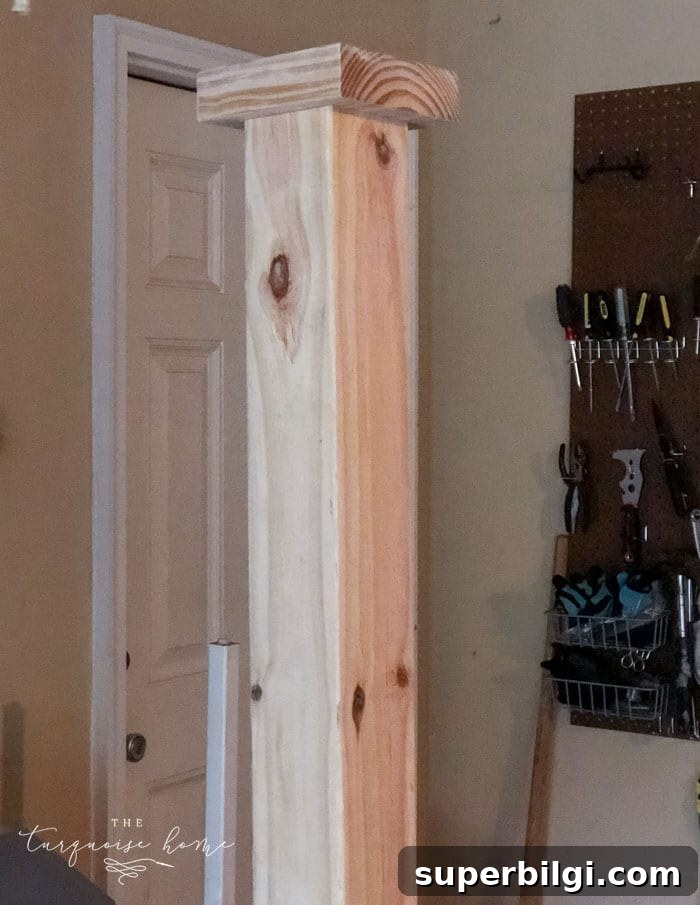
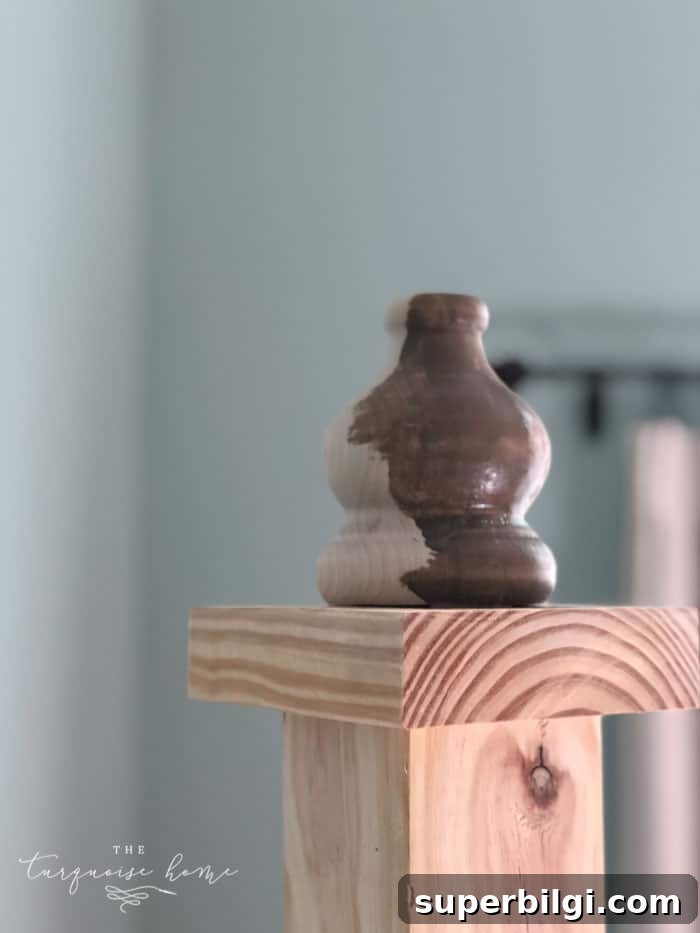
Cut a 5 1/2 by 5 1/2 inch square from a scrap 2 x 6 or other board. Glue and screw this cap to the top of the post. Pre-drill a hole and attach a furniture foot or finial for a finished look.
Step 10. Sand, finish, and add hooks.
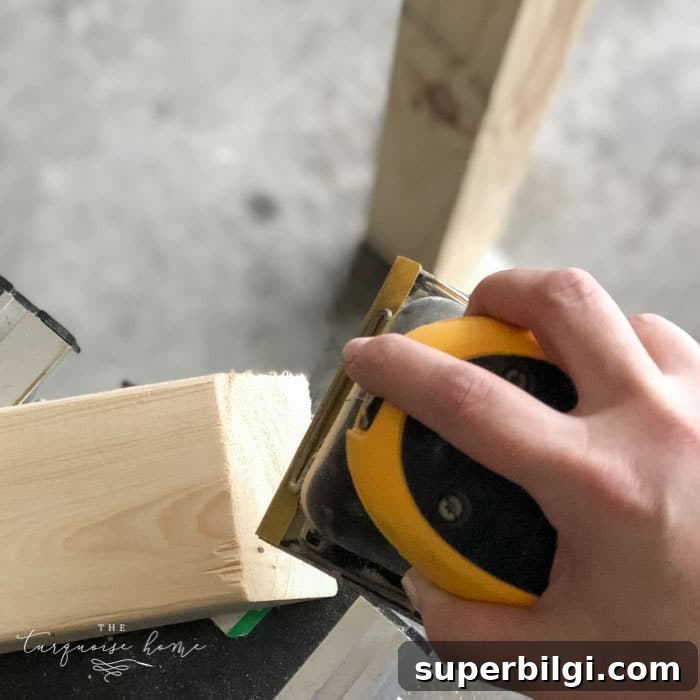
Sand the entire assembly with fine-grit sandpaper, remove dust with a damp lint-free cloth, and then stain or paint to your preferred finish. Once dry, pre-drill holes and attach decorative hooks. Place hooks at comfortable heights for hanging—I spaced some two inches down on two faces and others about 13 inches from the top on the remaining sides for a balanced look.
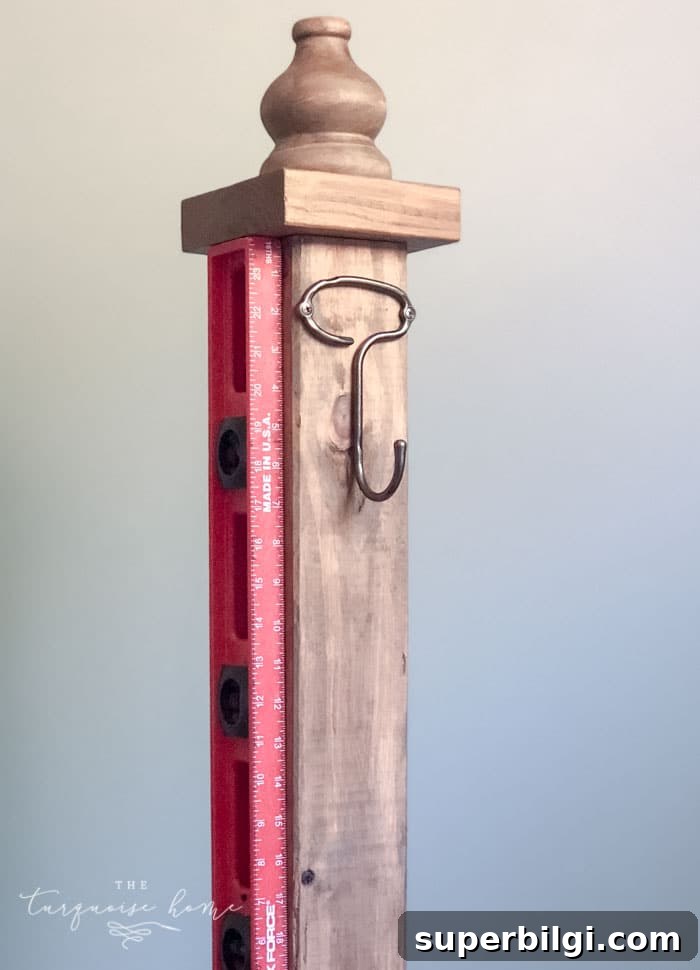
That’s it—you’ve built a practical, attractive DIY standing coat rack to improve your entryway storage and welcome guests with a proper place to hang outerwear. This project is budget-friendly, makes a great beginner woodworking build, and can be customized in size, stain, or paint to match your decor. Enjoy your new entryway solution!
More posts you may enjoy:
- How to Choose the Best Entryway Rug
- 17 Stunning, Easy-To-Install Entryway Lighting Fixtures
- DIY Lamb’s Ear and Peony Wreath
- Spring Table Decorations
- 15 Small Entryway Storage Ideas











