

Make a simple DIY winter wreath using any winter greenery you have on hand. Add a cluster of pretty bells for the perfect festive accent.
Now is the time to start planning holiday decor and gathering inspiration. I enjoy making quick, approachable DIY wreaths that work for both the holidays and the winter season, and this easy project fits the bill. It’s flexible, forgiving, and looks lovely hung on a front door, an interior door, or even on a chalkboard or wall inside your home.

I like wreaths that transition from Christmas into the rest of winter. If you want, add a few red berries or a small bow for the holidays and then remove them afterward. The wreath is understated enough to stay up through January and beyond.
This post contains affiliate links. See my full disclosure policy.
Supplies You’ll Need to Make a Winter Wreath
- Greenery — faux or fresh. Use what you already have or pick up stems from a craft store. Faux eucalyptus, evergreen sprigs, cedar, and pinecone-accented stems work well.
- Grapevine wreath form — round or square, whichever you prefer.
- Hot glue gun and glue sticks.
- Gold bells — optional but charming; a small cluster adds a festive focal point.
- Floral wire cutters or wire snips to trim stems to size.
More Bell Options
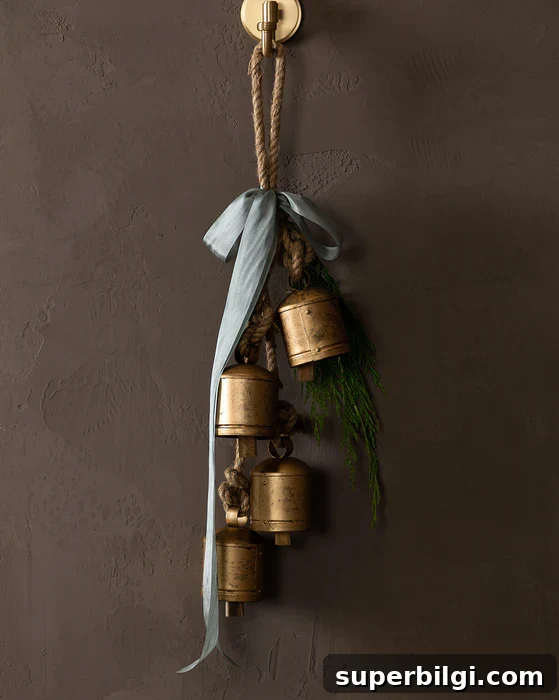
Holiday winter bells — choose metal or painted finishes depending on your style.
3-pack of metal bells — three small bells grouped together make a nice cluster for the wreath.


Golden metal bell door hanger — a more finished hanging option if you prefer a ready-made accent.
How to Make a Winter Christmas Wreath
This is a very simple project and works well for crafters of any skill level. Below are the basic steps, plus a few tips to help your wreath look full and balanced. If you prefer visual instruction, record your own quick video or follow a short tutorial demonstrating the key steps.
1. Choose your wreath shape
Pick a grapevine wreath form in the shape you like — round is classic, and square offers a more modern farmhouse look. Both hold stems nicely and provide texture through the woven grapevine base.
2. Gather the greenery
Lay out all your stems and decide which pieces will form the body of the wreath. I used faux eucalyptus with soft leaves, several winter evergreen stems with lightly brushed pinecones, and cedar sprigs for variety and texture.
You can absolutely use fresh clippings from your yard — evergreen boughs, pine, and cedar work beautifully. Fresh greens lend fragrance and natural texture; faux stems last year after year.
3. Take apart the greenery
Use floral wire cutters to trim stems into manageable lengths. Aim for pieces under 5 inches when possible so they tuck into the grapevine tightly and don’t stick out awkwardly. Remove excess foliage from the lower part of each stem for easier placement and gluing.
4. Place the stems in the wreath
Tuck stems into the grapevine base, spacing them evenly around the form. Add different types of greenery in a staggered pattern so the colors and textures mix naturally rather than clumping together. Keep the direction of the stems consistent for a cohesive look.
5. Continue until the wreath is full
Work around the wreath, adding pieces until you’re happy with the fullness. Use denser evergreen stems where you want more coverage, and add delicate eucalyptus or cedar sprigs to soften the edges. Stop periodically and step back to check the overall balance.
6. Use hot glue to secure each stem
For added durability, lift a stem slightly, apply a small dab of hot glue to the base, then press it back into the grapevine and hold for a few seconds. This helps keep everything in place, especially if the wreath is displayed on an exterior door or handled often.
7. Add some festive bells
Finish with a small cluster of bells attached with a loop of twine or a dab of hot glue. Position them off-center for a pleasing asymmetrical focal point, or place them at the bottom for a classic look. Bells add a bright metallic contrast and a touch of holiday cheer.
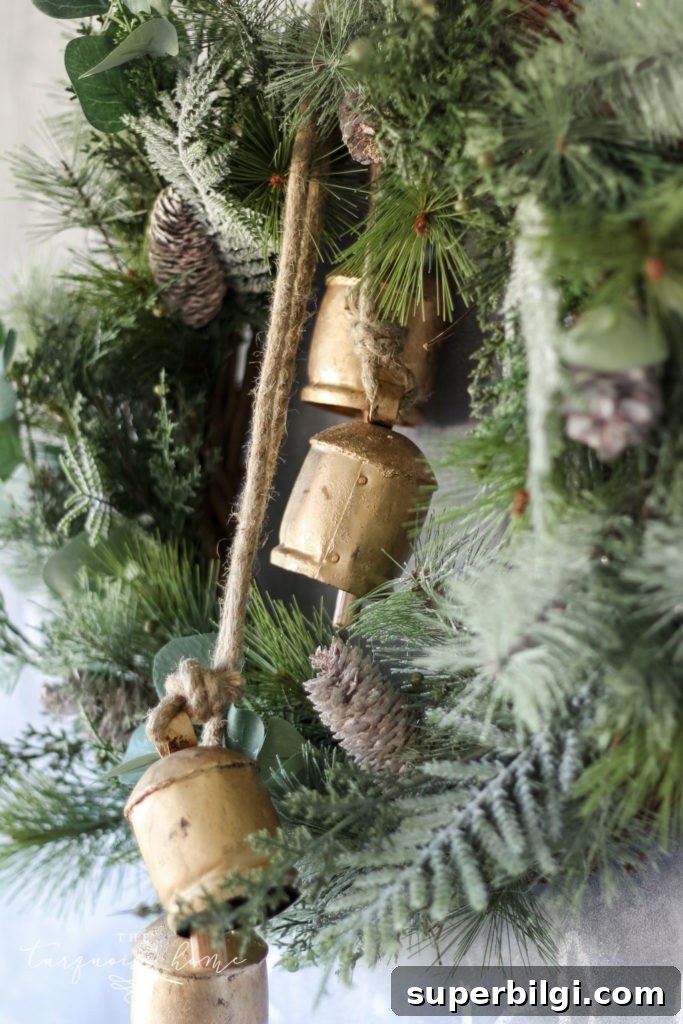
Once complete, hang your wreath on a door, over a mantel, or on a chalkboard for seasonal charm. Swap or remove any holiday-specific accents after the season to keep the wreath fresh through winter.
Video tutorial for winter wreath
If you prefer step-by-step visuals, look for a short video tutorial that demonstrates placing stems and securing them with hot glue. A brief clip makes it easy to follow along and replicate the technique.

If you have questions about materials, placement, or variations—such as how to make a fresh wreath or tips for outdoor display—leave a comment and I’ll help you troubleshoot.
More Christmas Bell Ideas
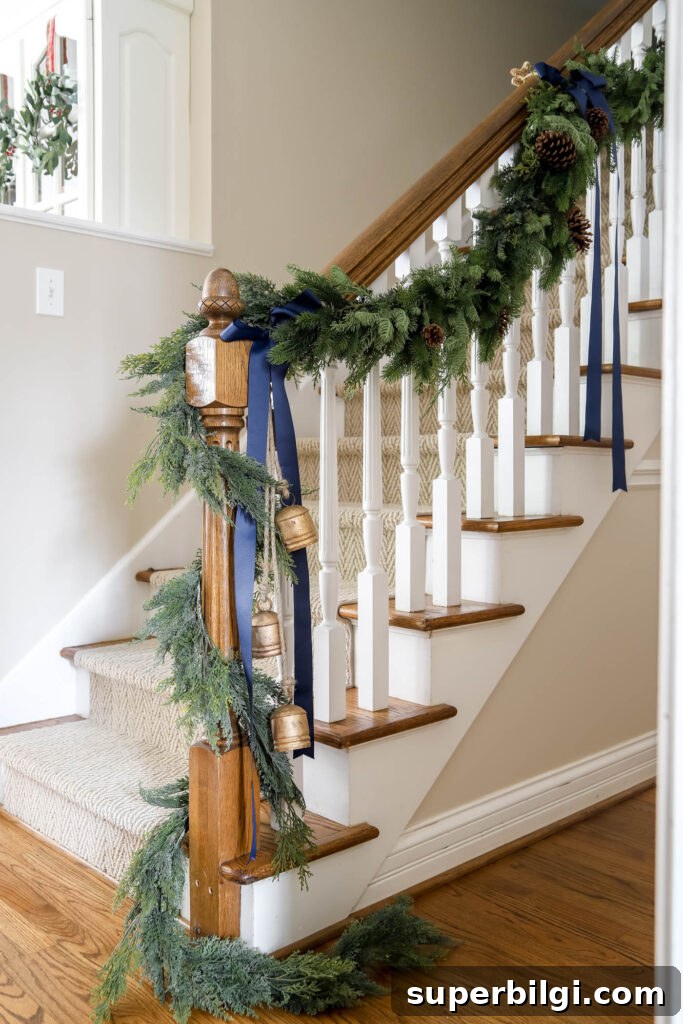
Bells are versatile and can be used across holiday decor: attach them to mantel garlands, stair garlands, or place them as accents in a centerpiece. A set of matching bells repeated throughout your decor ties rooms together for a cohesive look.
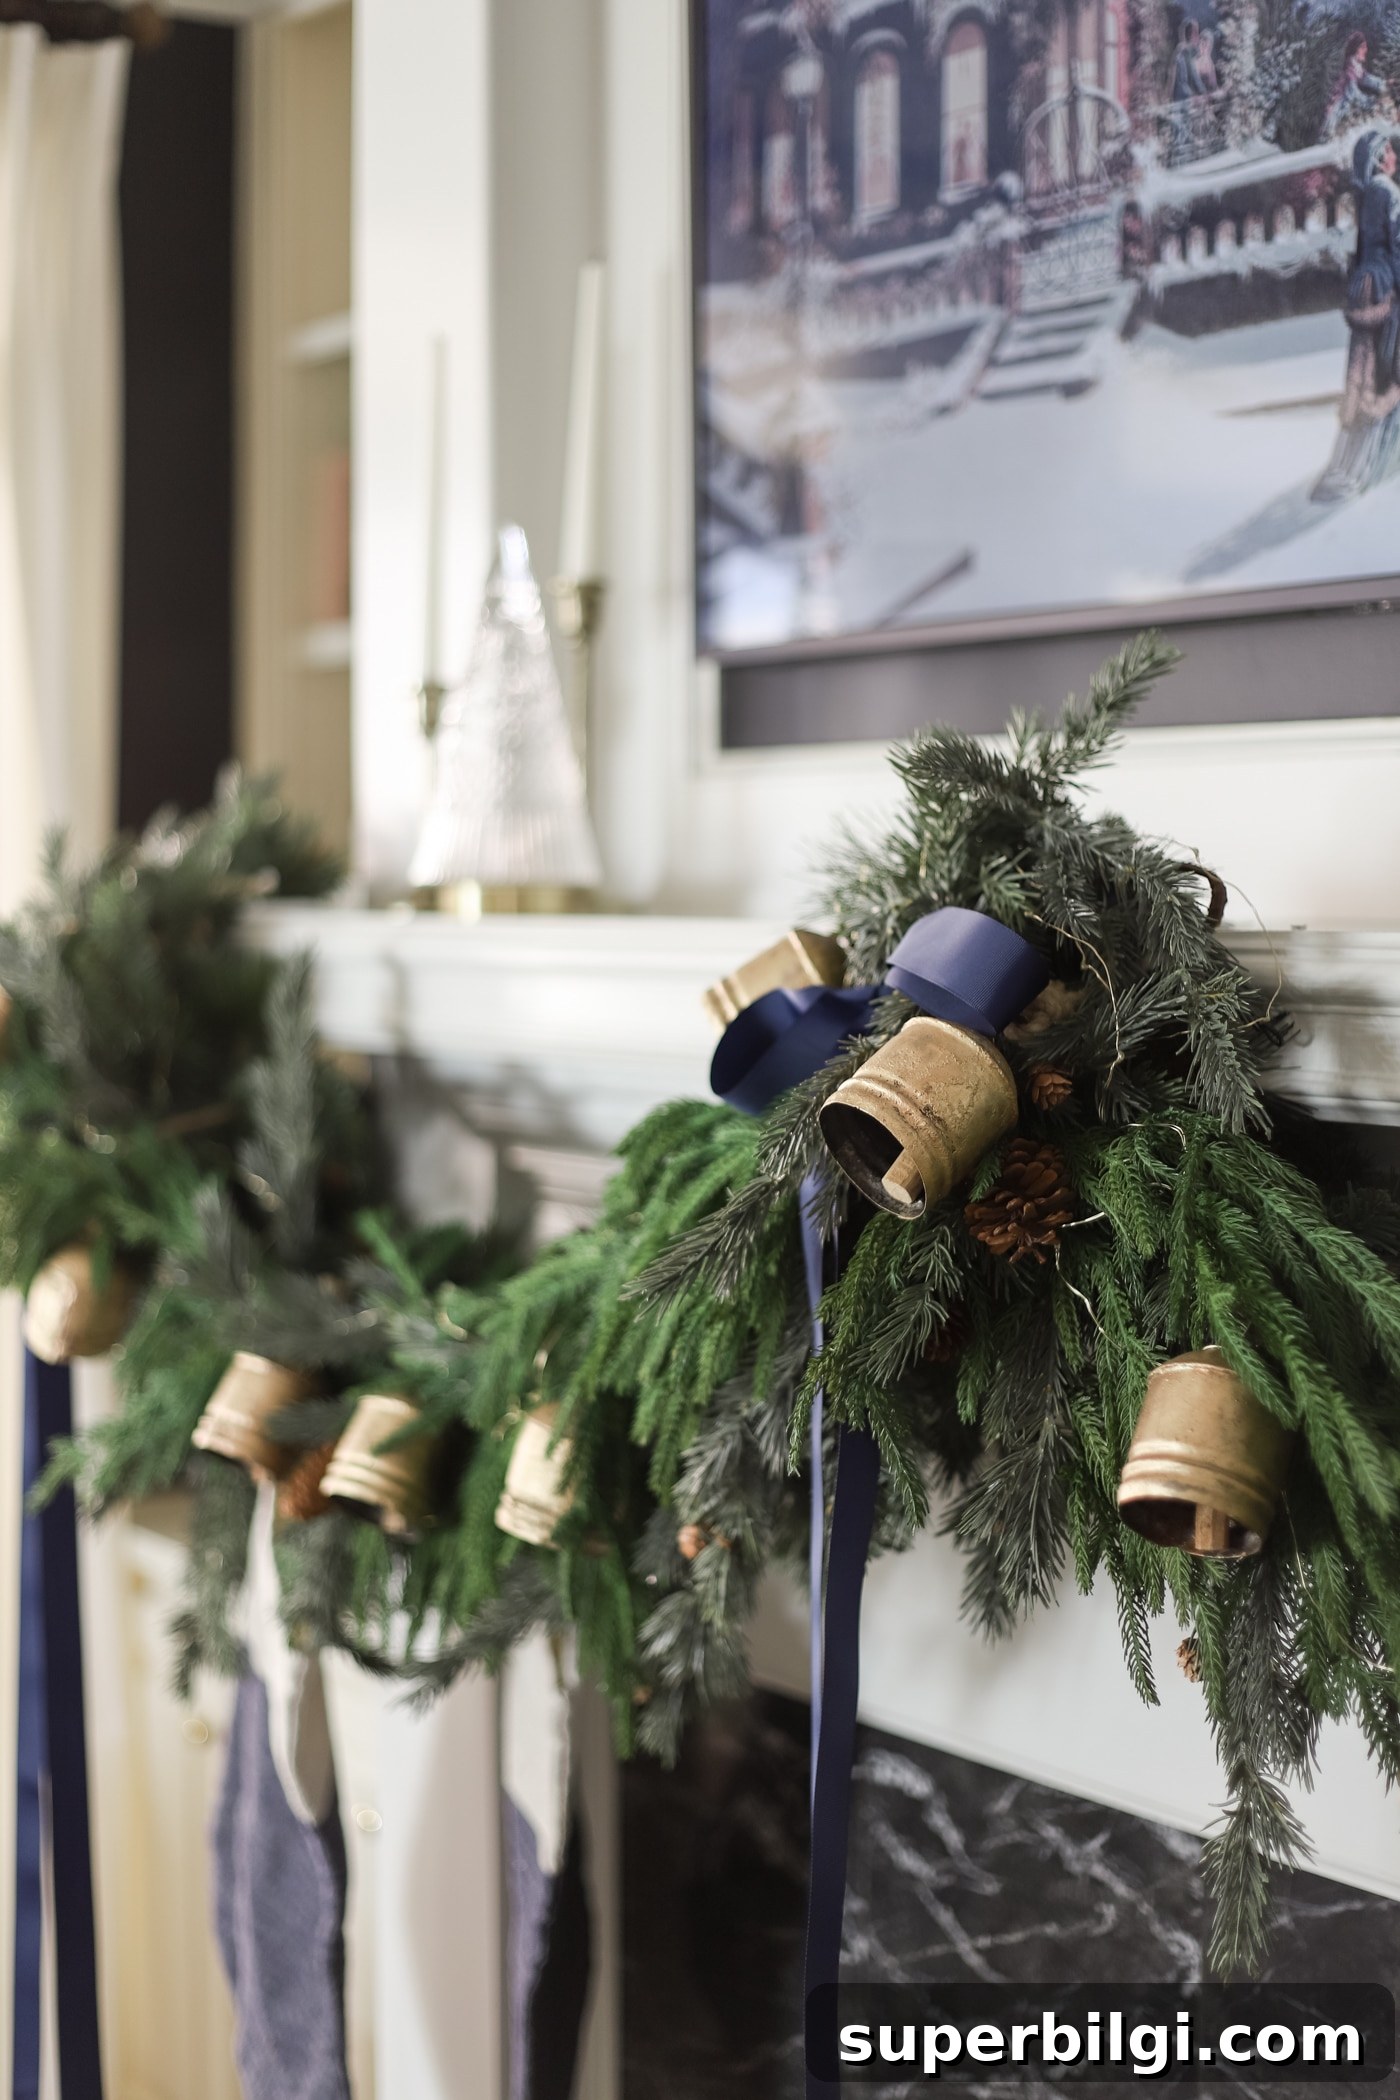
Want ideas for other holiday projects? Try a mantel garland, stair garland, or matching tree accents to coordinate with your wreath.
More posts you will love:
- Best Christmas tree collar ideas
- The best artificial Christmas trees
- How to decorate the kitchen for Christmas
- How to display kitchen cabinet wreaths
- Christmas bedroom decor ideas and inspiration