
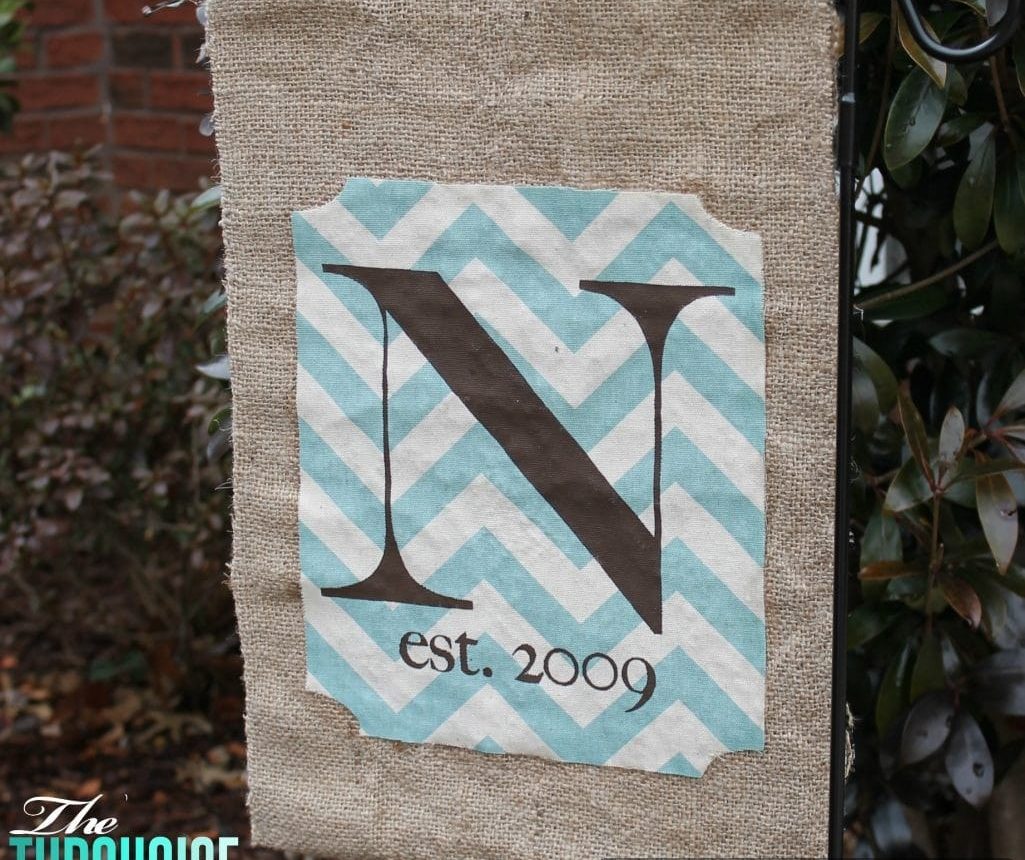
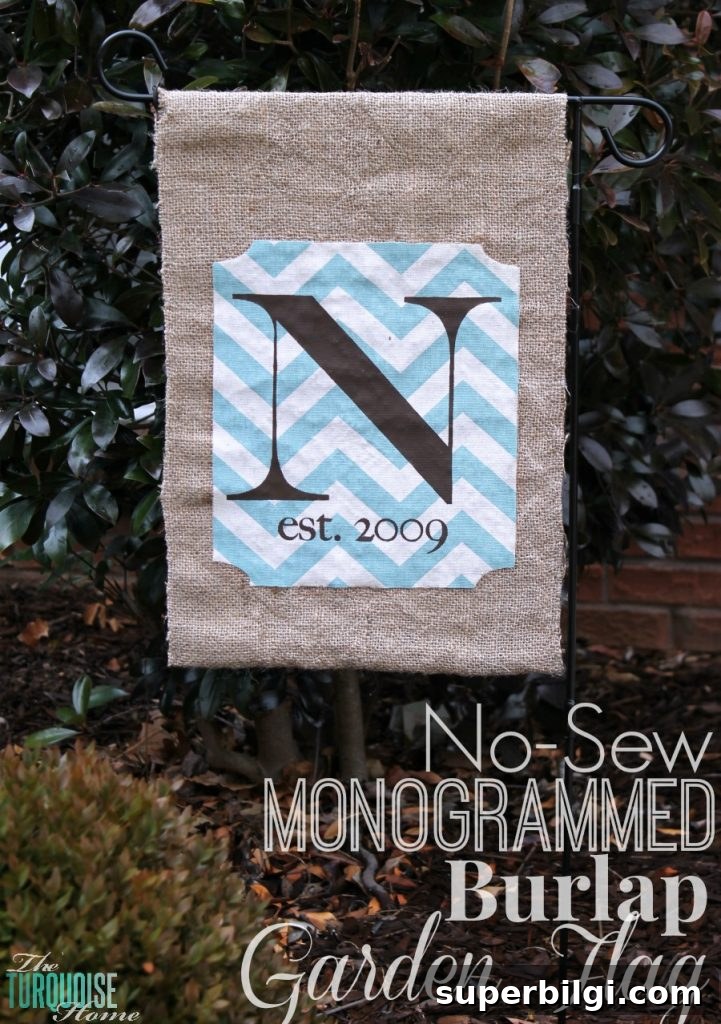
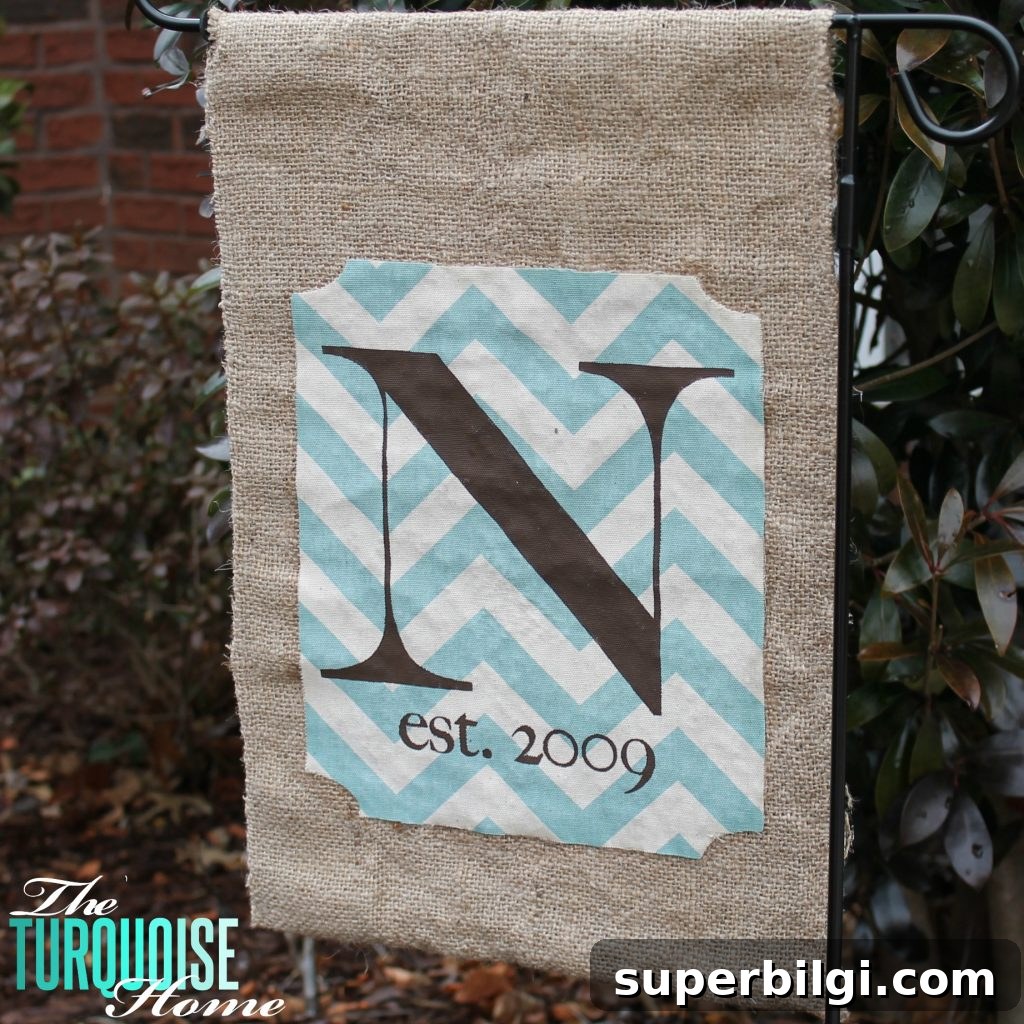
A simple, no-sew DIY garden flag adds a stylish, personalized touch to any front entry. This easy project creates a warm, welcoming accent that you can customize to your taste.
Original post date: February 10, 2014
This project is ideal for anyone who wants a quick, attractive outdoor accent. It uses basic supplies you may already have and requires no sewing—just simple measuring, cutting, stenciling, and a little glue. Below is a clear, step-by-step tutorial plus tips for materials, cutting, and weatherproofing so your flag looks great and lasts outdoors.
Supplies to Make a DIY Garden Flag
- Garden flag stand
- Burlap (recommended size 12.5″ x 40″) or any durable fabric such as canvas or duck cloth
- Hot glue gun and glue sticks
- Decorative fabric for the frame or applique
- Paint and a stenciling brush or spouncer
- Outdoor Mod Podge or other adhesive rated for outdoor use
- Outdoor craft sealer (matte finish recommended)
- Cutting tools: Silhouette cutting machine (optional) or craft knife and scissors
- Contact paper or cardstock to make stencils
If you do not have a cutting machine, you can print templates on paper, cut them by hand with a craft knife or sharp scissors, and use those as stencils. This tutorial describes both machine and hand-cut options.
DIY Garden Flag Step-by-Step Tutorial
Step 1. Gather Supplies and Get a Garden Flag Stand
Begin by choosing a garden flag stand sized for standard flags. Many home stores carry these, or you can use a stand you already own. Knowing the stand size helps you determine the finished flag dimensions.
Step 2. Cut and Iron Your Background Fabric
Most garden flags measure about 12.5″ x 18″. To create a pocket for the stand, cut a piece of burlap about 12.5″ x 40″. Iron the fabric to remove wrinkles and make measuring easier. You will fold and glue the top edge to form the sleeve that slides onto the flag stand.
Step 3. Make the Flag Background and Create a Pocket for the Stand
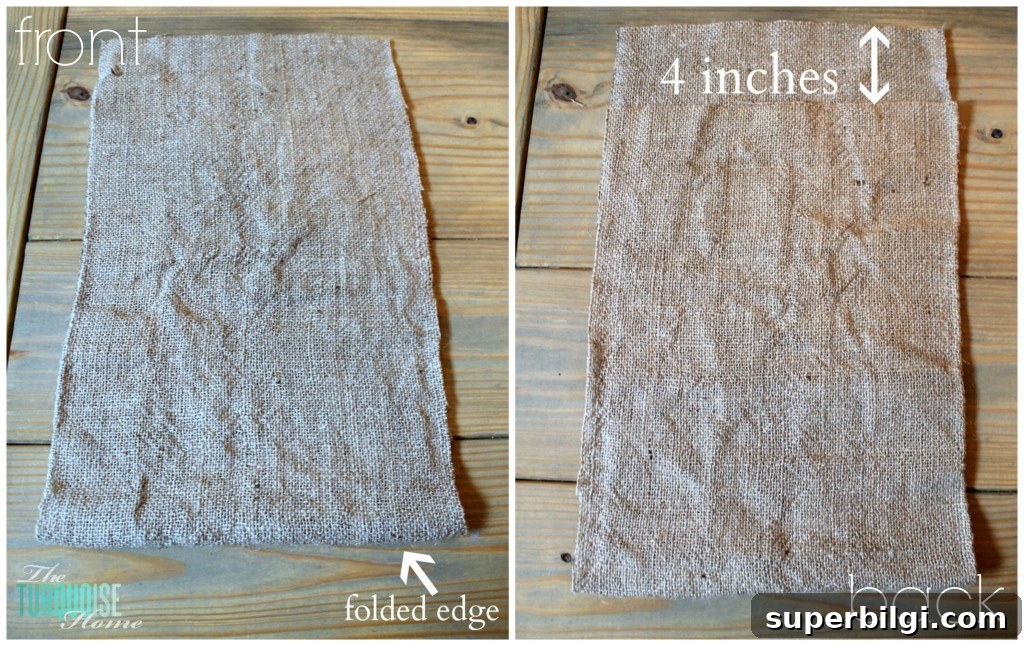
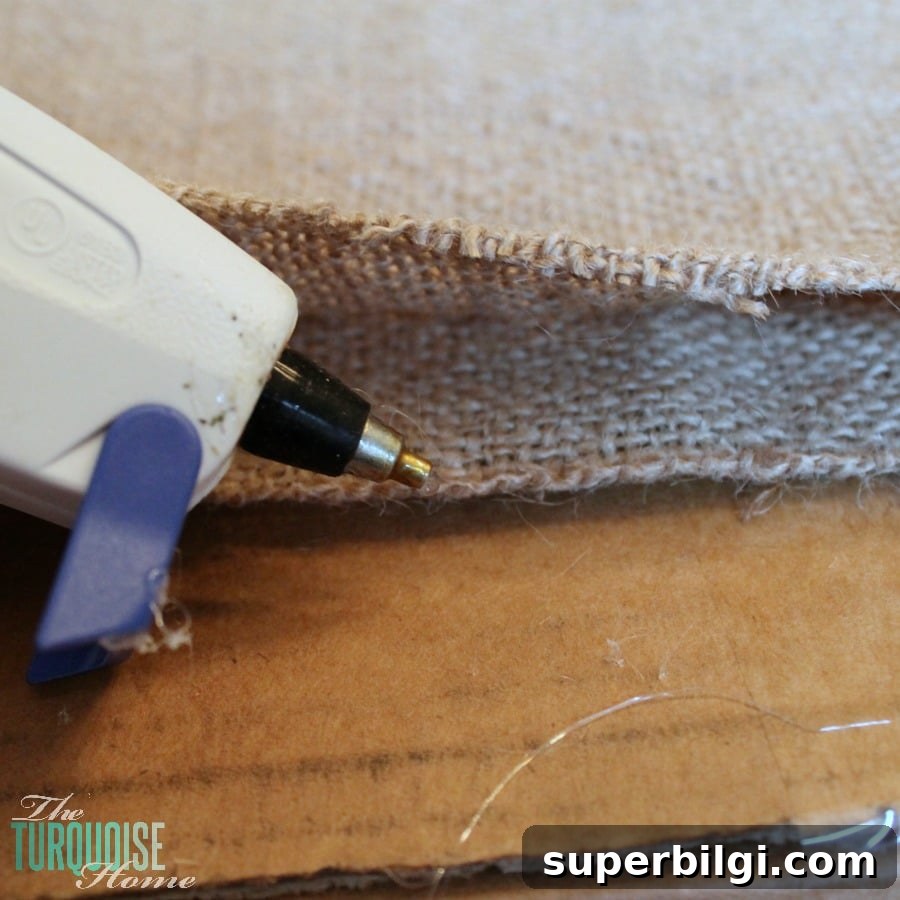
Use a hot glue gun to seal the side edges of the burlap, creating a clean rectangle. Fold the extra top fabric down about 4″ and glue it to the back to form a sleeve for the flagstand. Aim for a 2″ pocket opening so the flag slides on easily.
Step 4. Design the Monogram and Frame
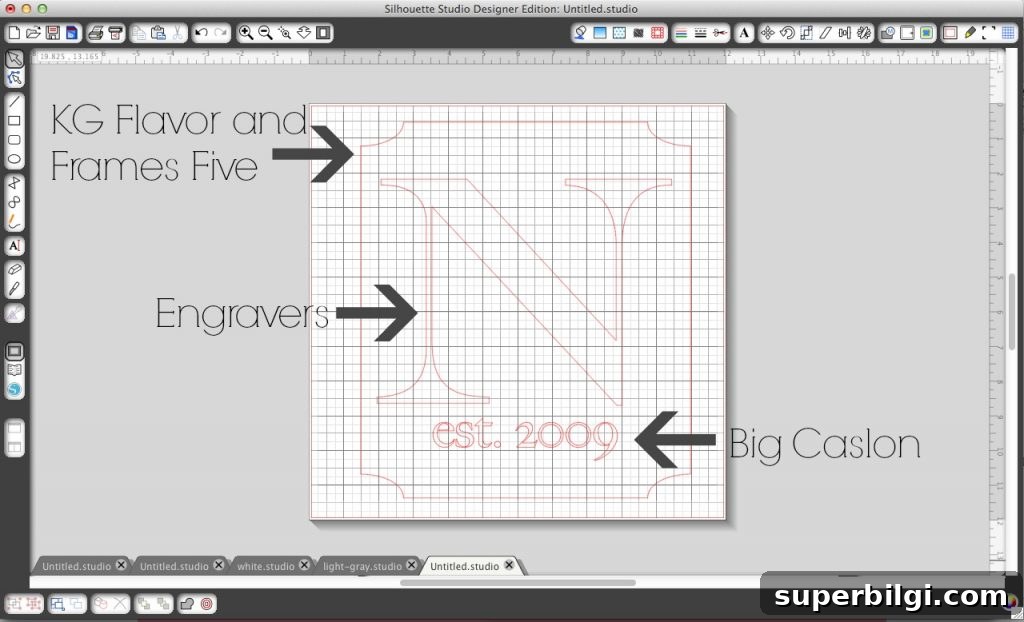
Design a monogram and decorative frame on a cutting machine or on paper. Choose a clear, bold font for the letter and a complementary font for any small text such as “est.” or a year. The frame helps center and highlight the monogram on the flag.
Step 5. Cut the Frame from Fabric
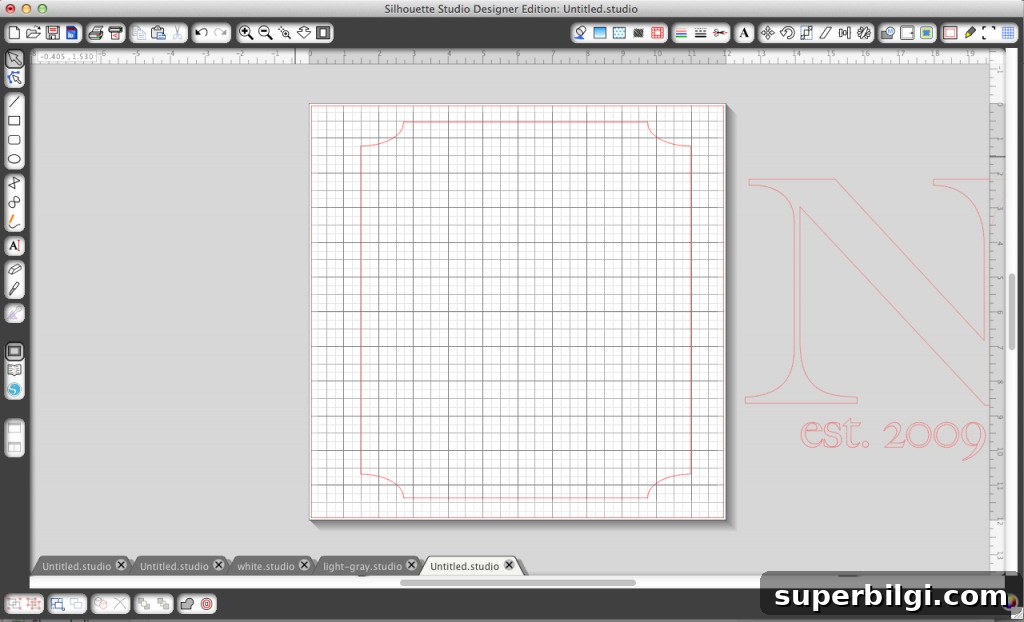
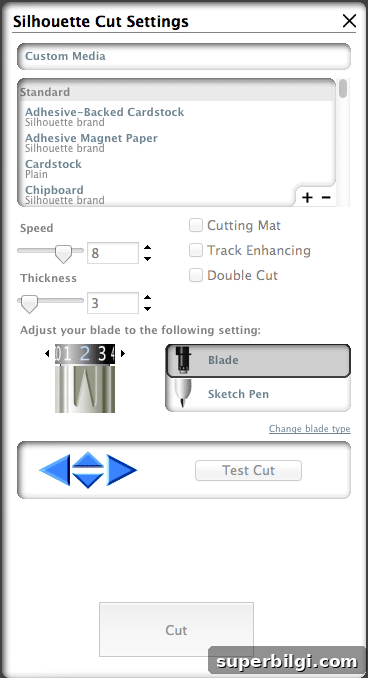
If using a cutting machine, choose the appropriate blade and settings for fabric. For heavier duck cloth or canvas-like fabrics, select a thicker fabric setting and test on a scrap. If you cut by hand, print the frame template on cardstock and carefully cut around the shape. Use fabric scissors to clean up any edges if necessary.
Step 6. Create a Stencil for the Monogram
Use contact paper, vinyl, or thick cardstock to cut a stencil for the letter and any small text. Contact paper works well on fabric since it temporarily adheres and keeps paint edges crisp. If cutting by hand, print the letter at the size you want, then cut the shape carefully with a craft knife or sharp scissors.
Step 7. Stencil the Monogram onto the Flag
Center the stencil on your background fabric, press it down to avoid paint bleed, and use a spouncer brush with a light amount of paint. Apply paint with an up-and-down dabbing motion rather than sweeping to achieve clean edges. Allow the paint to dry completely before removing the stencil.
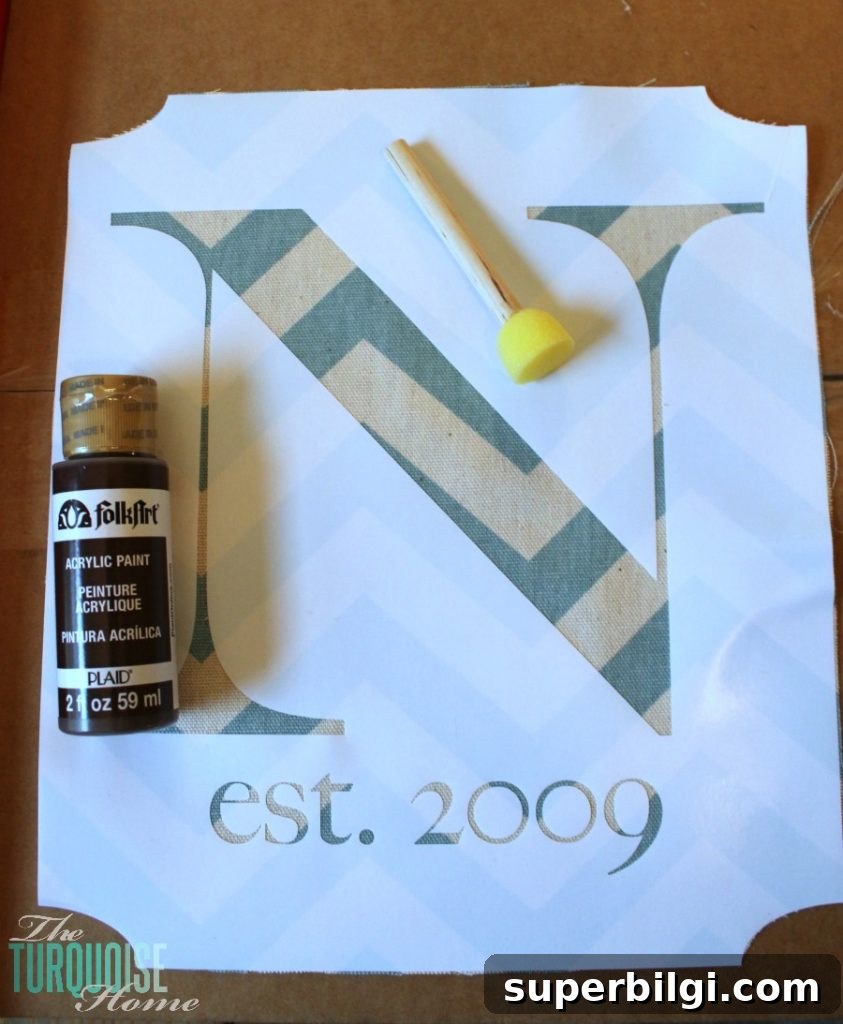
Step 8. Adhere the Frame or Monogram Fabric to the Burlap
If your monogram or decorative frame is cut from fabric, attach it to the burlap using an outdoor-rated adhesive like Mod Podge for fabric or a similar product. Spread a thin layer of adhesive on the back of the applique and press it onto the burlap, smoothing out any wrinkles. Let it dry according to the adhesive instructions.
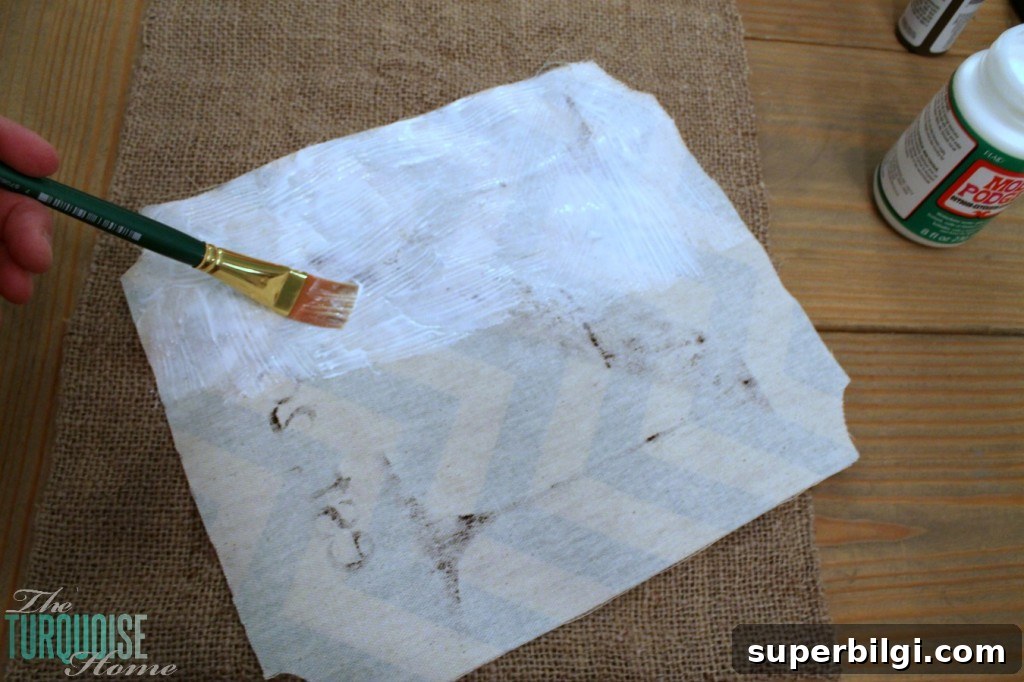
Step 9. Seal the Flag for Outdoor Use
Protect your finished flag with an outdoor acrylic sealer in a matte finish. Spray or brush on an even coat and allow adequate drying time. Sealing helps protect paint and fabric from moisture and fading, extending the life of your garden flag.
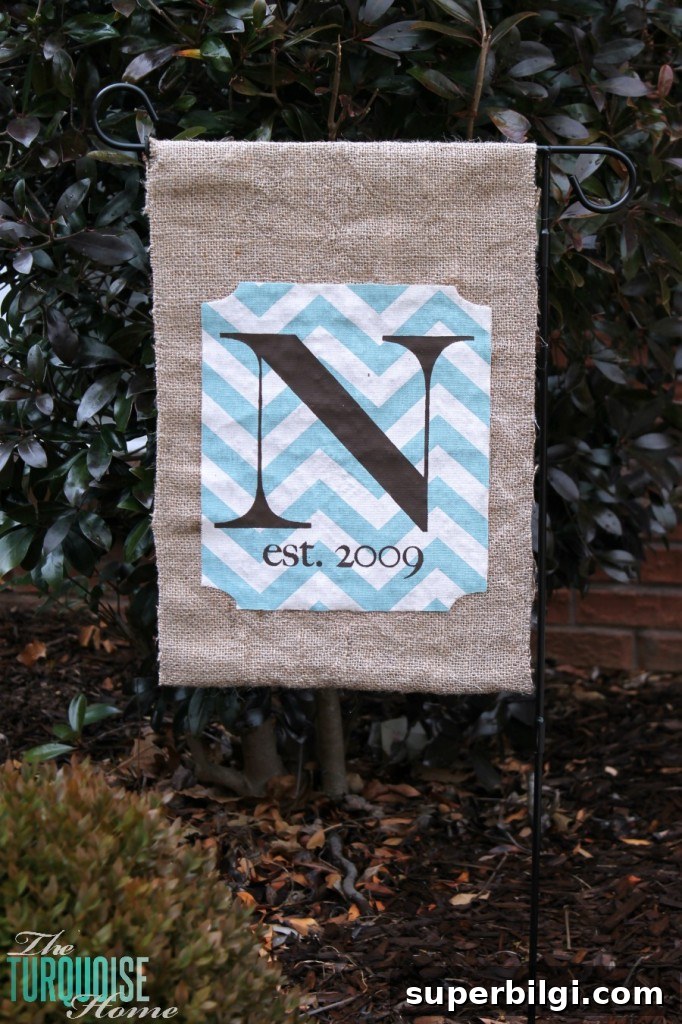
This was my first garden flag project and I was very pleased with the result. The no-sew method is fast and forgiving, and you can easily change colors, fonts, or the central motif for every season.
Tips and variations:
- Use heavier fabric for a more durable flag; lighter fabrics flutter more but may wear faster.
- Test paint and adhesive on a scrap to confirm adhesion and color before working on the main piece.
- For a double-sided flag, repeat the design on a second piece and glue the two together along the edges.
- Refresh the sealer annually for best outdoor performance.
More posts you will love:
- Spring Favorites Free Printable
- 5 Craft Supplies to Throw Away Today!
- DIY Chinoiserie Egg Wreath











