
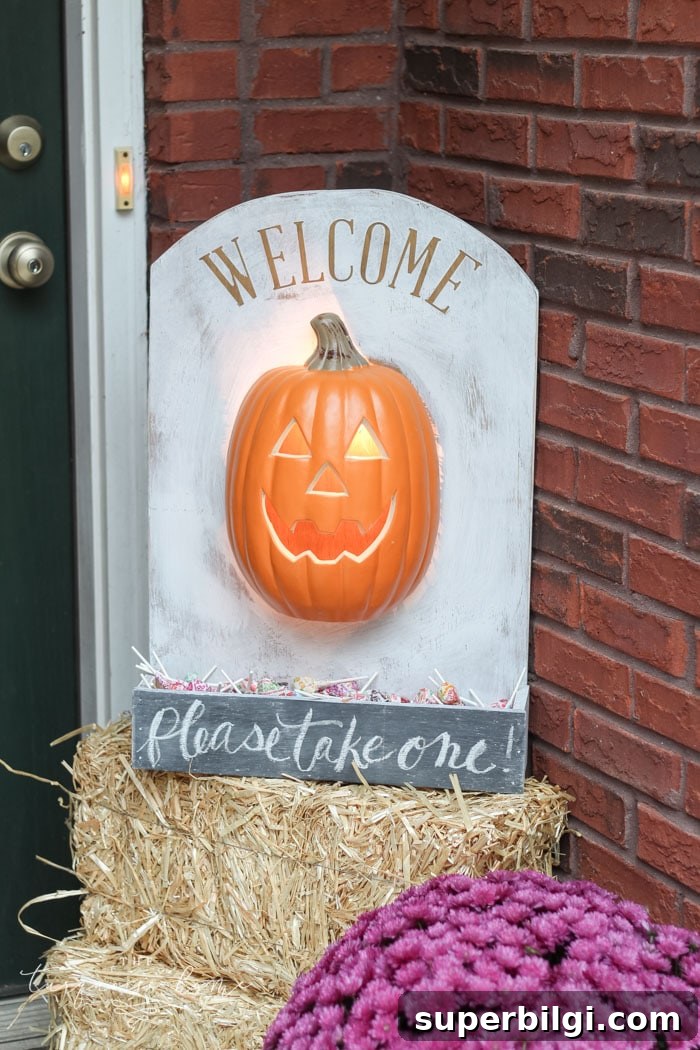
A DIY Lighted Pumpkin Candy Holder is a charming and practical way to share treats on Halloween night when you can’t be at the door. Leaving a decorated bucket or box at the front step lets trick-or-treaters help themselves while you take your little ones around the neighborhood.
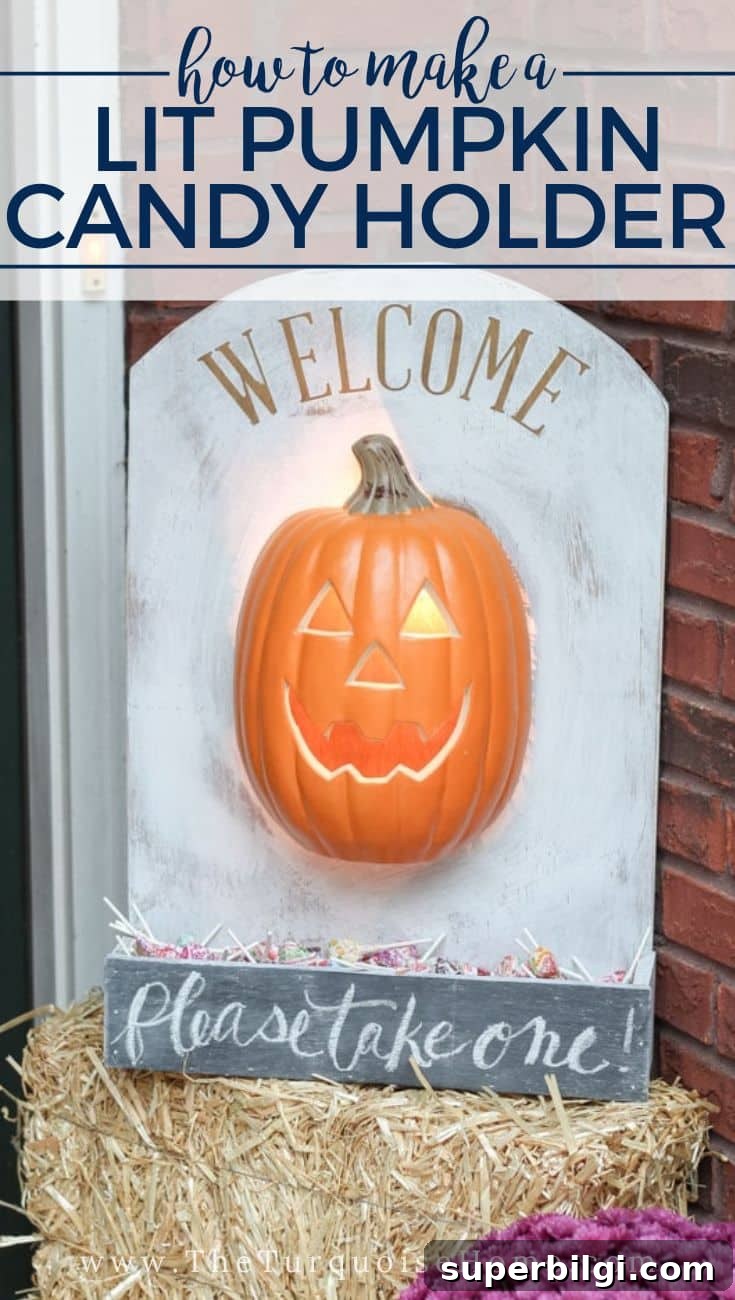
This project started as part of a Home Depot DIH (Do-It-Herself) workshop where participants built Halloween decorations. The original workshop version leaned toward a spookier look, but I wanted a friendlier, more whimsical pumpkin—think Disney-princess-friendly—so I swapped the suggested skeleton décor for a lighted jack-o’-lantern and a welcoming sign to suit my home’s softer pumpkin theme.
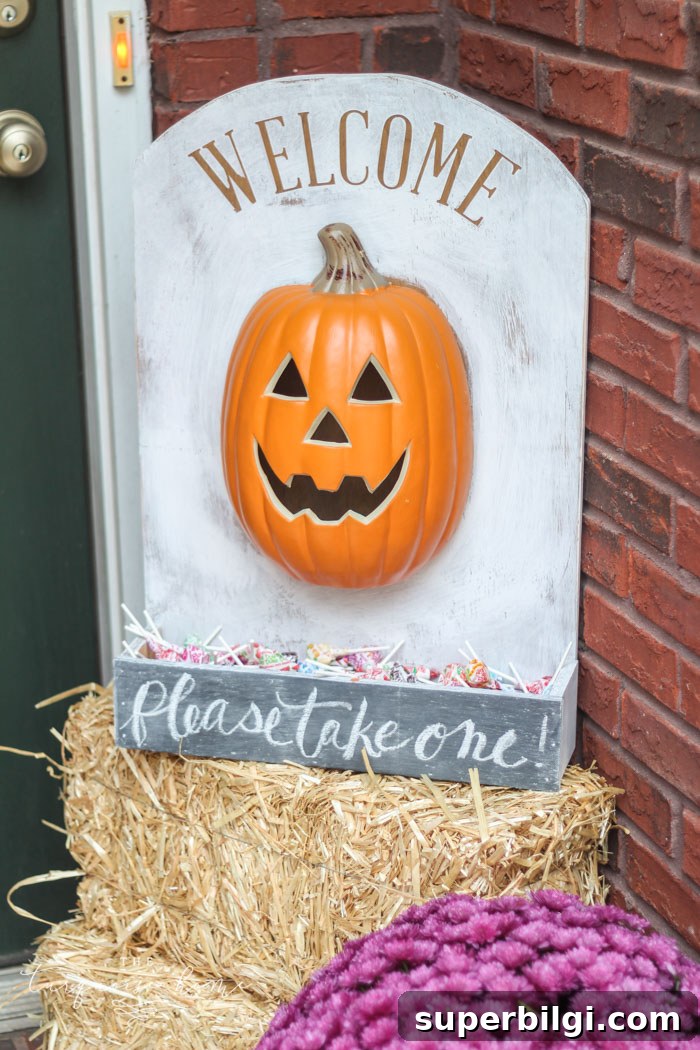
The simple box and gravestone-shaped back make a great backdrop for any style of candy holder—spooky or sweet—so feel free to customize colors and finishes to match your Halloween decor. We’ve used this lighted pumpkin candy holder every Halloween for nearly a decade, and it’s become a family favorite that my kids love to bring out each year.
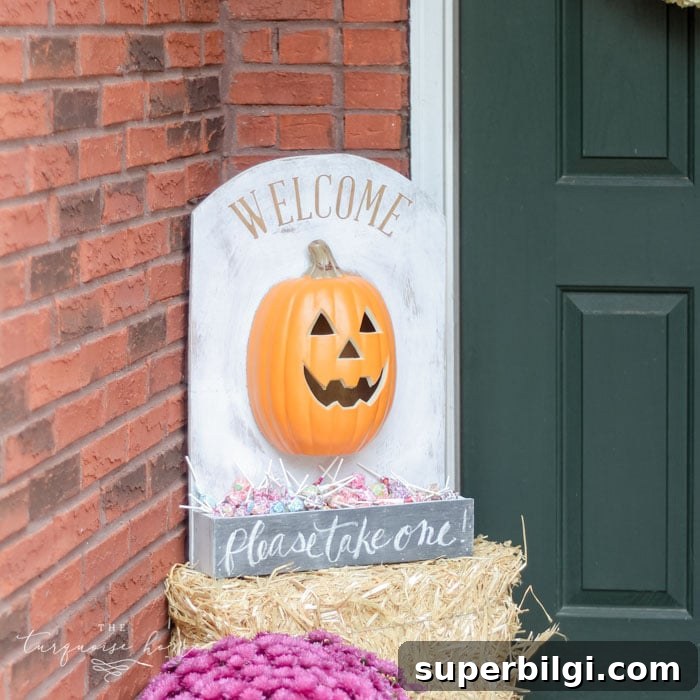
What You’ll Need to Make a DIY Lighted Pumpkin Candy Holder
- 1 sheet of 2′ x 2′ x 1/2″ plywood (if only 2′ x 4′ sheets are available you can cut and save the extra for another project)
- Lighted jack-o’-lantern (battery-operated or plug-in, depending on your preference)
- Jigsaw
- Circular saw
- 1 1/2″ brad nails
- Brad nailer
- Measuring tape
- Carpenter’s square
- Clamps
- Pencil
- Safety goggles
- Sanding block or sandpaper (medium to fine grit)
- Paint or stain of your choice
- Vinyl lettering or stencil for a “Welcome” sign (optional)
- Mod Podge or clear sealer (optional, for crisp lettering)
- Strong adhesive such as Gorilla Glue or heavy-duty super glue
How to Make a DIY Lighted Pumpkin Candy Holder
Step 1 — Measure and mark all pieces on your plywood
Lay out and label every cut on your plywood before cutting. Planning the layout helps minimize waste and ensures you have all required pieces for the box front, sides, bottom and the gravestone-shaped back panel.
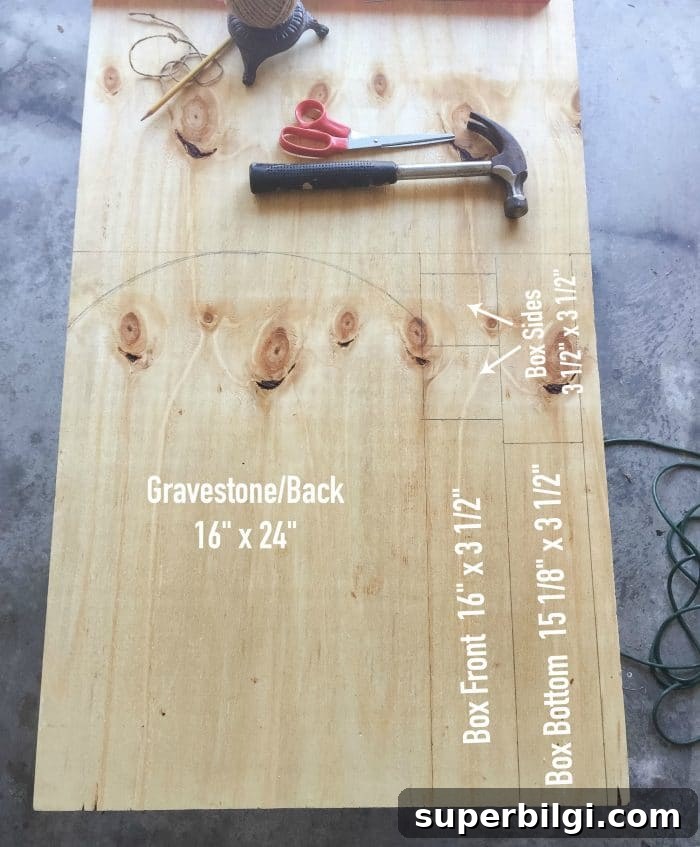
Step 2 — Draw the arc for the gravestone back
Measure down about 10 inches from the top center of the back piece and drive a small nail at that point. Tie a 10-inch length of string to the nail and to a pencil, then sweep the pencil in an arc to mark the rounded top for the gravestone-shaped back.
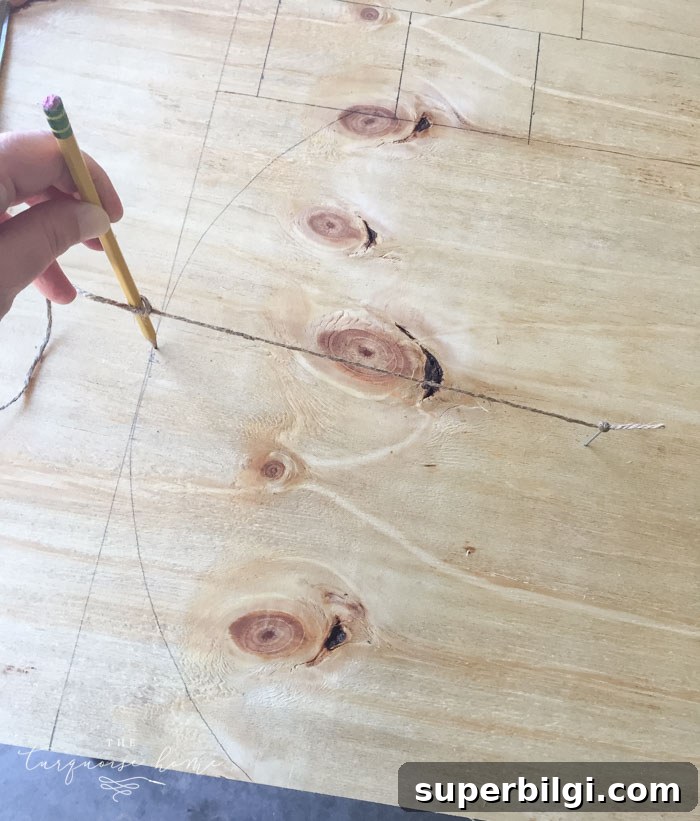
Step 3 — Cut straight pieces with a circular saw
Use a circular saw to cut the straight edges of your box pieces. Wear safety goggles and follow all safety guidelines for your power tools. Clamps and a straight edge help keep cuts accurate.
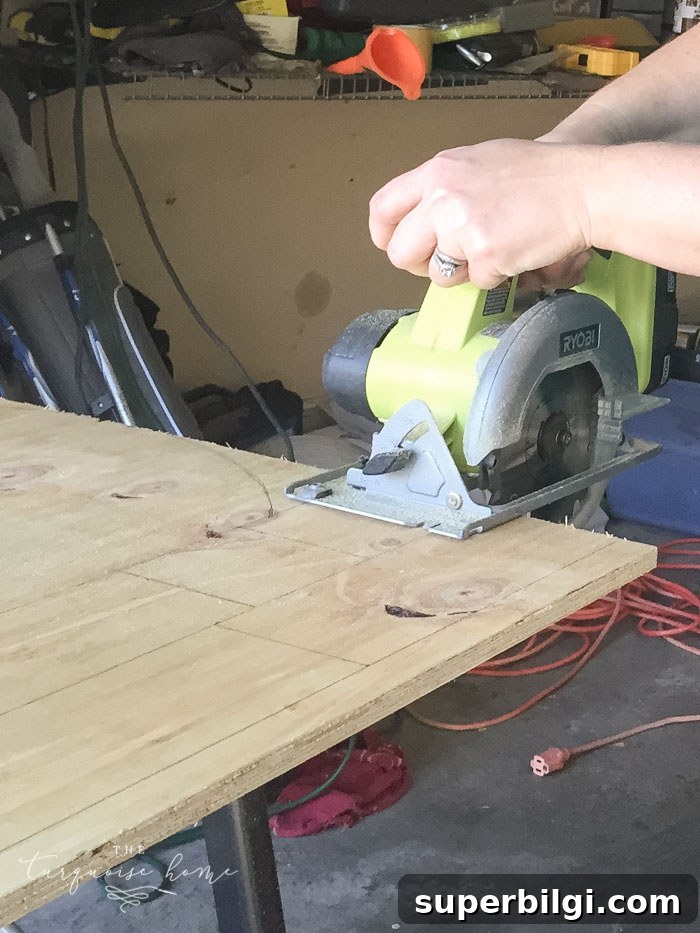
Step 4 — Cut the arc on the back panel with a jigsaw
Cut the arc you drew using a jigsaw. If you’ve never used one before, take your time—this tool makes curved cuts straightforward. Always wear eye protection and clamp the wood securely before cutting.
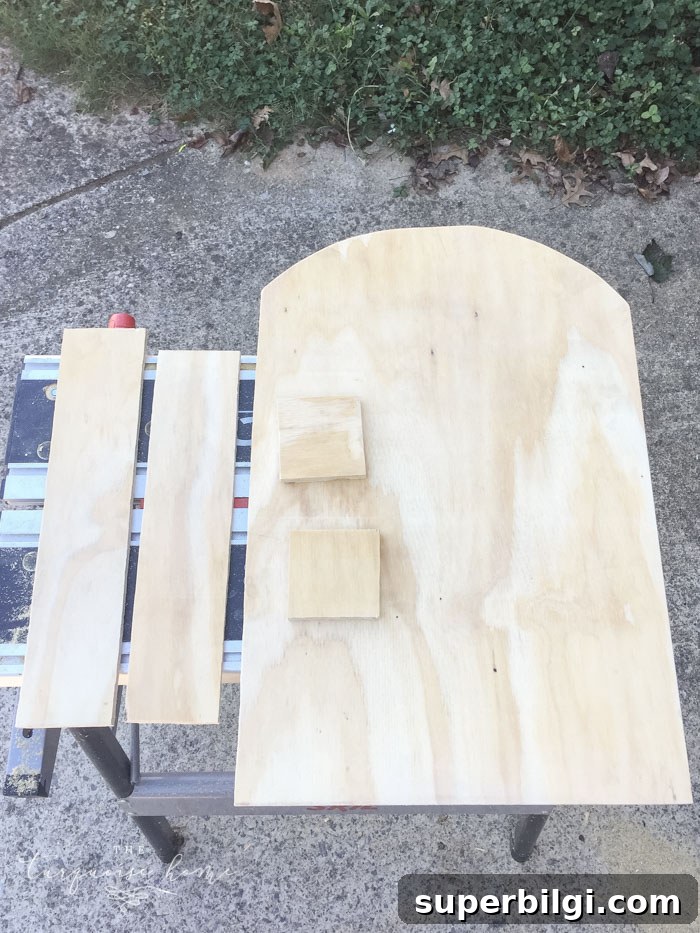
Tip: Smooth rough edges with a sanding block or sanding sponge for a clean finish.
Step 5 — Paint or stain pieces before assembly (optional)
Staining or painting some surfaces before assembly can make the job easier, especially inside areas that will be harder to reach after the box is built. In my build I stained the back panel and painted the outer surfaces later for a cleaner look.
Step 6 — Assemble the box
Position the side panels flush to the front panel and attach using a brad nailer and 1 1/2″ brad nails. Then secure the sides to the back panel. Use clamps to hold pieces in place while nailing for tighter seams.
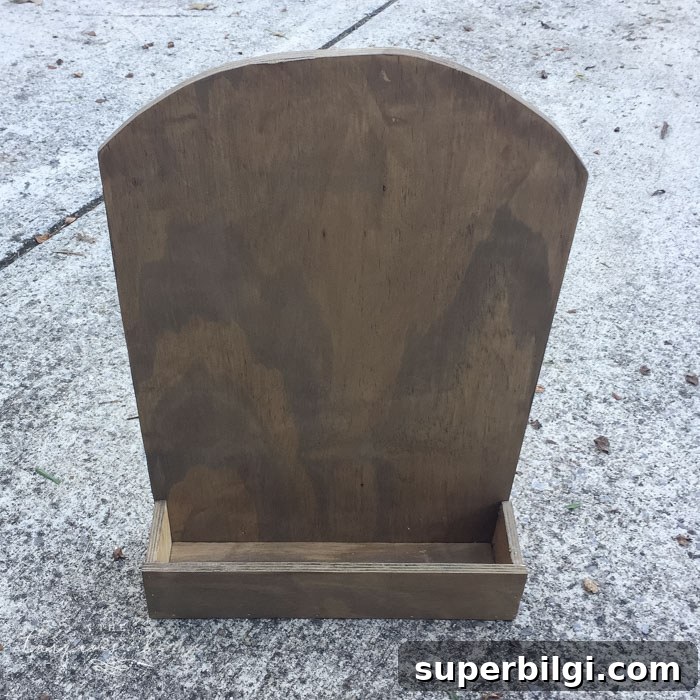
Step 7 — Cut the jack-o’-lantern in half so it sits flush
Carefully cut the plastic lighted pumpkin in half so the face sits flush against the back panel. Cutting plastic can be tricky—use the proper blade and wear eye protection. If you’re uncomfortable cutting the plastic, ask for help or have a hardware store cut a similar piece for you.
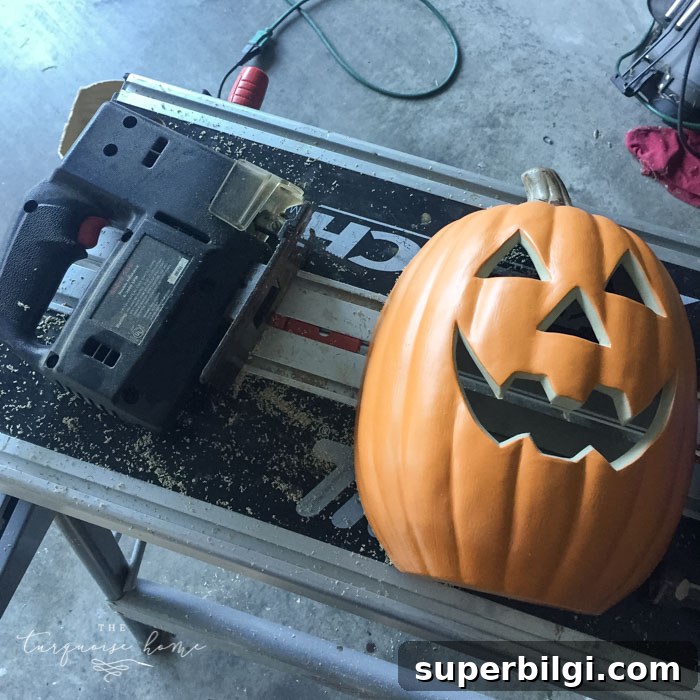
Step 8 — Cut the hole for the pumpkin light
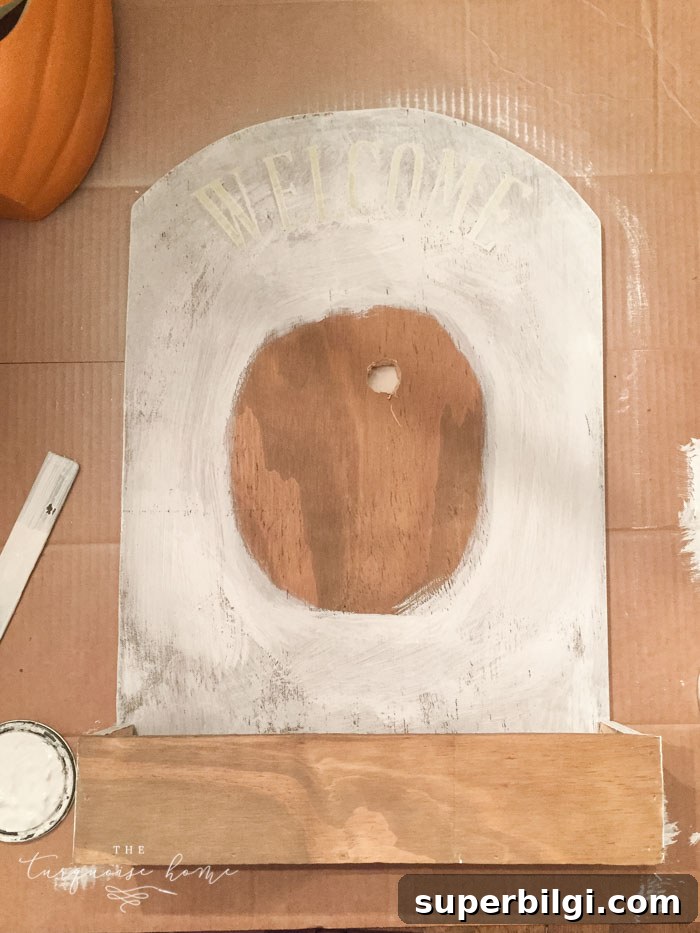
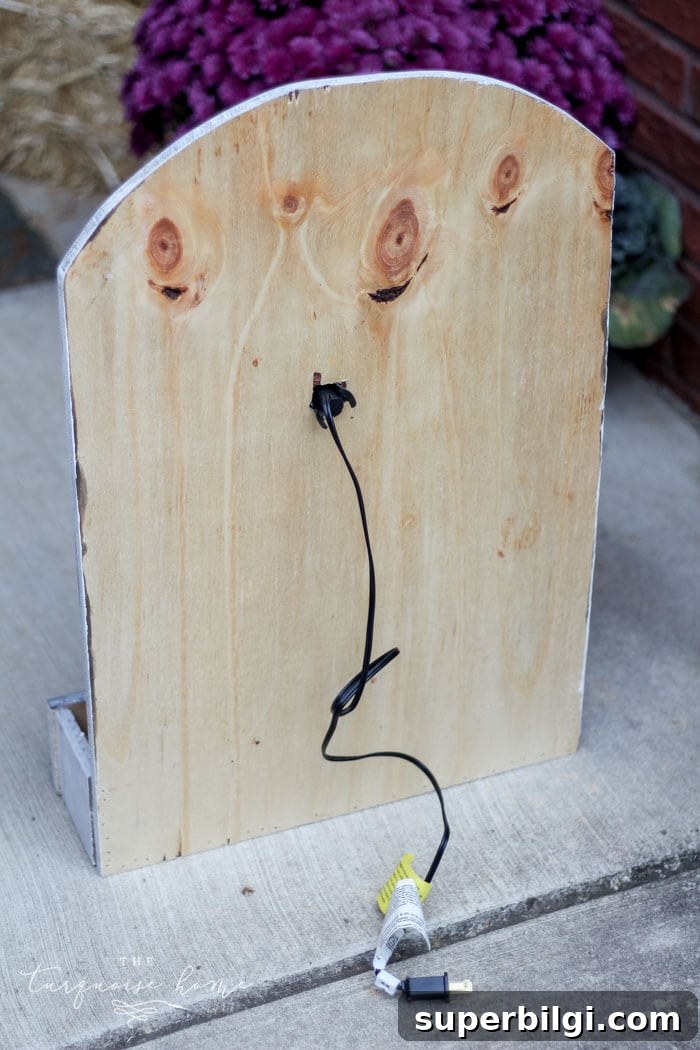
Trace where the pumpkin will sit on the back panel, and mark the position of the light’s backside. Drill a series of pilot holes around the light opening, then finish cutting the hole with a jigsaw so the light housing fits through cleanly.
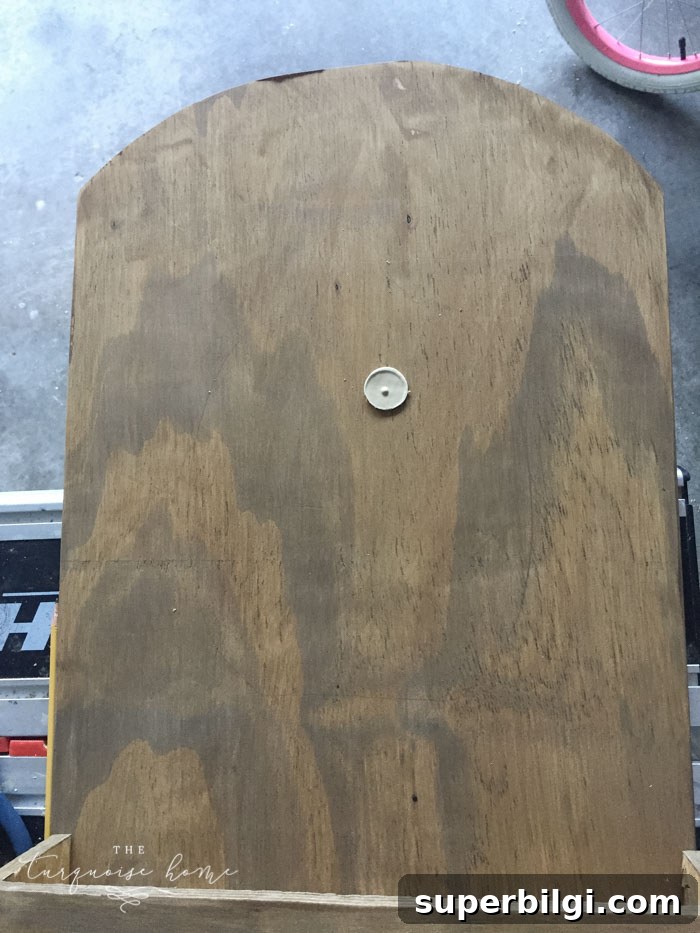
Step 9 — Add the “Welcome” sign
Apply vinyl letters or use a stencil above the pumpkin area to spell “Welcome” or another greeting. Seal the vinyl edges with a thin layer of Mod Podge or clear sealer so paint won’t bleed underneath, then paint the board around the letters.
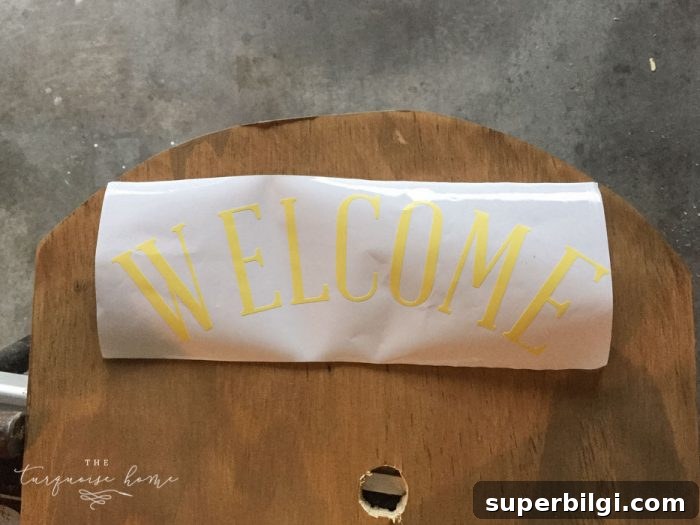
Step 10 — Paint and finish the box
Paint the box with chalk-style paint or your chosen finish. I dry-brushed white paint over most surfaces and left the area behind the pumpkin stained so it looks darker when the light is off. Paint the front board in chalkboard paint if you want to write a message with chalk.
Step 11 — Attach the pumpkin
Use strong adhesive to glue the pumpkin to the back panel where it fits. If the cut isn’t perfectly flush, glue the contact points well; the pumpkin should hold firmly. Consider using hot glue or clear caulk to seal any light leakage if desired.
Step 12 — Install the light and add candy
Fit the light through the access hole and secure it so the pumpkin illuminates properly from behind. Add a chalkboard message if you painted the front board, fill the box with candy, and place it on your porch for trick-or-treaters to enjoy while you’re out.
I’m delighted with how this project turned out—simple materials and basic tools made a fun, welcoming piece of Halloween decor that’s practical and festive. Whether you keep the look sweet or spooky, this DIY lighted pumpkin candy holder is a great way to share treats and decorations with neighbors and guests.

More fall and Halloween project ideas you might enjoy:
- Mason jar lid pumpkin craft
- DIY Halloween decorations collection
- Greenery and pumpkins with printable fall decor
- Warm, cozy fall decorating ideas
- Dough bowl centerpiece for autumn