
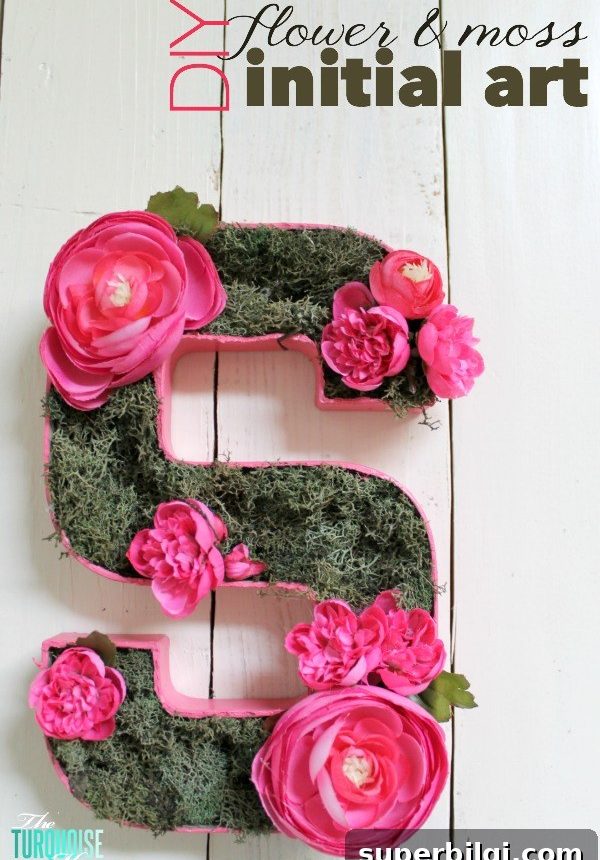
This sweet flower-and-moss letter first appeared on The Turquoise Home as part of a baby girl’s woodland nursery gallery wall. It’s an easy, affordable DIY that yields a charming personalized accent for a nursery, playroom, or office.
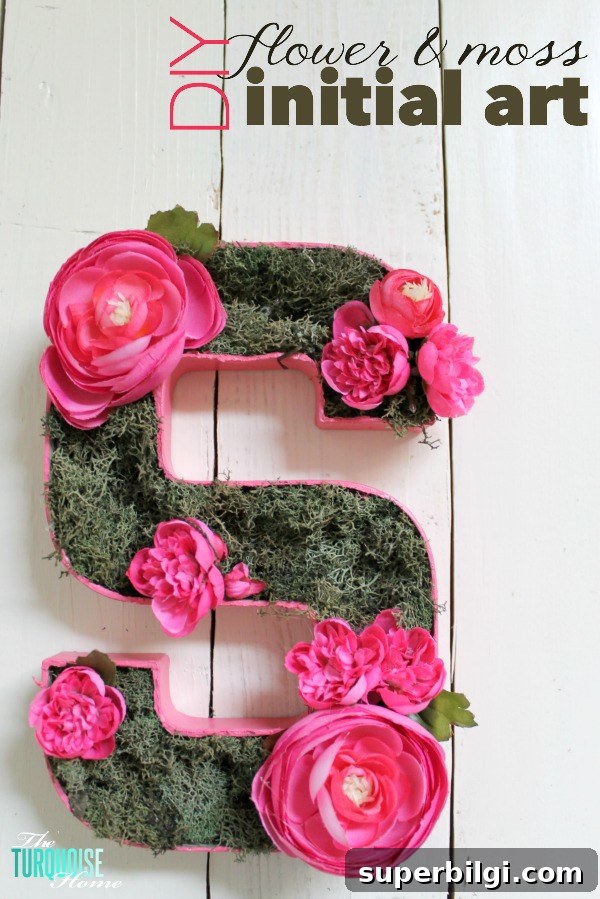
At first I planned to fill the letter entirely with flowers, but during the build I realized that adding craft moss made the piece look more polished and provided a natural base for the blooms. Below I share the supplies, step-by-step instructions, and a few tips I learned along the way.
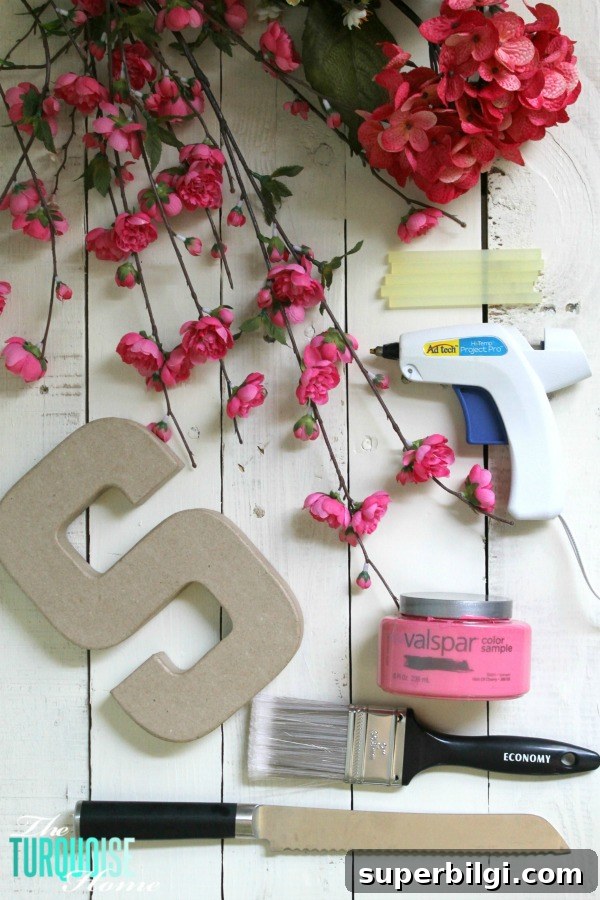
Supplies
- Paper-mâché letter (plain, hollow initial)
- Faux flowers in coordinating colors
- Craft moss
- Hot glue gun and glue sticks
- Paint and brush
- Serrated knife (or a bread knife)
- Scissors or wire cutters for trimming stems
Step 1 — Prepare the Letter
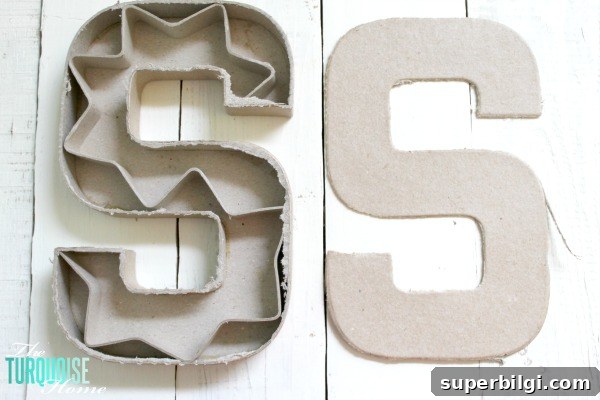
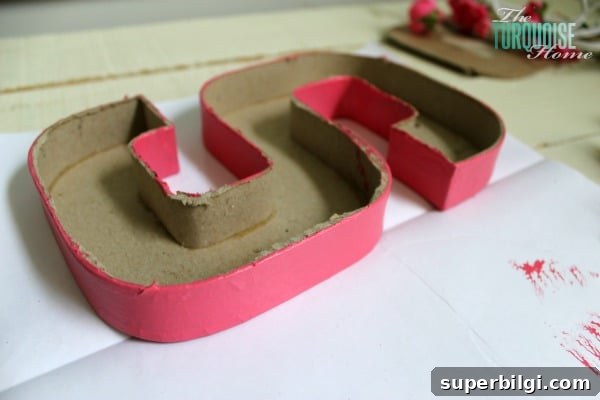
Begin by cutting the top off your paper-mâché letter to create a shallow, tray-like cavity. A serrated bread knife works well: once you get under one edge, follow the shape until the top comes off cleanly. Discard the inner paper lining and the removed top. If the cut edges are a little rough, gently pull off any loose paper bits and sand or trim as needed so the rim looks neat.
Step 2 — Paint the Outside
Paint the outer surfaces of the letter to match your decor. If you want a more finished look, paint the inner sides as well, especially along the rim where the letter was cut. Let the paint dry completely before moving on.
Step 3 — Add a Moss Base
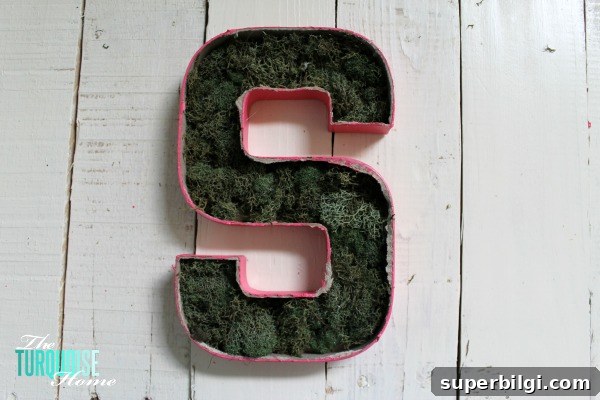
To hide the bottom of the letter and create a natural backdrop for the flowers, glue craft moss to the inside base. Use a hot glue gun to secure the moss in place, pressing it lightly so it conforms to the interior curves. Work in small sections so the glue doesn’t cool before you press the moss down.
Step 4 — Arrange and Glue Flowers
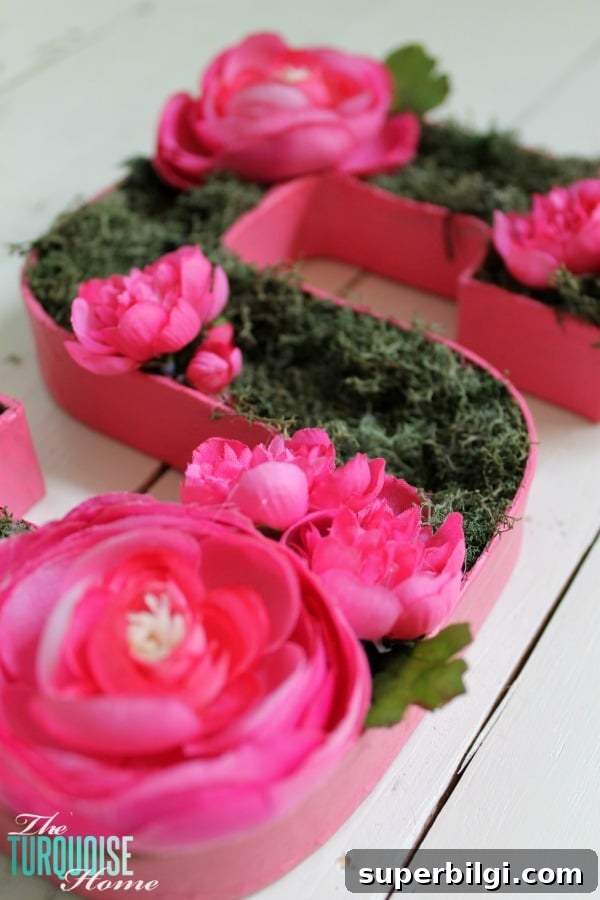
Trim the stems of your faux flowers to fit the depth of the letter. Rather than covering every inch, aim for a balanced, natural look: tuck a few clusters of blossoms into the moss and secure them with hot glue. I found that “less is more” — a few well-placed blooms look softer and more elegant than a completely packed surface.
If you find gaps along the sides or rim, add thin strips of moss to blend the edges. Paint any exposed paper or raw edges so the finish looks cohesive.
Finishing Touches and Tips
There are always small adjustments: trimming stray paper, touching up paint on the rim, or adding a bit more moss to soften edges. Take your time stepping back to evaluate the balance and color placement. The project evolves as you work — and those little changes improved my finished piece more than I expected.
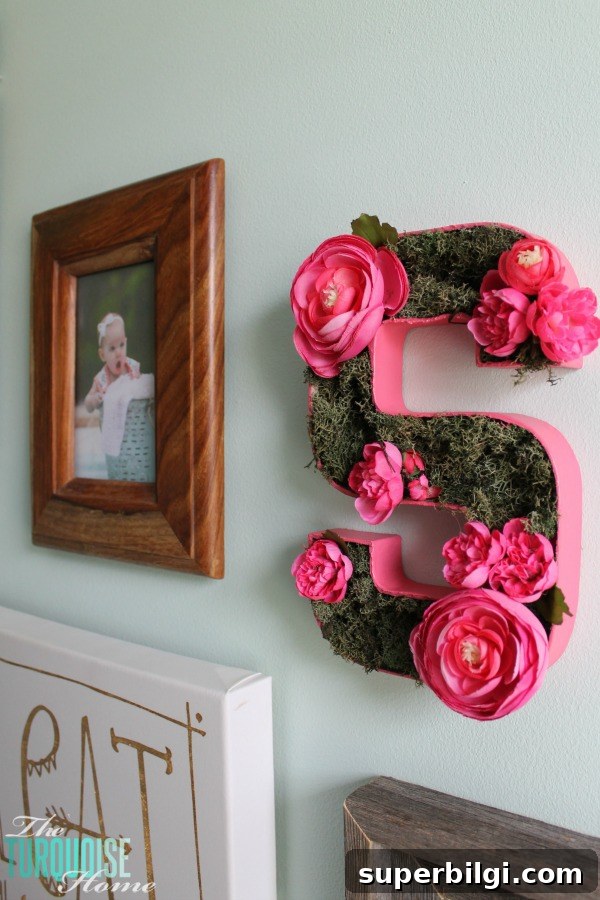
The finished letter is a delicate, whimsical accent that fits beautifully in a baby girl’s woodland-themed nursery or any space that needs a soft personalized touch. I love how the moss grounds the design while the flowers bring just the right amount of color and texture.
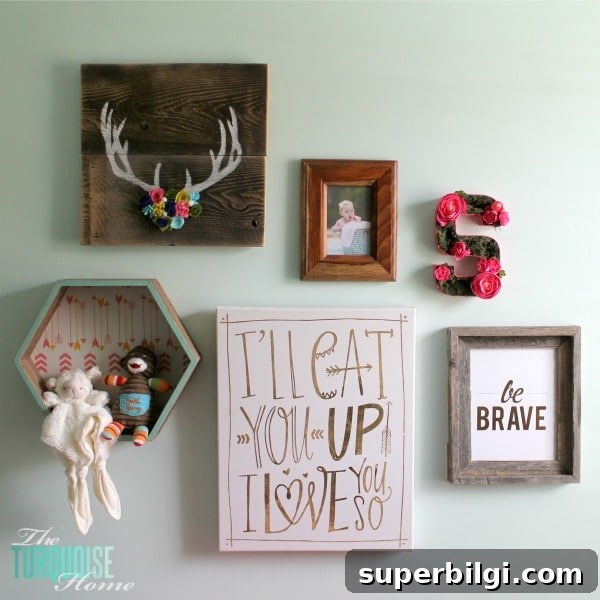
Do you think it’s darling? I’m really happy with how it turned out. If you try this DIY, consider experimenting with different flower colors and moss types for seasonal versions or to match a specific room palette.
More posts you will love:
- Mason Jar Lid Pumpkin Craft
- Tissue Paper Stained Glass Valentine’s Kid Craft
- DIY Wood Bead Garland with Tassels











