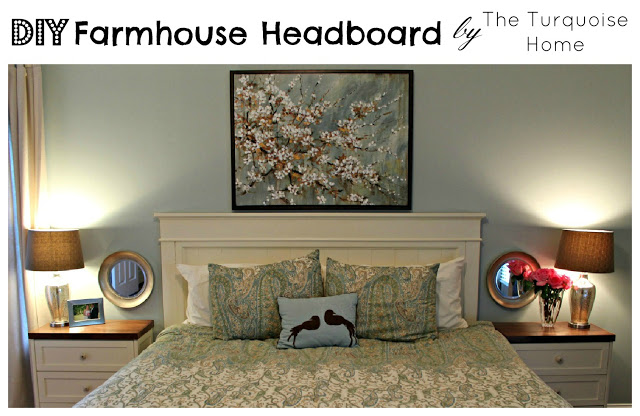
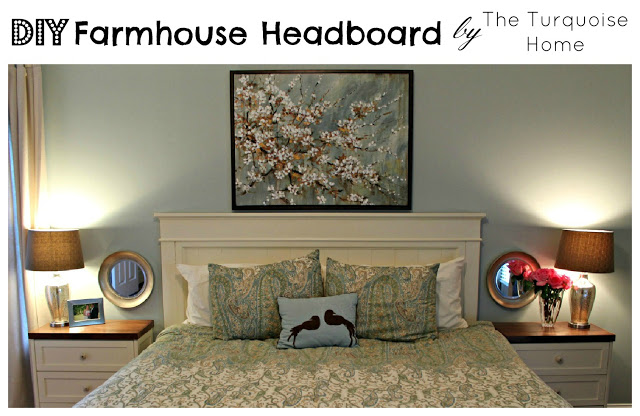
I used Ana White's farmhouse bed tutorial to build a headboard for our new king bed!
I shared my new master bed headboard on Wednesday and I hope you loved it as much as I do! It's probably my favorite project so far.
The headboard comes from Ana White's "Mom's Fancy Farmhouse Bed" plans. She has plans for the whole bed, but I only wanted to build the headboard. I had to make a few changes because her plans are for a queen bed, and we have a king. So I added extra planks to widen the headboard panel and built it from there.

I won't walk you through building the headboard step by step, since you can get that from Ana's plan. But I will share my shopping and cut lists, and a few tweaks I made.
Shopping List:
4 - 1x6 @ 8 feet long
2 - 1x2 @ 8 feet long
2 - 2x6 @ stud or 8 foot length
1 - 2x4 @ stud or 8 foot length
1 - 1x3 @ 8 feet long
1 - 1x3 @ 24" long (or longer, I think I bought a 36" piece and cut it down)
2 1/2" wood screws
1 1/4" finish nails for nail gun
1 - 8' stick of chair rail for top molding
3 - 8' sticks of base cap for molding around the inside of the panel and for the top tier of the headboard
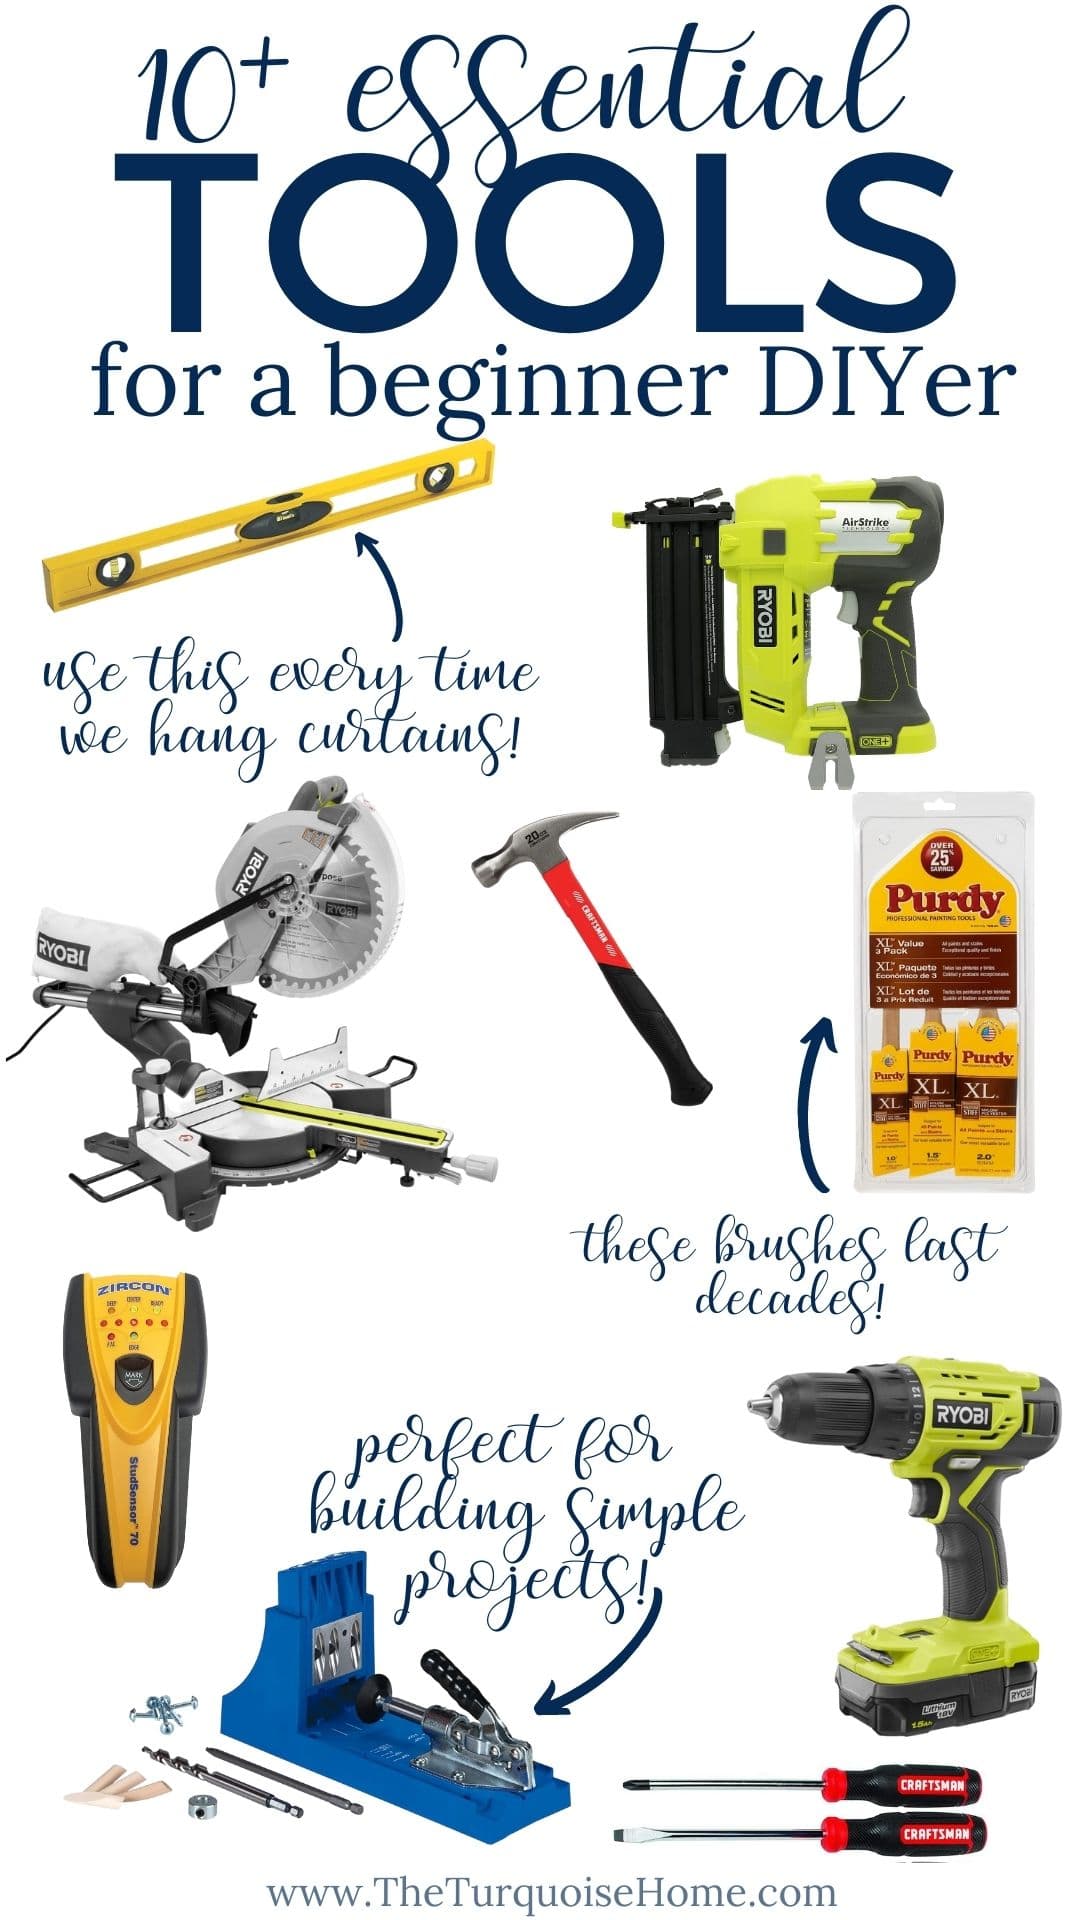
Tools I used:
Miter saw
Nail gun
Electric sander
Electric drill
Carpenter's square
Cut List:
12 - 1x6 @ 24" (panel boards)
1 - 1x3 @ 24" (middle panel board)
2 - 1x2 @ 21" (side trim for panel)
2 - 1x2 @ 69" (top/bottom panel trim)
1 - 2x6 @ 69" (base of panel)
2 - 2x4 @ 48" (legs)
1 - 1x3 @ 78" (top of headboard)
Cut your molding to fit your bed exactly
I started by cutting the panel boards and sanding their edges.
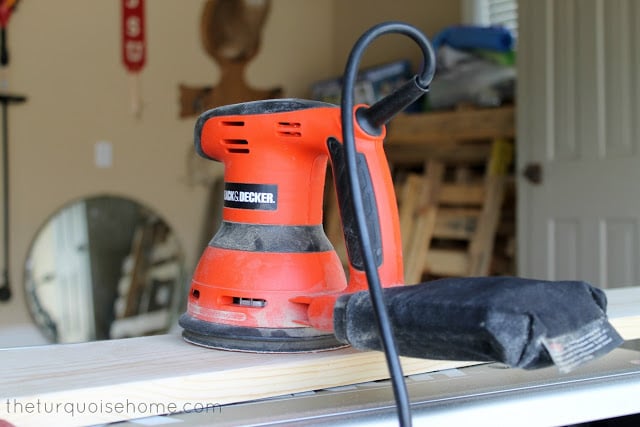
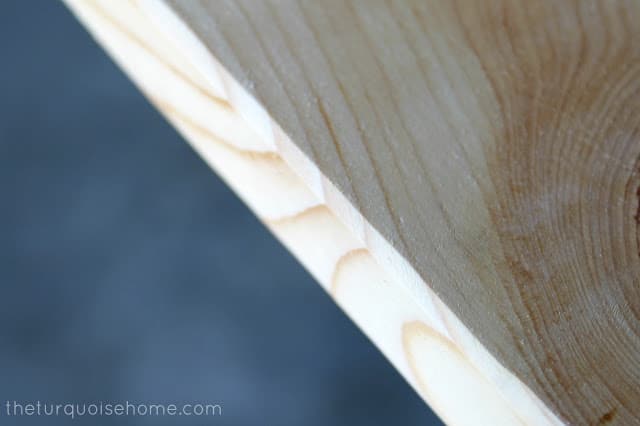
I held the boards in my hand while sanding the edges that would show, to give them a more defined "plank" look.
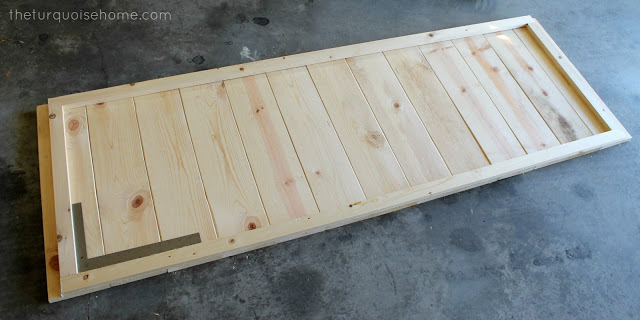
I bought a carpenter's square to make sure the panel was square before nailing on the trim. I took this picture before I had all the panel widths figured out. I had to go back to Lowe's for an extra 1x3 piece to make the middle panel.
Here you can see the 1x3 middle panel piece I used. I have six wider panels on each side, so it still looks balanced. And you can see how the sanded edges give the panels more definition and "plankness." Yes, I just made up a word.
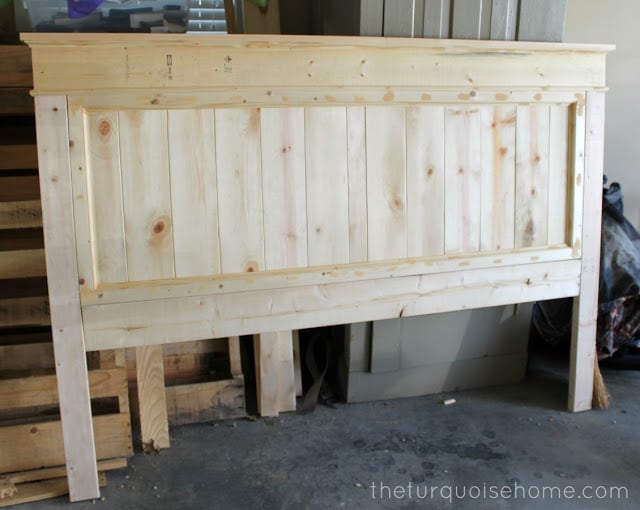
After everything was nailed in, I used wood putty to fill the holes. Then I primed the whole piece with my favorite primer: Zinsser Cover Stain Primer. I use it on every project that needs primer. And since it's oil based, I buy cheap brushes and toss them afterward. I don't like dealing with paint thinner. No thanks!
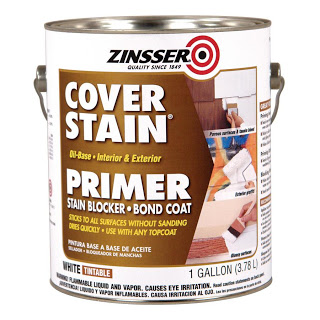
You'll want to use this primer in a well-ventilated area. The garage works perfectly.
Once the primer dried, I gave it two coats of Antique White by Sherwin Williams. It's the same color I used on the bedside tables. I had plenty of paint left over from that project, so I already had it all on hand. Yay!
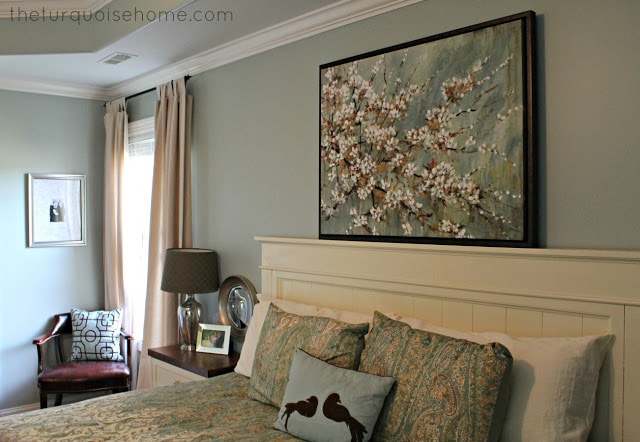
There really is nothing like taking a pile of lumber from the hardware store and turning it into something beautiful for your home! It gives me such a sense of satisfaction.
More Posts You Will Love: